 Blender Procedural
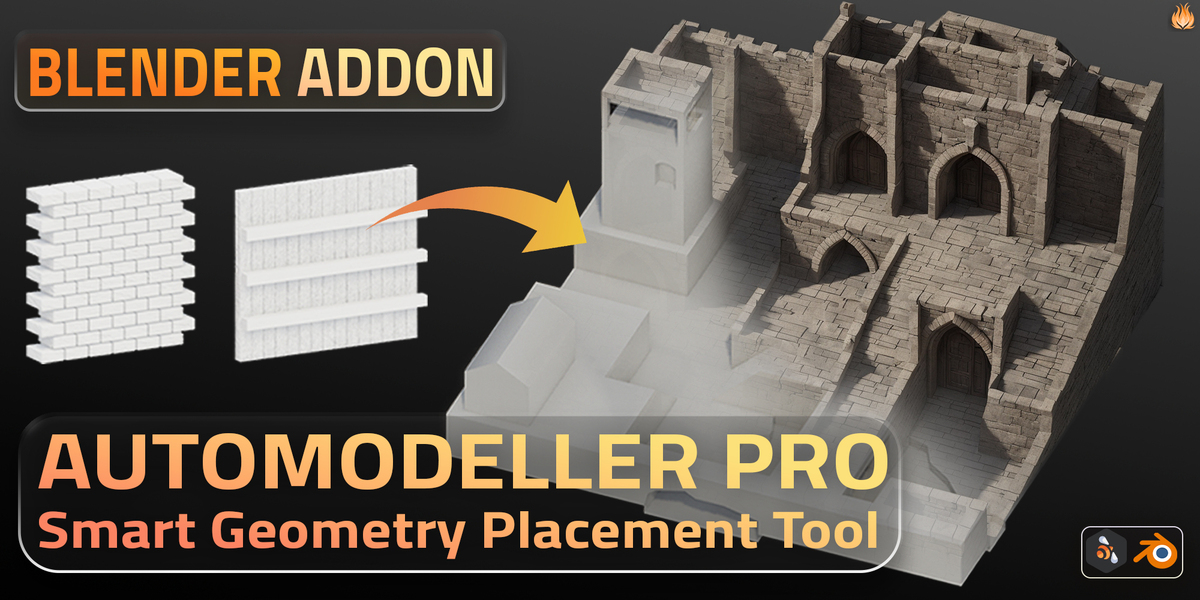
Ultimate Tool for Smart Geometry Placement
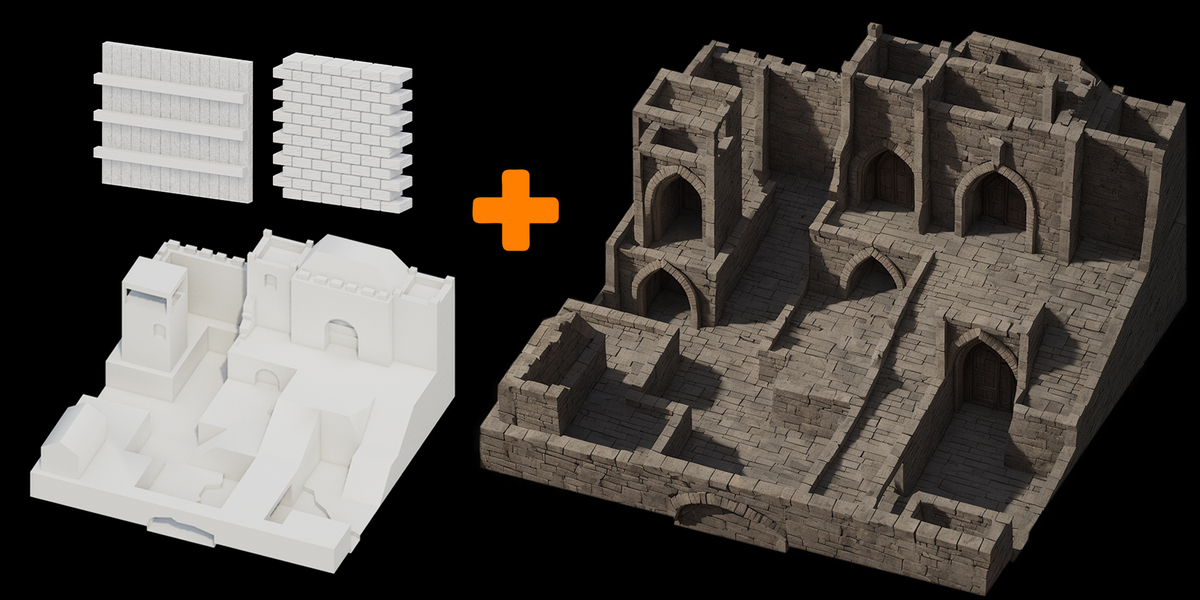
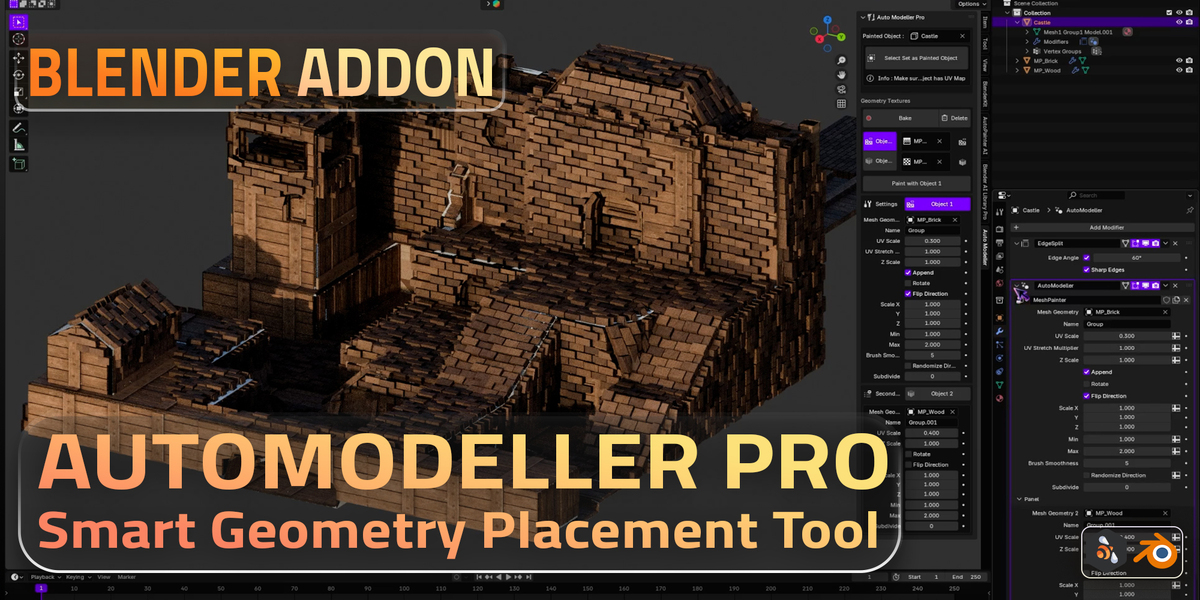
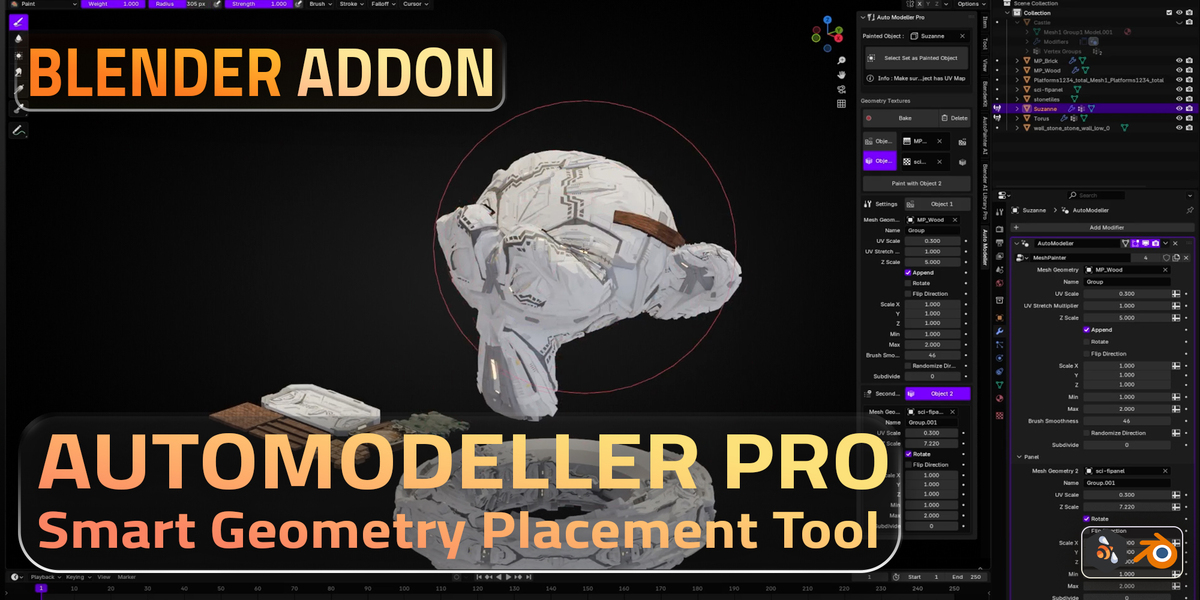
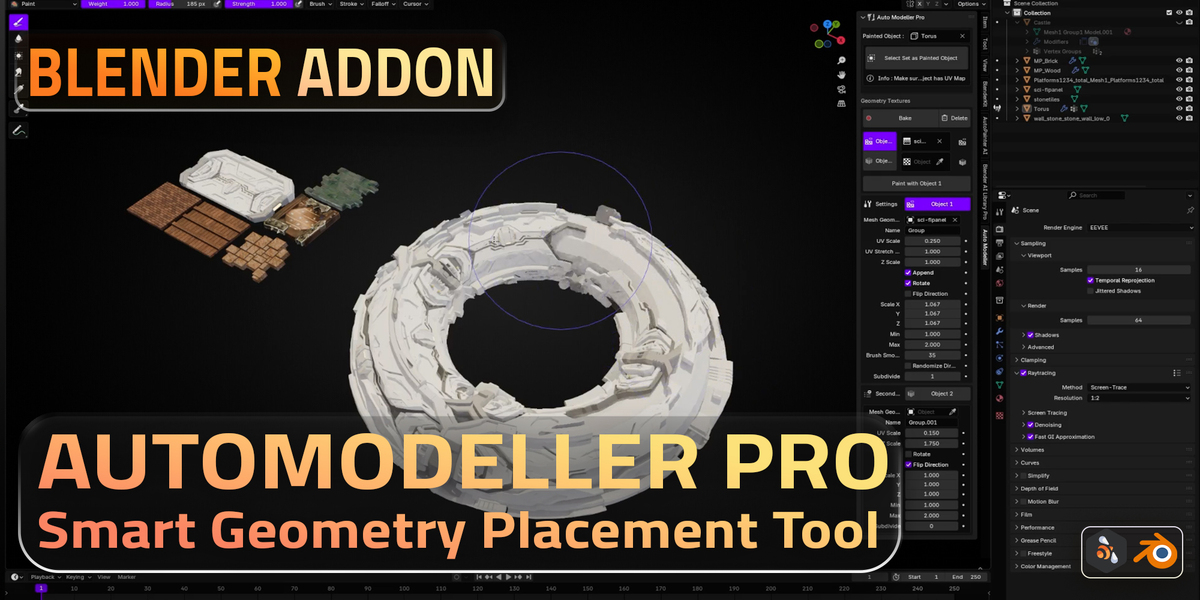
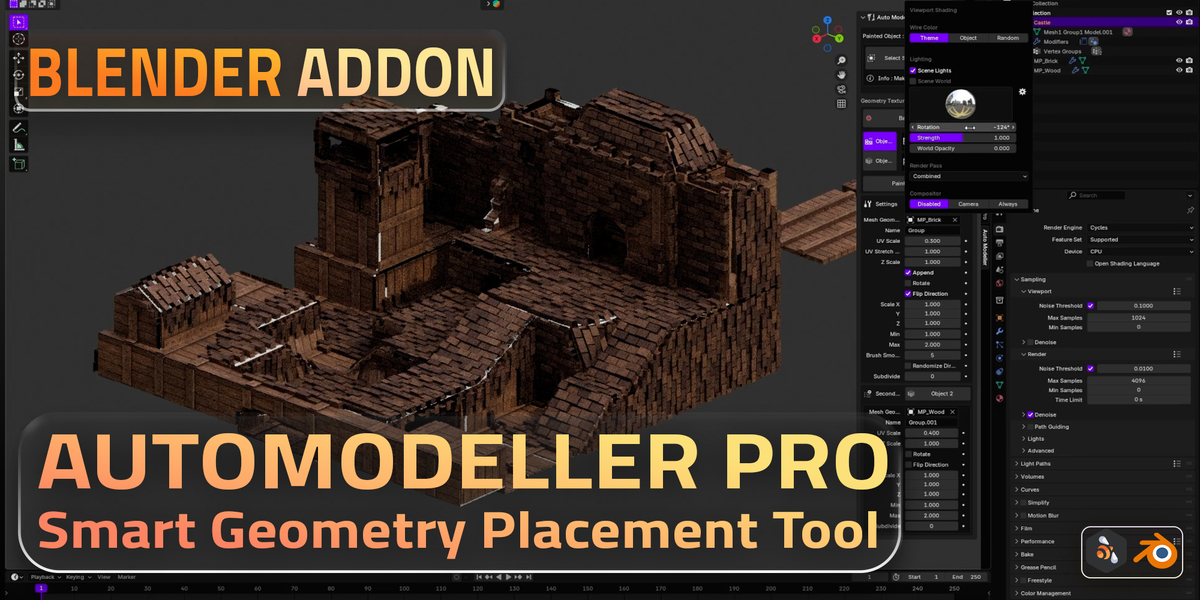
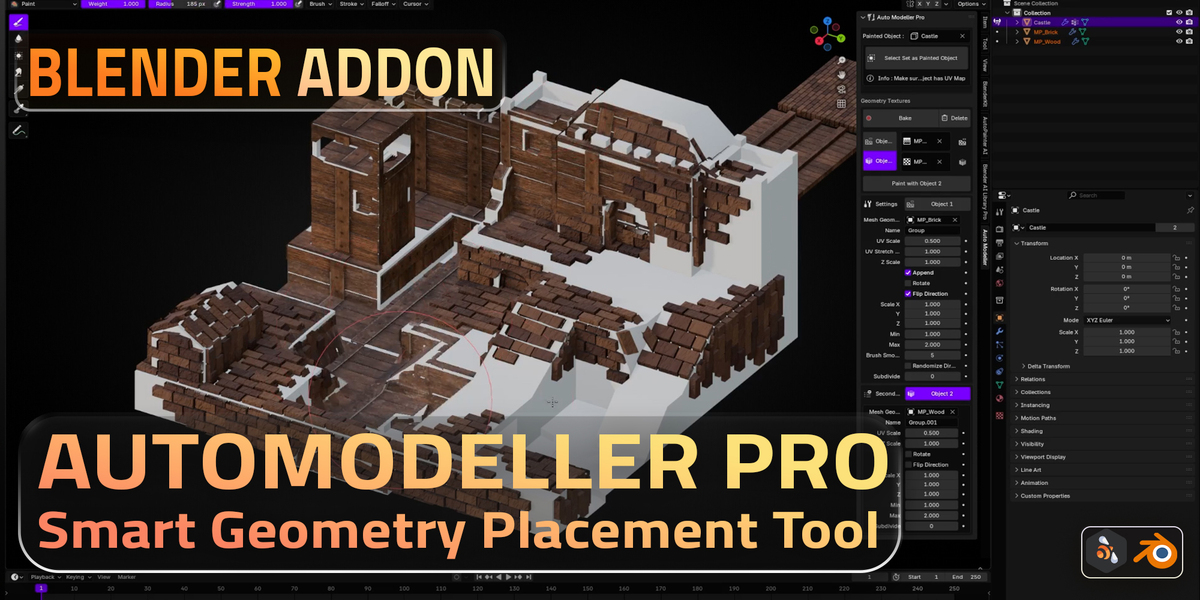
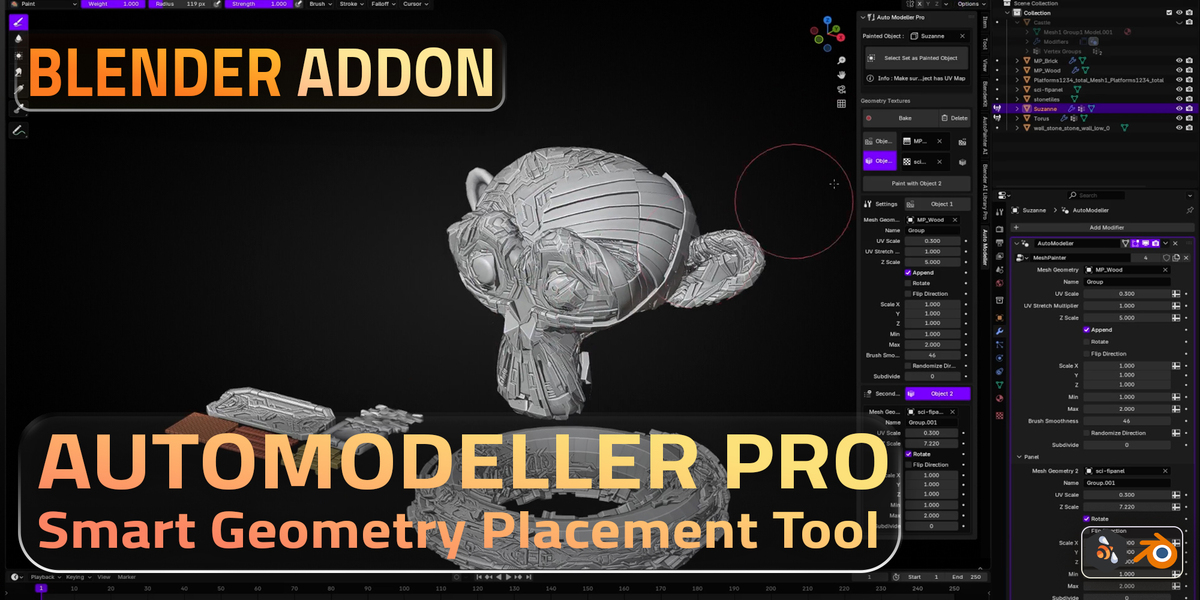
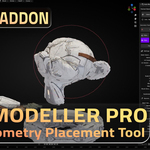
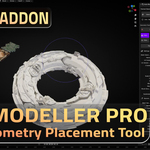
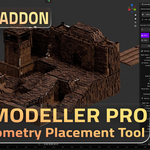
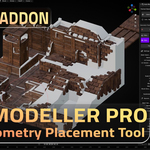
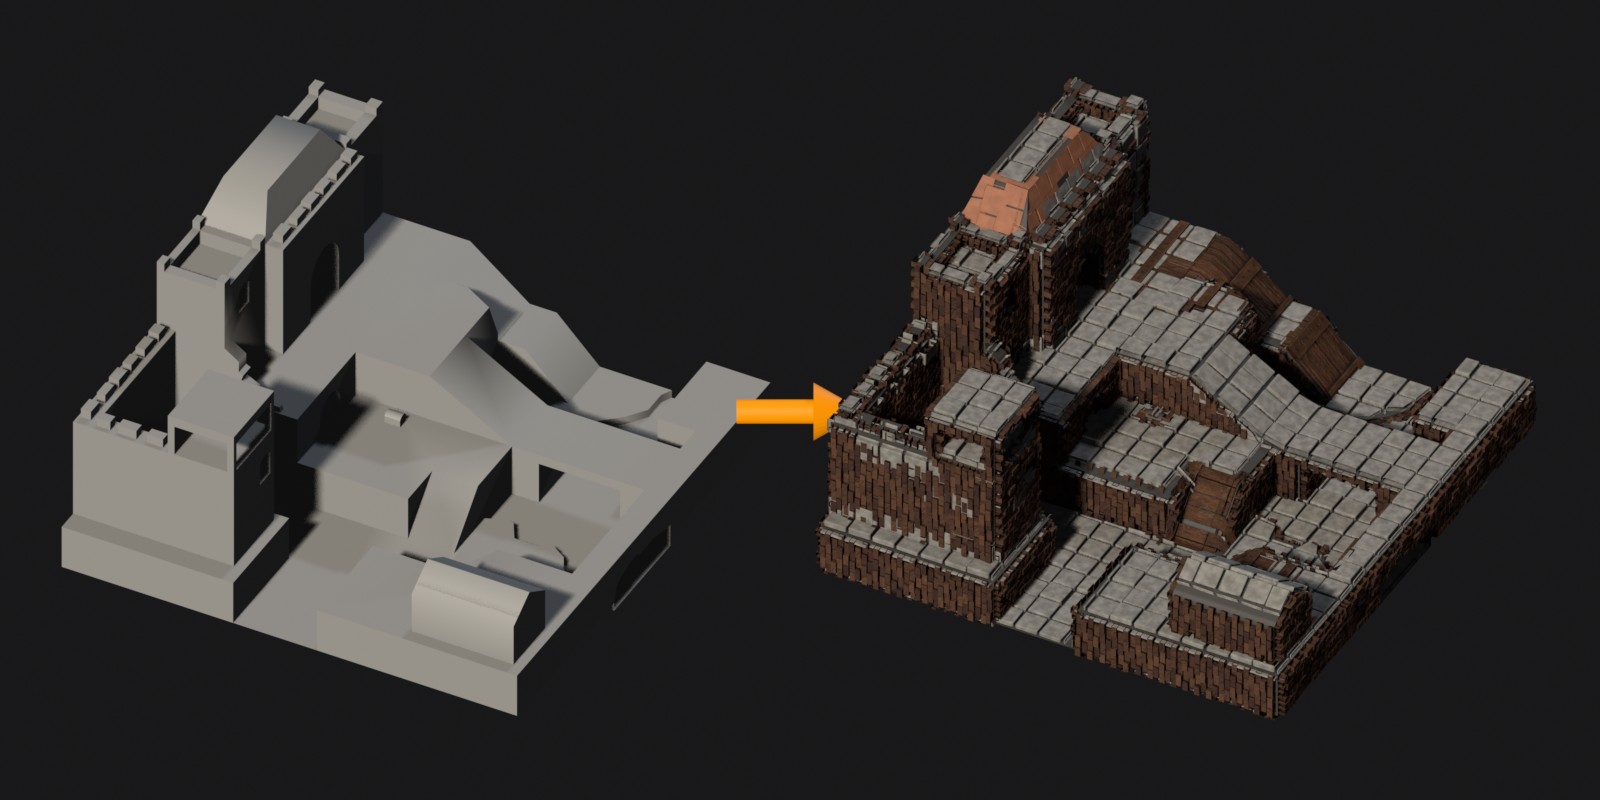
Paint real 3D geometry onto any surface along its UV map: bricks, planks, tiles, panels or your own models. Stack as many layers as you like, paint them like a brush, and stay fast with automatic baking.
New in 1.2
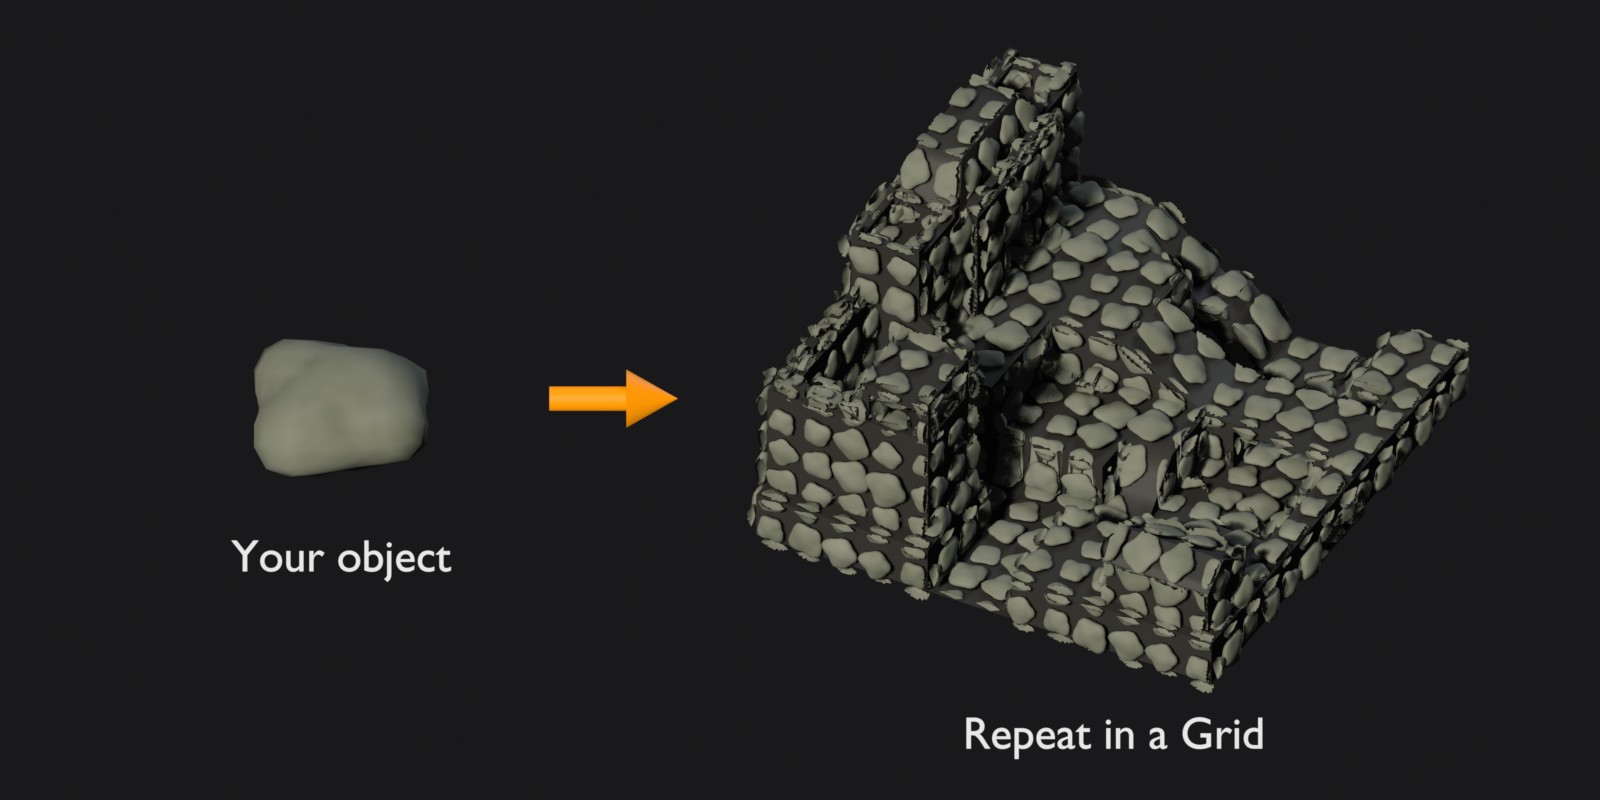
- • Use your own objects: select any mesh and add it as a layer. A single piece (a stone, a bolt, a plank) is repeated in a grid automatically, and a ready-made tile is used as it is.
- • Unlimited layers: no more limit of two objects. Every layer has its own geometry, paint and settings.
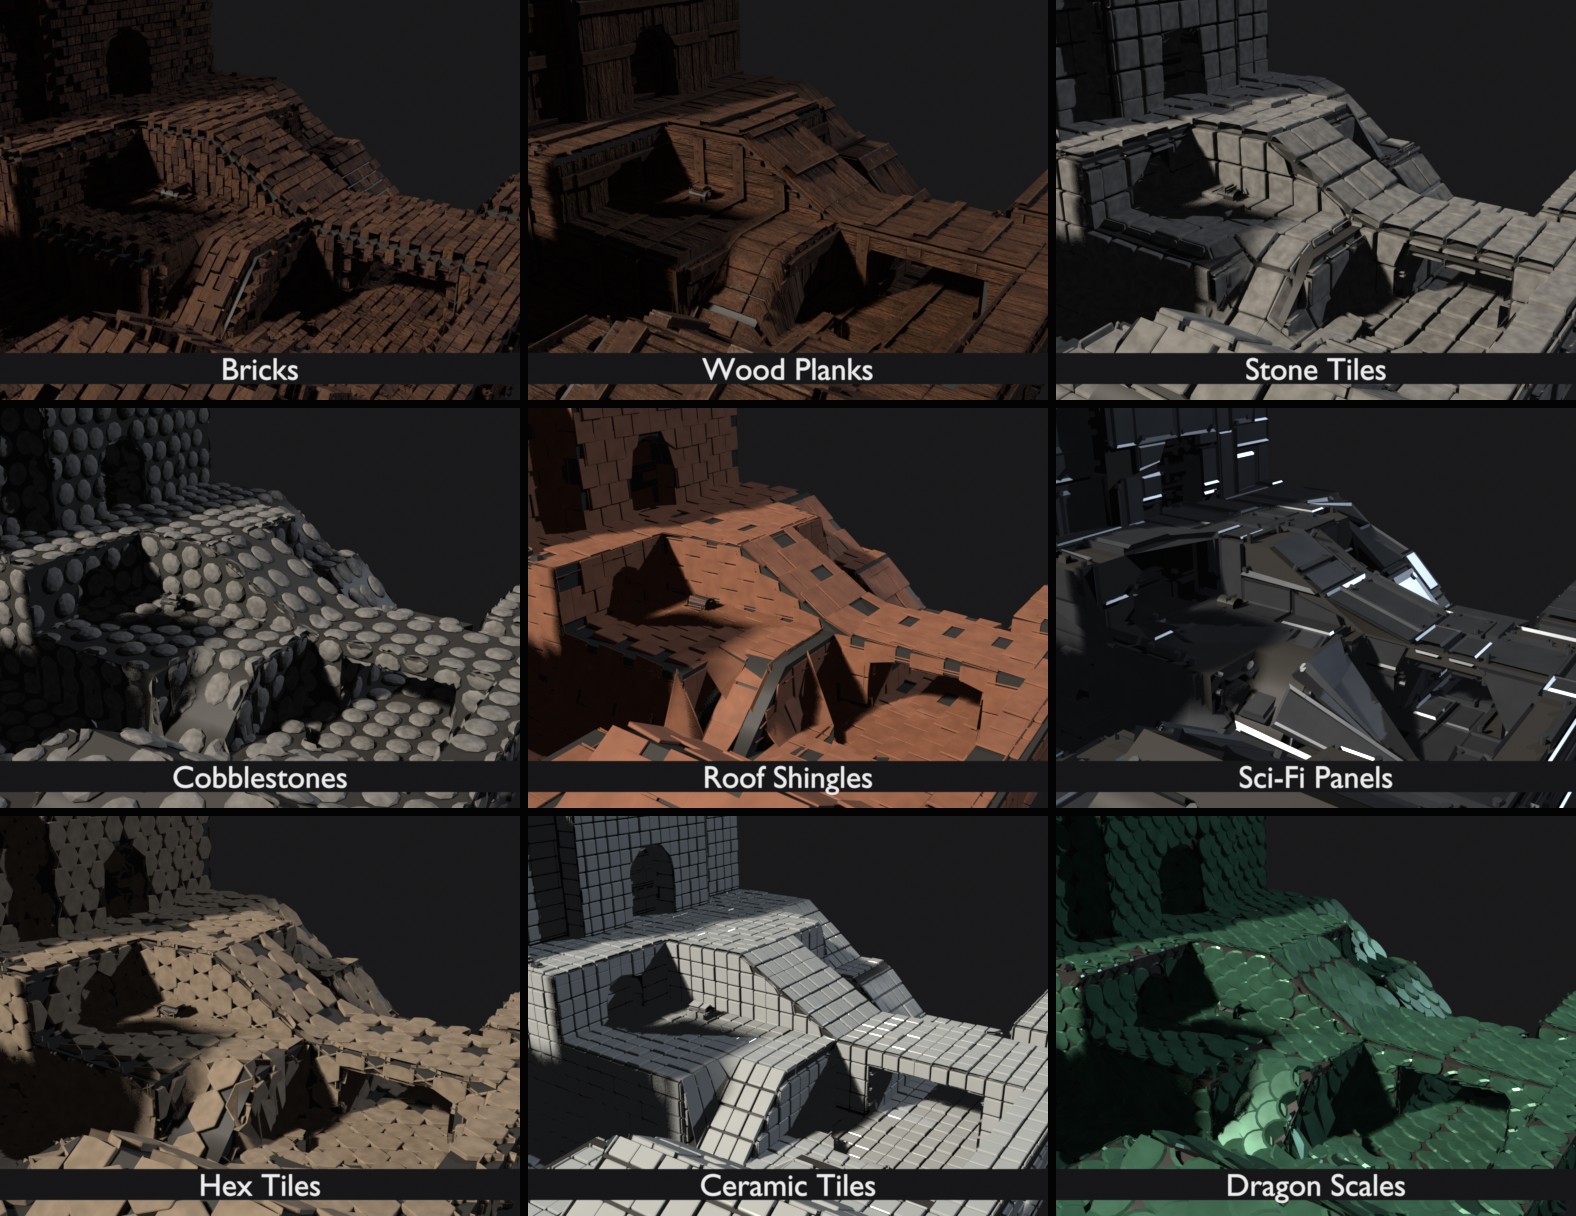
- • 7 new presets: Stone Tiles, Cobblestones, Roof Shingles, Sci-Fi Panels, Hex Tiles, Ceramic Tiles and Dragon Scales, next to Bricks and Wood Planks.
- • Fill tools: Fill All, Fill Selected Faces, Invert and Clear.
Key Features
- • Your Own Geometry: place any mesh you model or import. Repeat a single piece with Count, Size, Random Rotation, Random Size and Seed, or use a full tile patch.
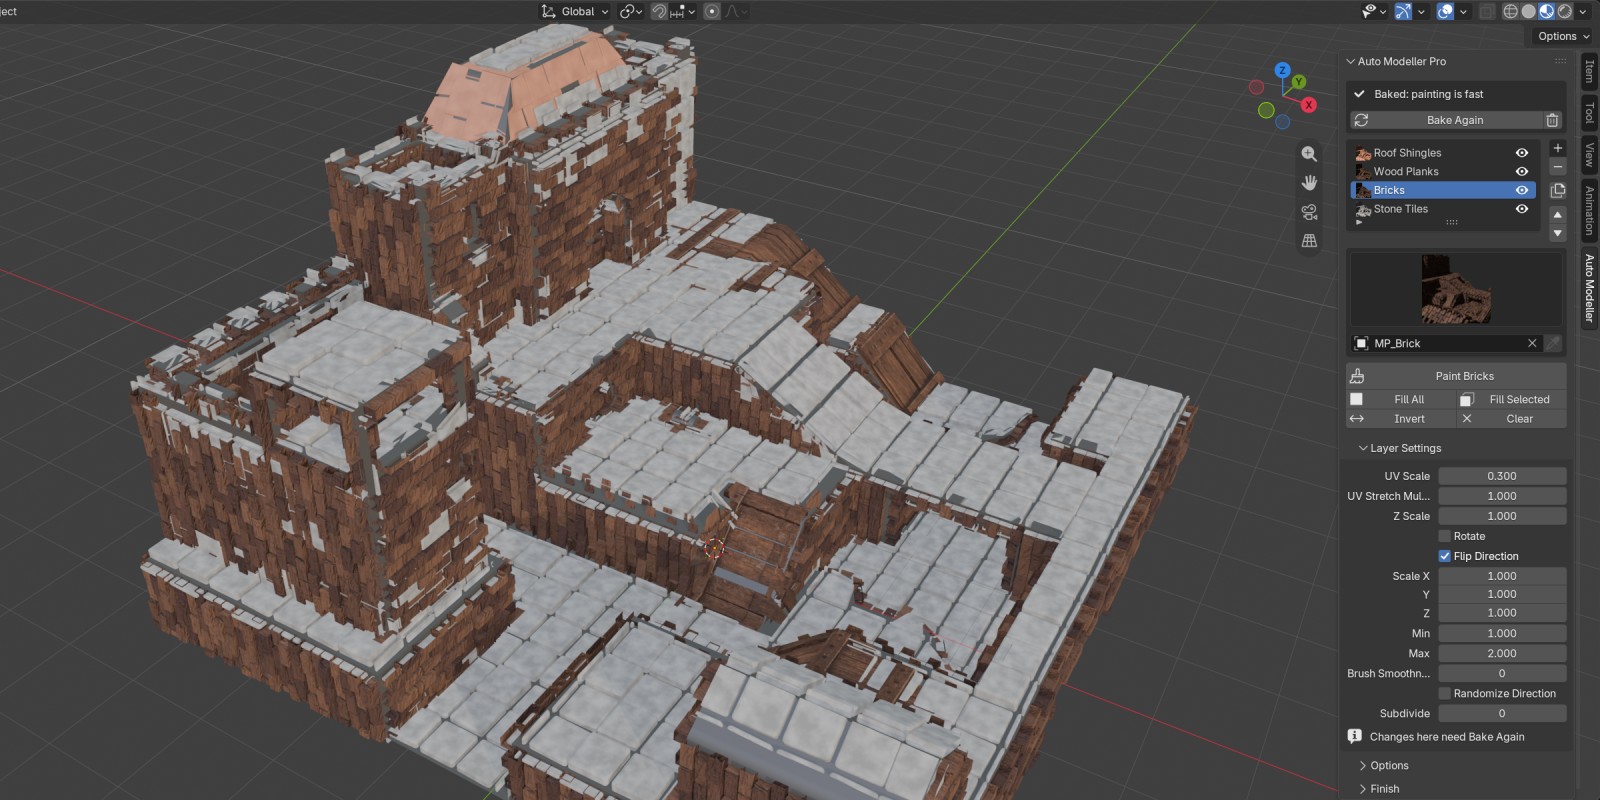
- • Layers: show, hide, rename, duplicate and reorder layers. An upper layer covers the layers below where it is painted, so you can paint one material over another.
- • 9 Built-in Presets: pick them from thumbnails: Bricks, Wood Planks, Stone Tiles, Cobblestones, Roof Shingles, Sci-Fi Panels, Hex Tiles, Ceramic Tiles and Dragon Scales.
- • Brush Painting: paint where the geometry goes and hold Ctrl to erase. Fill All, Fill Selected Faces, Invert and Clear work on the active layer.
- • Automatic Baking: Auto Modeller bakes for you and tells you when a setting needs a new bake, so every stroke stays fast. Bakes are saved inside your .blend file.
- • Any UV Map: works with any UV map name. A mesh without UVs gets one automatically.
- • Make Real Mesh: turn the result into normal geometry with one click while the original stays editable.
- • Blender 4.5 to 5.3: scenes made with version 1.0 or 1.1 convert to layers with one click and keep their paint and settings.
How It Works
- Set Up: select your mesh, open the Auto Modeller tab in the 3D Viewport sidebar (N), pick a preset and click Set Up Auto Modeller.
- Paint: paint on the mesh and the geometry appears where you paint. Hold Ctrl to erase.
- Add Layers: click + and pick another preset, or choose Selected Objects... to use your own models.
- Adjust: change UV Scale, Z Scale and the other options under Layer Settings, then click Bake Again.
- Finish: use Finish > Make Real Mesh Copy when you want plain geometry.
Documentation
-
Installation:
- Download the auto_modeller_pro .zip file from Superhive.
- In Blender, open Edit > Preferences > Add-ons, click the arrow menu at the top right and choose Install from Disk, then select the .zip file.
- Make sure the add-on is enabled.
-
Using Your Own Objects:
- Select your object, then Shift-click the mesh you paint on so that it is the active object.
- Click + > Selected Objects....
- Choose Repeat in a Grid for a single piece and set how many pieces go in a row, or Use As Tile for a ready-made patch (flat in X and Y, thickness along Z).
- Your objects are hidden but keep working. Edit them at any time and click Bake Again.
- To swap the object of the active layer, use the object field or the eyedropper button next to it.
-
Layers:
- The top layer in the list covers the layers below it where it is painted. Use the arrows to change the order.
- The eye icon hides a layer instantly, without a new bake.
- Rename a layer by double-clicking its name; its paint keeps working.
-
Tips:
- A smaller UV Scale gives smaller, denser geometry.
- Raise Subdivide for low-poly custom objects so they bend nicely around curved surfaces.
- Lower Weight Colors while painting to see the real geometry instead of weight colors.
- Turn off Options > Show Base Mesh to see only the placed geometry.
-
Troubleshooting & FAQ:
- Why bake? Baking pre-computes the placement, so painting updates in a few milliseconds instead of about a second.
- The geometry is stretched or missing. The geometry follows the UV map: check Options > UV Map and the unwrap of your mesh.
- Can I use it on several objects? Yes. Every object has its own layers.
- How do I remove it? Use Finish > Remove Auto Modeller.
- Need Help?
If anything does not work as expected, send me a message on Superhive and I will help you.
Thank you for choosing Auto Modeller Pro and happy blending!

You Can Check My Other Blender Procedural Addons Below: