 specoolar


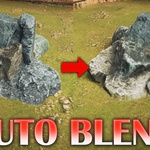
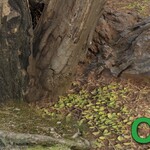
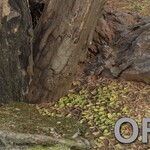
Make sure you are using Blender 4.5 or newer versions.
Install it like any other addon. (You can just drag&drop the zip file into Blender)
After installing you will get this panel on the right N-panel:
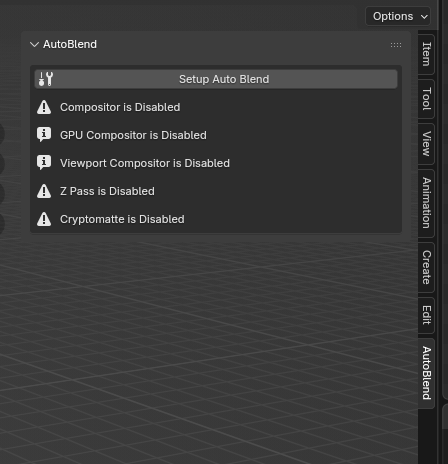
Press Setup Auto Blend button. This will make the required changes to the scene and creates the compositing setup:
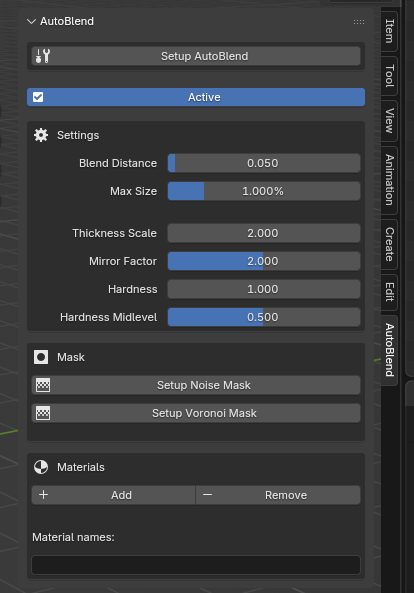
After setting up you will get this interface:
Now, select your objects and Press  button to add blending to your objects.
Note: It assigns the materials of the selected objects, not the objects themselves. So any object that uses these materials will be blendable too.
Note: Make sure that the object has a material in order to be blendable.
Note: Blender's Cryptomatte works with materials by their names. So, whenever you change their names you need to reassign them.
Settings:
Blend Distance - blend distance in world space.
Max Size - max blend distance relative to the screen. 1% means the blend distance wont be bigger than 1% of the screen. (Bigger values = Slower to calculate)
Thickness Scale - bigger values cause more blending based on the depth info. Play with this value until you get the desired result.
Mirror factor - how much the edges will be mirrored. 2 means 1:1 mirroring. In most cases you don't need to modify this.
Hardness - higher values result sharper edges. Good for stylised rendering
Hardness Midlevel - extra control for adjusting threshold of hardness
Mask:
You can press one of the buttons to automatically setup a mask.
Alternatively, you can create a custom mask by connecting your mask to "Mask" input of the AutoBlend node in Compositor.
Feel free to reach me if you have any questions.

Discover more products like this
#nature mixing rocks Compositing rendering PBR Post-Processing mesh blend blending meshblend ground