Autoremesher Quad: One-Click Quad Remesh
 blenderustad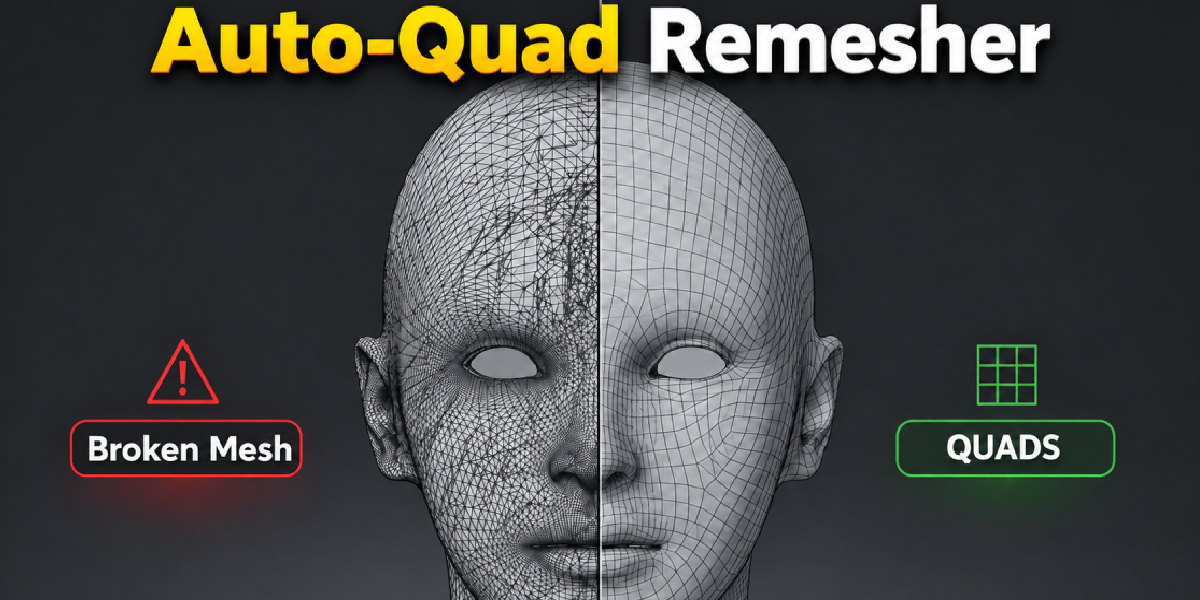
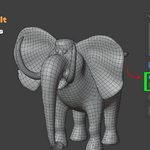
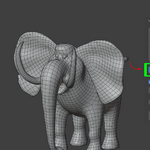
AutoRemesher Quad: User Documentation
Which File Should I Download?
This listing includes two files. They're the same addon and give you the same remeshing results, they only differ in how the AutoRemesher engine gets onto your machine:
Standard (autoremesher_quad.zip) |
Alternate (AutoQuadRemesher.zip) |
|
|---|---|---|
| Engine | Bundled inside the zip, ready to go | Not bundled; downloaded once from GitHub on first use |
| Platforms | Windows x64 only out of the box | Windows x64 and macOS x86_64 (Intel, also runs on Apple Silicon via Rosetta 2) |
| Internet required? | Never | Once, to click Download Dependencies (needs "Allow Online Access" in Blender's System preferences) |
| After that | Fully offline | Fully offline |
Use the Standard file if you're on Windows and want everything working the instant you install it, with zero setup.
Use the Alternate file if you're on macOS, or if you'd simply rather the addon not carry a bundled .exe/binary and fetch it from the open-source engine's public GitHub release instead. It's the same AutoRemesher engine either way (MIT license, © 2020 Jeremy HU / dust3d); the Alternate file just fetches it rather than including it.
The rest of this document covers the Standard file first, then a dedicated section for what's different in the Alternate file.
About the Addon
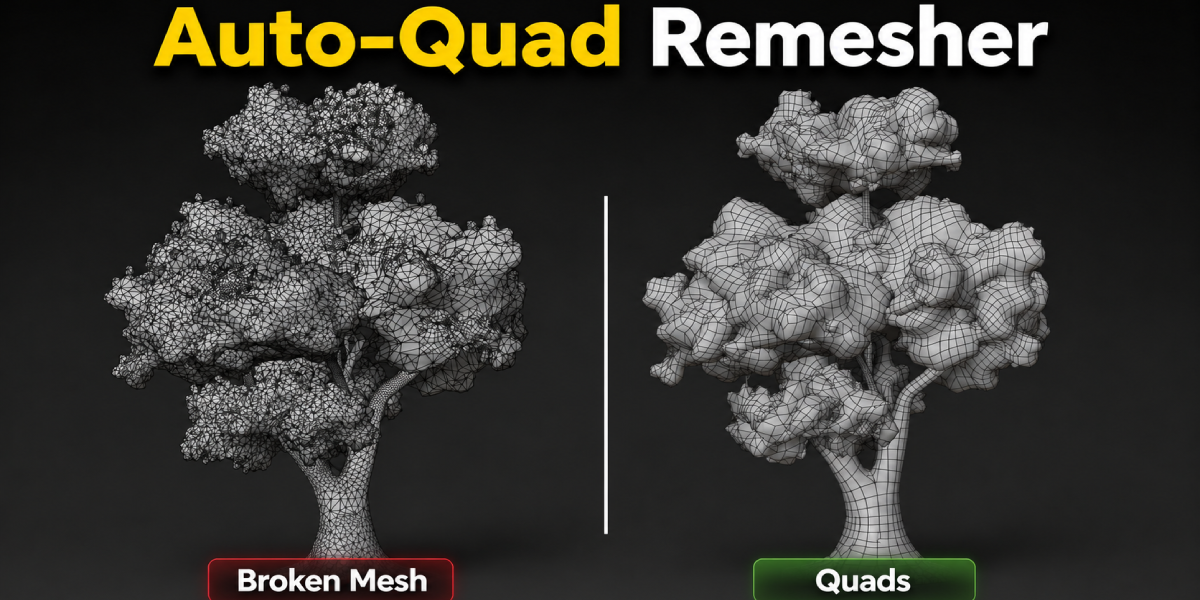
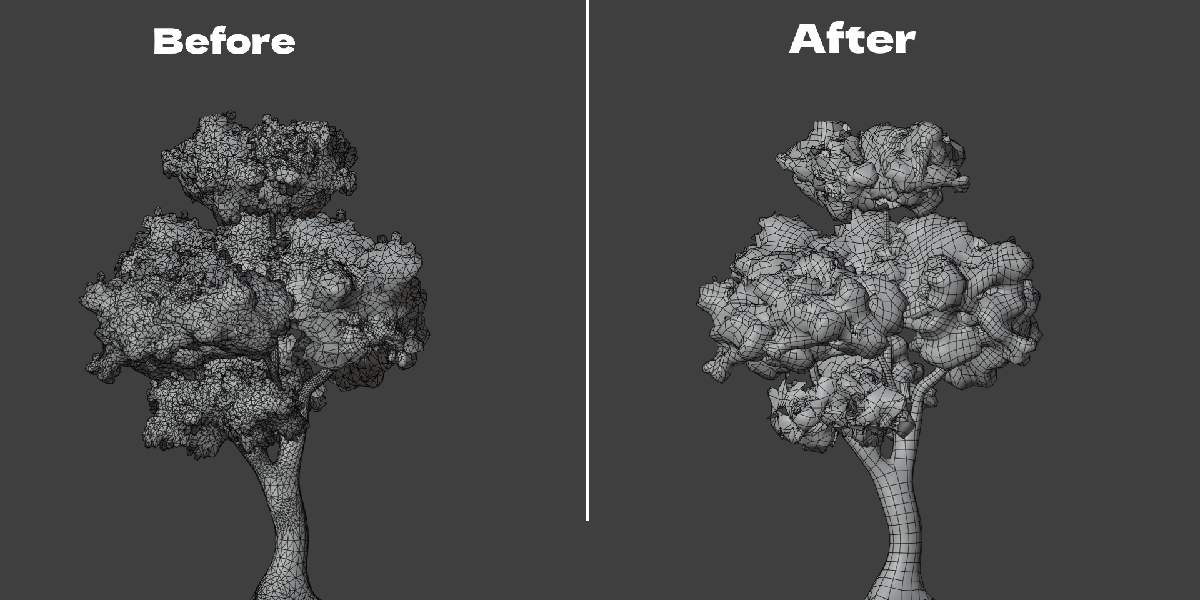
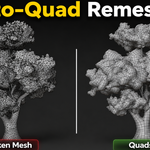
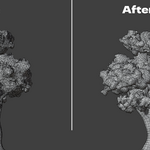
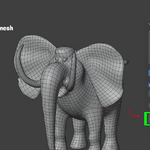
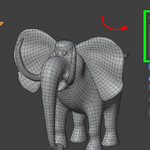
AutoRemesher Quad is a Blender addon that converts a mesh into clean, mostly-quad topology. It runs the open-source AutoRemesher engine as a small local program. Your mesh is sent to it and back over stdin/stdout in memory, so nothing about your mesh is ever uploaded and no mesh files touch your disk.
It solves the manual retopology problem: sculpts, 3D scans, boolean results, and procedural meshes are usually dense, uneven, and hard to subdivide or rig. Instead of drawing edge loops by hand, you click one button in the 3D Viewport sidebar and get a quad mesh back.
Key things it does:
- Keeps Blender responsive while it works (runs on a background thread), and you can press Esc to cancel.
- Preserves genuine open boundaries (eye sockets, neck openings, sleeve holes) instead of capping them.
- Supports X, Y, or Z symmetry, remeshing one half and mirroring it.
- Applies your modifiers and triangulates automatically before remeshing, so you're working with the final shape.
Requirements: Blender 4.2 or newer.
Good to know: the remesh output is new geometry. UVs, materials, and vertex groups are not carried over automatically, treat the result like any fresh retopology pass and reassign those afterward.
Standard File: Installing
- Open Blender and go to Edit → Preferences → Add-ons.
- Click the ▾ dropdown in the top-right corner and choose Install from Disk…
- Select
autoremesher_quad.zip. - Make sure AutoRemesher Quad is enabled in the list.
The addon auto-detects its bundled engine, so no extra setup is needed on Windows. This file runs entirely offline: no account, no internet connection, no subscription, at any point.
On macOS or Linux, the bundled engine won't run. Either use the Alternate file below (macOS), or set Engine Path in the addon preferences to point at your own compatible AutoRemesher build.
How to Use It (both files)
- Select the mesh object you want to remesh.
- Press N in the 3D Viewport to open the sidebar, then click the AutoRemesher tab (Standard file) or AutoQuadRemesher tab (Alternate file).
- Adjust the settings, or leave the defaults.
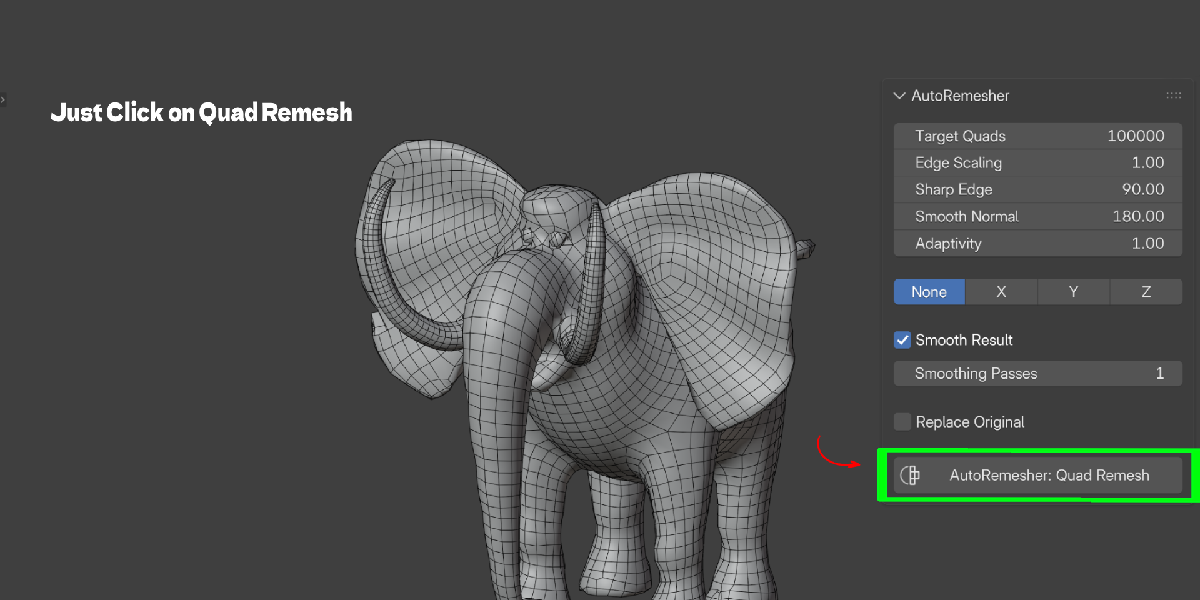
- Click AutoRemesher: Quad Remesh (or AutoQuadRemesher: Quad Remesh in the Alternate file).
- Wait for the status bar message to finish. Blender stays usable while this runs. Press Esc anytime to cancel.
- A new object appears with
_quadadded to its name, placed exactly where the original was.
When it finishes, the status bar reports the quad count, non-quad count, and vertex count of the result.
Settings Explained
| Setting | What it does |
|---|---|
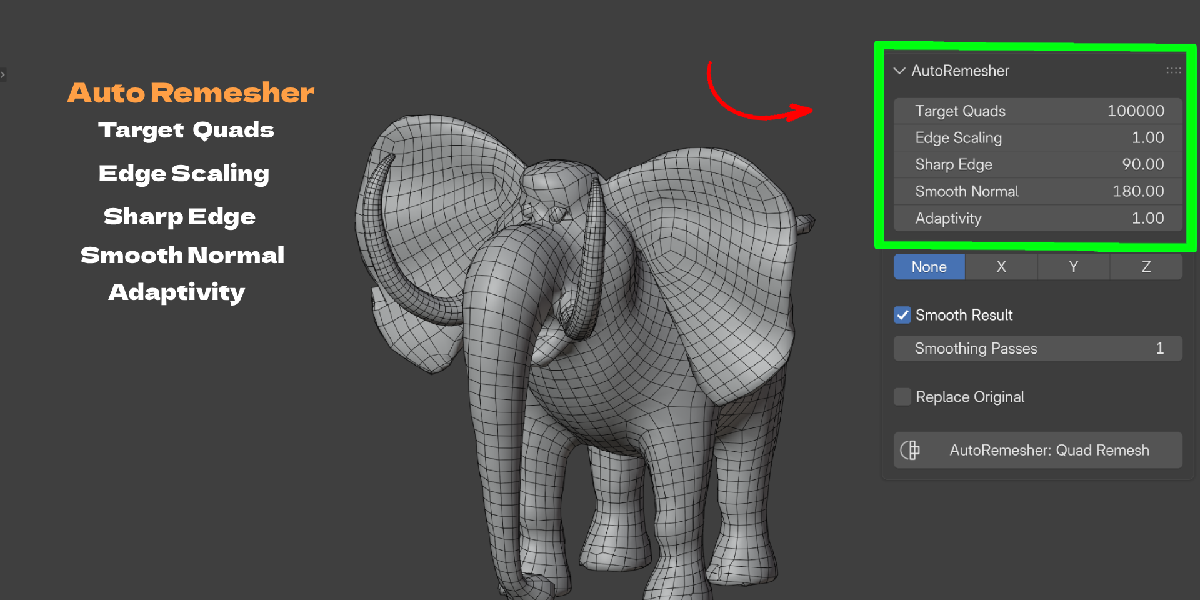
| Target Quads | Roughly how many quads you want in the result. 20,000 is a good starting point. |
| Edge Scaling | Scales edge length. Higher values give a lower-poly result. |
| Sharp Edge | Dihedral angle (degrees) above which an edge is kept sharp instead of smoothed. |
| Smooth Normal | Angle threshold for normal smoothing on low-poly output. 0 disables it. |
| Adaptivity | 0 keeps quad density uniform across the mesh. 1 puts more quads on curved or detailed areas. |
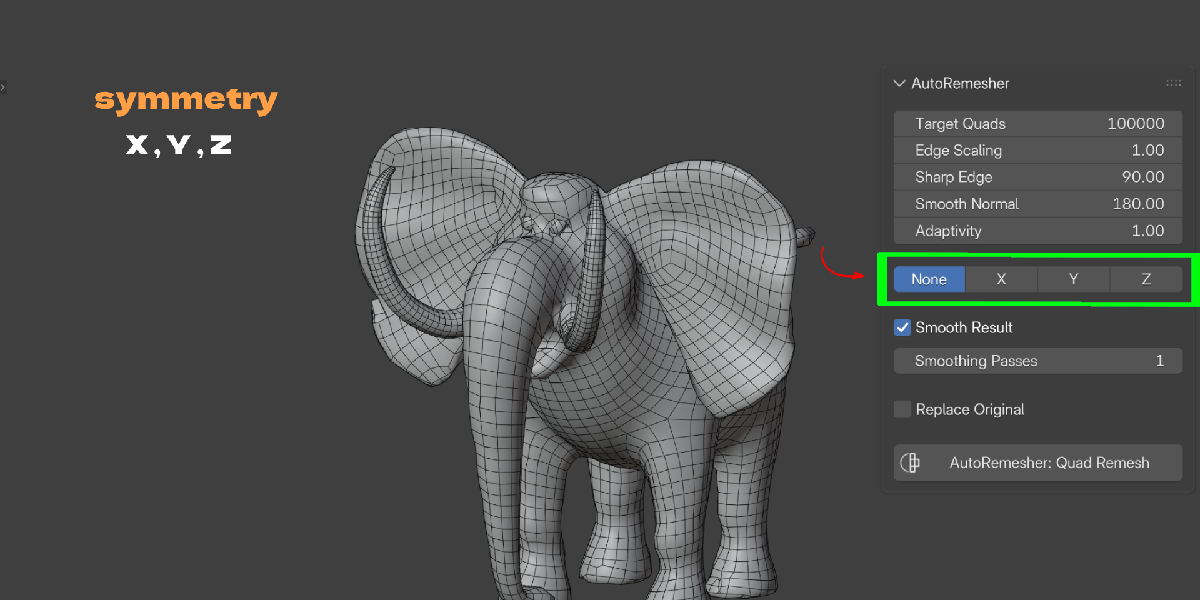
| Symmetry (X / Y / Z) | Remeshes one half of a centered mesh and mirrors it, so both sides match. The mesh must be centered on the chosen axis. |
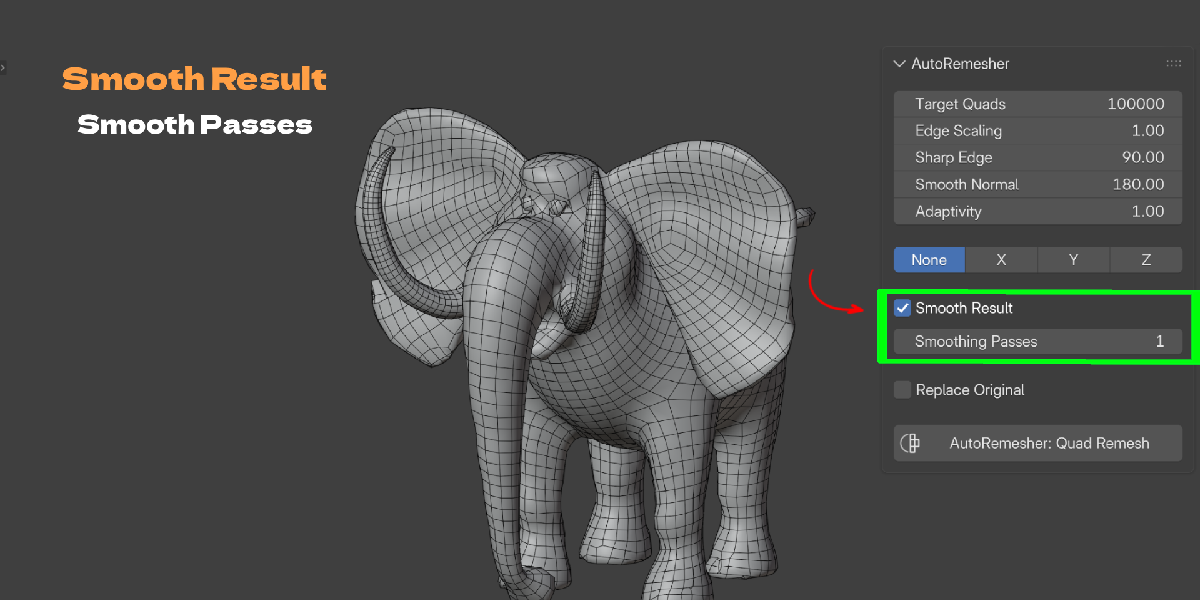
| Smooth Result | Runs extra smoothing passes on the output quads, reprojected onto the original surface. Hole rims stay pinned in place. |
| Smoothing Passes | How many smoothing passes to run. More passes mean smoother, more regular quads, but too many can soften fine detail. |
| Replace Original | If enabled, deletes the source object and keeps only the remeshed result. If disabled, keeps both so you can compare. |
Tips
- Start with the default settings, then adjust Target Quads and Adaptivity based on the result.
- For symmetric props or characters, center the mesh on the origin along the axis you want to mirror before using Symmetry.
- If you enable Smooth Result, start with a low number of Smoothing Passes (2 to 5) and increase only if the topology still looks uneven.
- The addon works on the evaluated mesh, so modifiers like Subdivision or Boolean are already applied in the result. You don't need to apply them manually first.
- After remeshing, re-unwrap UVs and reassign materials, they are not transferred from the source.
Troubleshooting (Standard File)
"Engine not found" message in the panel The bundled engine wasn't detected, or you're not on Windows. Go to Edit → Preferences → Add-ons → AutoRemesher Quad and set Engine Path manually to point at a compatible autoremesher executable. macOS users should instead install the Alternate file.
Remesh fails or returns an error Check that your mesh has valid geometry (no zero-area faces or fully disconnected pieces) and try again with default settings. If the error persists, note the message from the status bar, it usually names the exact failure.
Symmetry doesn't look right The mesh must be centered on the origin along the axis you're mirroring. Move the object so its center sits on X = 0, Y = 0, or Z = 0 as needed, then remesh again.
Nothing happens when I click the button Make sure a mesh object is selected and active. The button only works when the active object is a mesh.
Alternate File: AutoQuadRemesher (Download-on-First-Use, Windows + macOS)
The Alternate file (AutoQuadRemesher.zip) is functionally identical once set up, but it does not include the engine binary inside the package. Instead, it downloads the correct AutoRemesher engine for your OS from the engine's public GitHub release the first time you use it. This is also the file that adds native macOS support.
Installing
- Open Blender and go to Edit → Preferences → Add-ons.
- Click the ▾ dropdown in the top-right corner and choose Install from Disk…
- Select
AutoQuadRemesher.zip. - Make sure AutoQuadRemesher is enabled in the list.
- Open the N → AutoQuadRemesher sidebar tab, or the addon's preferences panel.
- Click Download Dependencies. If prompted, enable Allow Online Access in Blender's Preferences → System first.
- Wait for the background download to finish (a status message shows progress and any error). Once it completes, the Quad Remesh button becomes available.
Nothing is downloaded on install or on enabling the addon, only when you click Download Dependencies. The download is verified as a complete, valid executable before it's used; a failed or partial download is discarded automatically and can be retried by clicking the button again. The engine is stored in Blender's user data directory (outside the addon folder), so future addon updates won't remove it. After this one-time step, no internet connection is needed to remesh.
Platform Support
- Windows x64 and macOS x86_64 (Intel) are both covered by the download. On Apple Silicon Macs, the Intel binary runs automatically via Rosetta 2.
- Linux is not covered by a downloadable binary. You can point Engine Path in preferences at your own compatible AutoRemesher build, but this isn't a supported out-of-the-box path.
Troubleshooting (Alternate File Only)
"Download failed. Please retry." Shown when the download couldn't complete (network issue, interrupted connection, etc.). No partial engine is ever installed. Check your connection and click Download Dependencies again.
"Enable Allow Online Access in Preferences" Go to Blender's Edit → Preferences → System and enable Allow Online Access, then click Download Dependencies again. This addon only uses that permission for the one-time engine download, never during remeshing.
"Set a compatible Engine Path in preferences" Shown on platforms with no downloadable binary (Linux). Point Engine Path at your own compatible AutoRemesher build.
Engine still shows as not found after downloading Check the preferences panel for a "Resolved: ..." line confirming the engine path. If it still says "Engine not found," try clicking Download Dependencies again, or set Engine Path manually to a known-good AutoRemesher build.
