 BeakBox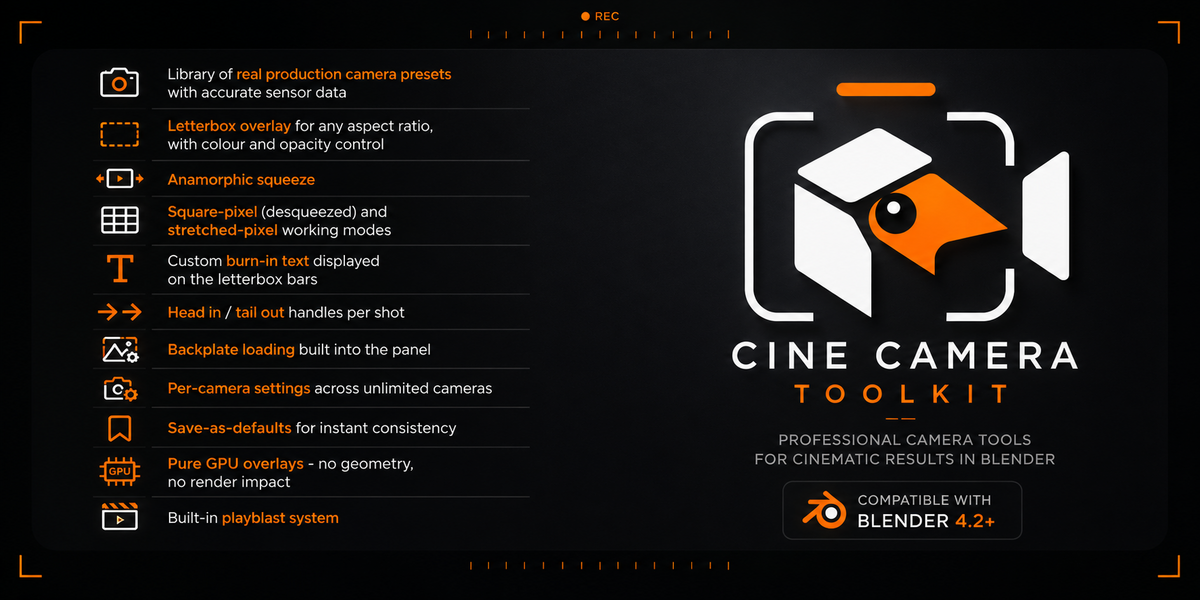
Cine Camera Toolkit — Documentation
Version 1.19.1 — BeakBox
1. Overview
Cine Camera Toolkit adds real production camera behaviour to Blender: accurate sensor/resolution presets for Sony Venice, ARRI Alexa and RED bodies, anamorphic squeeze with two pixel workflows, a live letterbox overlay, Head In / Tail Out handle markers, a frame counter and custom text overlay, in-panel backplate (image/sequence/movie) loading, and a self-contained playblast renderer that bakes everything above into an MP4.
Everything lives in one panel and works per scene or per camera, depending on a mode switch (§11).
2. Requirements & Installation
| Blender version | 4.2.0 or newer |
| Playblast renderer | Works on 4.2–4.4.x and on 5.2+. Broken on Blender 5.0.x and 5.1.x — an offscreen-viewport rendering bug in those two releases corrupts every frame. The panel shows this status automatically; every other feature is unaffected on any supported version. |
| Best playblast encode quality |
ffmpeg available on the system PATH. Without it, the add-on falls back to Blender's own FFmpeg output pipeline (still produces a valid MP4). |
Install:
-
Edit > Preferences > Add-ons > Install from Disk...and select the add-on file. - Enable Cine Camera Toolkit.
- In the 3D Viewport, open the sidebar (
N) and select the Cine Cam tab.
The panel is visible at all times — it doesn't require a camera to be selected. It edits the scene's active camera by default, or whichever camera is selected, depending on the mode described in §11.
3. Panel Layout
3D Viewport → N sidebar → Cine Cam tab → Cine Camera Toolkit panel, with these sections in order:
Camera Preset → Anamorphic → Letterbox → Head In / Tail Out → Backplate → Overlay Text → Playblast → Per-Camera Settings
Each section header is itself the enable toggle (or the show/hide toggle) for that section — click the section name to expand it.
4. Camera Presets
Section: Camera Preset
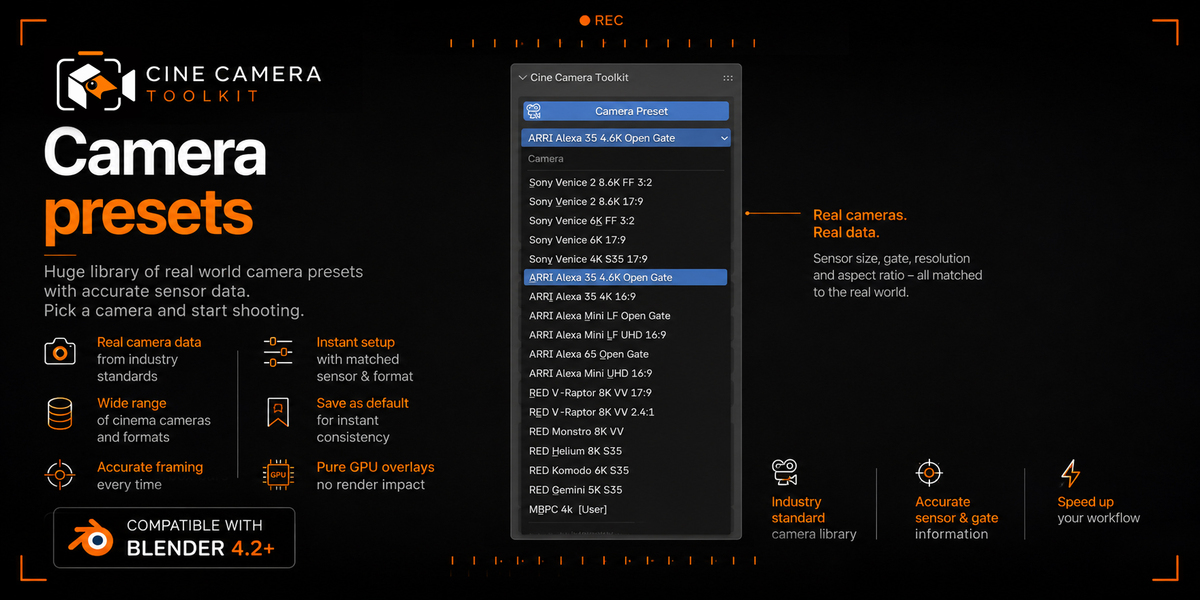
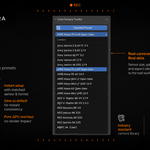
Pick a preset from the dropdown, then click Apply Camera Preset. This sets the scene's render resolution and the active camera's sensor width, height and fit in one action.
Built-in presets
Sony Venice
| Preset | Resolution | Sensor (mm) |
| Sony Venice 2 8.6K FF 3:2 | 8640 × 5760 | 36.2 × 24.1 |
| Sony Venice 2 8.6K 17:9 | 8192 × 4320 | 34.3 × 18.1 |
| Sony Venice 6K FF 3:2 | 6048 × 4032 | 35.9 × 24.0 |
| Sony Venice 6K 17:9 | 6054 × 3192 | 35.9 × 18.9 |
| Sony Venice 4K S35 17:9 | 4096 × 2160 | 24.3 × 12.8 |
ARRI Alexa
| Preset | Resolution | Sensor (mm) |
| ARRI Alexa 35 4.6K Open Gate | 4608 × 3164 | 27.99 × 19.22 |
| ARRI Alexa 35 4K 16:9 | 4096 × 2304 | 24.88 × 14.00 |
| ARRI Alexa Mini LF Open Gate | 4448 × 3096 | 36.70 × 25.54 |
| ARRI Alexa Mini LF UHD 16:9 | 3840 × 2160 | 31.68 × 17.82 |
| ARRI Alexa 65 Open Gate | 6560 × 3100 | 54.12 × 25.58 |
| ARRI Alexa Mini UHD 16:9 | 3840 × 2160 | 26.40 × 14.85 |
RED
| Preset | Resolution | Sensor (mm) |
| RED V-Raptor 8K VV 17:9 | 8192 × 4320 | 40.96 × 21.60 |
| RED V-Raptor 8K VV 2.4:1 | 8192 × 3456 | 40.96 × 17.28 |
| RED Monstro 8K VV | 8192 × 4320 | 40.96 × 21.60 |
| RED Helium 8K S35 | 8192 × 4320 | 29.90 × 15.77 |
| RED Komodo 6K S35 | 6144 × 3240 | 27.03 × 14.26 |
| RED Gemini 5K S35 | 5120 × 3000 | 30.72 × 18.00 |
Custom presets: expand the sub-panel below the Apply button to define your own — name, resolution, sensor width/height. From Scene grabs the current render resolution and active camera's sensor size into the fields. Save Preset stores it (marked [User]) in the add-on preferences, so it's available in every project, not just the current file. Custom presets can be deleted from the same sub-panel; built-in presets cannot.
5. Anamorphic
Section: Anamorphic
- Enable Anamorphic.
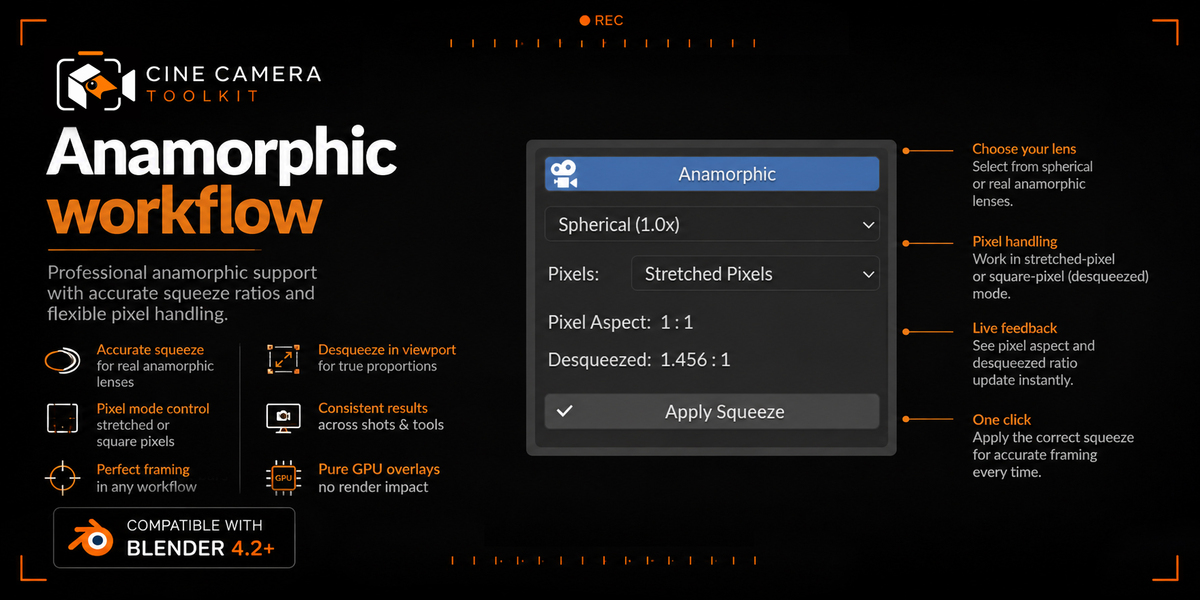
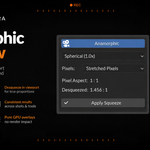
- Pick a Squeeze: Spherical (1.0×), 1.25×, 1.33×, 1.5×, 1.65×, 1.8×, 2× (Classic Scope), or Custom (0.1×–4.0×).
- Pick a Pixels mode:
| Mode | What it does | Default |
| Stretched Pixels | Render resolution stays at the sensor's native pixel count. Pixel Aspect X is set to the squeeze factor. The file is stored squeezed and desqueezes on playback/display — the classic anamorphic capture workflow. | X |
| Square Pixels | Pixel aspect stays 1:1. The desqueeze is baked directly into the numbers instead: render resolution X and camera sensor width are both multiplied by the squeeze factor (based on the currently selected Camera Preset). The output frame is already the correct widescreen shape with no pixel-aspect trick involved. |
Click Apply Squeeze to write the result to the scene's render settings and the active camera's sensor. The panel shows a live preview of the resulting resolution/sensor/aspect before you apply.
Anamorphic and Camera Presets interact: applying a Camera Preset while Anamorphic + Square Pixels are active bakes the squeeze into that preset's format automatically.
6. Letterbox
Section: Letterbox
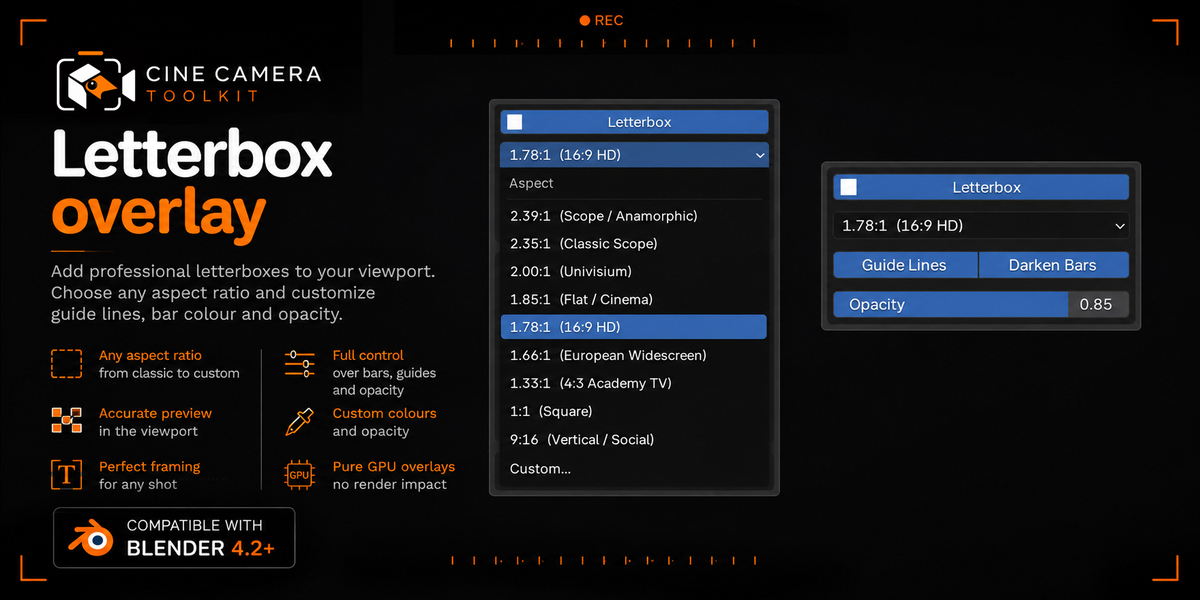
Enable Letterbox to draw bars in the viewport when looking through the camera (Numpad 0).
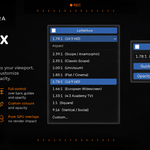
- Aspect: 2.39:1 (Scope), 2.35:1 (Classic Scope), 2.00:1 (Univisium), 1.85:1 (Flat/Cinema), 1.78:1 (16:9 HD), 1.66:1 (European Widescreen), 1.33:1 (4:3 Academy TV), 1:1 (Square), 9:16 (Vertical/Social), or Custom (0.1–10.0).
- Guide Lines and Darken Bars are independent toggles — use one, the other, or both. Opacity controls the darkening strength when Darken Bars is on.
- Ref (Aspect Reference) appears only when an anamorphic squeeze is actually affecting the image. Choose whether the target ratio is measured against the Desqueezed (Final) image (standard framelines behaviour) or the Squeezed (Sensor) native storage format (bars stay where they were before the squeeze was enabled).
The letterbox is a GPU viewport overlay: it draws nothing into the scene and doesn't appear in a normal F12 render. It's baked into output only via the Playblast Renderer (§10).
7. Head In / Tail Out
Section: Head In / Tail Out
Enable Head In / Tail Out to display a HEAD IN / TAIL OUT label in the viewport while the playhead is inside the handle range.
- Head In / Tail Out — number of handle frames counted from the scene's frame start / end (default 8 each).
- Position — anchor corner (Top Left, Top Center, Top Right, Bottom Left, Bottom Center, Bottom Right) plus pixel X/Y offset.
- The panel also shows a live readout:
Current frame: N [HEAD IN / TAIL OUT / -].
This is a visual/editorial marker only — it does not change the scene's frame range or the render range.
8. Backplate
Section: Backplate
Click Load Image Sequence... to open the file browser. Import options in that dialog:
- Color Space — input colour space of the plate.
- Detect Sequence — scans the folder for every frame matching the selected file's numbering pattern and loads them as one sequence (turn off to load a single still).
-
Start Frame — scene frame the first plate frame lands on (
0= scene's own start frame). - Replace Existing — removes any background image already on the camera first (on by default).
Supported: common still formats (PNG, JPG, EXR, DPX, TIFF, TGA, BMP, WebP, HDR, PSD, and more) and movie formats (MP4, MOV, AVI, MKV, WebM, MPG, M4V).
Once loaded, the panel shows the plate name, its colour space, sequence controls (Start Frame, Frames, Offset, Loop, Auto Refresh) when it's a sequence or movie, Opacity, fill mode (Frame Method / Display Depth), a Show Backplate toggle, and Reload / Remove buttons. The plate is loaded at 100% opacity, stretched to fill the camera frame, by default.
Note: the toolkit manages the camera's first background-image slot. If you've added background images to the camera outside the add-on, only that first slot is shown/controlled here.
9. Overlay Text
Section: Overlay Text
Two independent overlays, both viewport-only (baked in only via Playblast, §10):
- Frame — shows the current frame number.
- Range (only enabled alongside Frame) also shows the scene's start–end range. Position + X/Y offset available once enabled.
-
Custom Text — free text field (default placeholder
SHOT_010) for shot name, version, artist, review note, or anything else. - Wrap Width sets how much of the frame width the text may use before wrapping. Position + X/Y offset available once enabled.
- Text Size at the bottom sets the size for all overlay labels — frame counter, custom text, and the Head In/Tail Out label.
10. Playblast Renderer
Section: Playblast → Render Playblast (MP4)
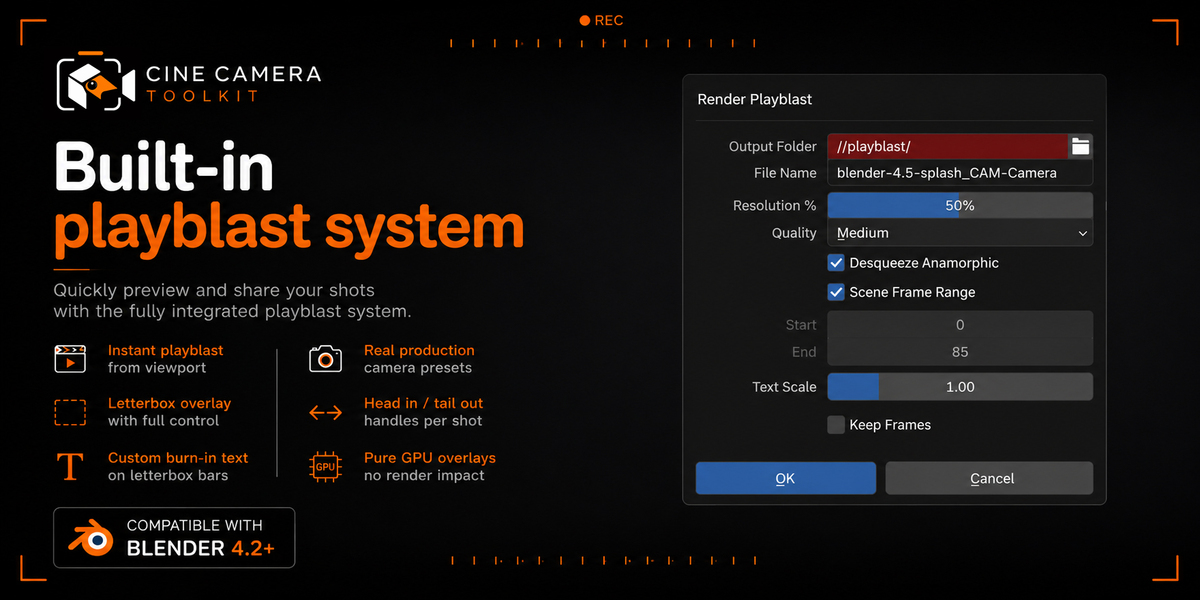
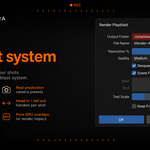
Renders the camera view — with letterbox, guide lines, frame counter and custom text burned in — directly to an MP4. Nothing is added to the scene and no render settings are touched; it reads the viewport's own shading (so at least one 3D Viewport must be open, though it doesn't need to be the one in camera view — framing always comes from the camera itself).
Dialog options:
| Option | Default | Notes |
| Output Folder | //playblast/ | Relative to the .blend file |
| File Name | _ |
|
| Resolution % | 50% | Of the scene's render resolution |
| Quality | Medium | Lowest / Low / Medium / High / Perceptually Lossless — maps to H.264 CRF 32/26/21/17/10 |
| Desqueeze Anamorphic | On | Widens the output so an active anamorphic squeeze is undone in the playblast |
| Scene Frame Range | On | Turn off to set a custom Start/End |
| Text Scale | 1.0 | Overlay text size relative to a 1080p reference |
| Keep Frames | Off | Keeps the intermediate PNG frames next to the MP4 instead of deleting them |
It runs as a modal operation with a progress bar and status-bar readout; press Esc to cancel mid-render. Encoding uses system ffmpeg if found on PATH (H.264, yuv420p, BT.709), otherwise falls back to Blender's own FFmpeg output with the colour pipeline forced to pass-through so the already-graded frames aren't re-graded.
Version behaviour: the button is always visible; on Blender 5.0.x/5.1.x the panel shows "Broken in Blender 5.0 / 5.1 — Needs Blender 5.2 or newer" instead of the normal status line, and running it anyway will report the same warning.
11. Per-Camera Settings
Section: Per-Camera Settings
By default, all cameras in the scene share one set of Anamorphic / Letterbox / Head-Tail / Overlay / Backplate settings (stored at the scene level).
Toggle Per-Camera Settings on to give every camera its own independent copy of all of the above instead:
- The moment you switch it on, every camera that hasn't been touched yet is seeded with a copy of the current scene look, so turning the mode on never changes how anything currently appears.
- The panel then edits whichever camera is selected (shown as "Editing: "), and flags it if that differs from the camera the viewport is actually looking through.
- Copy From... copies another camera's settings onto the selected one (opens a small picker dialog).
- Copy to All pushes the selected camera's settings onto every other camera in the scene.
Turn the mode back off to return to one shared look for every camera (each camera's individual settings are preserved on its data-block, not deleted, in case you switch back).
12. Custom Presets & Saved Defaults (Add-on Preferences)
Edit > Preferences > Add-ons > Cine Camera Toolkit shows two lists:
- Custom camera presets — every preset you've saved via §4, shown for reference. Managed from the main panel, not here.
- Saved defaults — values you've stored via right-click → Save as Cine Cam Default (see §13), shown here as a plain reference list with a Clear Saved Defaults button.
Note on saved defaults: in v1.19.1, Save as Cine Cam Default records a value into this reference list only. It is not automatically re-applied to new cameras, new scenes, or new files — there's no auto-apply step yet. Use it as a personal "what's my house standard" note, and use Custom Camera Presets (§4) or Copy to All / Copy From (§11) for settings you actually want re-applied.
13. Right-Click "Save as Cine Cam Default"
Right-click almost any Cine Camera Toolkit property in the panel (a checkbox, dropdown, or number field) to get a Save as Cine Cam Default entry in the context menu. It stores that single property's current value into the preferences list described in §12.
14. Viewport Overlay Behaviour
- Letterbox, guide lines, the frame counter, the custom text, and the Head In/Tail Out label are all drawn live in the 3D Viewport, only while the view is actually looking through the scene's active camera (
Numpad 0into camera view — an arbitrary perspective view will not show them). - They are GPU overlays: no geometry or objects are added to the scene, and none of it appears in a standard
F12/Ctrl+F12render. The only way to get them baked into an output file is the Playblast Renderer (§10).
Have questions about this product?
Login to message
| Blender Extension Compatible | Yes |
| Published | 28 days ago |
| Blender Version | 4.2 - 5.2 |
| Extension Type | Add-on |
| Render Engine Used | Cycles |
| License | GPL |