Beautiful Mazes
 Impression Sunrise
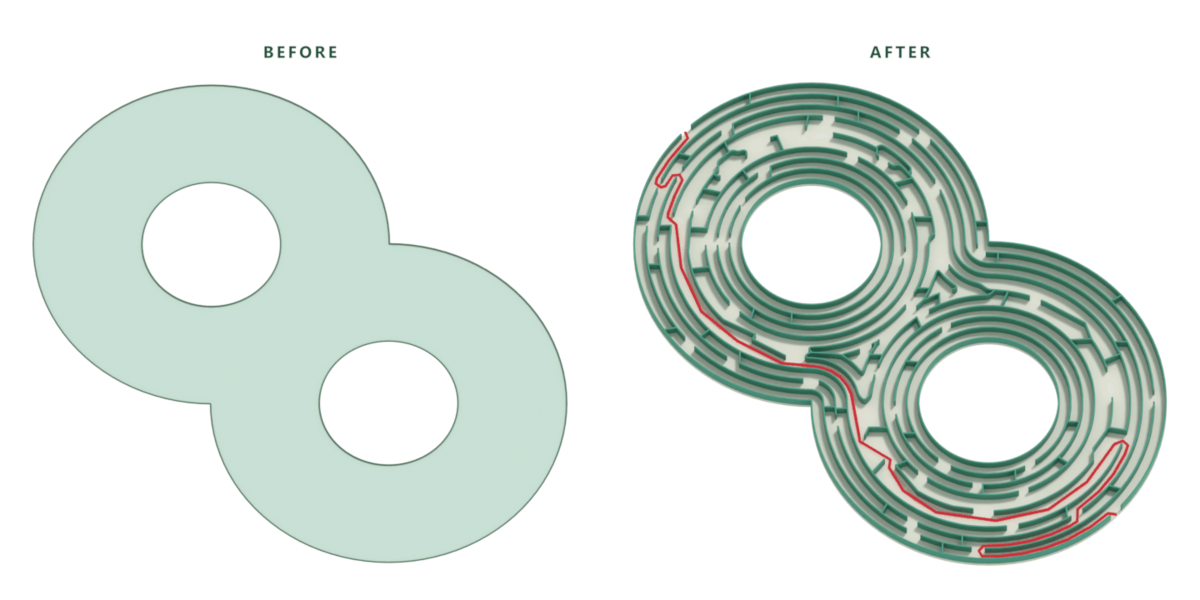
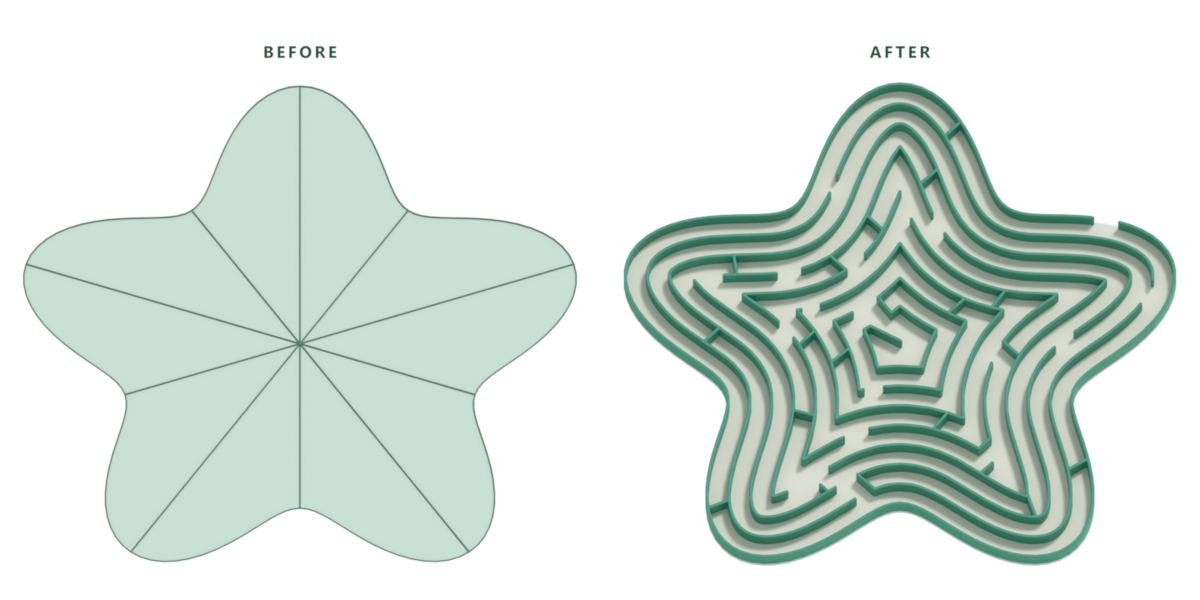
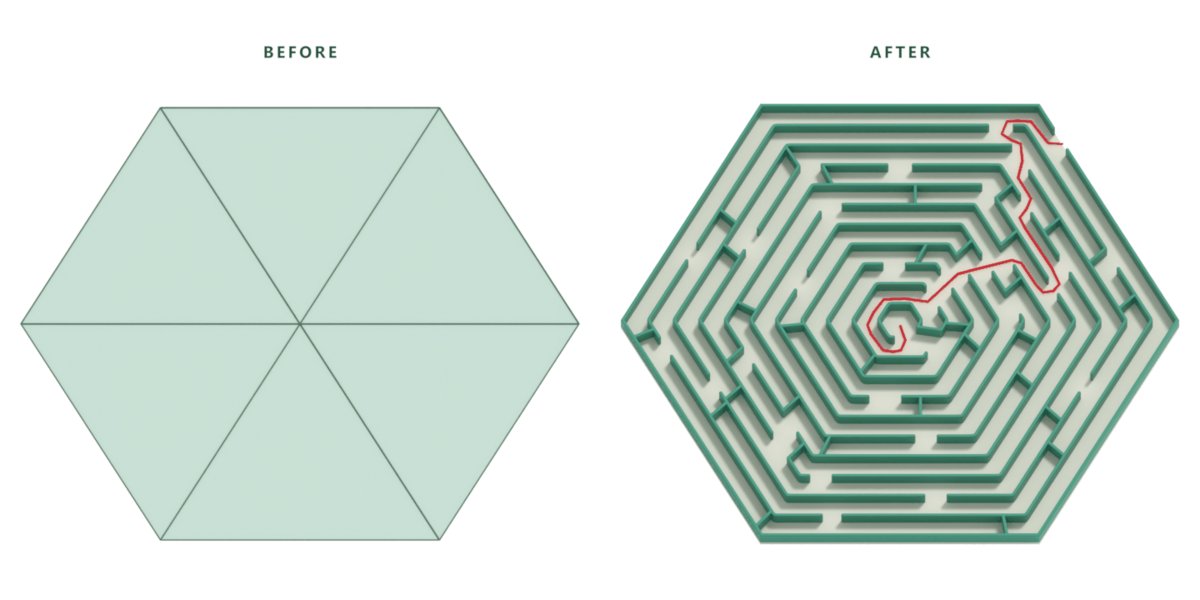
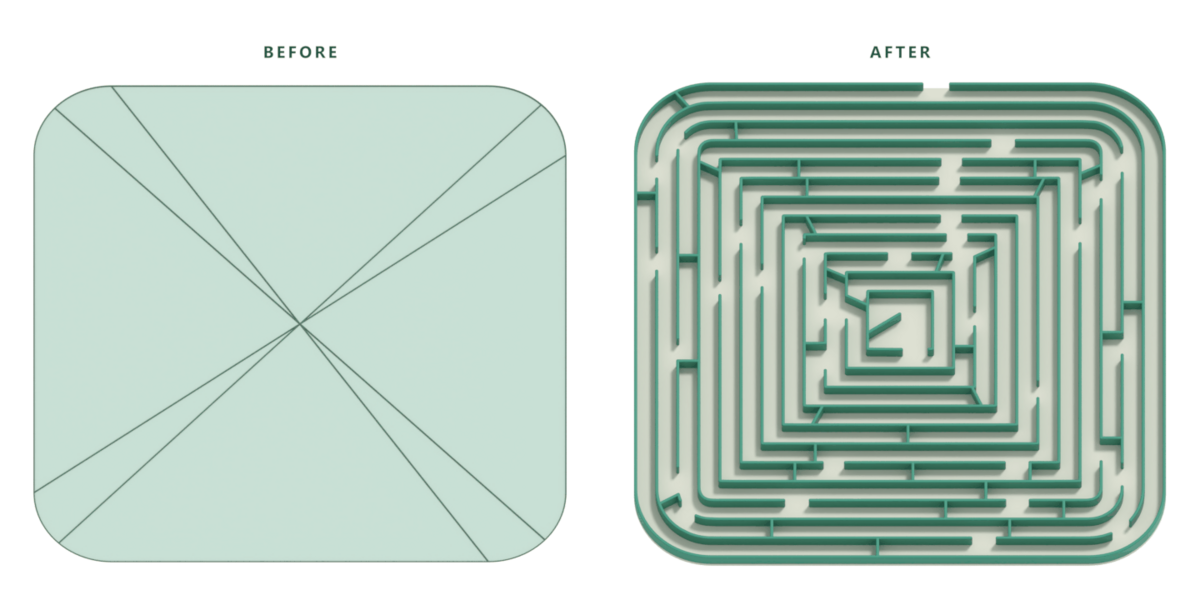
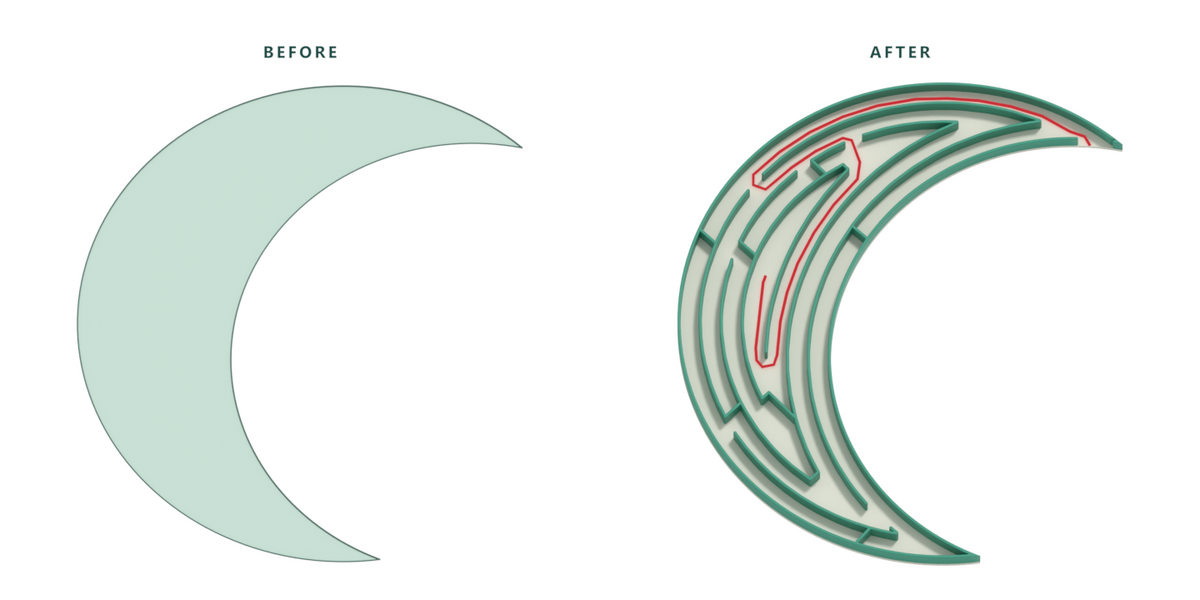
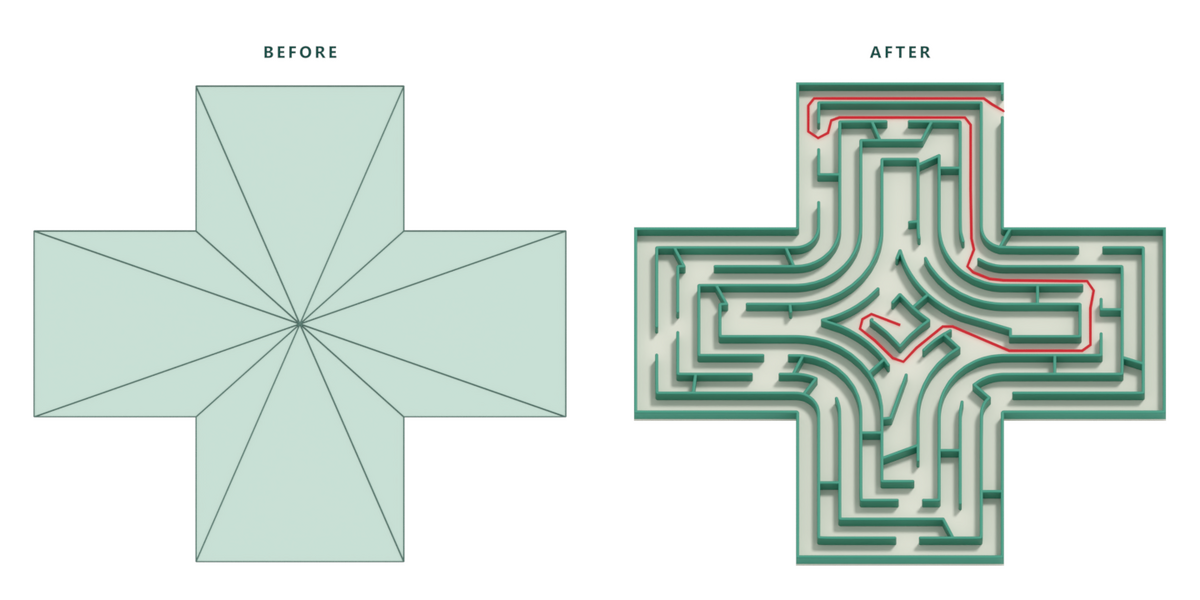
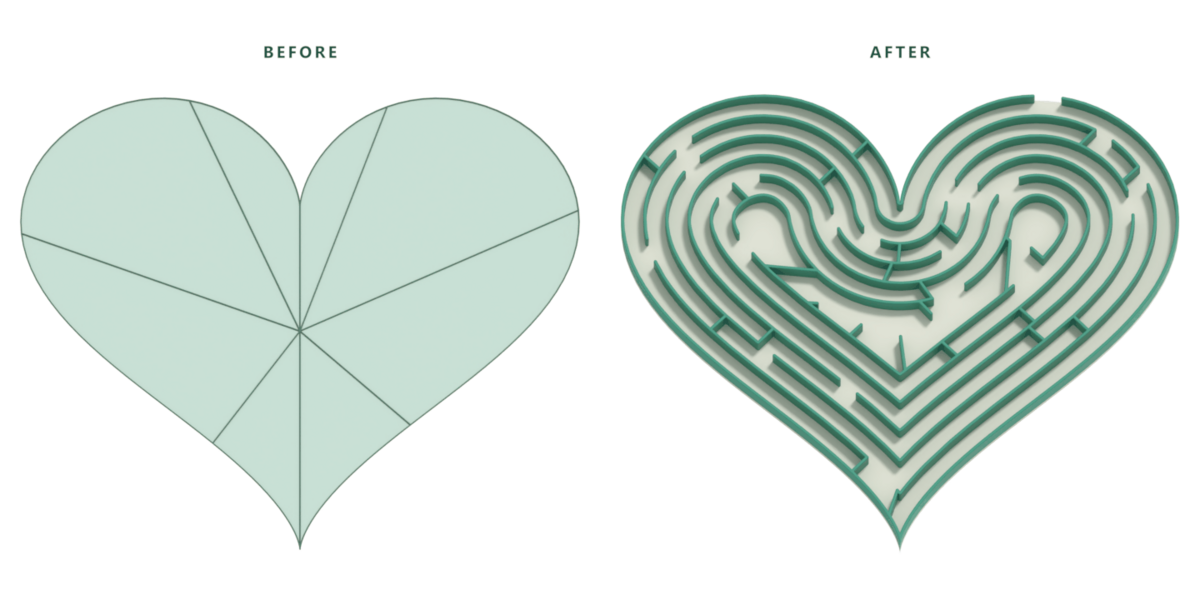
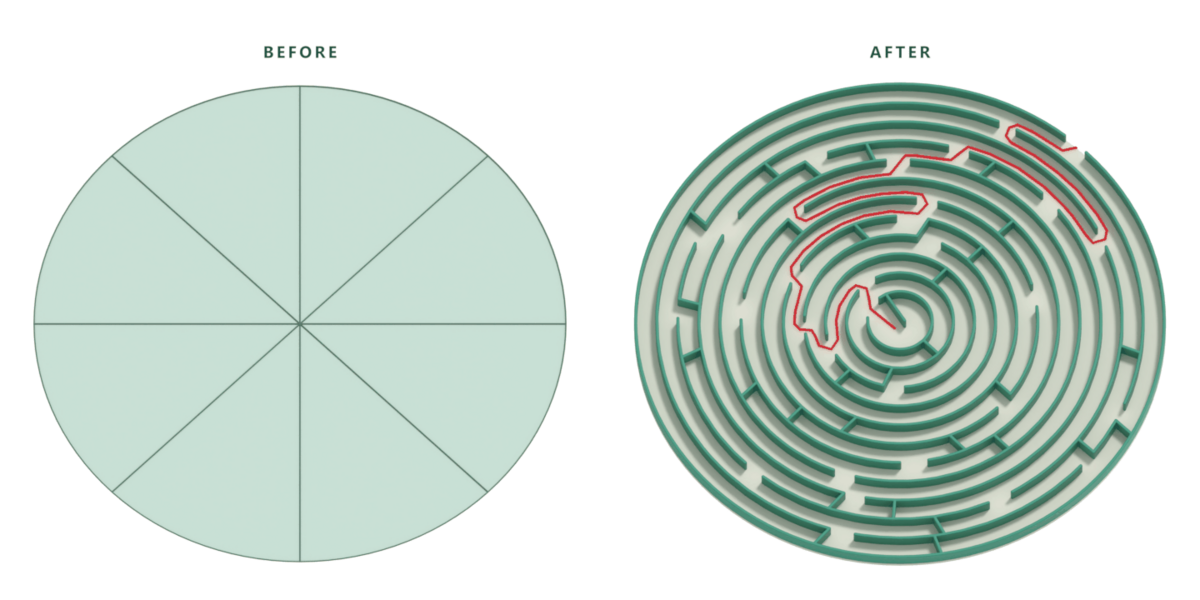
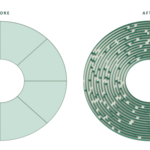
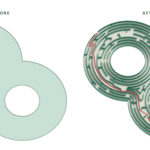
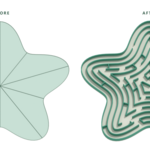
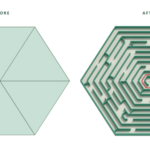
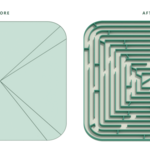
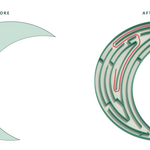
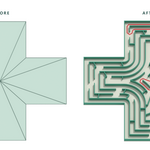
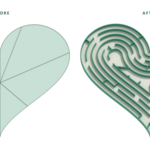
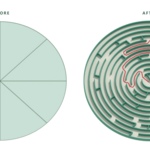
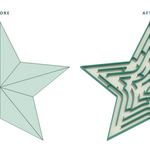
Beautiful Mazes
Quick usage guide
Getting started
Requires Blender 4.2 or newer on Windows or Linux x64. Both platforms use the same ZIP; no separate engine installation is needed.
In Edit > Preferences > Add-ons, open the top-right menu and choose Install from Disk. Select the ZIP without unpacking it, then ensure Beautiful Mazes is enabled.
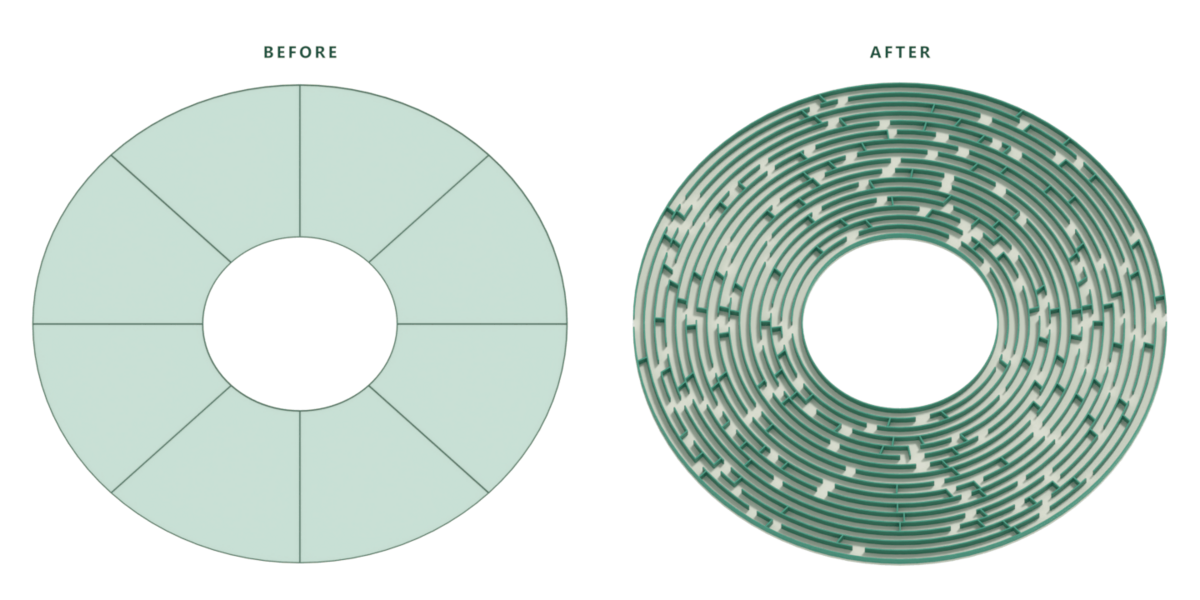
Select one connected, flat, filled mesh in Object Mode. Multiple faces and enclosed holes are supported. Modifiers must leave the surface planar. In the 3D Viewport, press N and open Beautiful Mazes.
1 · Pattern
- Ring spacing: lower values create more rings; measured as a percentage of the outline's longest dimension.
- Passage length: higher values favour longer passages.
- Ring preference: higher values favour travel along contours; lower values encourage crossing between them.
- Arrangement: use the refresh button for another layout.
More pattern options contains opening width, extra connections for alternative routes, and planned wall thickness.
Continue with Next: Entrance & finish.
2 · Entrance & finish
Select Deepest hallway or Distant outside opening for an automatic finish, or click Place entrance & finish.
In the viewport overlay, select Entrance, Outside exit or Interior finish. Click near the outer boundary for an opening, or on the filled surface for an interior target. Positions snap to usable hallways during generation.
F frames a face-on view; Esc cancels placement. Click Save positions, then Build maze & continue in the sidebar.
3 · Walls & base
Adjust height, base thickness and wall thickness, displayed in metres to three decimal places. Set the base to 0 for walls without a floor.
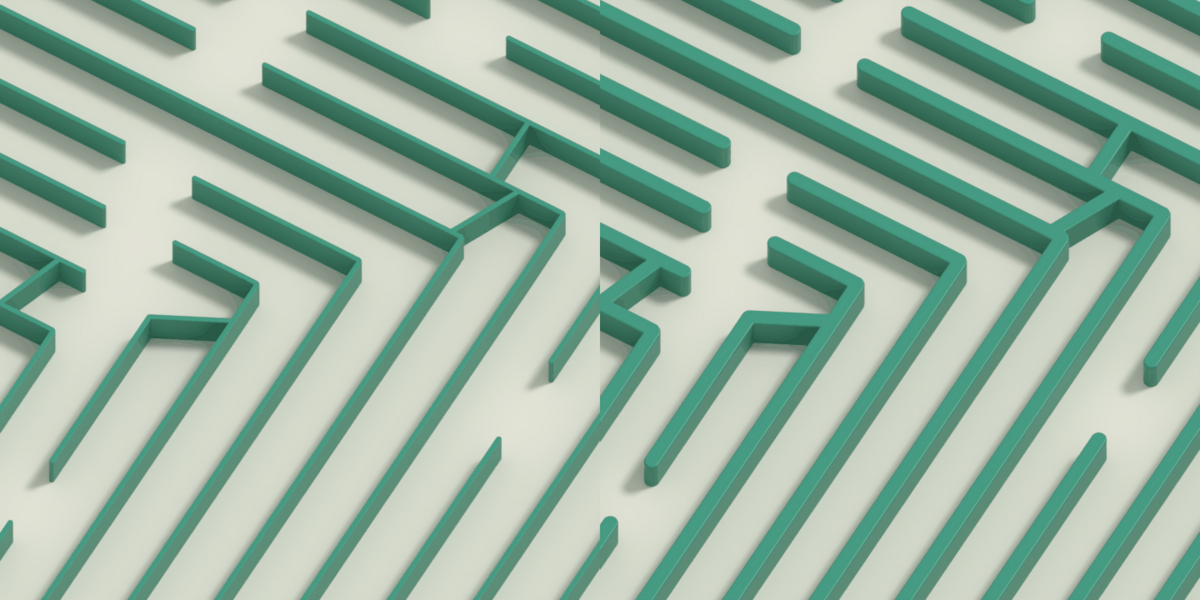
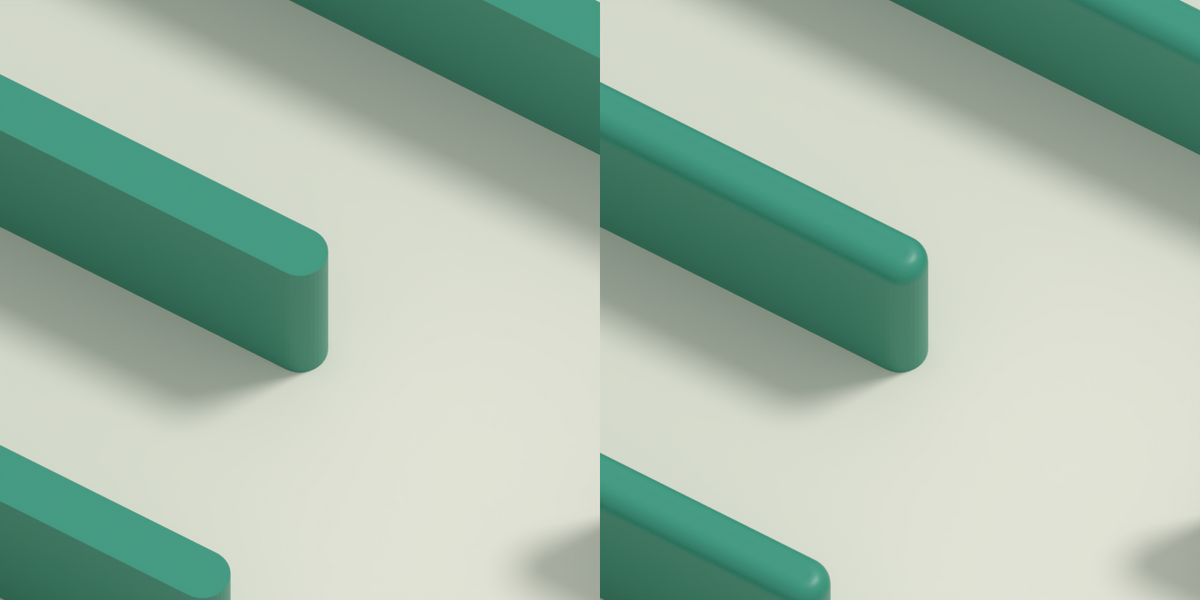
Choose Round or Flat end caps. Top bevel adds a rounded, chamfered or custom edge; its percentage is relative to the wall body width.
Live edits reuse the pattern. Heavier updates begin after a short pause; Changes applied confirms completion. More wall options includes wall direction and source visibility.
Thickness stops at the current layout's safe maximum. For more width, use Rebuild for thicker walls; this recalculates the pattern. Increase ring spacing first if you also need wider hallways.
Next: Review accepts your edits. Discard wall edits restores the session's starting geometry.
4 · Review
Check the result and toggle Show solution line to display the route. This guide is hidden from renders by default.
Click Finalise maze to finish setup. Further editing remains available.
Revisit & save
Select the result and click Edit maze. Use the numbered stages to return to a step; stage 3 changes walls without regenerating the pattern. If paused, click Adjust walls live.
Keep the original plane for layout or endpoint changes. Results and solution guides are grouped under Beautiful Mazes in the Outliner. Save your .blend file to retain geometry, settings and the editable pattern.
For narrow parts of an outline, reduce Ring spacing so the hallways fit.
Have questions about this product?
Login to message
| Blender Extension Compatible | Yes |
| Dev Fund Contributor | |
| Published | 11 days ago |
| Blender Version | 5.0 - 5.2 |
| Extension Type | Add-on |
| Render Engine Used | Cycles, Eevee |
| License | GPL |
Discover more products like this
puzzle design maze generator labyrinth live editing customizable walls procedural modeling game assets custom-shapes 3D maze Procedural generation solution paths Level Design