 ilchuk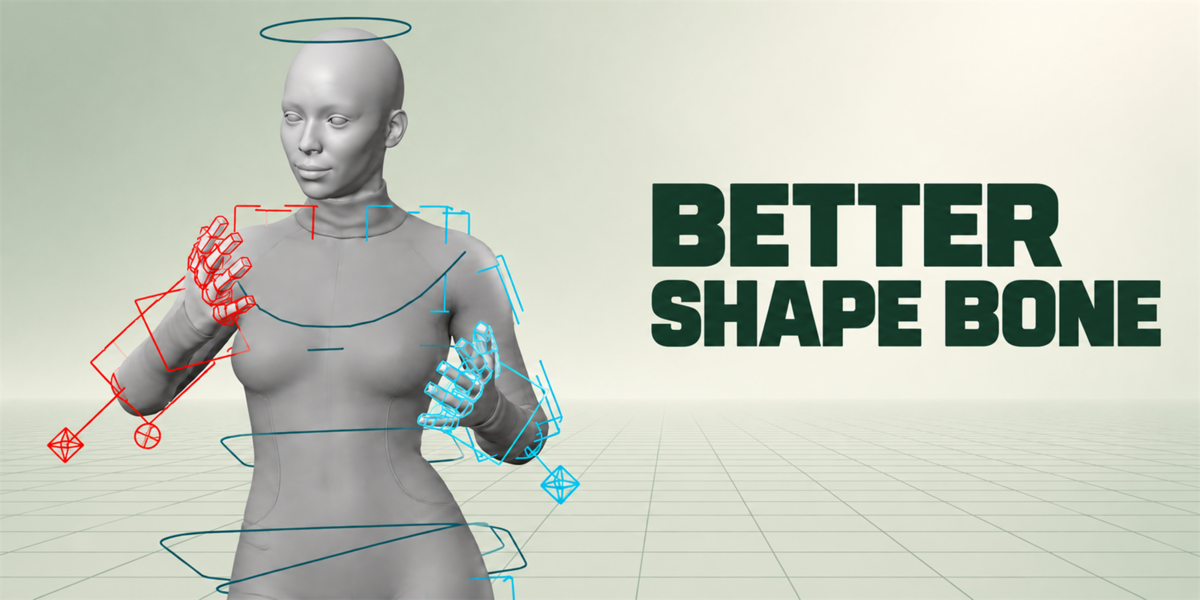
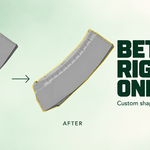
Better Shape Bone, step by step
Install it, generate your first shapes, and learn what every panel, setting and button does. If you only read one section, read Quick start: the rest is refinement.
Quick start
Install
- In Blender 5.0 or newer, open
Edit ▸ Preferences ▸ Get Extensions ▸ ▾ ▸ Install from Disk. - Pick
better_shape_bone-x.y.z.zip. - Blender asks for file access. Allow it: the add-on keeps your shape library on disk.
- Select an armature and enter Pose Mode. Open the sidebar with
Nand choose the Better Shape Bone tab.
Updating from an earlier 1.x version: install over it. Your shape library is kept.
Your first shapes
- In Pose Mode, select the bones you want shapes for (
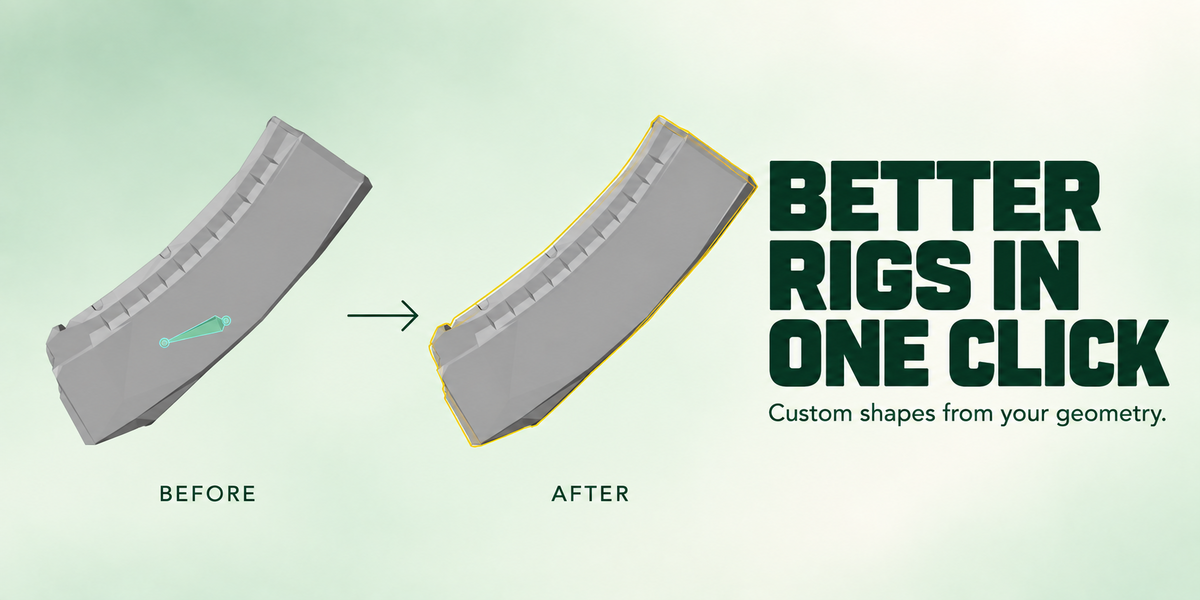
Aselects all). - Press Generate Shapes. Every selected bone gets a shape built from the mesh it drives.
- Press
F9to nudge what you just made: offset, rotation and scale, live.
Where everything is
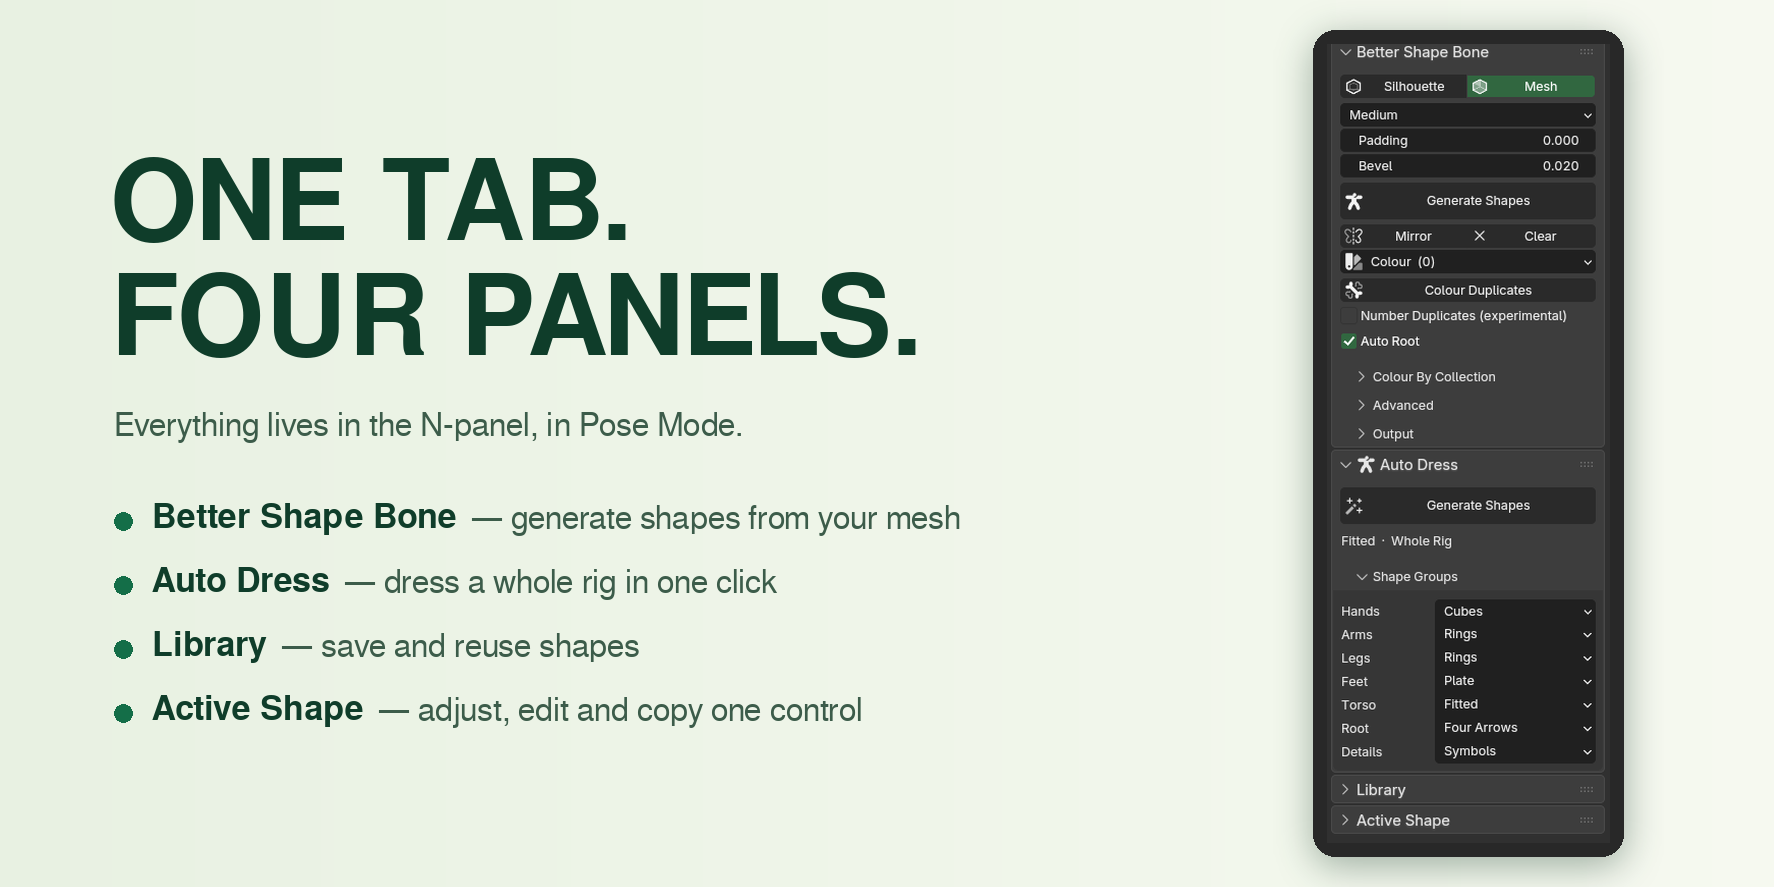
Everything lives in one sidebar tab and appears only in Pose Mode. Four panels, top to bottom:
How a bone finds its geometry
Before anything is drawn, the add-on works out which geometry belongs to each bone. It looks in three places:
| Source | What counts |
|---|---|
| Vertex groups | The usual case. Vertices weighted to that bone above the weight threshold. |
| Bone parenting | An object parented to a bone (Ctrl+P ▸ Bone), at any depth. The whole object counts. |
| Object constraints | An object held by a Child Of or Copy Transforms constraint pointing at the bone. Off by default, see Advanced. |
If a bone owns nothing at all, it gets a fallback shape (a ring or a box) instead of failing.
Every bone remembers how its shape was made
How each shape was generated is stored on the bone itself, not on the widget object. That is why Refit keeps working after you delete the widget, replace it by hand or swap it for a library shape. Change the model under a finished rig, press Refit, and every bone is rebuilt the way it was originally made.
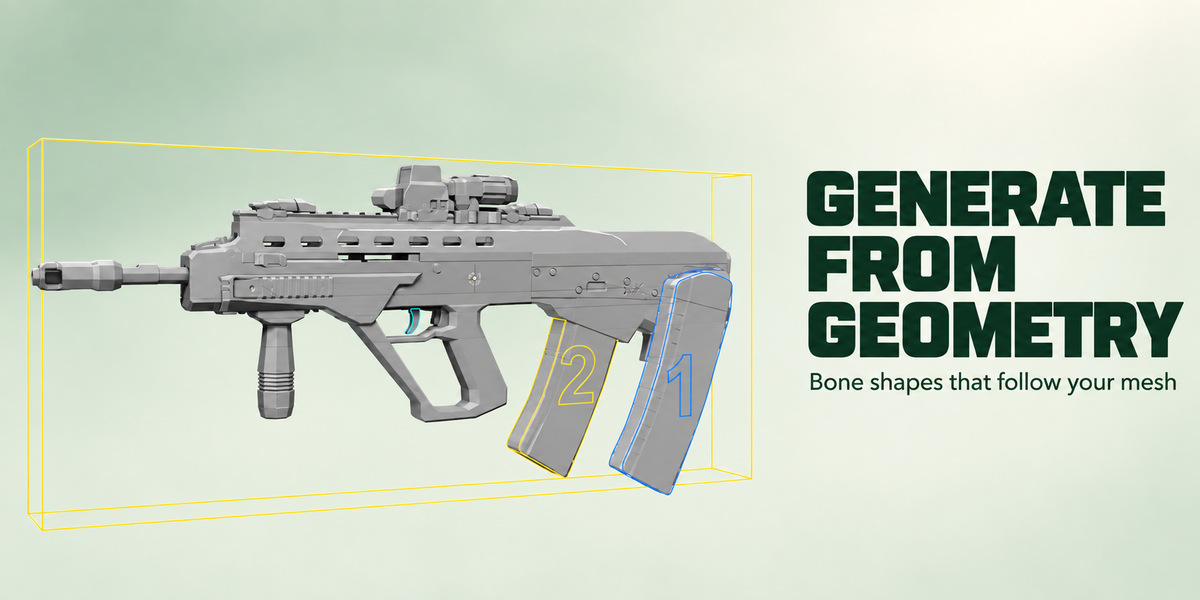
Better Shape Bone: generate from the mesh
Select bones, press Generate Shapes. Each shape follows the geometry its bone drives.
Mode
| Mode | What it does | Good for |
|---|---|---|
| Silhouette | Traces the part’s profile and offsets it into two outlines. | The default. Anything with a readable profile. |
| Mesh | A simplified copy of the real geometry, pushed out along its normals. | Parts that need to read from every angle. |
| Box | A bounding cage. | Roots, big assemblies, anything you want kept simple. |
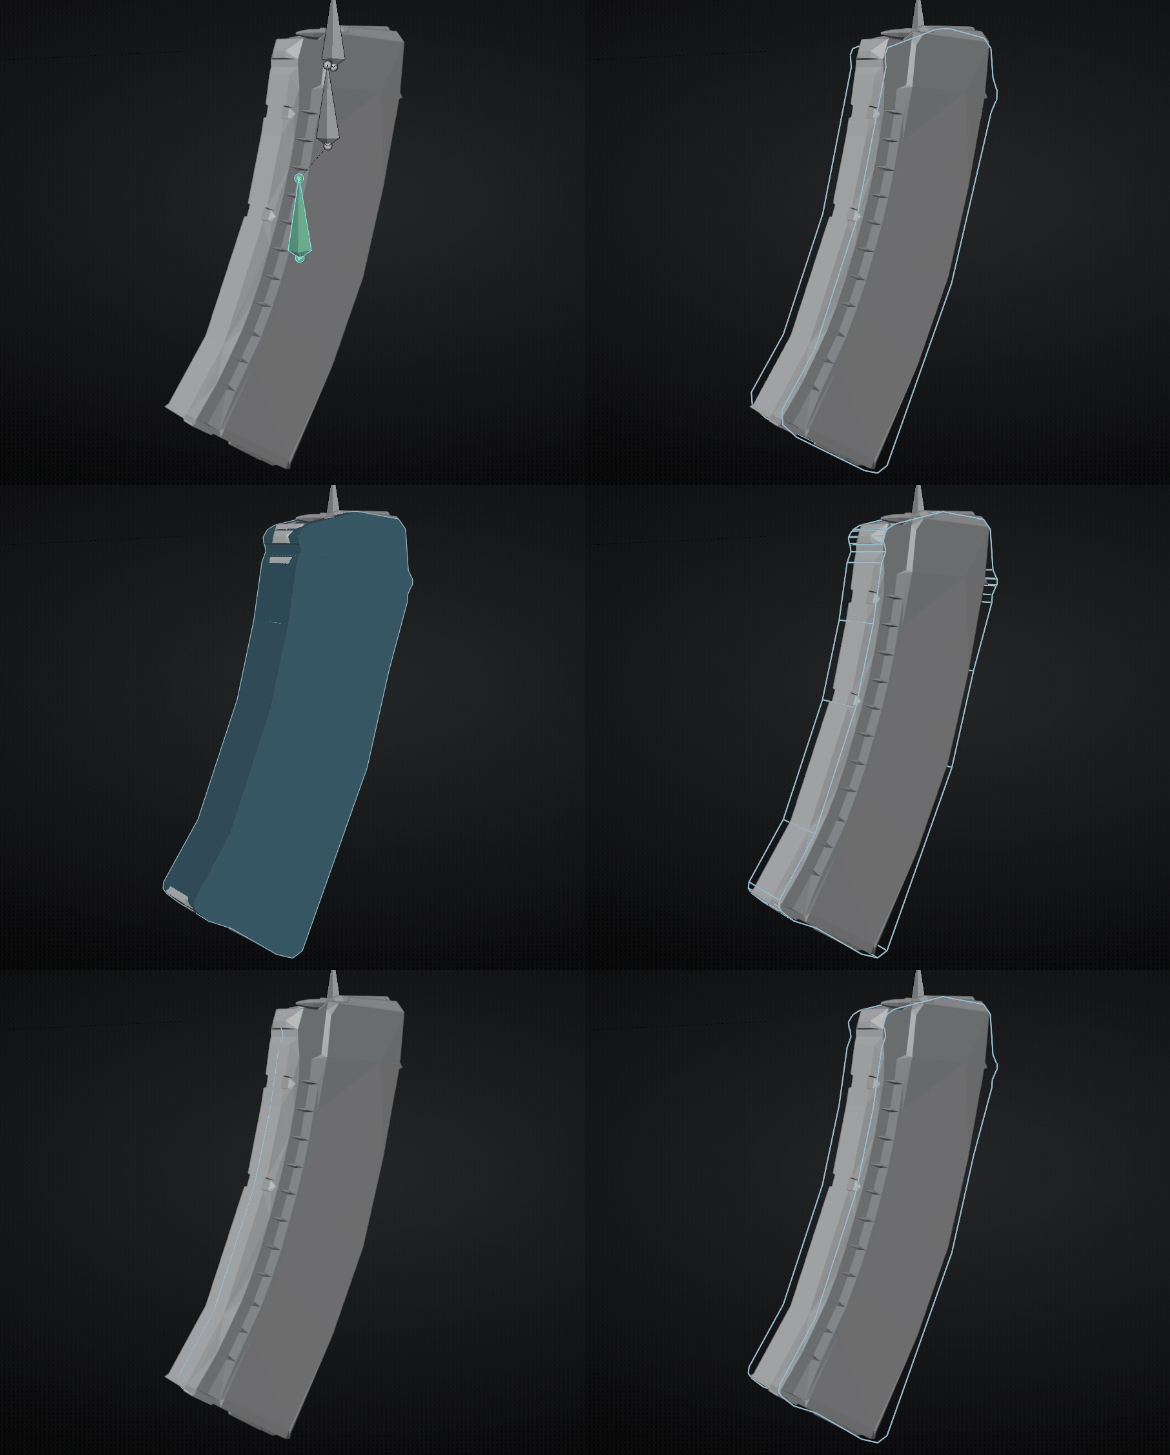 Silhouette
|
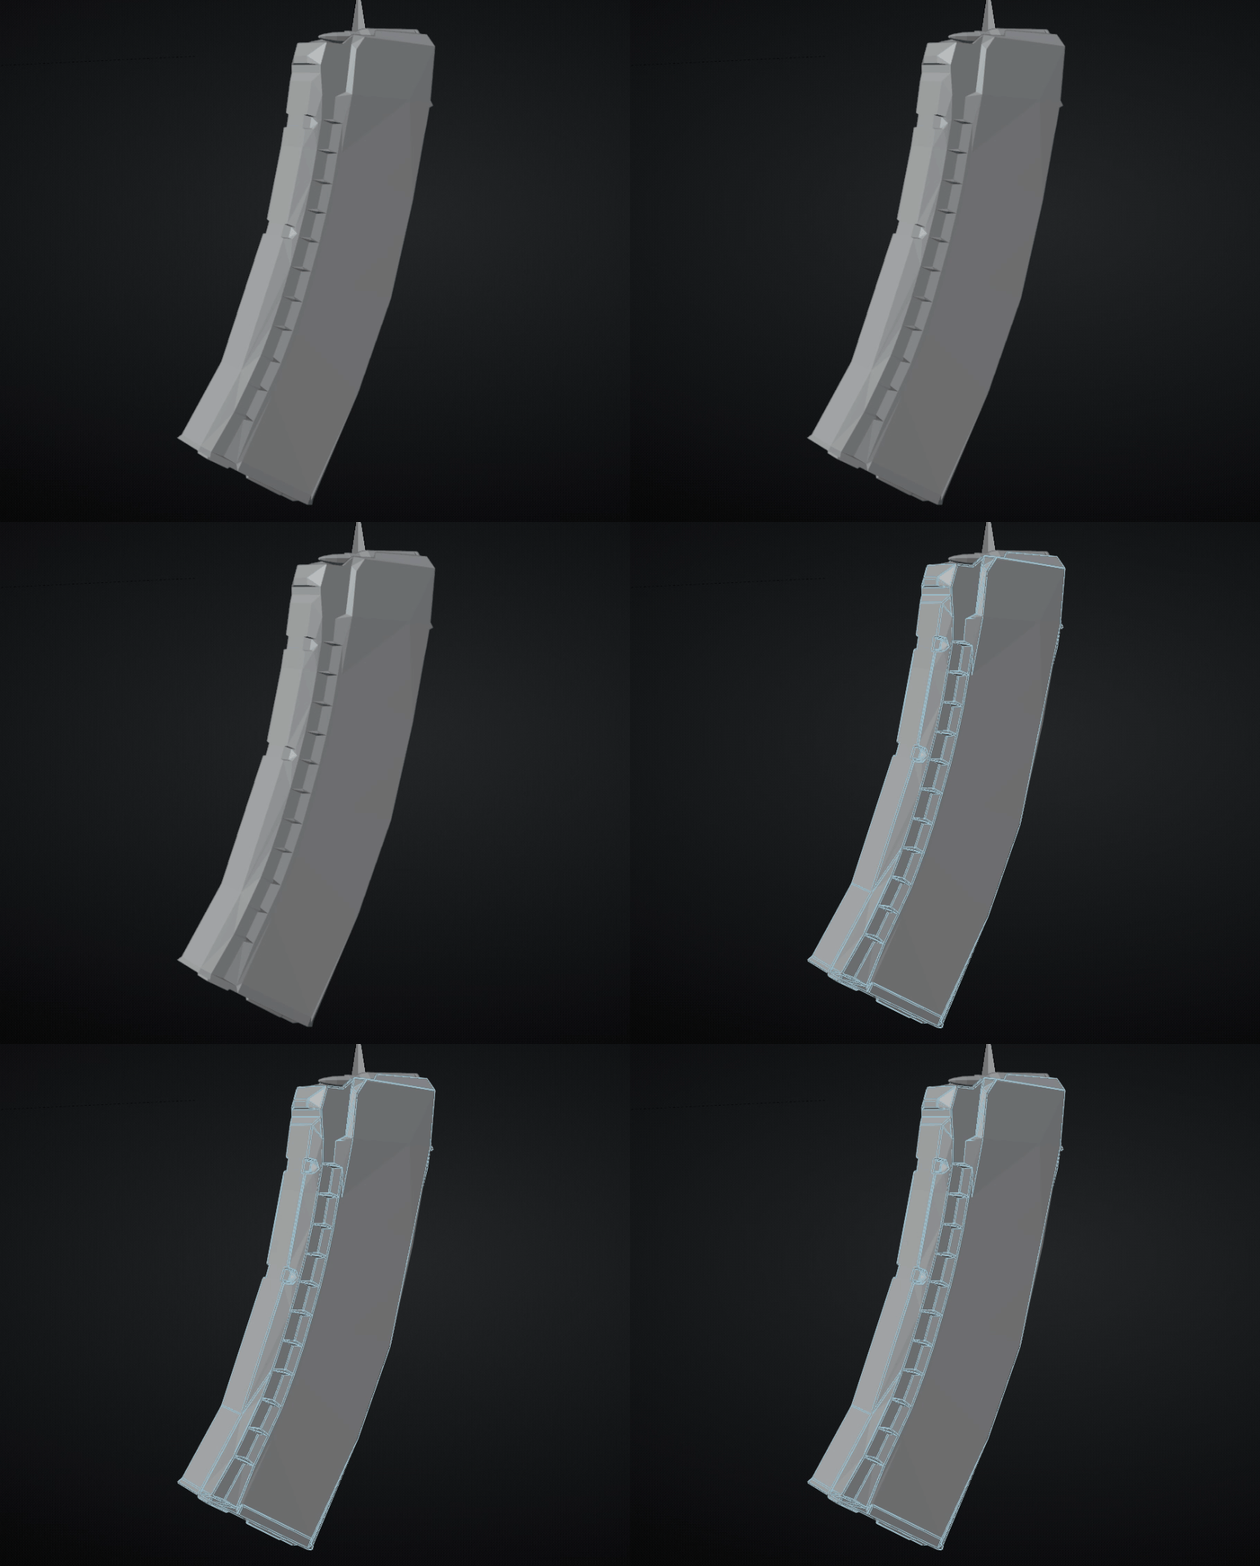 Mesh
|
Silhouette settings
| Setting | What it does |
|---|---|
| Style | Outline: two offset outlines. Flat: one outline on the centre plane. Cage: both outlines, joined. Solid: filled faces. |
| Points | How many samples the profile is traced with. More points, more faithful curve. |
| Simplify | How aggressively the traced outline is straightened. |
Mesh settings
| Setting | What it does |
|---|---|
| Detail | Low (about 40 faces), Medium (90), High (220), or Custom. |
| Max Faces | Custom only. The face budget. |
| Flatten | Custom only. The angle below which neighbouring faces merge. It is a ceiling, not an instruction: the add-on measures the result against the part and eases off if the shape stops following it. |
Shared settings
| Setting | What it does |
|---|---|
| Padding | Grows the shape away from the part, per axis, as a fraction of that axis. |
| Bevel | Rounds off the corners. |
Buttons
| Button | What it does |
|---|---|
| Generate Shapes | Builds shapes for every selected bone. |
| Mirror | Copies existing shapes onto opposite-named bones (.L ⇄ .R). |
| Clear | Removes shapes from the selected bones. By default it also deletes the widget objects; untick Delete Objects in the F9 panel to only unlink them. |
| Colour | A palette menu for the selected bones. |
| Colour Duplicates | Finds repeated parts and gives each copy its own colour. |
| Number Duplicates EXPERIMENTAL | Adds a small digit badge to each copy. Badge Size controls how big. It finds repeated parts by name and ancestry, so on an unusual naming scheme it may group things you did not mean. |
| Auto Root | When on, a bone whose name matches the root list gets a frame around the whole rig instead of a traced shape. |
Colour By Collection
Assign a palette per bone collection, then apply to all of them at once. Useful on character rigs where the collections already separate FK, IK and deform.
Advanced
Set once per project, not per shape.
| Setting | What it does |
|---|---|
| Weighting | Dominant: a vertex belongs to whichever bone weights it most. Threshold: any bone above the weight cutoff. |
| Weight Threshold | The cutoff for the setting above. |
| Include Children | Fold child bones’ geometry into the parent’s shape. |
| Follow Constraints | Let bone constraints influence which geometry is found. |
| Object Constraints | Count objects held by Child Of / Copy Transforms constraints as belonging to the bone. Off by default. Turn it on only for rigs assembled that way rather than weighted; on a normal rig it pulls in geometry that does not belong. |
| Projection | Which axis the tracer looks along: Auto, Rig, or a fixed bone axis. |
| Fallback | What a bone with no geometry gets: Ring, Box or None, plus its size. |
| Box Align | Align a box cage to the bone, or to the part’s own tightest orientation. |
| Bevel Segments | Smoothness of the corner rounding. |
Output
| Setting | What it does |
|---|---|
| Collection | Where widget objects are stored. Default Boneshapes. |
| Prefix | Naming for widget objects. Default WGT_. |
| Hide Collection | Keep the widget collection out of the viewport. |
| Wire Width / Root Wire Width | Line thickness for normal and root shapes. |
| Show In Front | Draw shapes over the mesh. |
| Replace Existing | Delete the old widget when a bone gets a new one. |
| Refit | Rebuild every selected bone from the settings it remembers. |
| Transfer | Copy a finished set of shapes onto another rig by matching bone names. |
| Select Unshaped | Select every bone that still has no shape. Handy to see what the add-on found and what it did not. |
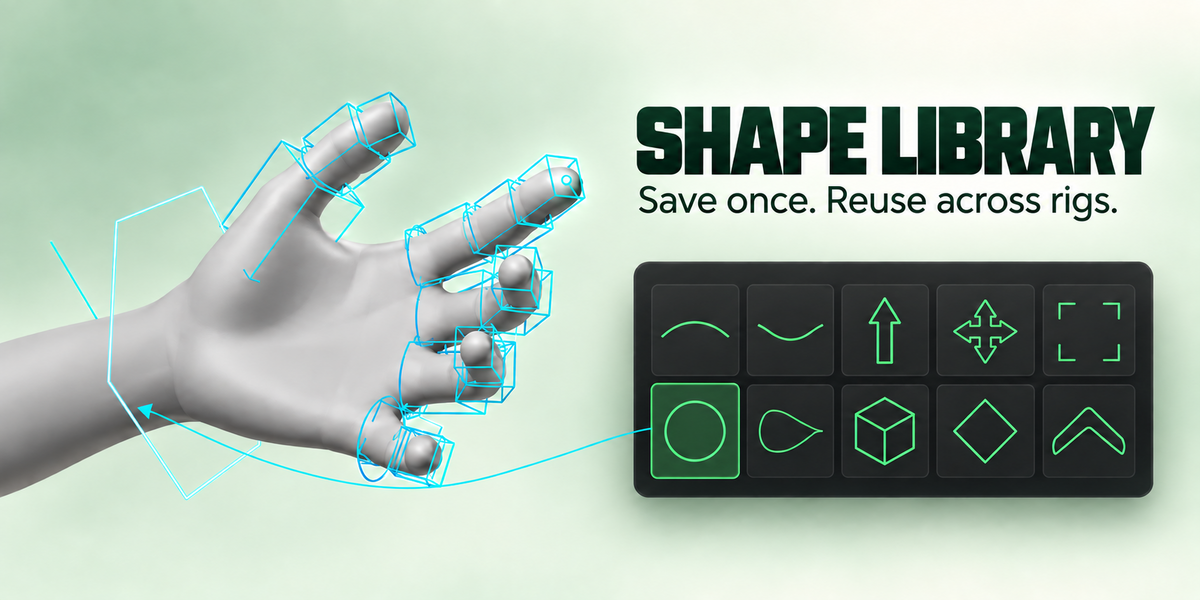
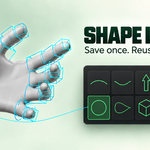
Library: save once, reuse anywhere
Built-in shapes and your own sit in the same grid and are applied the same way.
A grid of thumbnails. Use Category to browse folders; All shows everything at once.
Two ways to place a shape
| Placement | What it does |
|---|---|
| On The Bone | Puts the shape on the bone, sized from bone length, ignoring the geometry. Predictable on any rig. This is what you want for IK targets, property bones and controls that are not meant to look like the thing they move. |
| Fit To Part EXPERIMENTAL | Fits the shape to the geometry the bone drives. Real geometry is messy, so check where a shape lands before moving on. |
Fit choices
With Fit To Part, choose how the shape is fitted:
| Fit | What it means |
|---|---|
| Bone Segment | Sized to the bone’s own span. The default, and what makes finger chains join up. |
| Auto | Let the add-on choose from the part’s proportions. |
| Around Bone | In the plane across the bone: a ring encircling it. |
| Across Bone | In the plane containing the bone. |
| Bounds | The part’s full bounding box. |
| At Head / At Tail | Parked at one end of the bone. |
| Bone Length | A fixed square sized from the bone. |
Placement settings
| Setting | What it does |
|---|---|
| Size | A multiplier on whatever the fit worked out. It has no upper limit. |
| Surface | Pushes the shape out to the part’s surface so it does not sit inside a solid mesh. The mirror toggle beside it flips which face it lands on. |
| Keep Proportions | Fits the shape inside the box instead of stretching it to fill. On by default. Bone Segment ignores this on purpose, because filling the box exactly is the one thing that fit exists to guarantee. |
Library actions
| Action | What it does |
|---|---|
| Apply Shape | Puts the chosen shape on the selected bones. |
| Save | Stores the active bone’s shape into a category. |
| Add Selected To Library | Saves mesh objects straight from Object Mode. Useful for shapes drawn in a clean file with no rig. |
| Delete | Removes a shape from the library. Permanent. |
| Refresh Library | Rescans the folder and restores any built-in shape that was deleted. |
| Folder icon | Opens the library directory on disk. |
Empty categories are removed automatically: a category with nothing in it is not a category.
Active Shape: refine one control in place
Everything here works on the bone under the cursor.
| Control | What it does |
|---|---|
| Bone name and colour | The palette menu for just this bone. |
| Wire Width | Line thickness for this shape. |
| Adjust Shape | Offset, Rotation and Scale, with a Reset. They pivot on the shape’s own centre, not the bone origin, so rotating a shape that sits away from its bone turns it instead of swinging it out of view. Offset is measured in bone lengths, so the numbers mean the same thing on any rig. |
| Look Along Another Axis | Rebuilds just this bone looking down a different axis. Which way to look at a round part has no measurable right answer, so this is offered per bone rather than flattening the whole rig with the global Projection setting. |
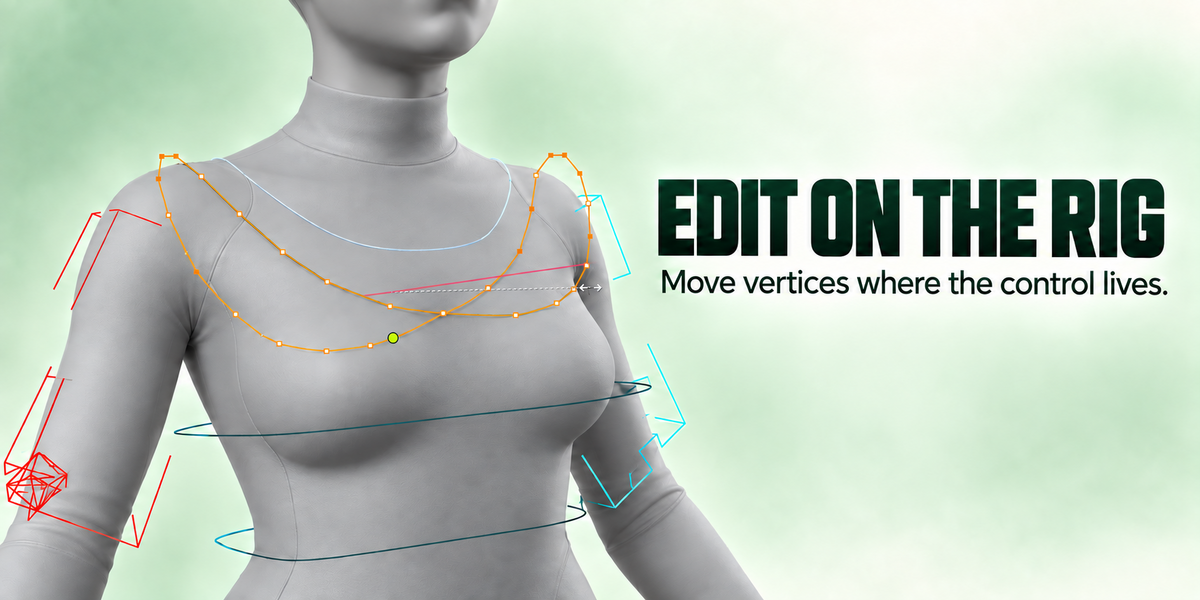
| Edit Shape Mesh | Edit the widget’s vertices where the shape is drawn. See below. |
| Copy Shape To Selected | Gives the active bone’s shape to every other selected bone. See below. |
Edit Shape Mesh
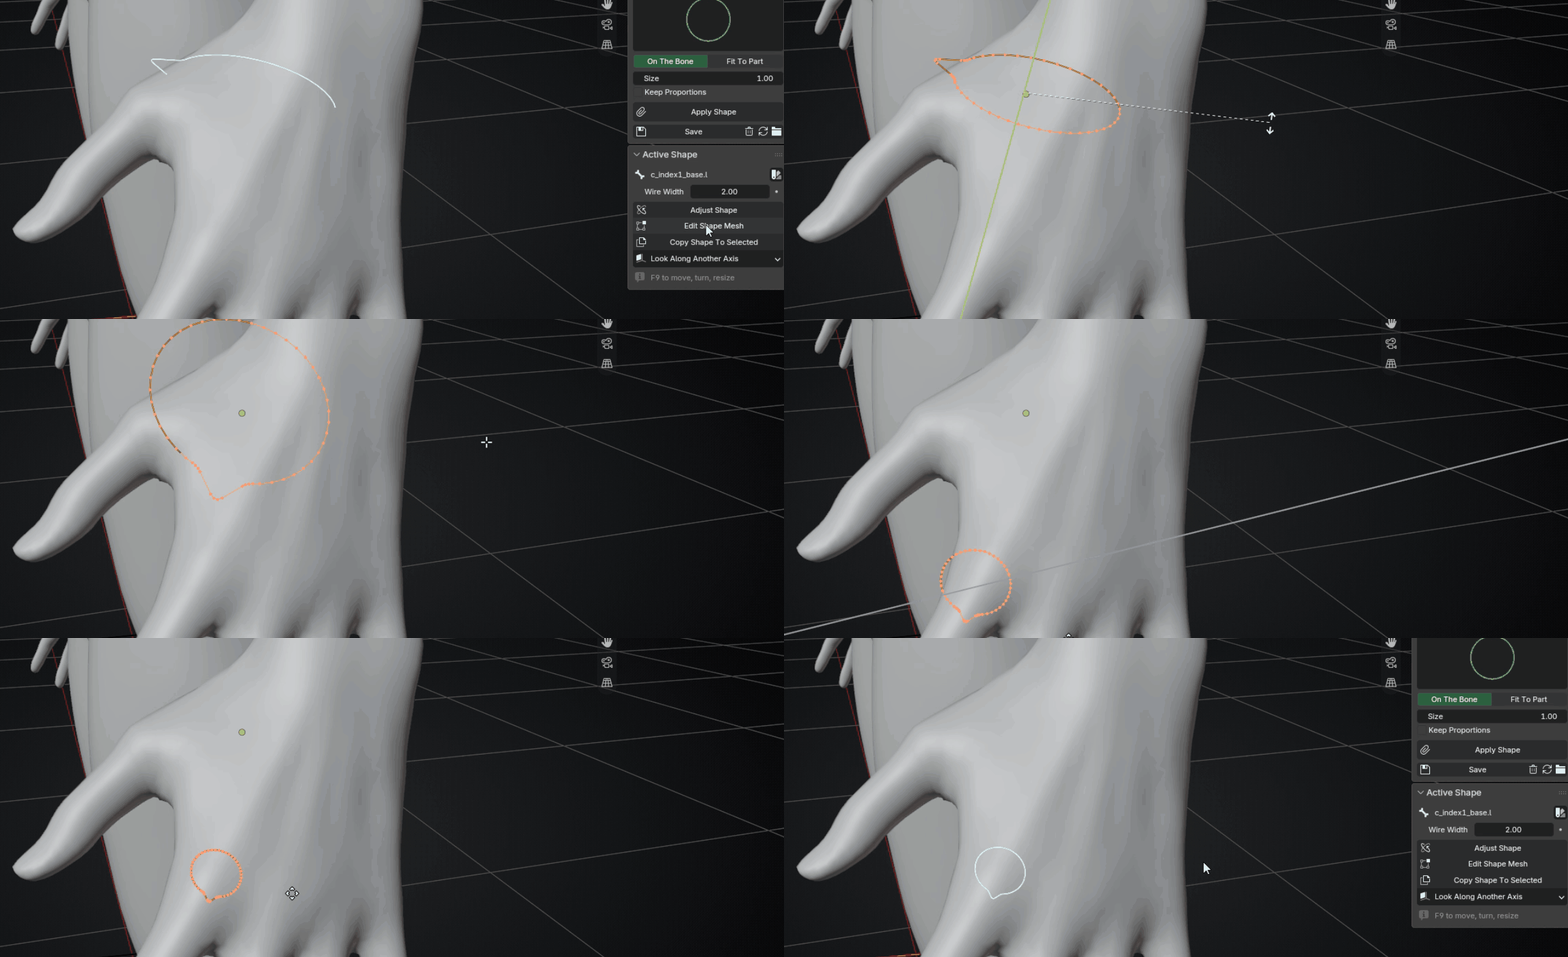
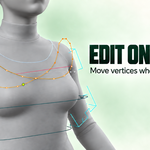
The widget opens exactly where it is drawn, with the character around it.
Opens the widget’s own vertices exactly where the shape is drawn, with the character around it, so you never edit blind.
- Press Edit Shape Mesh. You land in Edit Mode on the widget, positioned on the bone.
- Move vertices however you like.
- Press
Tab, or the Finish Editing button in the panel that appears.
You come back to Pose Mode with the same bone active and the edit on the shape.
- If the widget is shared by several bones, this bone gets its own copy first and the report says so. The other bones are untouched.
- The session survives saving and reopening the file. If you come back to a widget parked on a bone, press Finish Editing to put it away.
Copy Shape To Selected
Select the bones, make the bone with the shape you want active, then copy. Size in the F9 panel decides what happens:
| Size | What it does |
|---|---|
| Proportional To Bone | Scales by how long each bone is next to the source’s. Keeps the shape looking like the one you copied. The default. |
| Fit To Each Part | Re-measures the geometry each bone drives and fits the shape to it. |
| Same Size | Copies at exactly the size it is. |
A copied bone remembers where it came from, so Refit rebuilds it from whatever the source bone looks like now, including edits you made by hand.
Auto Dress: dress a whole rig
Auto Dress analyses a finished rig, works out what every control is — finger, IK hand, pole, spine, root, eye, camera, settings bone — and builds a personal shape for each one from its library and presets, sized to your mesh and coloured by side. It reads names, but also the rig itself: IK targets, poles, aim constraints, finger chains under the hand and settings bones read by drivers. It understands the naming conventions of the common rig systems and game rigs.
Run it
- Enter Pose Mode on the rig.
- Press Generate Shapes in the Auto Dress panel. A dialog asks how.
- Choose the scope, a style and any overrides (below), then confirm.
- Press
F9to switch style and see the rig redressed in place.
The dialog
| Option | What it does |
|---|---|
| Whole Rig | Redresses every control it recognises. |
| Undressed Only | The default. Leaves any bone that already has a shape alone, and fills in the rest. |
| Style | A coherent look for the whole rig. See the table below. |
| Groups | Override the style for one body part only: hands, arms, legs, feet, torso, root, details. An active override is listed in the panel under the style. |
| Pole Lines | Adds a line from each knee and elbow to its pole target where the rig has none. This is the only thing Auto Dress adds to your rig: small non-deforming line bones next to the pole, in the pole’s collections. Untick it if you do not want that. |
| Colour Controls | Left and right in two colours (a ready-made pair, or your own); the face is coloured by region. Pairs are chosen for contrast on both the dark and the light theme. |
Styles
The same rig in three styles. Fitted looks like Standard with the torso traced from the mesh.
| Style | Look |
|---|---|
| Standard | Cubes on fingers, rectangles on the spine, rings on limbs. |
| Rings | Rings on joints throughout, the look many production rigs use. |
| Boxes | Boxes along limbs and feet. |
| Fitted | Standard, with the torso traced from the mesh. |
Each style is a set of per-body-part presets taken from what real rigs actually draw, so the result reads as one coherent rig rather than a pile of unrelated widgets.
Hands
Under Groups ▸ Hands you can choose Cubes (filled), Wire Cubes (edges only, so the fingers show through in solid shading) or Rings.
Shape Groups: swap one body part later
On a rig that is already dressed, the Shape Groups dropdowns under the button swap one body part at a time. Pick Rings for the hands and only the hands are rebuilt. Each rig remembers what it wears.
What it does when it is not sure
Bones it cannot classify with confidence are left undressed and selected, so the next thing on screen is the work still to do. A wrong shape is worse than none. The status bar reports the result, for example 156 dressed; 3 unsure, selected.
Ctrl+Z all work on it. Auto Dress also handles controls whose shape is drawn at another bone (Custom Shape ▸ Override Transform), so each shape lands where the rig intends.Custom rig profiles EXPERIMENTAL
You can teach Auto Dress your own rig. Give it a rig: the add-on analyses it and saves the result as a custom profile that can be used to dress other rigs.
Common jobs, start to finish
Dress a character rig quickly
- Pose Mode on the finished rig. Auto Dress ▸ Generate Shapes.
- Pick a style (Whole Rig if you want everything redressed).
- Press
F9and try the other styles in place. - Fix the bones it left selected (see Select Unshaped), then fine-tune single controls with Active Shape.
Shapes for props, weapons and mechanical parts
- Make sure each part is weighted to its bone, or parented to it with
Ctrl+P ▸ Bone. - Select the bones and press Generate Shapes. Silhouette follows the outline; Mesh reads from every angle; Box is for the big assembly or root.
- If a part is held by a Child Of or Copy Transforms constraint instead, turn on Advanced ▸ Object Constraints first.
Reuse a good shape everywhere
- Edit a shape until you like it (Adjust Shape or Edit Shape Mesh).
- Library ▸ Save to store it in a category.
- On any other rig, pick it in the Library and press Apply Shape (On The Bone for predictable sizing).
Move a finished set of shapes to another rig
Use Transfer in the Output section. Shapes are matched by bone name, so it is most useful between rigs that share a naming scheme.
You changed the model after rigging
Select the affected bones and press Refit. Every bone is rebuilt with the settings it remembers, including shapes you copied from another bone.
Keep your shapes but change their colours
Use Colour for a palette on the selection, Colour By Collection to colour FK, IK and deform groups at once, or Auto Dress ▸ Colour Controls for left/right pairs on a whole rig.
Known limits
These are understood behaviours, not bugs. Knowing them saves time.
| Limit | What to know |
|---|---|
| Armature object scale | The armature object must be unscaled (Ctrl+A ▸ Scale). Shapes are measured in the mesh’s real units, so a scaled armature makes them look wrong on the bone. Check this first if a shape looks like it flew off. |
| Fit To Part | Experimental. It measures real geometry, and real geometry is messy. On The Bone is the predictable fallback on any rig. |
| Hidden bones | Blender does not include hidden bones in a selection. The add-on warns you rather than skipping silently, but unhide first if you meant to include them. |
| Auto Dress, face | Tongue, teeth and ears are not dressed yet. |
| Pole Lines | Adds small non-deforming bones to your rig. Untick it in the dialog if you do not want that. |
| Custom rig profiles | Experimental. Best on first-person rigs and on rigs with a similar set of controls. |
| Override Transform | Supported. The shape is built for the bone itself, then moved into the other bone’s space: at rest it sits where it should, in pose it follows the other bone, as the rig intends. Adjust Shape on such a bone moves along the other bone’s axes. |
| Library operations | Saving and deleting write to disk and Ctrl+Z does not reach them. Deleting a shape is permanent. |
| Number Duplicates | Experimental. May group things you did not mean on an unusual naming scheme. |
| Object Constraints | Off by default. Leave it off unless your rig attaches parts by constraint rather than by weights. |
| Mesh mode speed | Dense parts take longer: about half a second for a 5,000-vertex part. A whole rig of them is a few seconds, not instant. |
| Clear | Deletes widget objects by default. Untick Delete Objects in the F9 panel to only unlink them. |
If something looks wrong
| Symptom | What to try |
|---|---|
| The shape faces the wrong way | Use Look Along Another Axis on that bone, or set Advanced ▸ Projection to Rig for the whole rig. |
| The shape is enormous or tiny | Check the armature object’s scale first. Then check whether the bone owns the geometry you think it does: try Select Unshaped to see what the add-on found and what it did not. |
| The shape sits inside the mesh | Raise Surface in the Library panel, or Padding when generating. Turn on Show In Front to see it through the surface. |
| Nothing was generated | The bones may be hidden, or may own no geometry. Bones with no geometry get a fallback ring unless Advanced ▸ Fallback is None. |
| A finger chain overlaps or leaves gaps | Use Fit To Part with Bone Segment, which sizes each shape to its own bone’s span. |
| A shape stopped matching after you changed the model | Select the bones and press Refit. |
| A shape drawn at the wrong bone | The bone probably uses Custom Shape ▸ Override Transform. This is supported: regenerate or Refit it and the shape lands where the rig intends. |
| Auto Dress left controls undressed | That is on purpose when it is not sure: they stay selected. Dress them by hand from the Library, or try another style or Whole Rig. |
| Auto Dress picked a wrong shape | Fix that bone from the Library, or use Shape Groups to swap the whole body part. Please report it (below): the bone name is usually the whole story. |
Where things are stored
-
Widget objects go in the collection named in Output (
Boneshapesby default), kept out of the view layer. - How each shape was made is stored on the bone itself, so it survives the widget being deleted, replaced by hand or swapped for a library shape. That is what makes Refit work.
- The library lives in the add-on’s own user folder, outside the add-on, so reinstalling or updating does not touch it. The folder button in the Library panel opens it.
Reporting a problem
Rigs vary more than any test file can cover, so reports from real rigs are the most useful thing you can send. Please include:
- Your Blender version and which rig system it is (or “custom”).
- How the geometry is attached to the bones: weights, bone parenting or constraints.
- The bone name, what it got and what you expected. The name is usually the whole story.
- The line the operator printed in the status bar (for example
156 dressed; 3 unsure, selected). - If you can share it, the
.blend. A rig with its mesh is enough.
Better Shape Bone · Documentation for 1.28.1 · GPL-3.0-or-later · Dmytro Ilchuk
Have questions about this product?
Login to message
| Blender Extension Compatible | Yes |
| Published | 4 days ago |
| Blender Version | 5.0 - 5.2 |
| Extension Type | Add-on |
| Render Engine Used | Cycles |
| License | GPL |