Blender Idol
 Marco Capelli



Version 1.0.0 · Blender 4.5+ · Windows 10/11 x64 · NVIDIA GPU
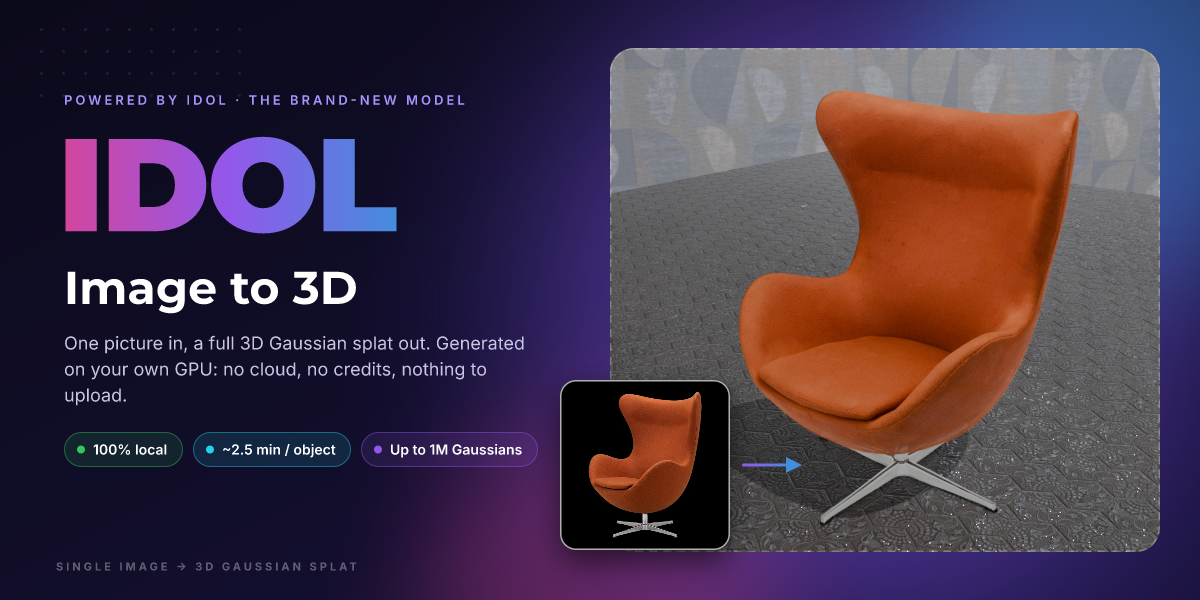
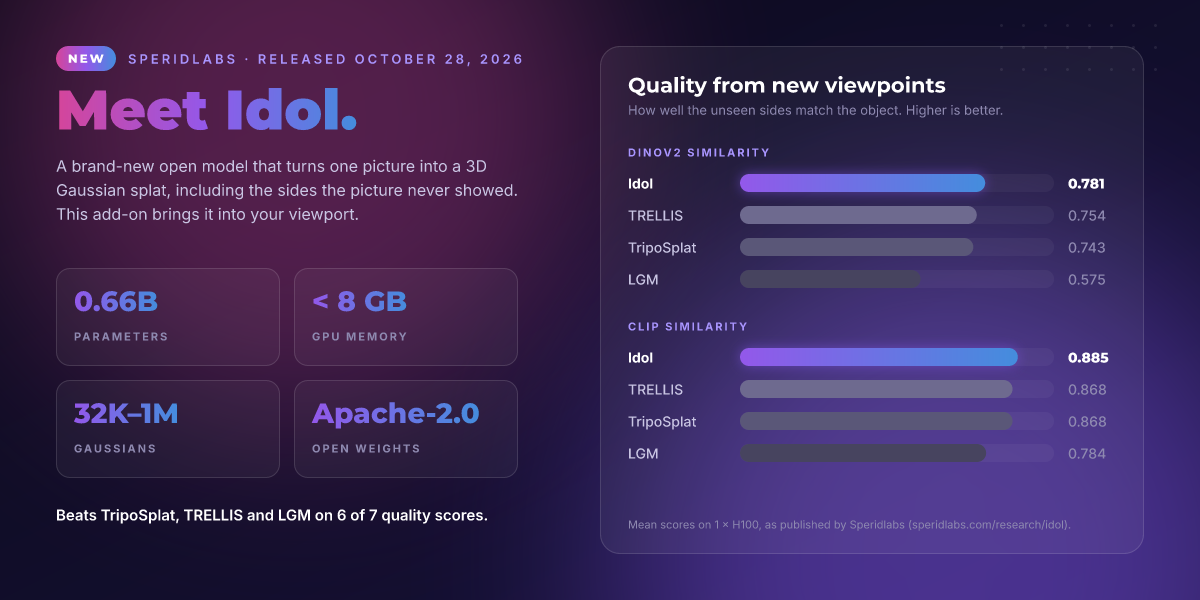
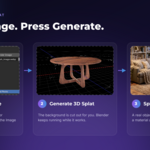
Blender Idol turns a single image of an object into a 3D Gaussian splat, inside Blender, on your own GPU. It runs Idol, the open single-image-to-3D model by Speridlabs. Everything runs locally: no cloud, no credits, nothing to upload.
This add-on is an independent integration. It is not made or endorsed by Speridlabs.
1. Requirements
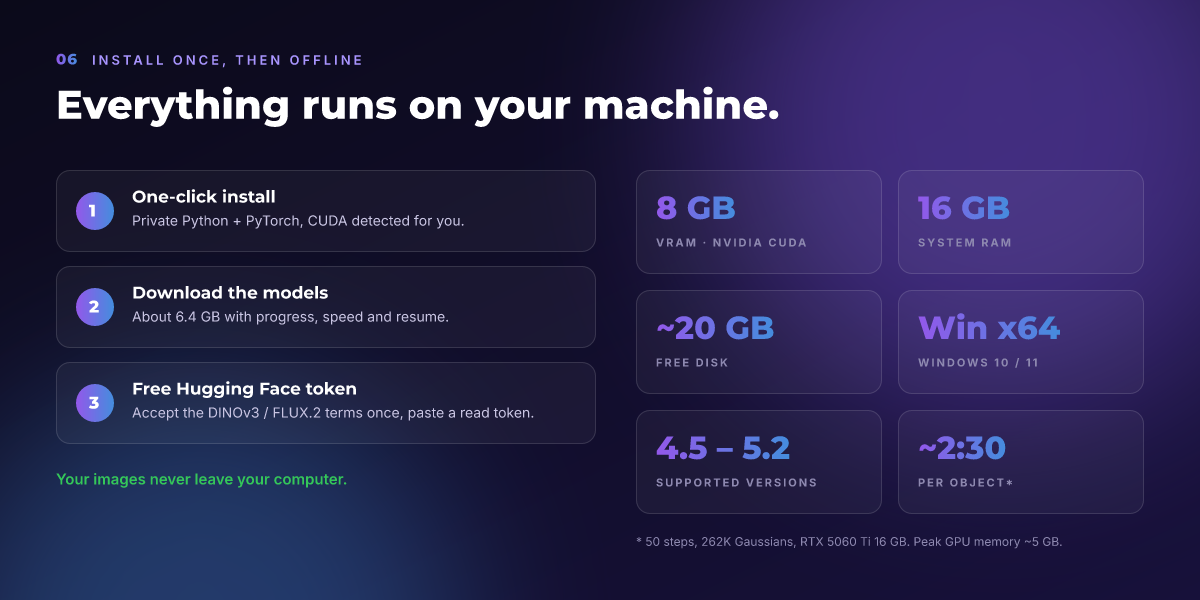
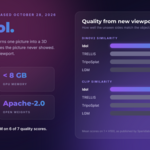
- GPU: NVIDIA, RTX 20 series or newer, 8 GB VRAM or more
- Driver: NVIDIA driver 570 or newer
- RAM: 16 GB
- OS: Windows 10/11 x64
- Blender: 4.5 LTS or newer (4.5 – 5.x)
- Disk: About 25 GB free during install, about 18 GB used afterwards
- Internet: Only for the one-time install and model download
- Account: A free Hugging Face account (for the DINOv3 terms, see section 3)
- Not supported: AMD, Intel and Apple GPUs, Linux, and macOS. Idol needs NVIDIA CUDA.
- GPUs older than the RTX 20 series are refused.
- Cards under 8 GB get a warning. They may run out of memory.
2. Installation
- In Blender, open Edit → Preferences → Get Extensions.
- Open the drop-down menu (top right) and choose Install from Disk….
- Select
blender_idol-1.0.0.zip. - Make sure Blender Idol is enabled.
The add-on adds an Idol tab to the 3D Viewport sidebar. Press N to show the sidebar.
3. First-time setup
Open the add-on preferences: Edit → Preferences → Add-ons → Blender Idol, or the gear icon in the Idol panel.
The checklist at the top has three steps: GPU, Environment and Hugging Face.
Step 1 · GPU
The add-on detects your NVIDIA GPUs and the driver version, and picks the right PyTorch CUDA build.
- If you have several GPUs, choose one in the drop-down.
- After changing hardware or drivers, click the refresh button (Detect GPUs Again).
Step 2 · Private Python environment
Click Install Dependencies. It downloads:
- a private Python;
- PyTorch with CUDA;
- the Idol libraries (about 3 GB).
Everything goes into the add-on's own .env folder. Nothing is installed on your system, and Blender's Python is never modified. The install takes about 10–15 minutes.
- Before installing, the add-on checks the free disk space and the Windows path-length limit. Any problem is shown in red, and the button stays disabled until it's fixed.
- Show Log shows the install log live. Cancel Installation stops the install.
- When the install is done, the panel shows the Python, PyTorch and CUDA versions.
- Repair / Reinstall and Uninstall are available afterwards.
Step 3 · Hugging Face access
Idol uses Meta's DINOv3 image encoder, which is gated: you accept its terms once.
- Log in on huggingface.co, open the model page with the DINOv3 ViT-H+/16 button, and accept the terms.
- Click Create Token. Create a Read token and paste it into the token field.
- Click Check Access. The panel should say Logged in as … and access granted.
- Optional: click Download Models to fetch the models now (about 6.6 GB, resumable, with speed and progress). Otherwise they download automatically on the first generation.
-
Where the token is stored: inside the add-on's private folder, never in your
.blendfiles. - Removing the token: click Forget Token (the ✕ button).
- Other models: the FLUX.2 VAE (Apache-2.0) and the Idol weights need no access request.
4. Generating a splat
In the Idol · Image to 3D sidebar panel:
-
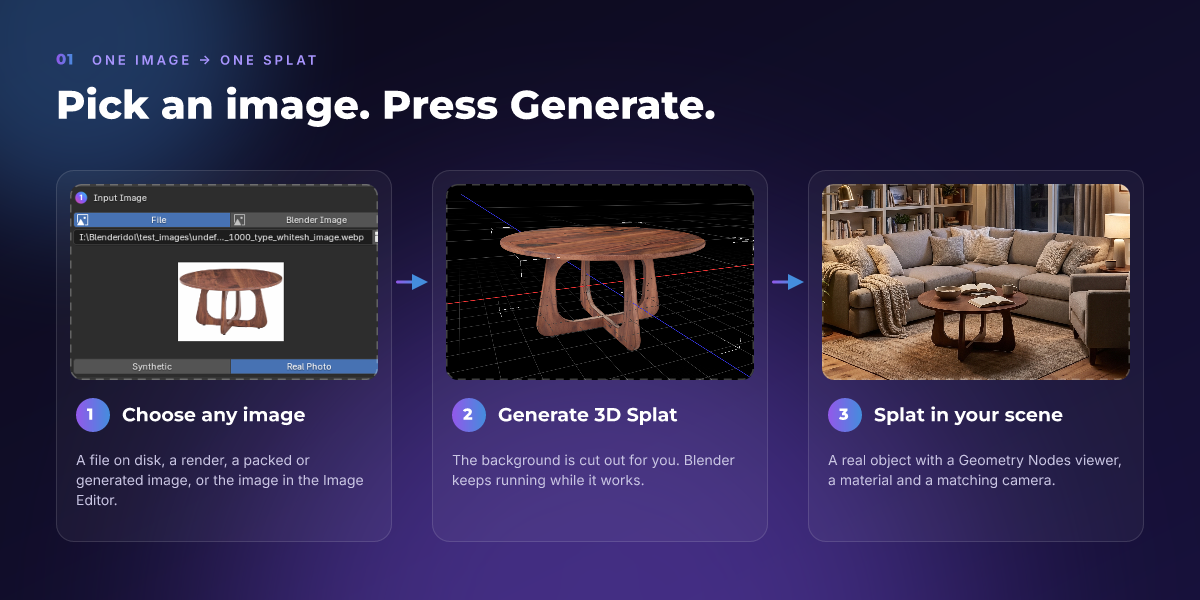
Input Image: choose the source.
- File: an image on disk.
- Blender Image: any image data-block, such as a render result or a packed or generated image. The image button next to it uses the image open in the Image Editor.
-
Choose a mode.
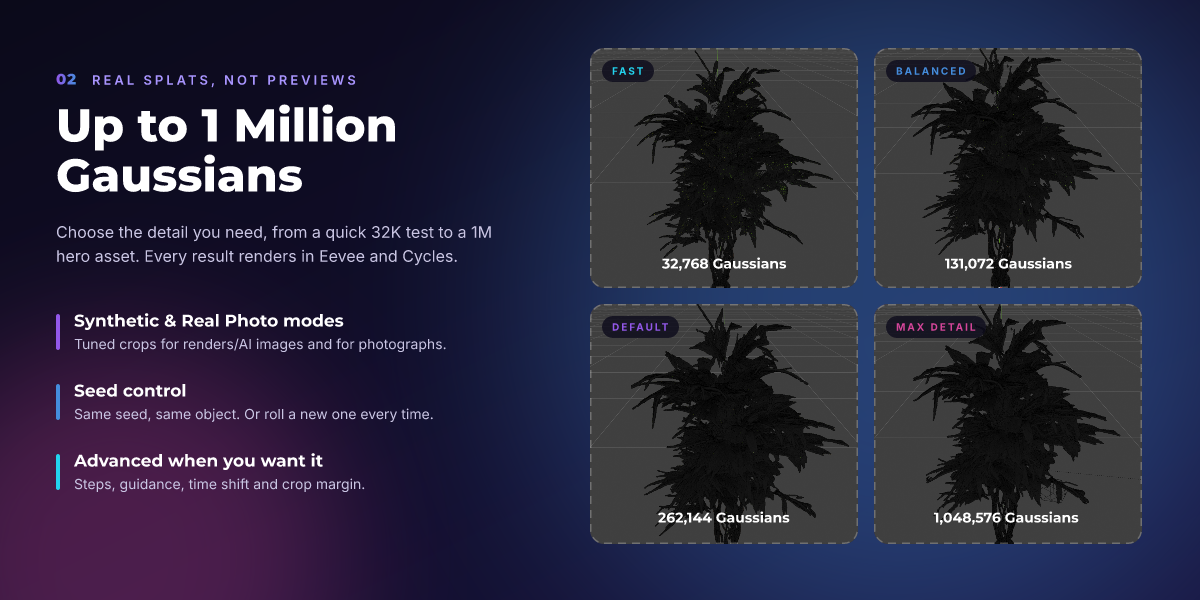
- Synthetic: for renders and AI-generated images. It uses a tight crop.
- Real Photo: for photographs. It uses a looser crop.
- Quality: choose the number of Gaussians, the number of Steps and the Seed.
- Click Generate 3D Splat.
While it runs:
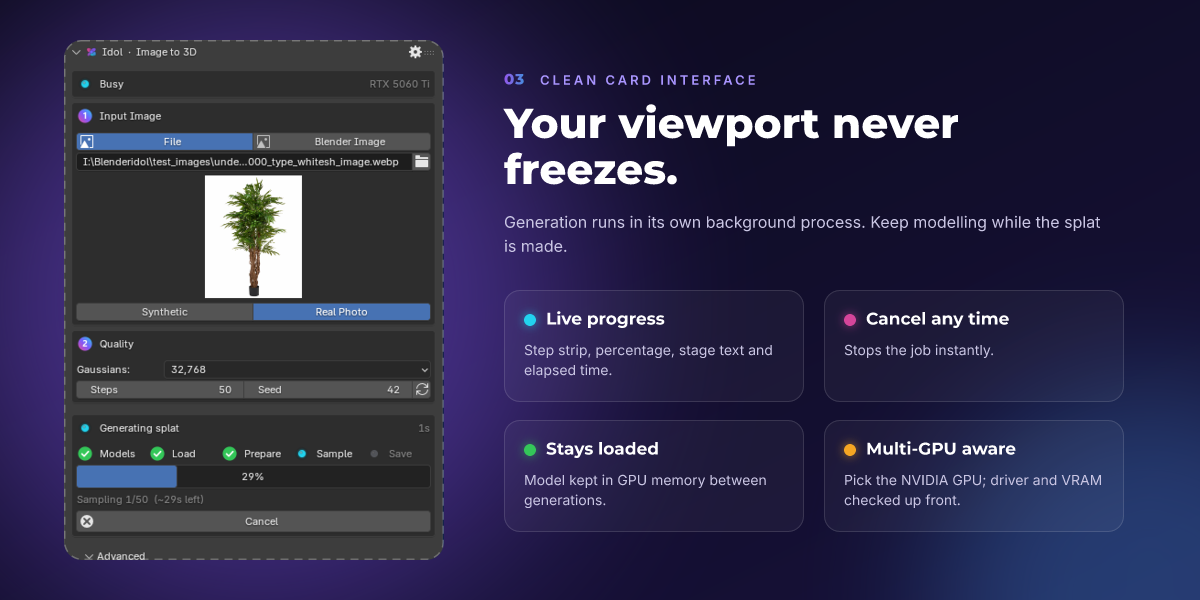
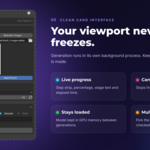
- A step strip shows the progress: Models → Load → Prepare → Sample → Save.
- A progress bar shows the elapsed time, and Cancel stops the job.
- Blender stays responsive, because the work runs in a separate background process.
The result:
- A new splat object in an Idol collection, named after the image.
- A camera that matches the view of the input image, if Create Camera is on.
- The Splat panel. It includes What Idol Saw, which is the cropped, background-removed input.
Tips for good input images
- Use one object, fully in frame and not cut off.
- Keep the object clearly separated from the background. Background removal is automatic (BiRefNet). If the image already has transparency, that is used instead.
- Use the right mode: Synthetic for renders and AI images, Real Photo for photos.
- Same seed, same object. Change the seed, or turn on Random Seed, to get a different variation.
The status strip at the top of the panel shows Ready, Model loaded, Busy or Hugging Face token missing. While the model is loaded, the unlink button next to it unloads it and frees GPU memory.
5. Generation settings
Quality (main panel)
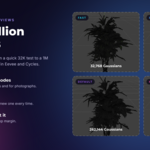
- Gaussians (default: 262,144): 32,768 · 65,536 · 131,072 · 262,144 · 524,288 · 1,048,576. More gives more detail and a heavier viewport
- Steps (default: 50): Sampling steps (4–200). Fewer are faster but lose some detail
- Seed (default: 42): Same seed, same object
- Random Seed (default: off): A new random seed for every generation
Advanced (sub-panel)
- Guidance (default: 3.0): How strictly the object follows the image (classifier-free guidance, 0–15)
- Time Shift (default: 3.0): Higher spends more steps on the overall shape, lower on fine detail
- Ignore Alpha (default: off): Always run background removal, even if the image has transparency
- Crop Margin (default: off / 1.2): Custom square crop: object bounding box × this value (1.0–4.0). By default, 1.2 is used in Synthetic mode and 1.7 in Real Photo mode
- Create Camera (default: on): Adds a camera that matches the predicted input view
- Display Ratio (default: 1.0): Fraction of the Gaussians shown in the viewport, for new splats
- Point Cloud Viewport (default: off): Scene-wide: shows every splat as a fast point cloud in the viewport
6. Working with splats
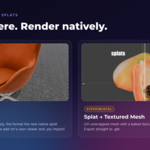
A splat is a real Blender object: mesh points with attributes, a Geometry Nodes viewer and a material. It renders in Eevee and Cycles. The Splat panel appears when a splat is the active object:
- Display Ratio: Fraction of the Gaussians shown
- Splat Size: Scales every Gaussian
- Min Opacity: Hides Gaussians that are more transparent than this
- Detail: Subdivision of each Gaussian's shape
- Point Cloud: Shows this splat as fast opaque points in the viewport
- Point Size: Size of the points (Point Cloud only)
- Points in Render: Also uses the points in renders (Point Cloud only)
The panel also has Export .ply, Import and a button that opens the output folder.
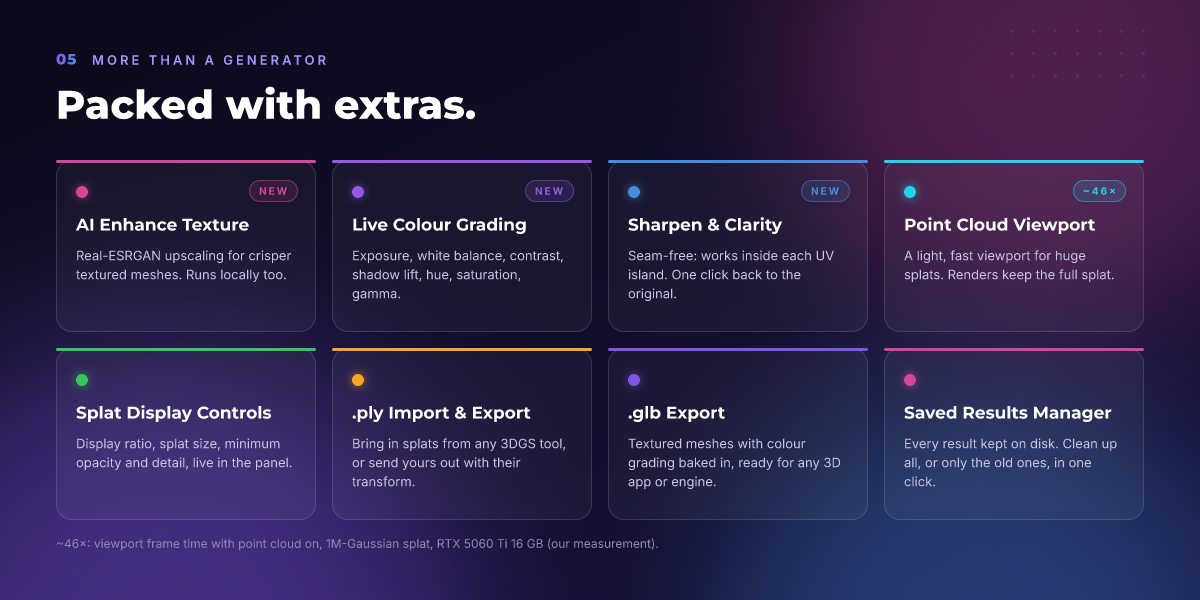
Point Cloud Viewport. Large splats are slow in the viewport. Point Cloud mode shows each Gaussian as a simple point instead, which is about 46× faster per frame on a 1M-Gaussian splat in our test. Renders still use the full splat unless Points in Render is on.
- For the whole scene, use the switch in the Advanced panel.
- For a single object, use the switch in its Splat panel.
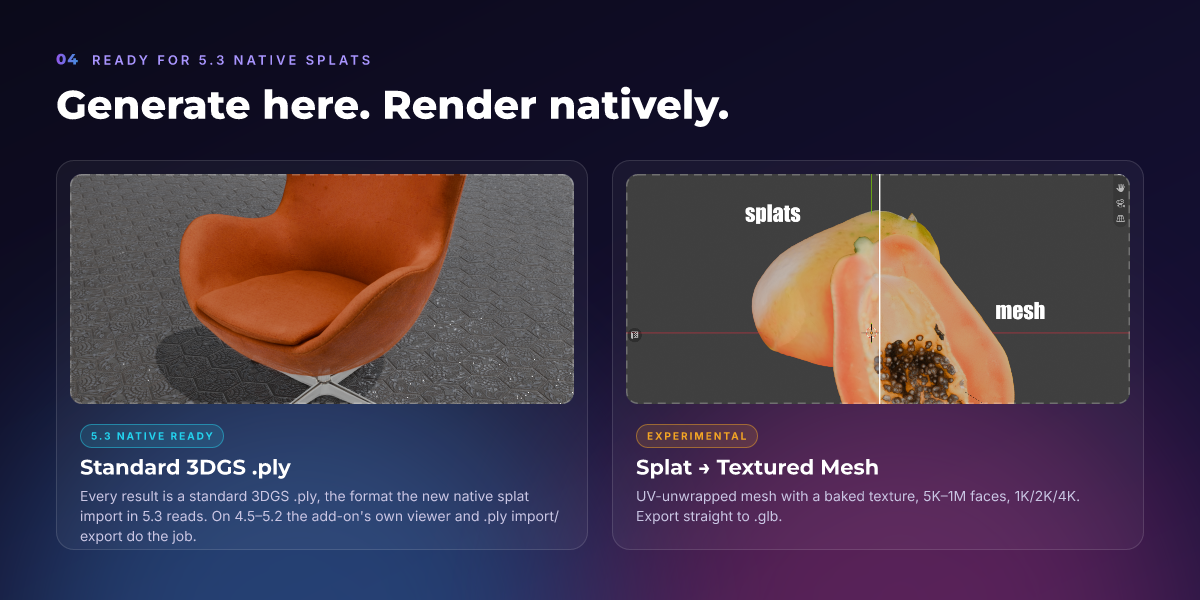
Blender 5.3. Blender 5.3 (November 10, 2026) adds native Gaussian splat import and rendering. Every Idol result is also saved as a standard 3DGS .ply, which 5.3's native importer reads. On Blender 4.5–5.2, the add-on's own viewer works today.
7. Import and export
-
Import a 3DGS
.plyfrom any tool: File → Import → Gaussian Splat (.ply) [Idol], or Import in the Splat panel -
Export a splat as a standard 3DGS
.ply(with its transform): File → Export → Gaussian Splat (.ply) [Idol], or Export .ply in the Splat panel -
Export a textured mesh as
.glb: File → Export → Idol Textured Mesh (.glb), or Export .glb in the Textured Mesh panel
The .glb export embeds the texture, with your colour grading baked in. The material in Blender is left unchanged.
8. Splat → Textured Mesh (experimental)
Turn it on in Preferences → Experimental → Splat to Textured Mesh. Select a splat; the Textured Mesh panel appears.
The first time, click Install Mesh Tools. It installs four small libraries (about 45 MB) into the private environment.
- Faces (default: 100,000): Target face count (5,000–1,000,000)
- Texture (default: 2K): 1K, 2K or 4K baked texture
- AI Enhance Texture (default: off): Real-ESRGAN x4 sharpening (downloads 64 MB once, runs locally). It adds crisper edges and patterns, but the detail is AI-generated, not recovered
- Iso Level (default: 0.5): Splat density at the surface. Lower makes the surface thicker and fills gaps. Higher makes it tighter, but thin parts may break up
- Remove Floaters (default: on): Drops small detached pieces (less than 5% of the biggest part)
- Hide Splat (default: on): Hides the splat once the mesh is created
- Voxel Grid (advanced) (default: 256³): 192³, 256³, 384³ or 512³. Idol rarely has more detail than 256³
- Smoothing (advanced) (default: 10): Taubin smoothing passes (they keep the volume)
Click Convert to Textured Mesh. The mesh gets the same transform as the splat. On the mesh, Show / Hide Source Splat toggles the original splat.
Known limitation: the side facing the camera converts well. The unseen back can have holes. We are improving this in future updates.
9. Texture tools
These are available on meshes made by Idol.
Texture Colour is live in the shader. Older meshes may need Enable Texture Filters first. It has these controls:
- Exposure
- Temperature
- Tint
- Contrast
- Shadow Lift
- Hue
- Saturation
- Gamma
Auto Exposure brightens the texture automatically. Reset returns to neutral.
Texture Detail is applied to the image. It has these controls:
- Sharpen, with Radius and Threshold
- Clarity
Click Apply to bake them into the texture.
- Filters stay inside each UV island, so no seams appear.
- Apply always starts from the original bake, so the effects never stack.
- Reset restores the original bake exactly.
10. Preferences reference
- GPU: GPU choice, Detect GPUs Again
- Private Python Environment: Install Dependencies, Repair / Reinstall, Uninstall, Open .env Folder, Open Logs, Show Log
- Hugging Face Access: Token, Create Token, Forget Token, Check Access, Download Models
-
Options: DINOv3 Precision (bfloat16, default, about 1.7 GB of GPU memory; or float32, 1.7 GB more) · Keep Model Loaded (on: faster repeat generations) · Also Save .ply (on) · Output Folder (empty:
.env/outputs) - Saved Results: File count and size. Delete All, or results older than 1 day, 1 week or 1 month. Open Folder
- Experimental: Splat to Textured Mesh
11. Files and disk space
Everything lives in the add-on's .env folder:
-
venv/,python/,uv/: Private Python environment with PyTorch -
huggingface/: Model weights (about 6.6 GB) and your token -
models/: Real-ESRGAN weights (only if AI Enhance is used) -
outputs/: Saved results (the default output folder) -
logs/:install.log,worker.log
Disk use: about 18 GB after install. The peak is about 26 GB while installing.
Saved results. Each generation writes these files to the output folder:
<name>_<date>_<time>.npz.ply_camera.json_input.png
Mesh conversions add _mesh.npz and _texture.png.
You can delete these files at any time from Preferences → Saved Results. Splats and meshes already in your scenes and saved .blend files keep working. Files are never deleted automatically.
12. Performance
Measured on an RTX 5060 Ti 16 GB:
- Load model (first time per session): 12–22 s
- Generate (50 steps, 262K Gaussians): about 2:30
- Peak GPU memory: about 5 GB
Ways to speed things up
- Keep Keep Model Loaded on, so you only pay the load time once.
- Use fewer Steps for quick drafts.
- Use 262K Gaussians or fewer while you iterate, and save 1M for the final result.
- Use the Point Cloud Viewport, Display Ratio or Solid view for heavy scenes.
13. Troubleshooting
- No NVIDIA driver found: Install the latest NVIDIA driver, then click Detect GPUs Again
- NVIDIA driver … is too old: Update to driver 570 or newer
- Older than the RTX 20 series: not supported: Choose a newer GPU in the GPU drop-down
-
Install button disabled or red errors: Free up disk space (about 25 GB needed), or enable Windows long paths (
LongPathsEnabled) - Hugging Face token missing: Paste a Read token in the preferences (Fix opens them)
- Hugging Face refused the download: Accept the DINOv3 terms with the same account as the token, then click Check Access
- Out of GPU memory: Close other GPU applications (or switch Blender's viewport out of Rendered mode), lower the Gaussians count, or use a GPU with 8 GB or more
- Viewport is slow: Turn on Point Cloud Viewport, or lower Display Ratio
- Mesh has holes on the back: This is a known limitation of the experimental mesh feature. Try a lower Iso Level
-
Something else went wrong: Click Open Logs and check
worker.logandinstall.log - Environment is broken: Repair / Reinstall in the preferences
In rare cases, antivirus software flags the downloaded uv.exe or Python. All downloads come from their official sources. The checksums of uv, Python and the Real-ESRGAN weights are verified.
14. Updating and uninstalling
-
Removing only the environment: Preferences → Private Python Environment → Uninstall. It deletes the private Python, PyTorch and the caches. A dialog asks whether to Keep Downloaded Models. It is on by default and keeps the about 6 GB of models and the token, so a reinstall doesn't download them again. Turn it off to delete the whole
.envfolder, including the saved results in the default output folder. - Removing the add-on: uninstall it from Edit → Preferences → Get Extensions.
-
Updating the add-on removes the environment. The
.envfolder (the private Python, PyTorch, the models, your token and the default output folder) lives inside the add-on folder. Blender deletes it when it installs an update or when the add-on is removed. After an update you must click Install Dependencies again and re-download the models. To avoid losing saved results across an update, set a custom Output Folder outside the add-on, and copy out anything else you want to keep before updating.
15. Credits and licences
- Add-on code: GPL-3.0-or-later.
- Idol by Speridlabs: Apache-2.0. Model page: https://huggingface.co/speridlabs/idol · Project: https://speridlabs.com/research/idol
- Built with DINOv3 (Meta, DINOv3 License).
- FLUX.2 autoencoder by Black Forest Labs, from the Apache-2.0 FLUX.2-klein-4B release.
- BiRefNet (MIT): background removal.
- Real-ESRGAN (BSD-3): AI Enhance Texture.
Model weights are downloaded from their official pages and never redistributed. Full notices are in THIRD_PARTY_NOTICES.md, shipped with the add-on.
 Included
Includes 12 months of
- Support from Marco Capelli
- Product updates
Extend this product’s Support Period +12 months: 25% of product price
Have questions before purchasing?
Login to message
| Blender Extension Compatible | Yes |
| Published | about 3 hours ago |
| Blender Version | 4.5 - 5.2 |
| Extension Type | Add-on |
| Render Engine Used | Cycles, Eevee |
| License | GPL |

Discover more products like this
ai 3dgs blender ai local ai Image-to-3D Image to Mesh 3D Generator gaussian splatting Photo to 3D nvidia 3D Gaussian Splatting ai image to 3d