Blender Reprojection Add-On
 Blender Easy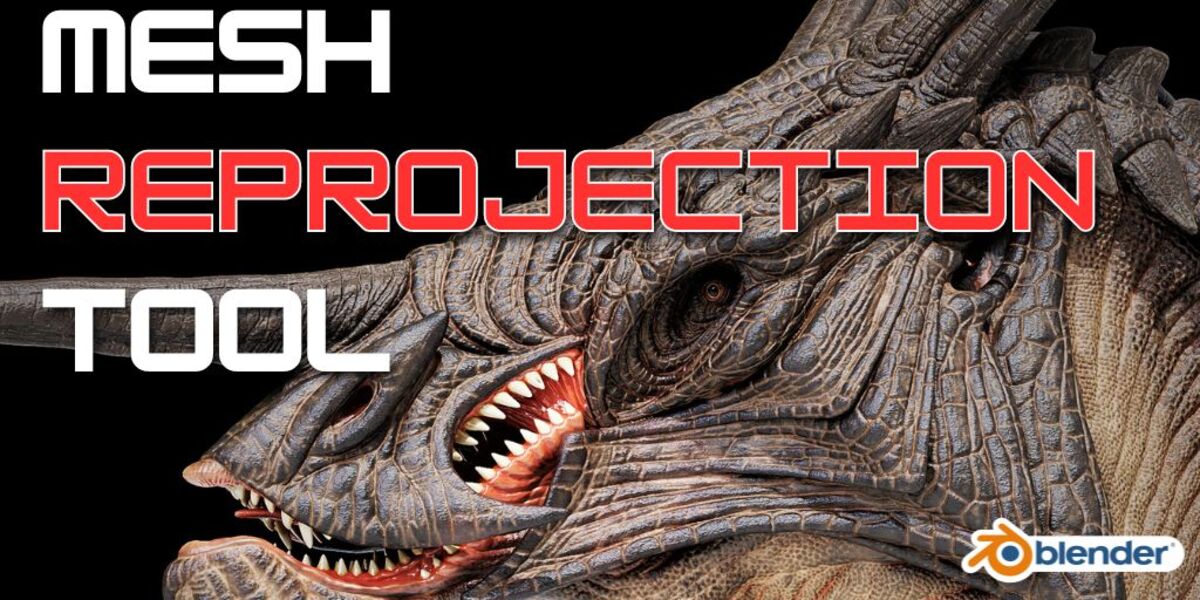
1. Introduction
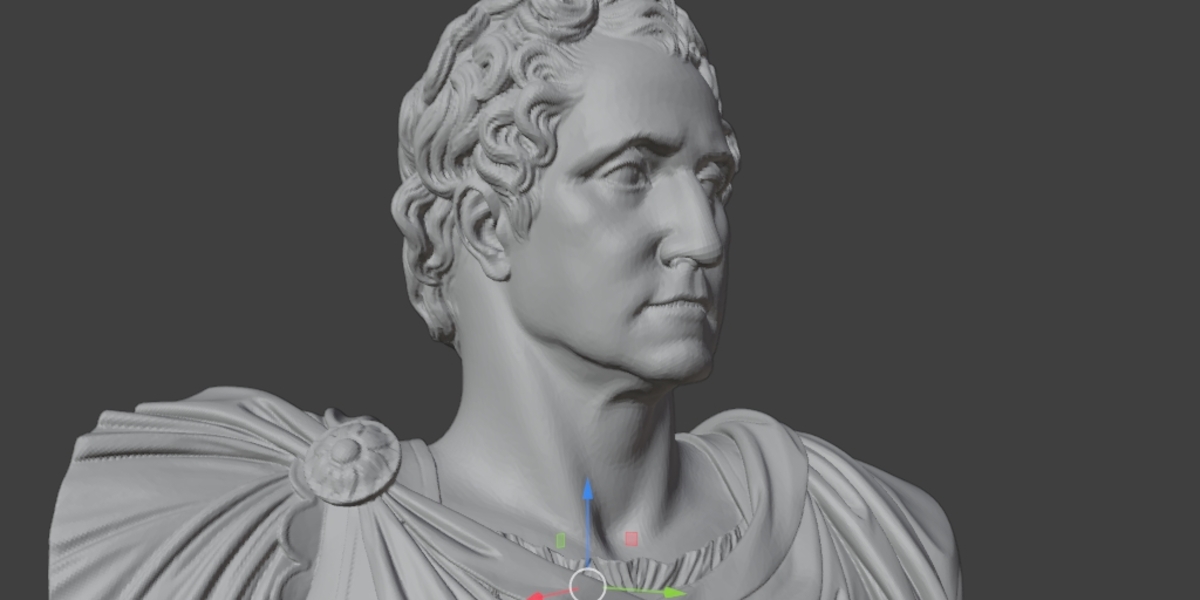
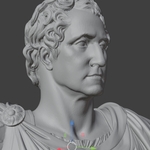
Reprojector is a professional-grade Geometry Nodes utility designed to transfer high-resolution surface details from a source object to a target mesh. It is optimized to handle complex geometry where standard methods often fail, providing clean results with minimal manual cleanup.
2. Installation
-
Open Blender.
-
Go to Edit > Preferences > Add-ons.
-
Click Install and select the
reprojector_addon.zipfile. -
Enable the add-on by checking the box next to Mesh: Reprojector.
-
The tool will appear in the 3D Viewport Sidebar (N-panel) under the Reprojector tab.
3. Interface Overview
A. Setup Section
-
Target Object: Select the high-resolution source mesh you want to capture details from.
-
Mask Name: (Optional) Enter the name of a Vertex Group to limit the projection to specific areas.
B. Projection Settings
-
Inflate Mesh: Offsets the base mesh along its normals before projecting. Use this to ensure the low-poly mesh "encapsulates" the high-poly detail for a cleaner capture.
-
Projection Quality: Controls the precision of the ray-casting. Higher values result in more accurate surface snapping but may impact performance.
C. Resolution Control
-
Base Resolution: Initial mesh density before projection.
-
Subdivisions: Sets the level of procedural subdivision. Increase this to capture fine micro-details and high-frequency textures.
D. Texture & Color
-
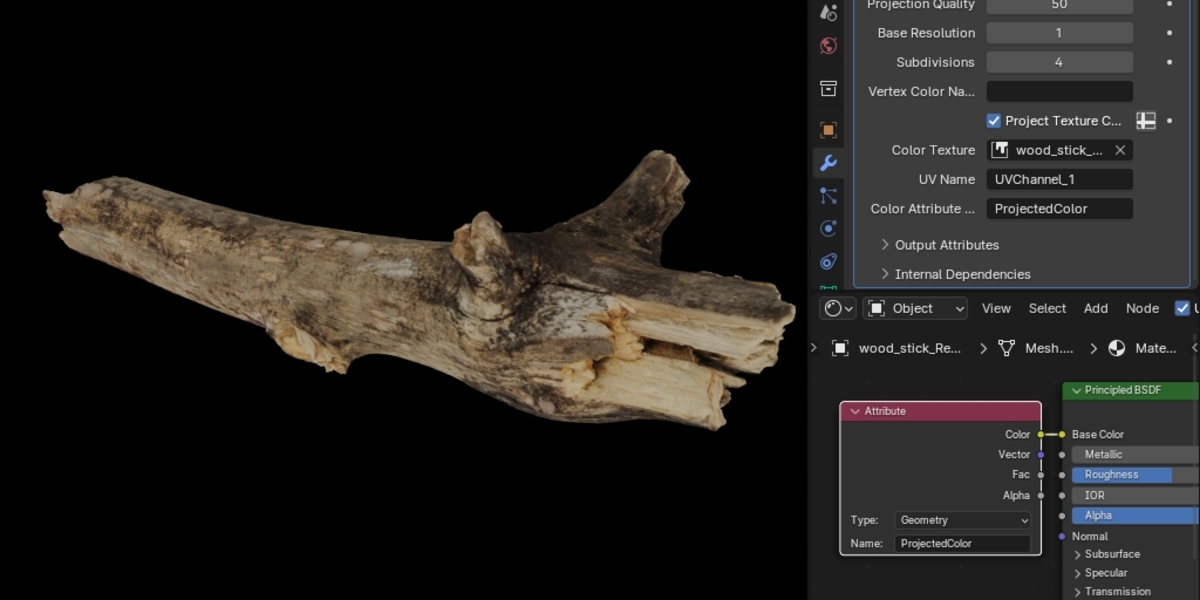
Project Texture Colors: Enable this to transfer image data from the target to the base mesh.
-
Color Texture: Select the source image texture for color projection.
-
UV Name: Define the UV map to be used for the projection coordinates.
E. Output Attributes
-
Vertex Color Name: The name of the attribute where projected colors will be stored.
-
Color Attribute Output: The internal name for the final color data.
-
Displacement Attribute: The name of the attribute storing the height/offset data, useful for baking displacement maps later.
4. Best Practices for Best Results
The "Envelope" Rule
For the most accurate projection, your low-poly mesh should roughly follow the silhouette of the high-poly mesh. Use the Inflate Mesh slider to ensure the target geometry is slightly "inside" the low-poly shell before the projection logic takes over.
Managing Performance
When working with extremely high-poly targets (10M+ polygons), keep the Projection Quality at a moderate level (30–50) while tweaking settings, then increase it only for the final result or baking process.
Masking
If you have areas where the meshes are too close or overlapping in a messy way (like inside a mouth or between fingers), create a Vertex Group on your low-poly mesh, name it "Mask", and enter that name into the Mask Name field to disable projection in those areas.
5. Support & Feedback
For technical support or to share your work, please contact us via our Blender Market creator page or our YouTube channel: Blender Easy.
Have questions about this product?
Login to message
| Published | 6 days ago |
| Blender Version | 4.5 - 5.2 |
| Extension Type | N/A |
| Render Engine Used | Arnold, Blender-Internal, Blender-Game-Engine, Cycles, Eevee, Freestyle, Luxrender, Mental-Ray, Octane, Vray, Yafaray |
| License | Mit |
Discover more products like this
Sculpt photogrammetry blender projection tool reprojection reprojector