 za studio
BLENDER 5.x EXTENSION · VERSION 1.0
BModeller in action
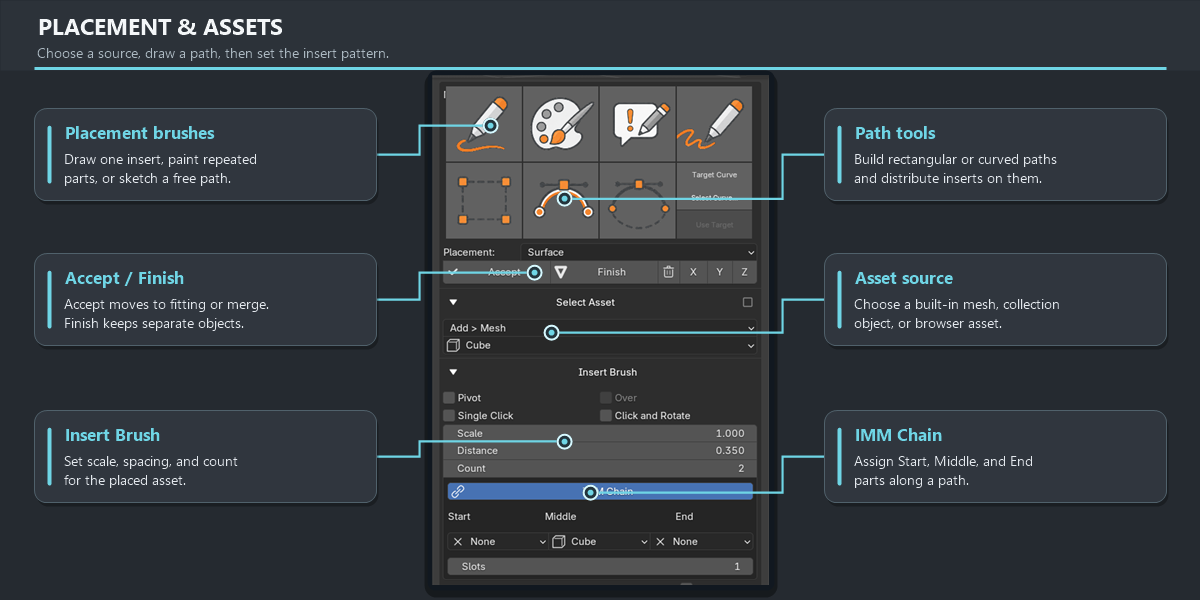
Place Mesh, Text, and Metaball assets with brushes and curves. Fit them to a surface, merge them for sculpting, and refine local topology—all inside Blender.
Quick start: Select a base mesh, choose an asset, place inserts, then use Accept for a finishing workflow or Finish to keep separate objects. Each video below shows one part of that workflow.
BMODELLER / 01
Surface Fit: instant live connection
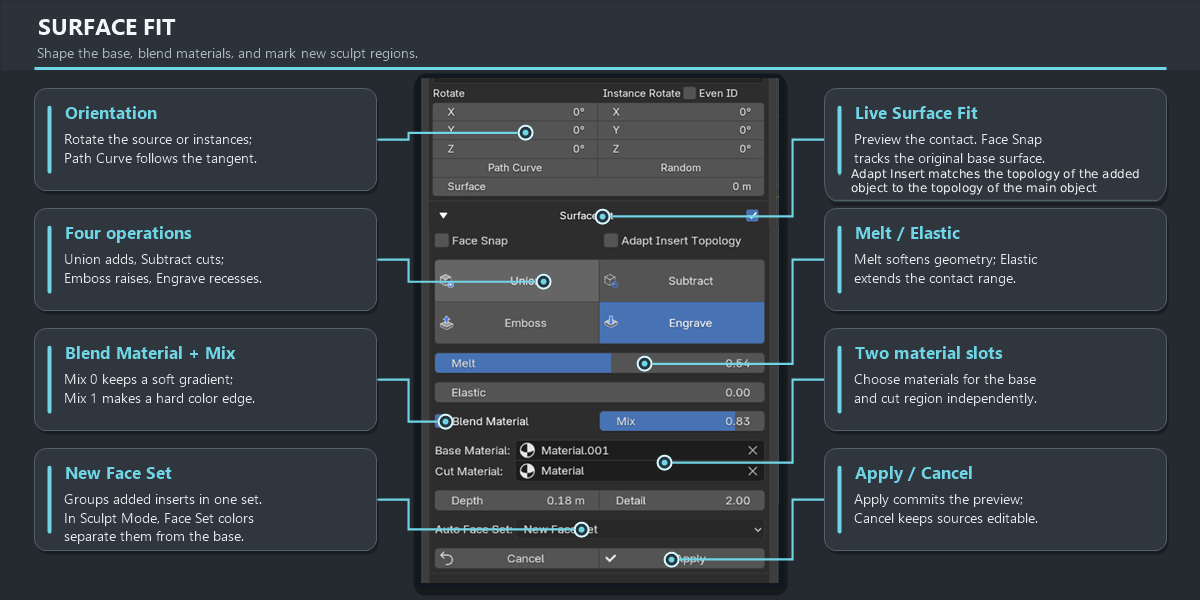
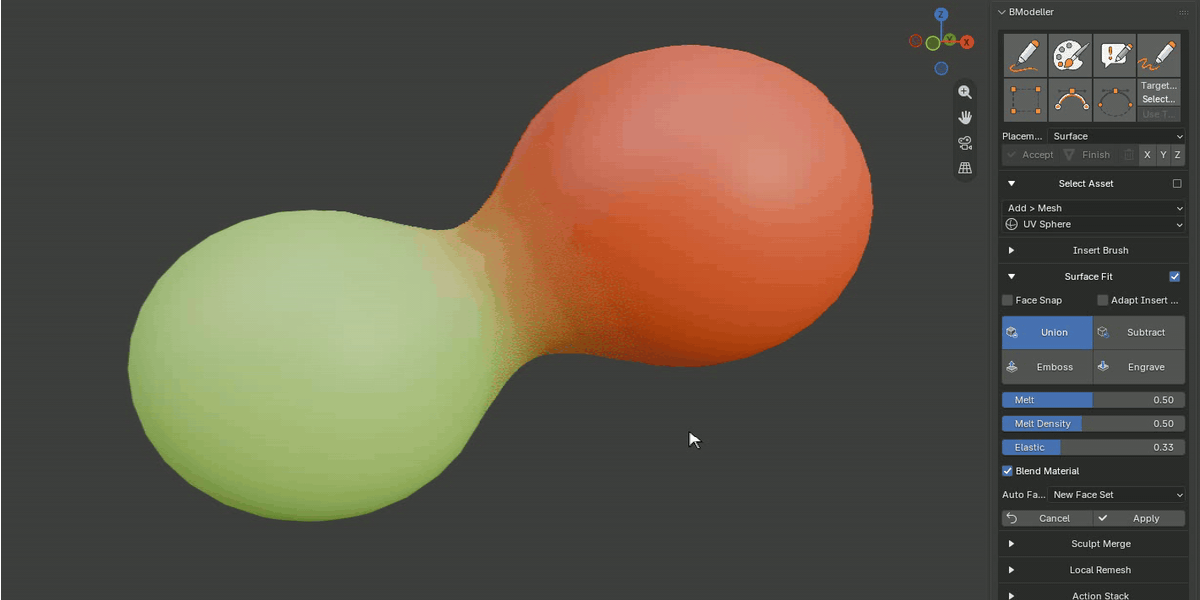
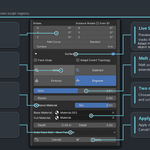
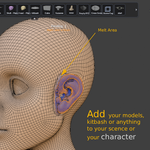
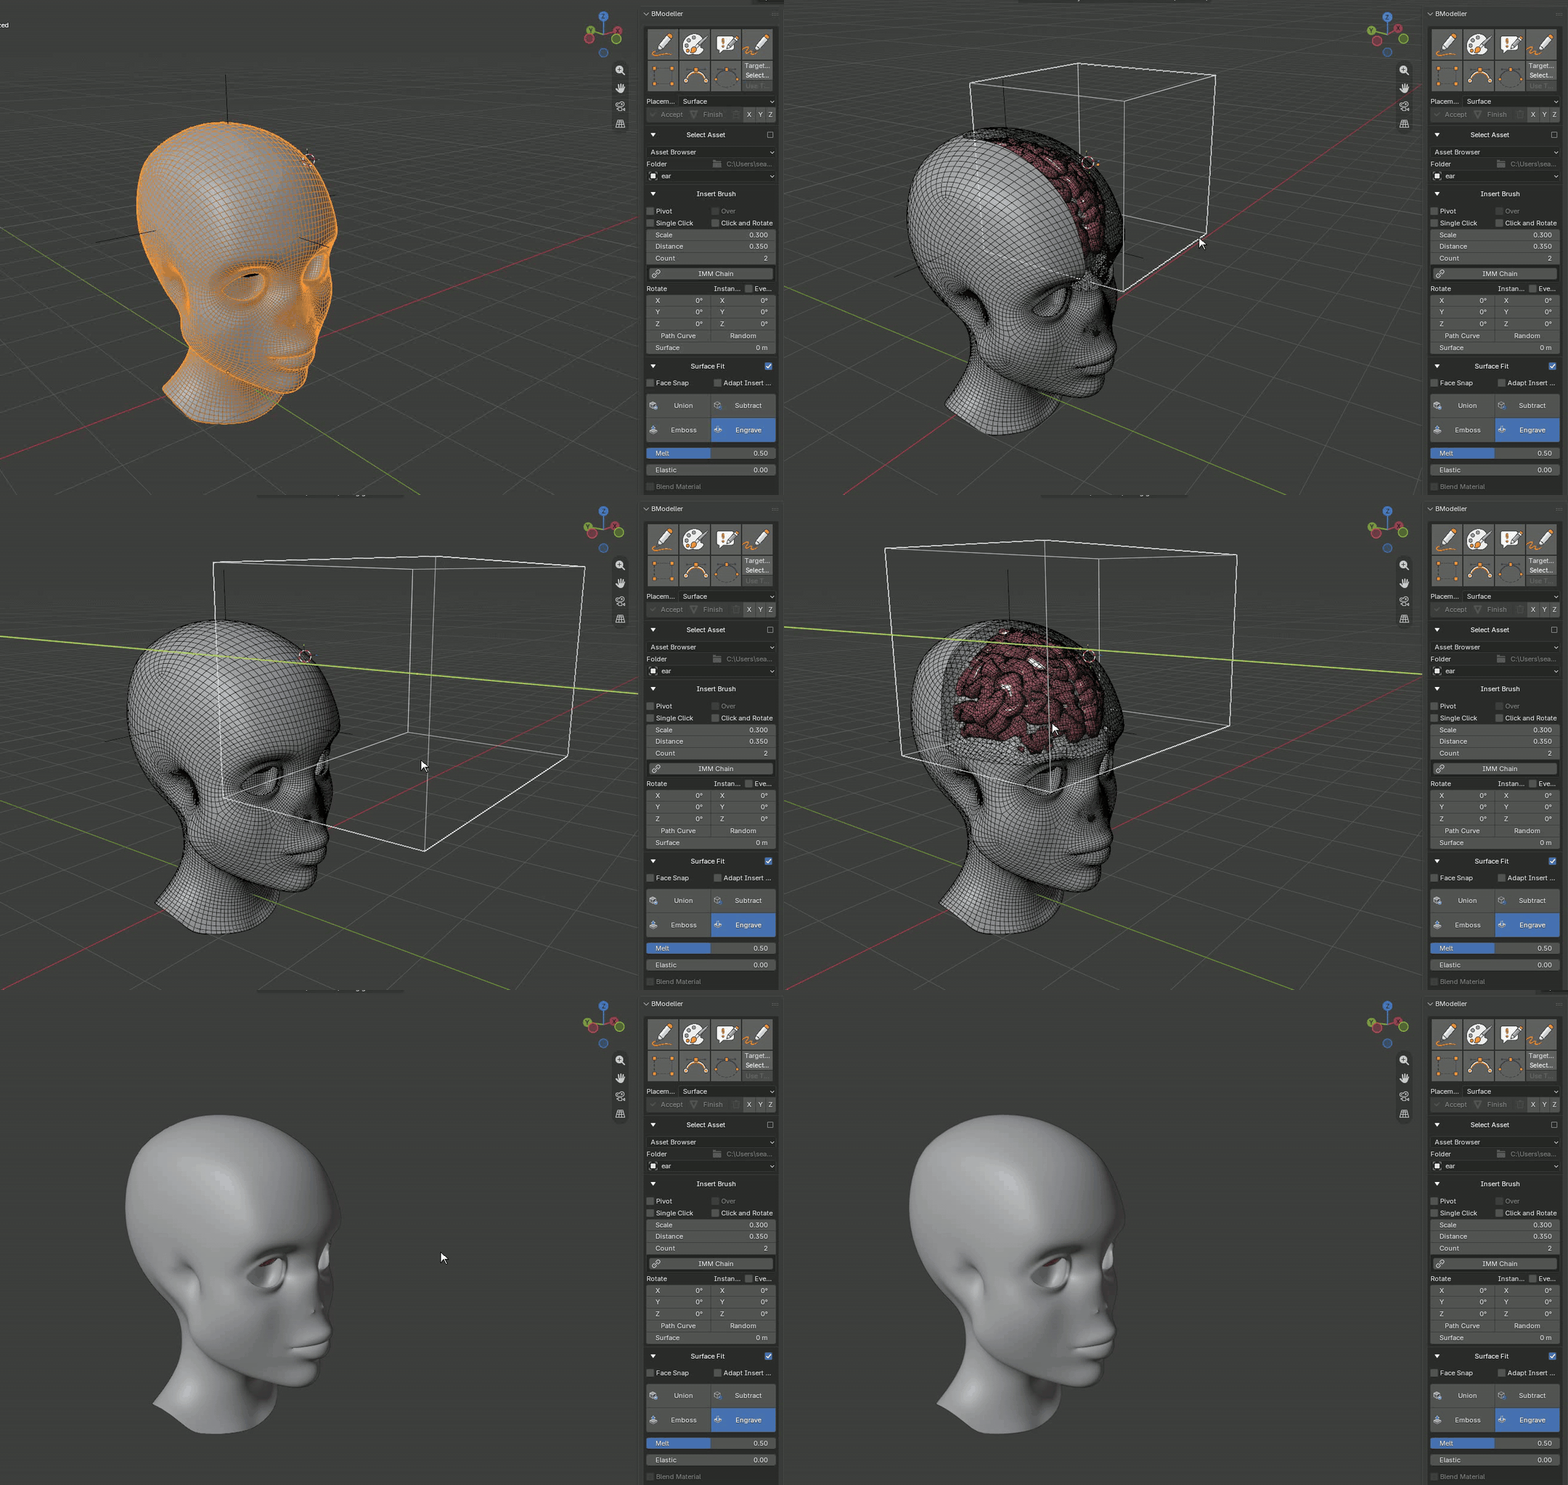
Select the insert object or objects first, then select the base mesh last so it is active. Enable the checkbox in the Surface Fit header to create a live preview immediately. Move, rotate, or scale the original inserts to refine the result, then click Apply to commit it or Cancel to restore the editable sources.
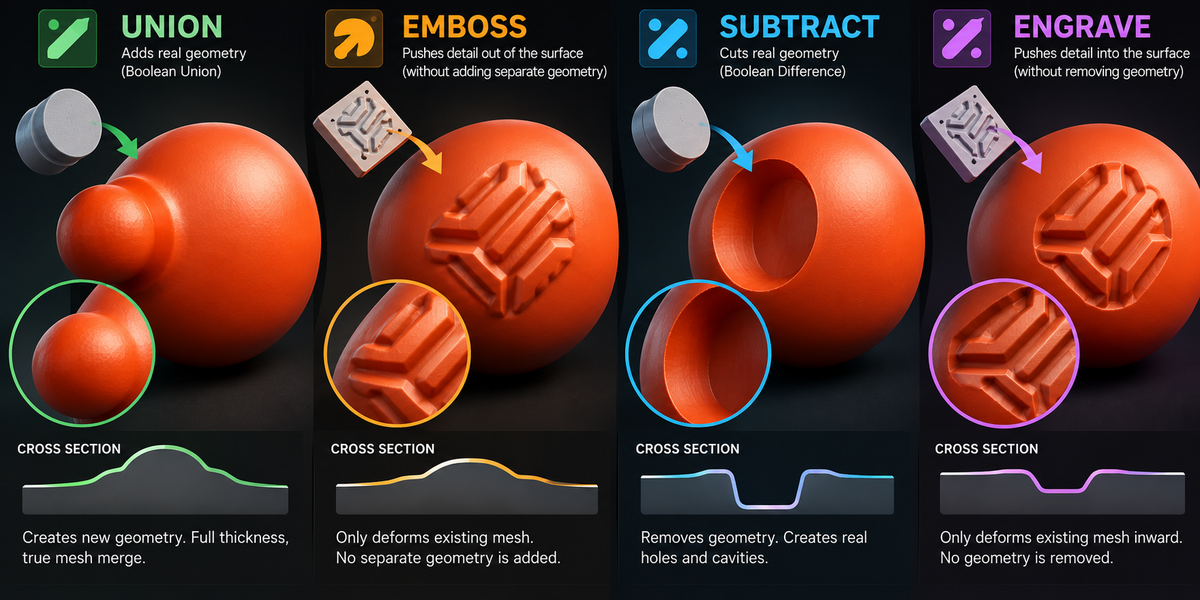
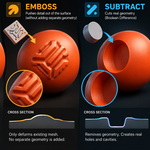
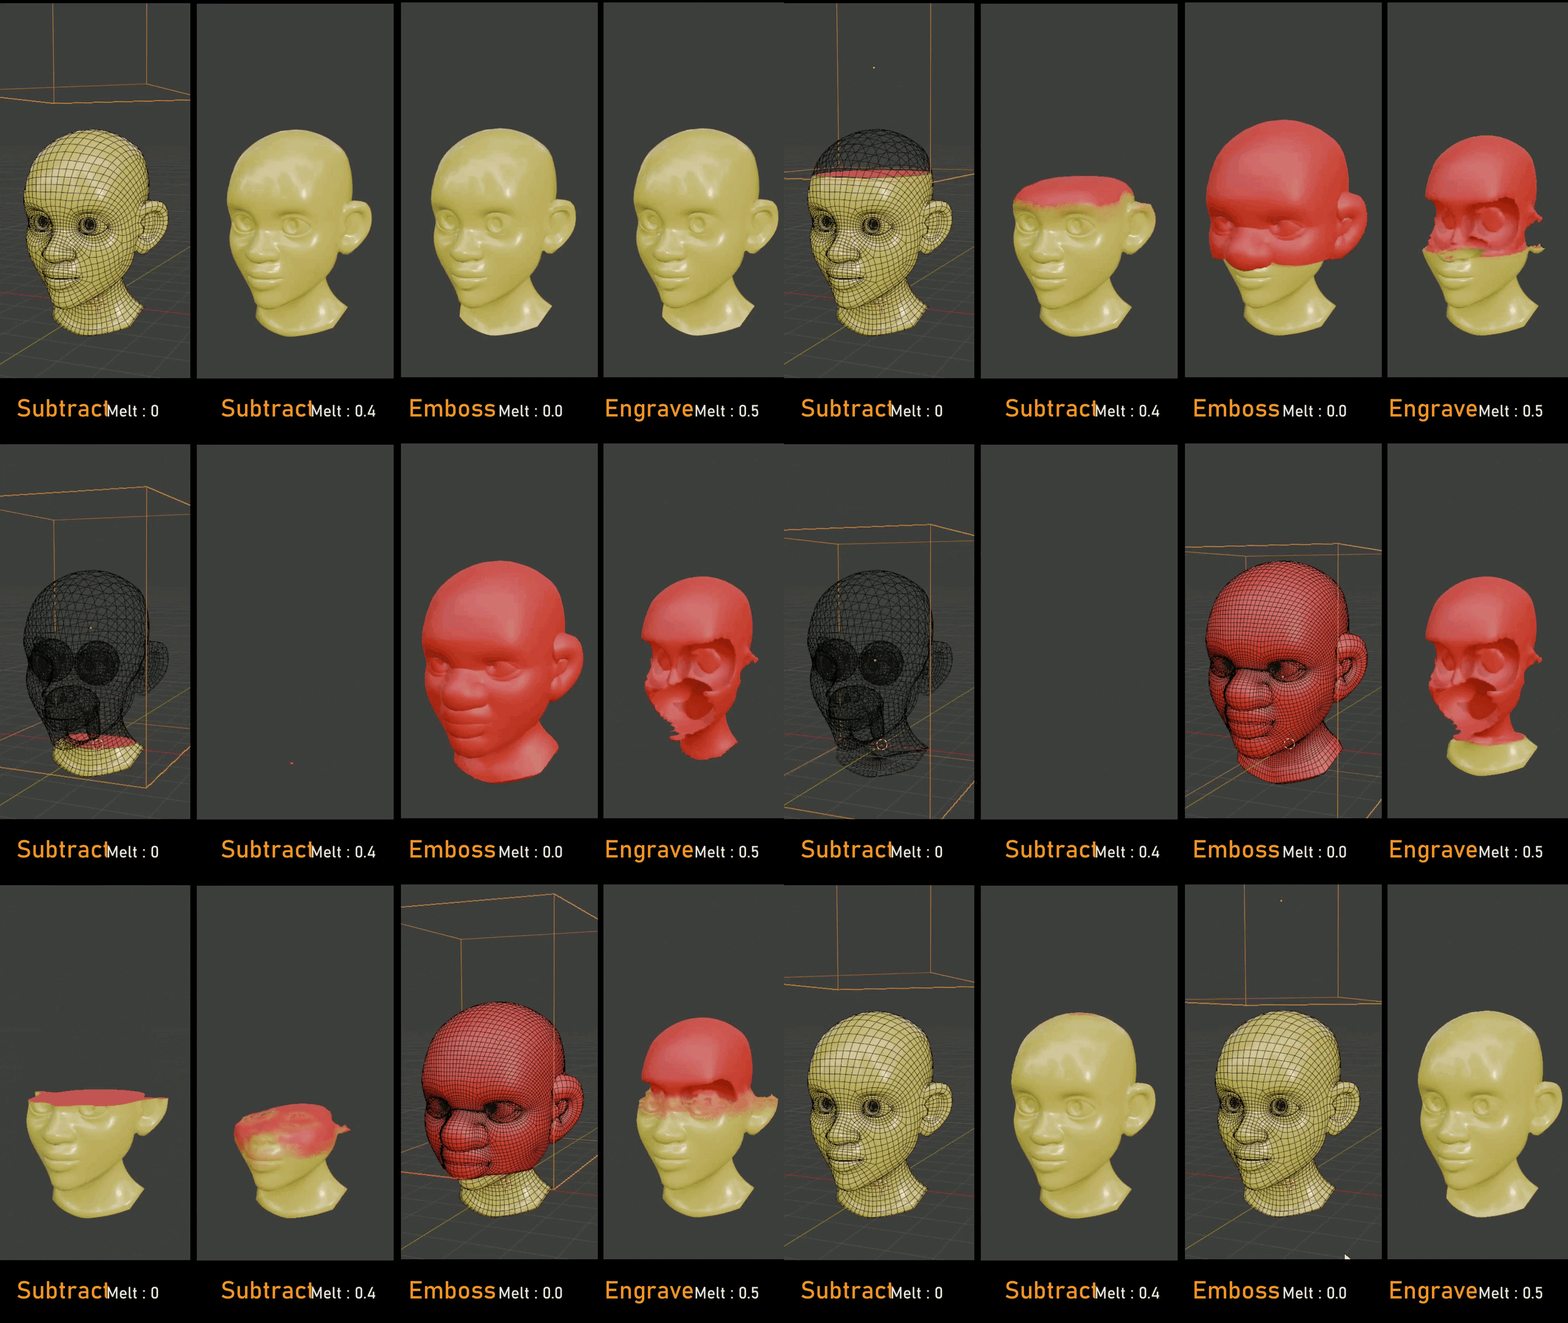
Surface Fit: Subtract / Emboss and Engrave. All of them are amazing
BMODELLER / 02
Adapt Insert Topology
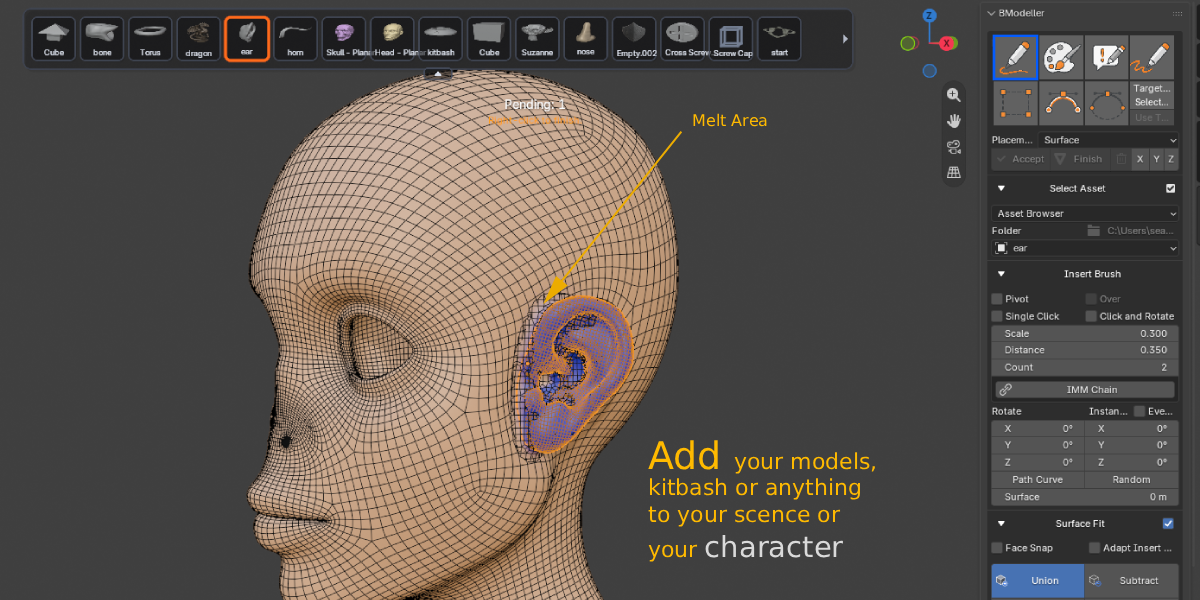
Adapt Insert Topology adjusts the insert topology toward the edge density of the base mesh near the operation. Use it when the two surfaces have noticeably different mesh densities, inspect the Surface Fit preview, and click Apply when you are satisfied.
BMODELLER / 03
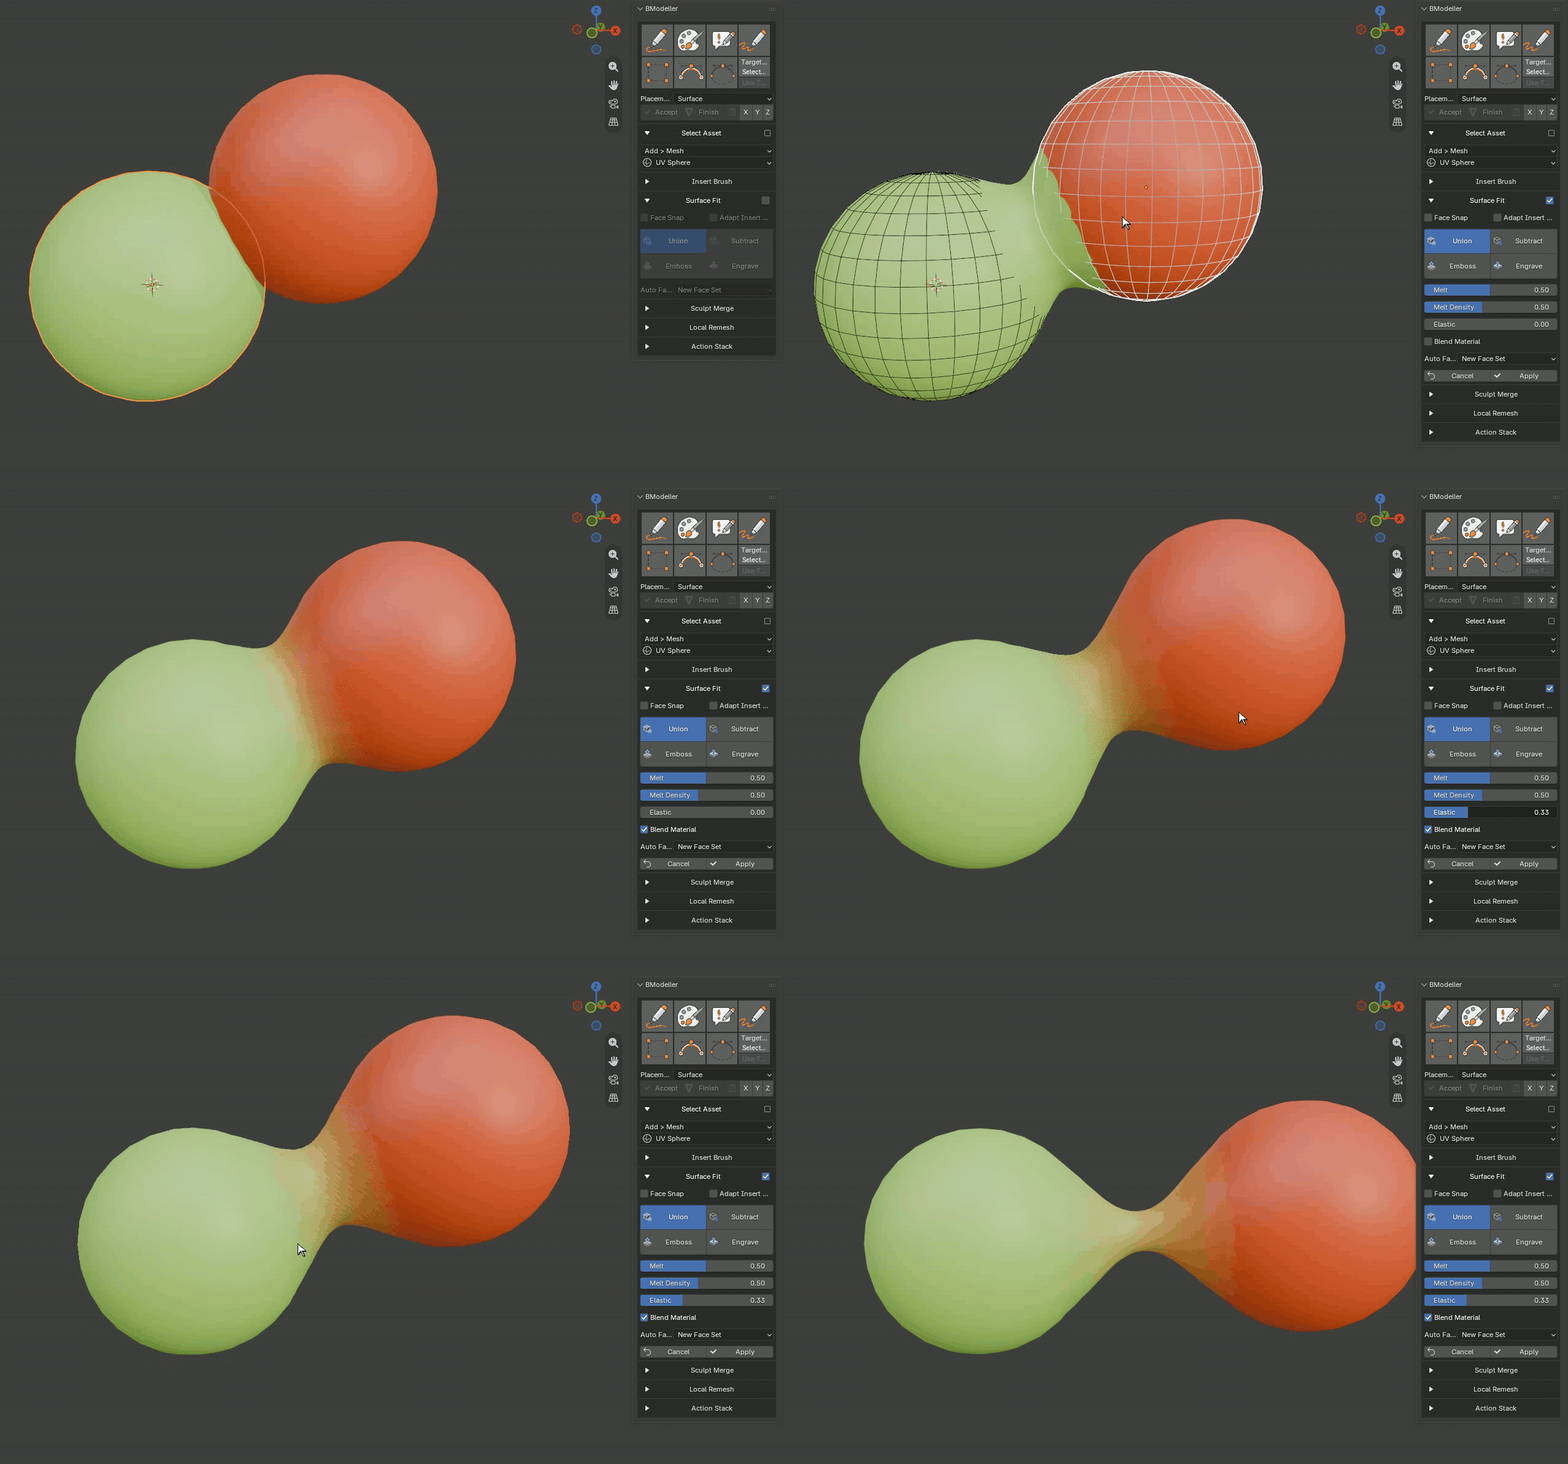
Blend Material
For a Union seam, Blend Material blends the colors of the two source materials through the connection. This works with solid-color materials; textured materials are not supported by this control. Adjust the preview before clicking Apply.
BMODELLER / 04
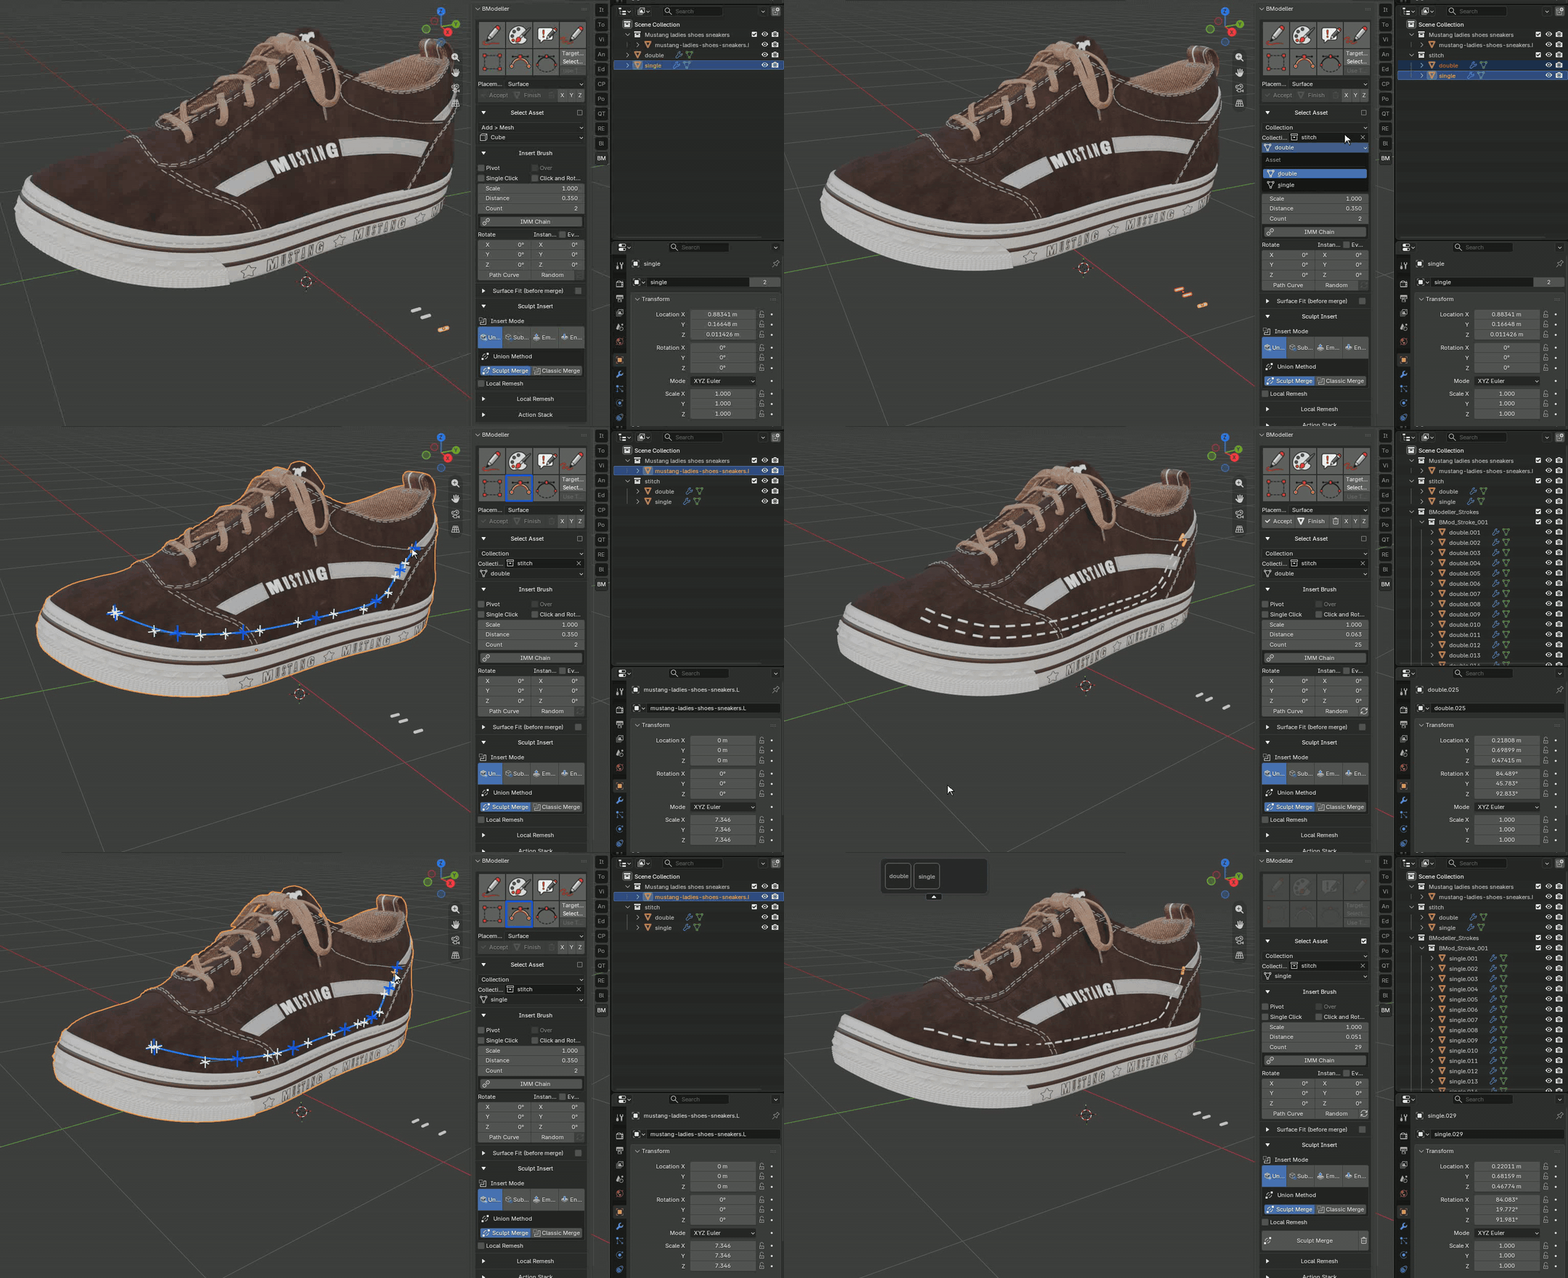
Stitch: inspect the seam
This example focuses on the joined edge. Watch how the insert meets the base, then refine the Surface Fit transition with Melt, Melt Density, and Elastic when needed. Apply commits the visible result.
BMODELLER / 05
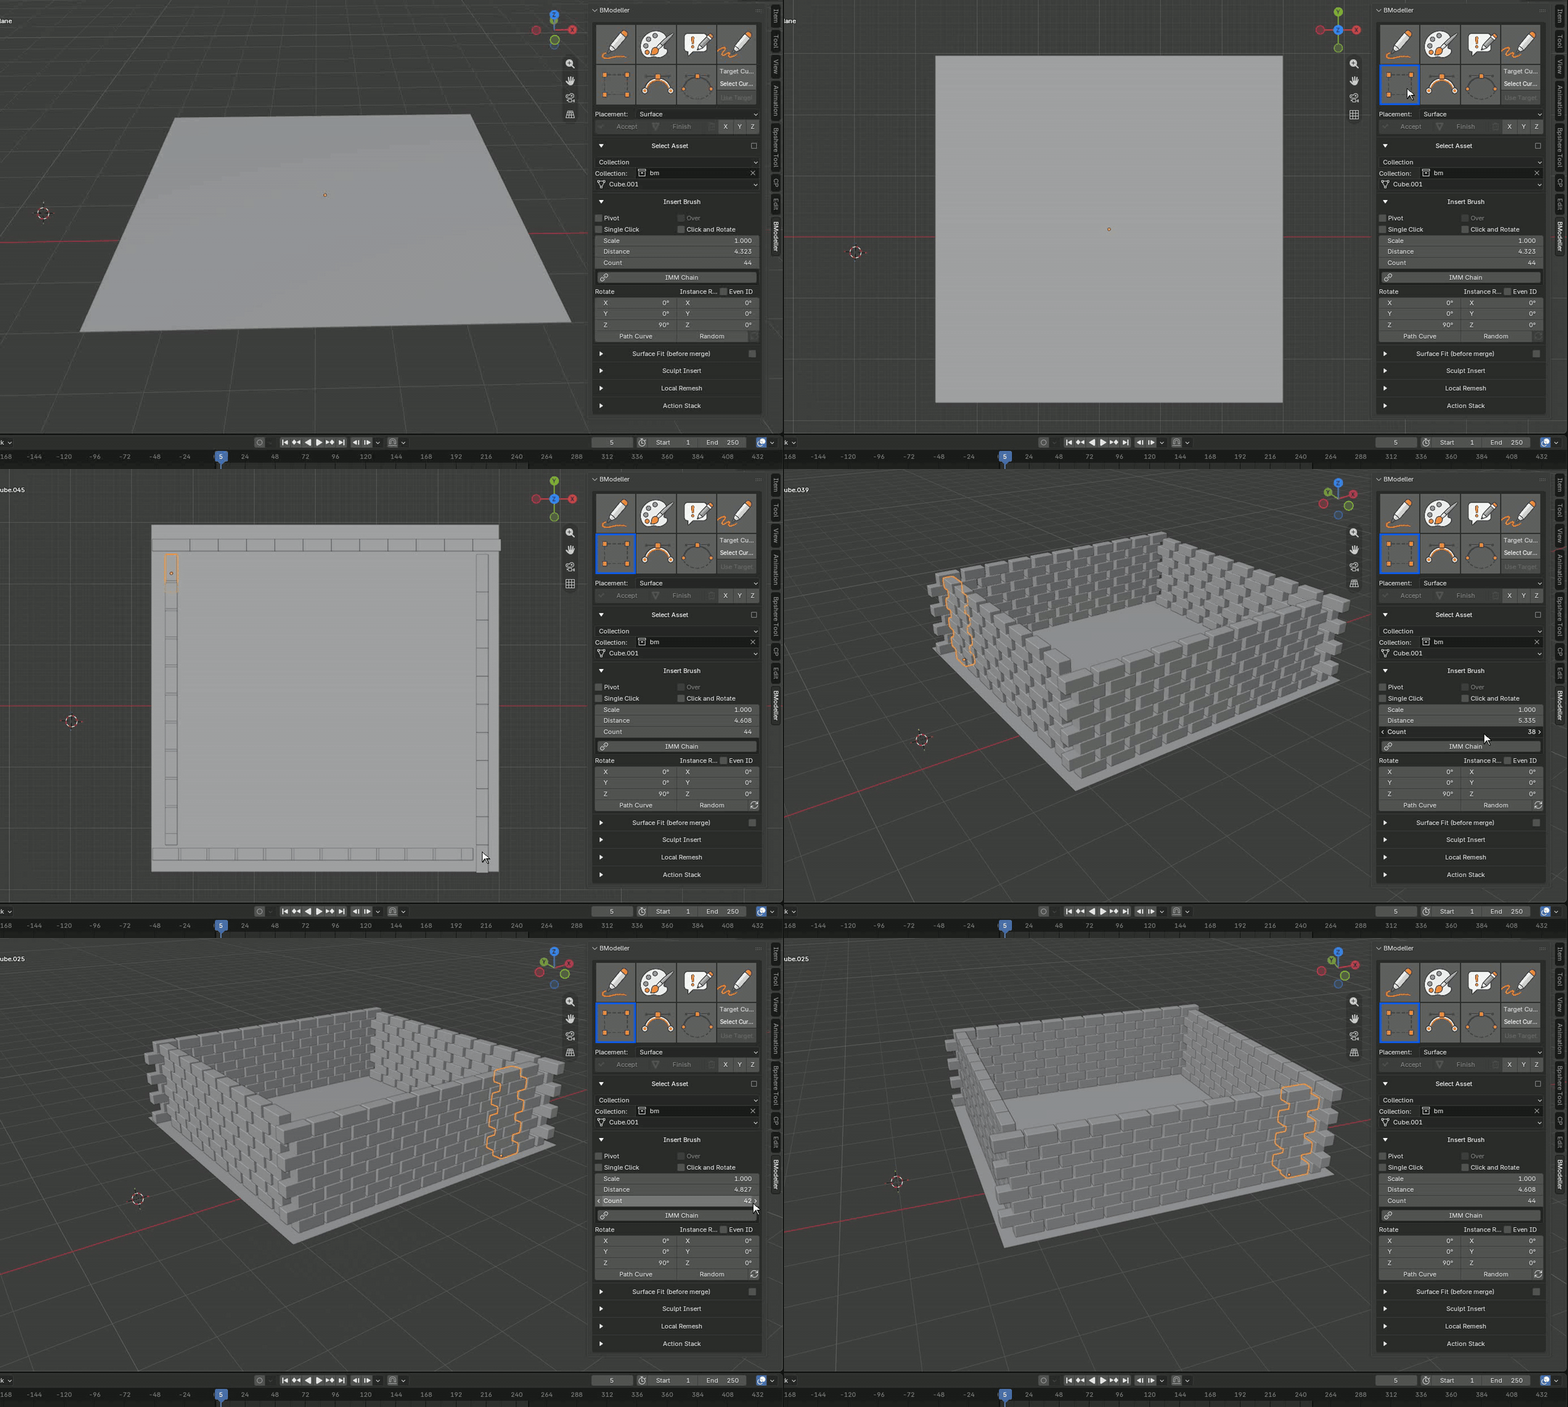
Use Target: build a tyre pattern
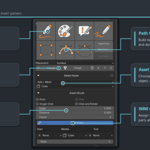
Select an existing Curve and use Target Curve / Use Target to distribute the chosen asset along it. Adjust Count or Distance for the spacing, and turn on Path Curve when the pieces should follow the curve tangent.
BMODELLER / 06
Accept, Finish, and merging
After placing inserts, choose Accept to keep them and open the finishing workflow. Choose Finish when you want separate editable objects instead. With Surface Fit off, Sculpt Merge provides its own joined and remeshed preview, followed by Apply or Cancel.
BMODELLER / 07
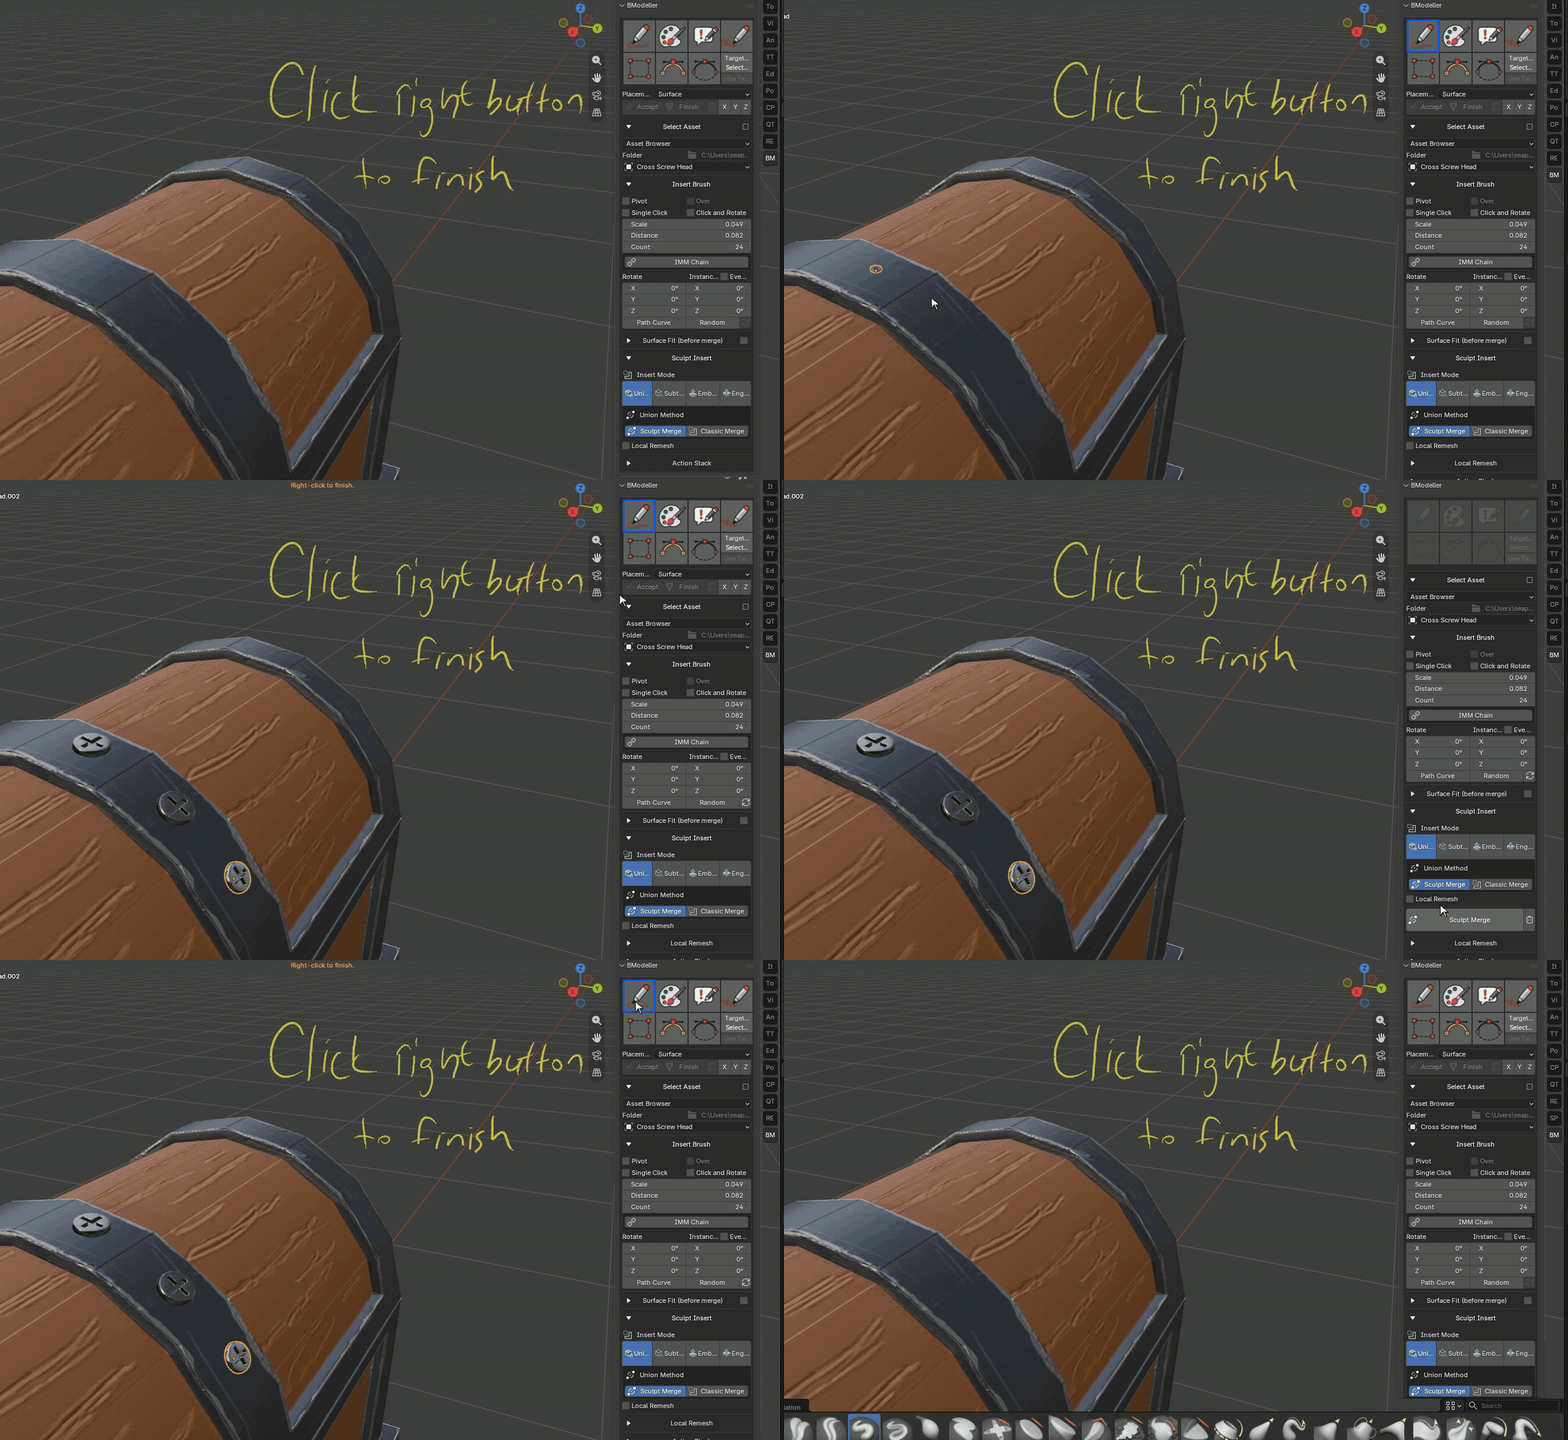
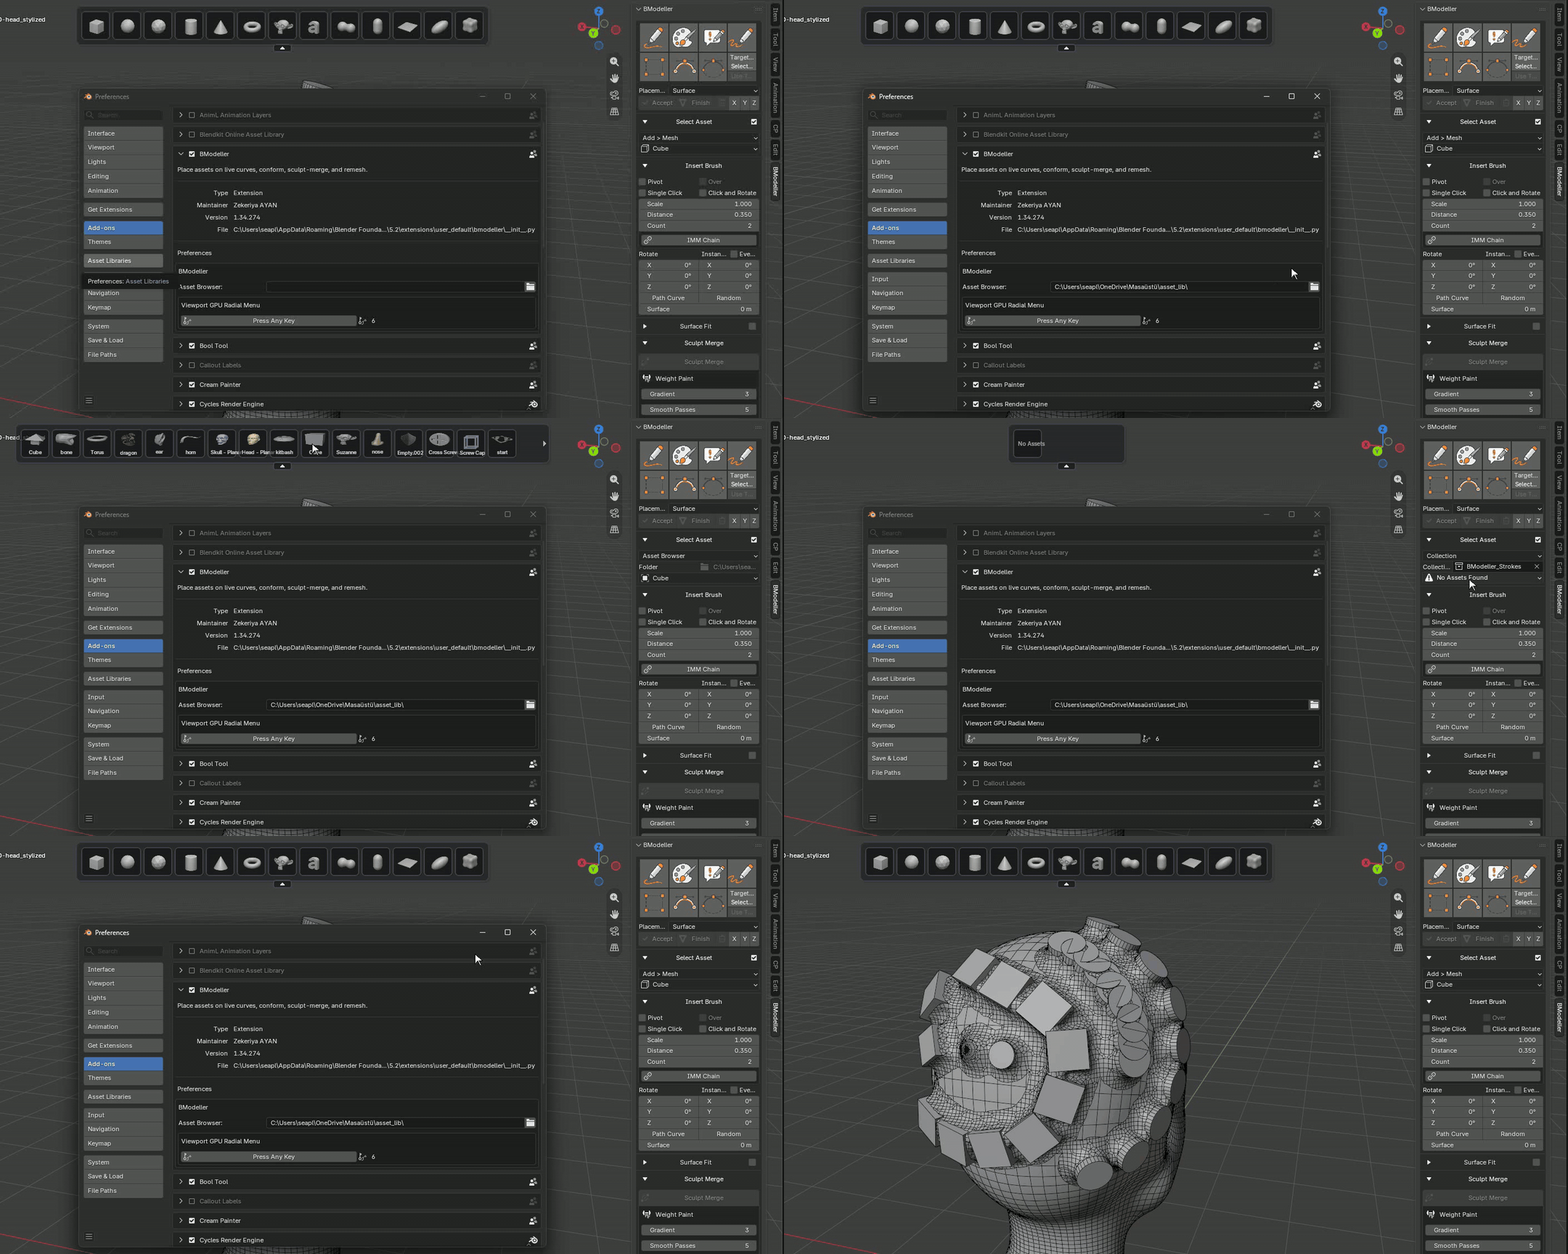
Asset Browser source
Set the Asset Browser folder in BModeller or its add-on preferences, then choose an Object Asset from a .blend file in that folder. You can also select built-in Add Mesh sources or objects from a Collection, including child collections.
BMODELLER / 08
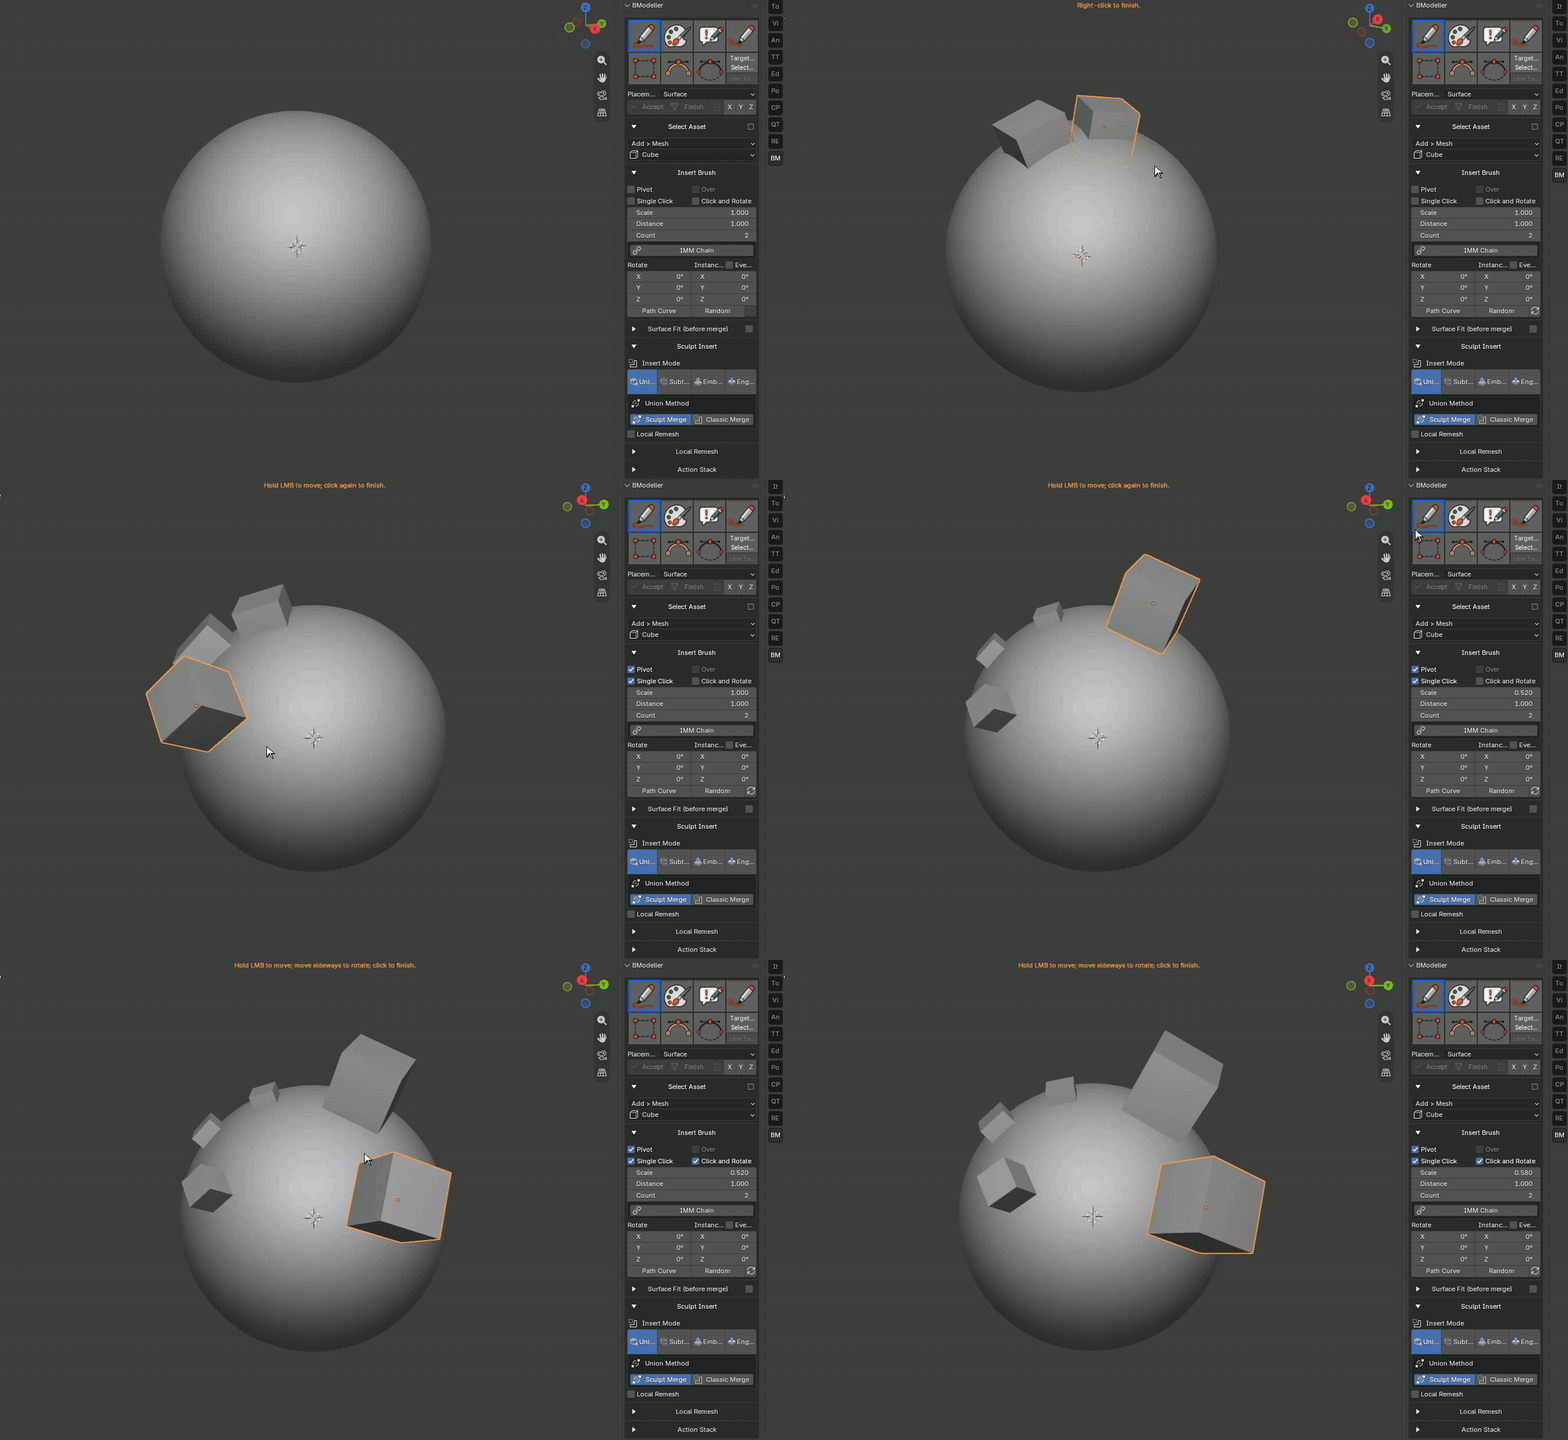
Draw brush
Draw places an individual insert on the working surface. Use Single Click for quick placement or Click and Rotate to set its direction as you place it. Scale, rotation, symmetry, and pivot controls help match the insert to the model.
BMODELLER / 09
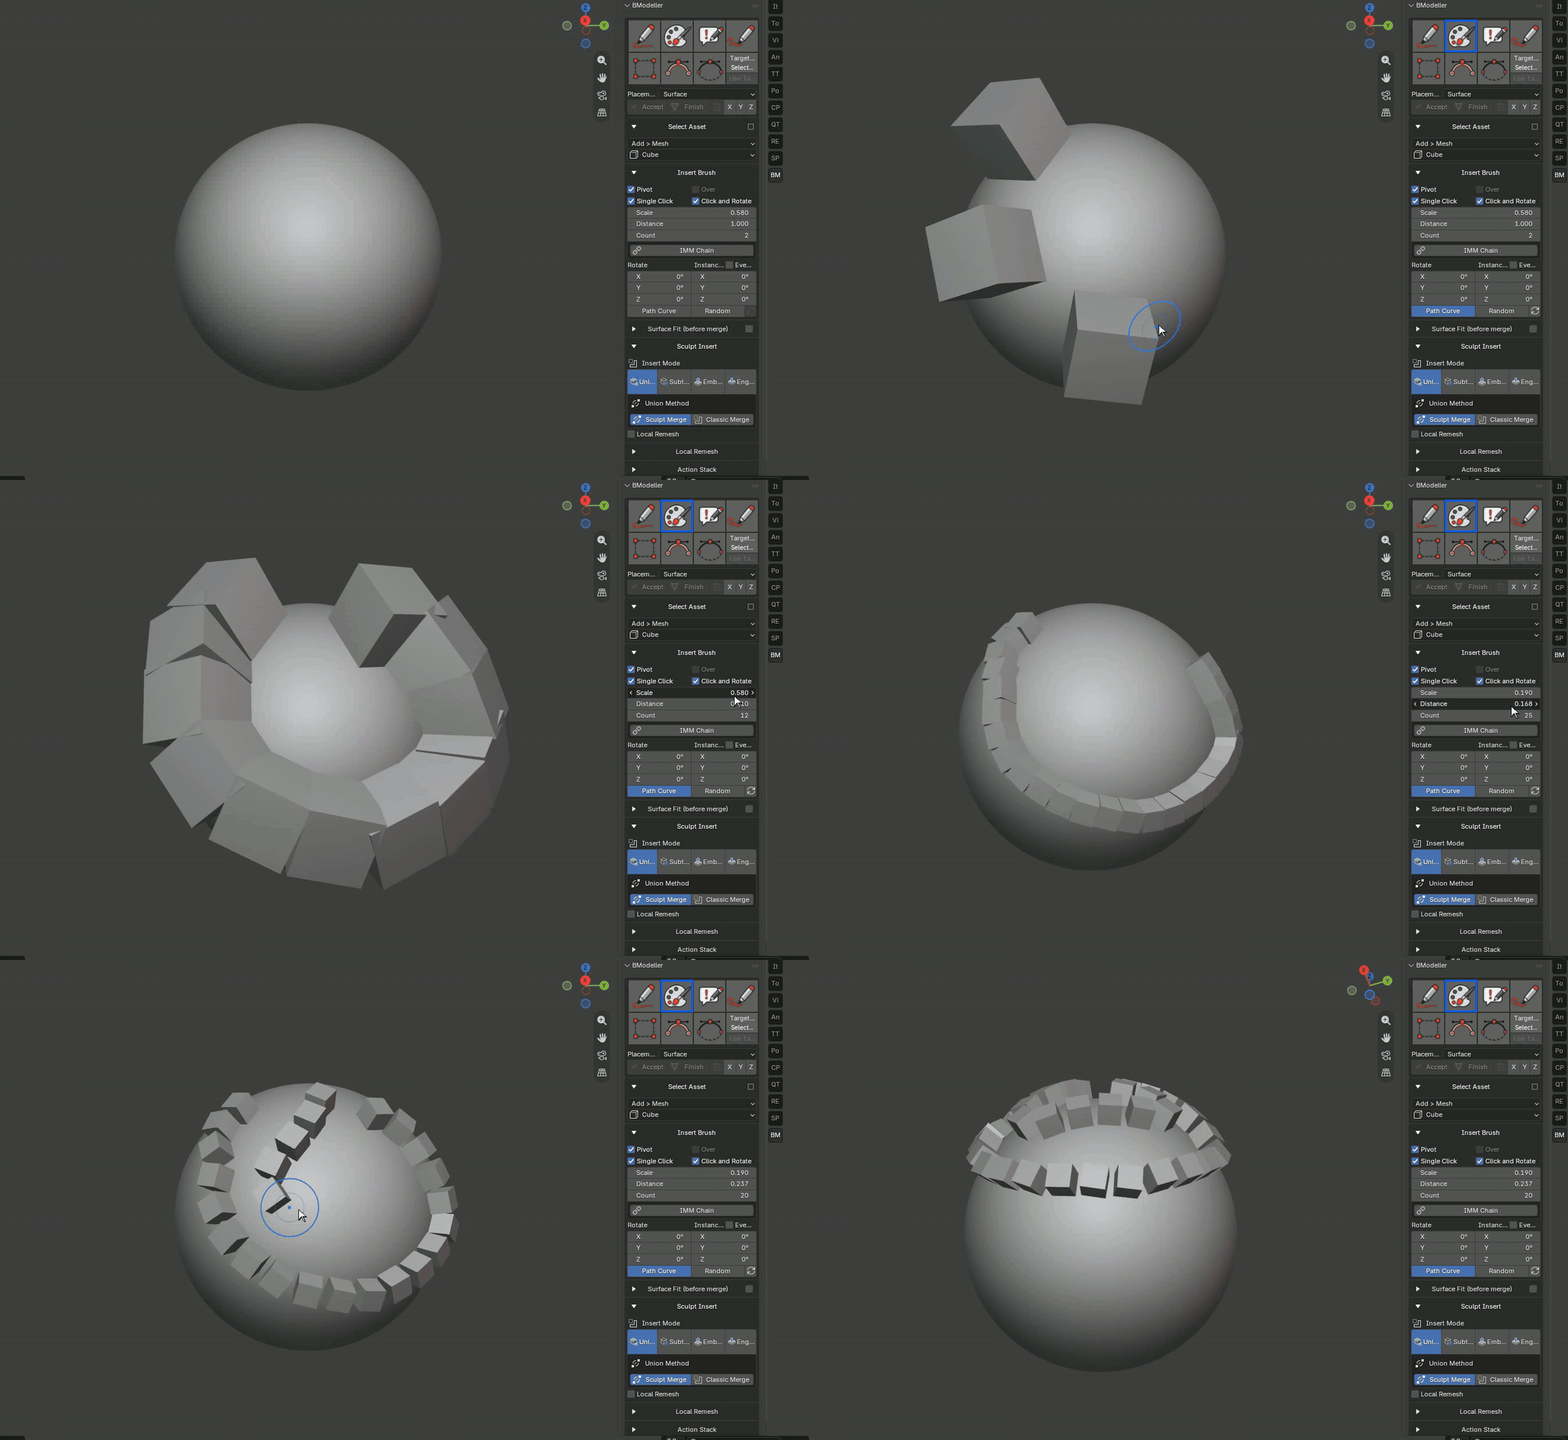
Paint brush
Drag to stamp repeated inserts along a stroke. Distance controls spacing; release the mouse to complete the stroke. You can create additional strokes before accepting or finishing the placement.
BMODELLER / 10
Annotate brush
Draw a free stroke of inserts with Annotate. Surface places it on the base mesh; View and Cursor allow placement away from a base. The result can later be handled by a suitable finishing operation.
BMODELLER / 11
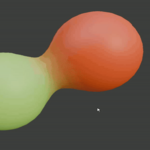
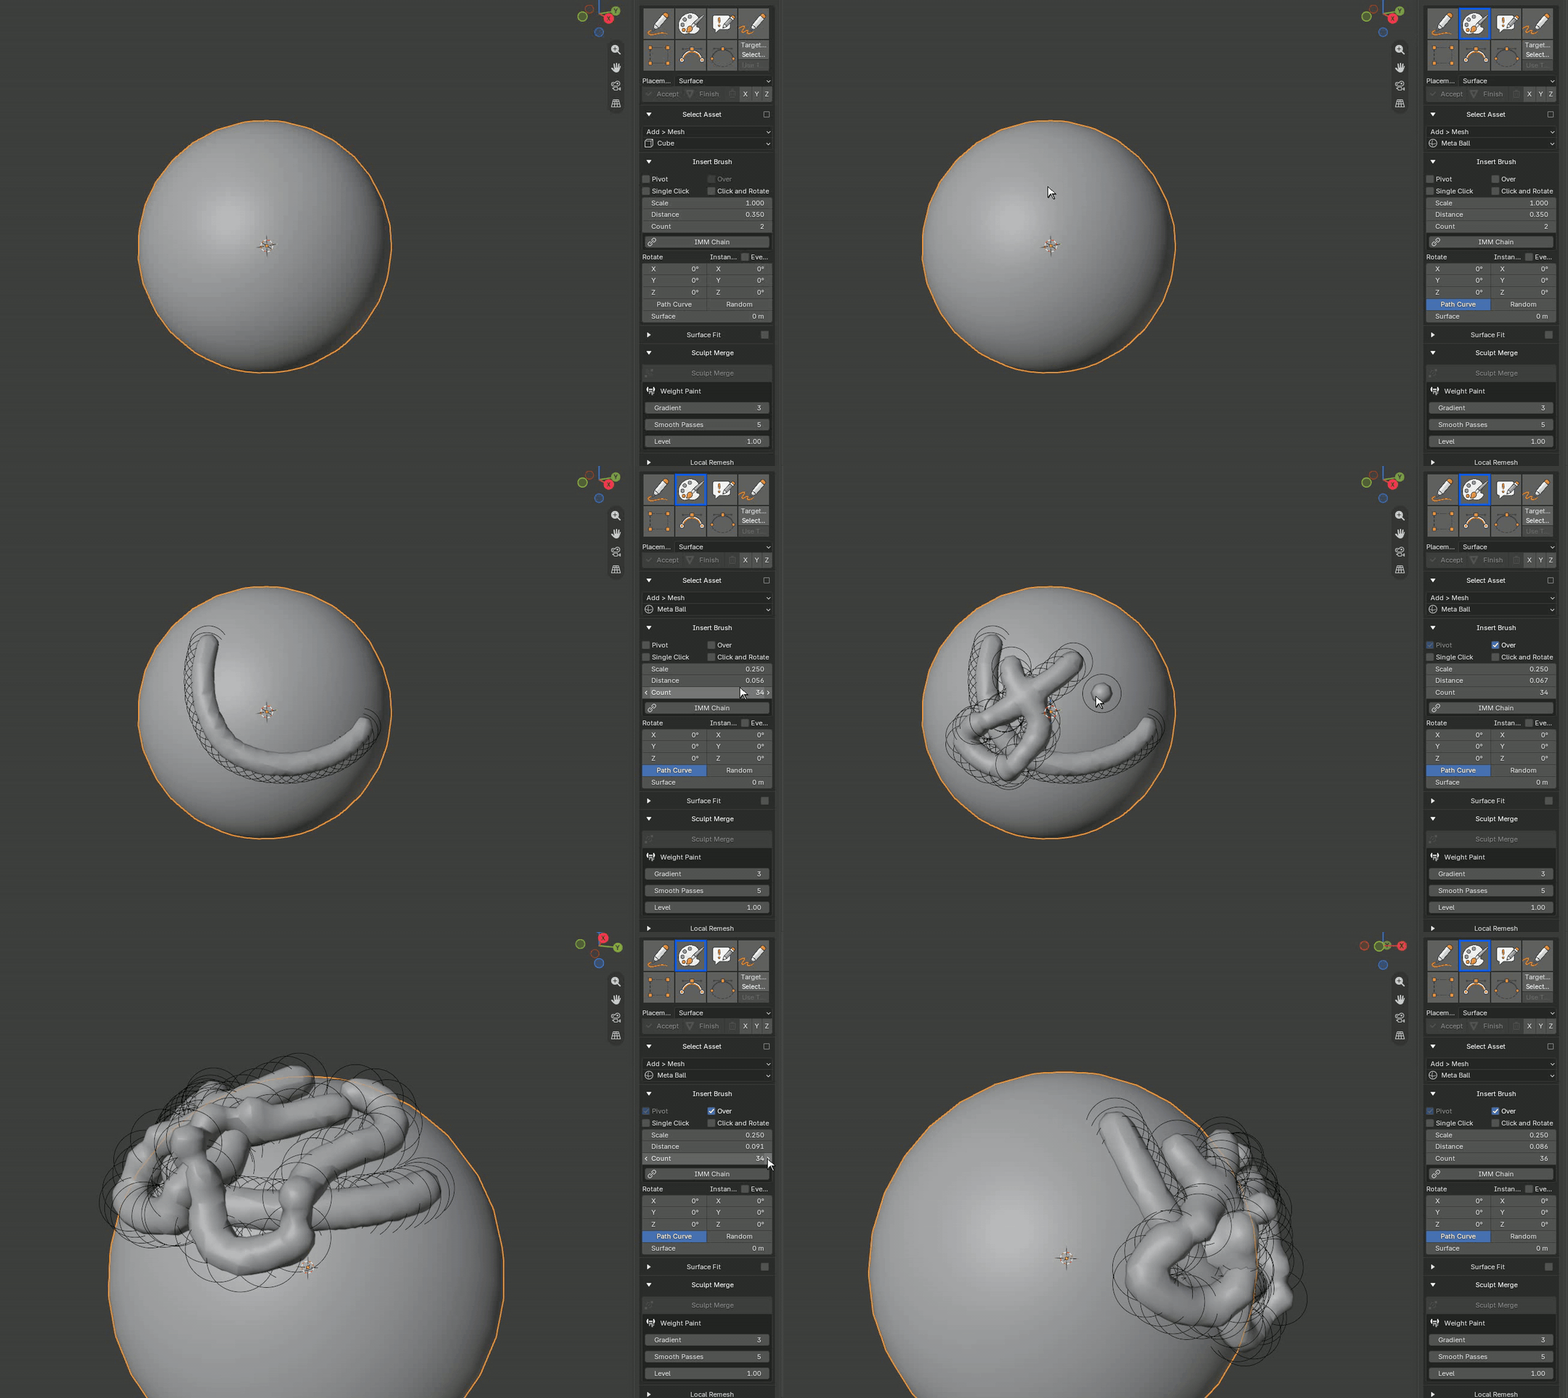
Over for Metaballs
With a Metaball source, Over can place a new stroke on earlier BModeller strokes. This option is specific to Metaballs and helps build layered, organic forms.
BMODELLER / 12
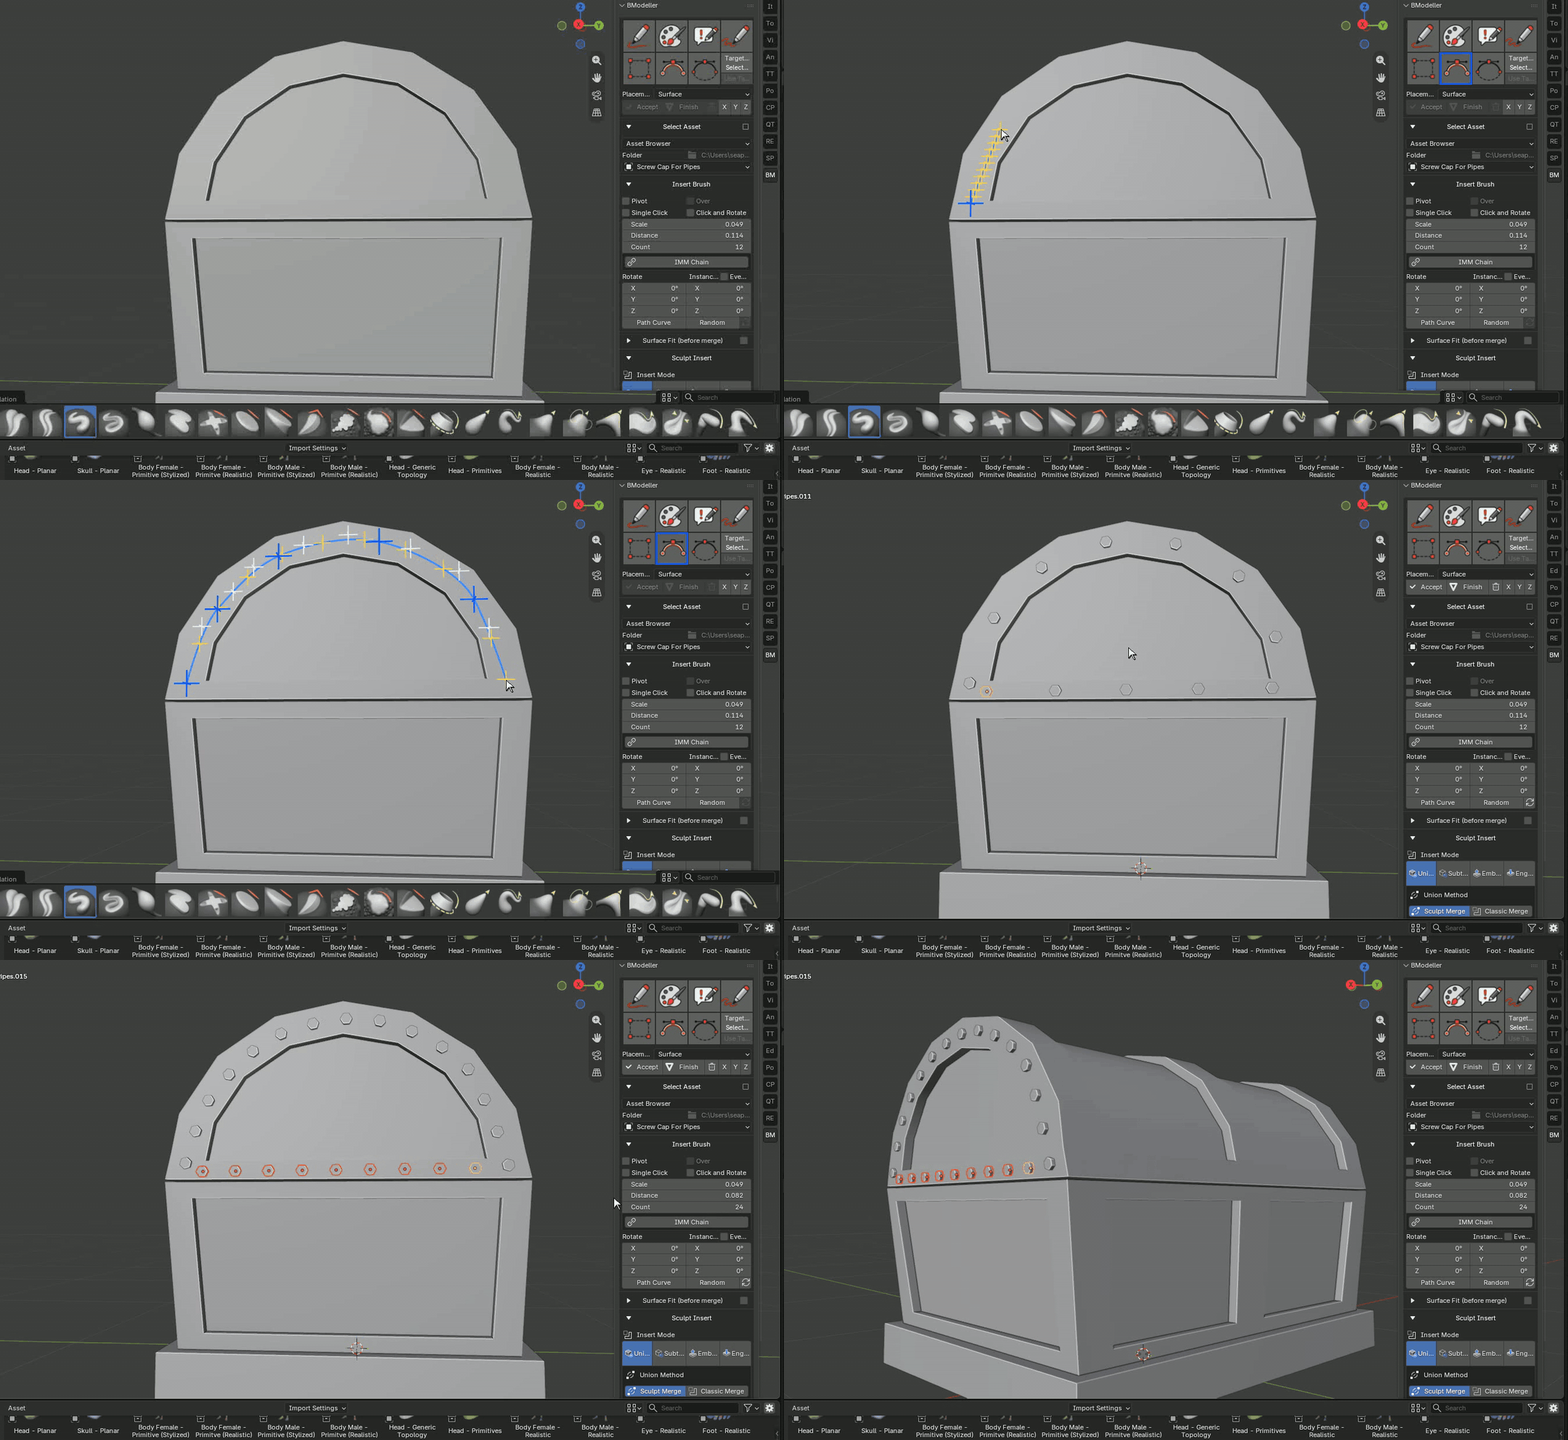
Curve brush
Draw a guide path and distribute inserts along it. Press Enter to complete the path, then adjust Count or Distance. Path Curve aligns each instance with the path tangent; turn it off to retain its own orientation.
BMODELLER / 13
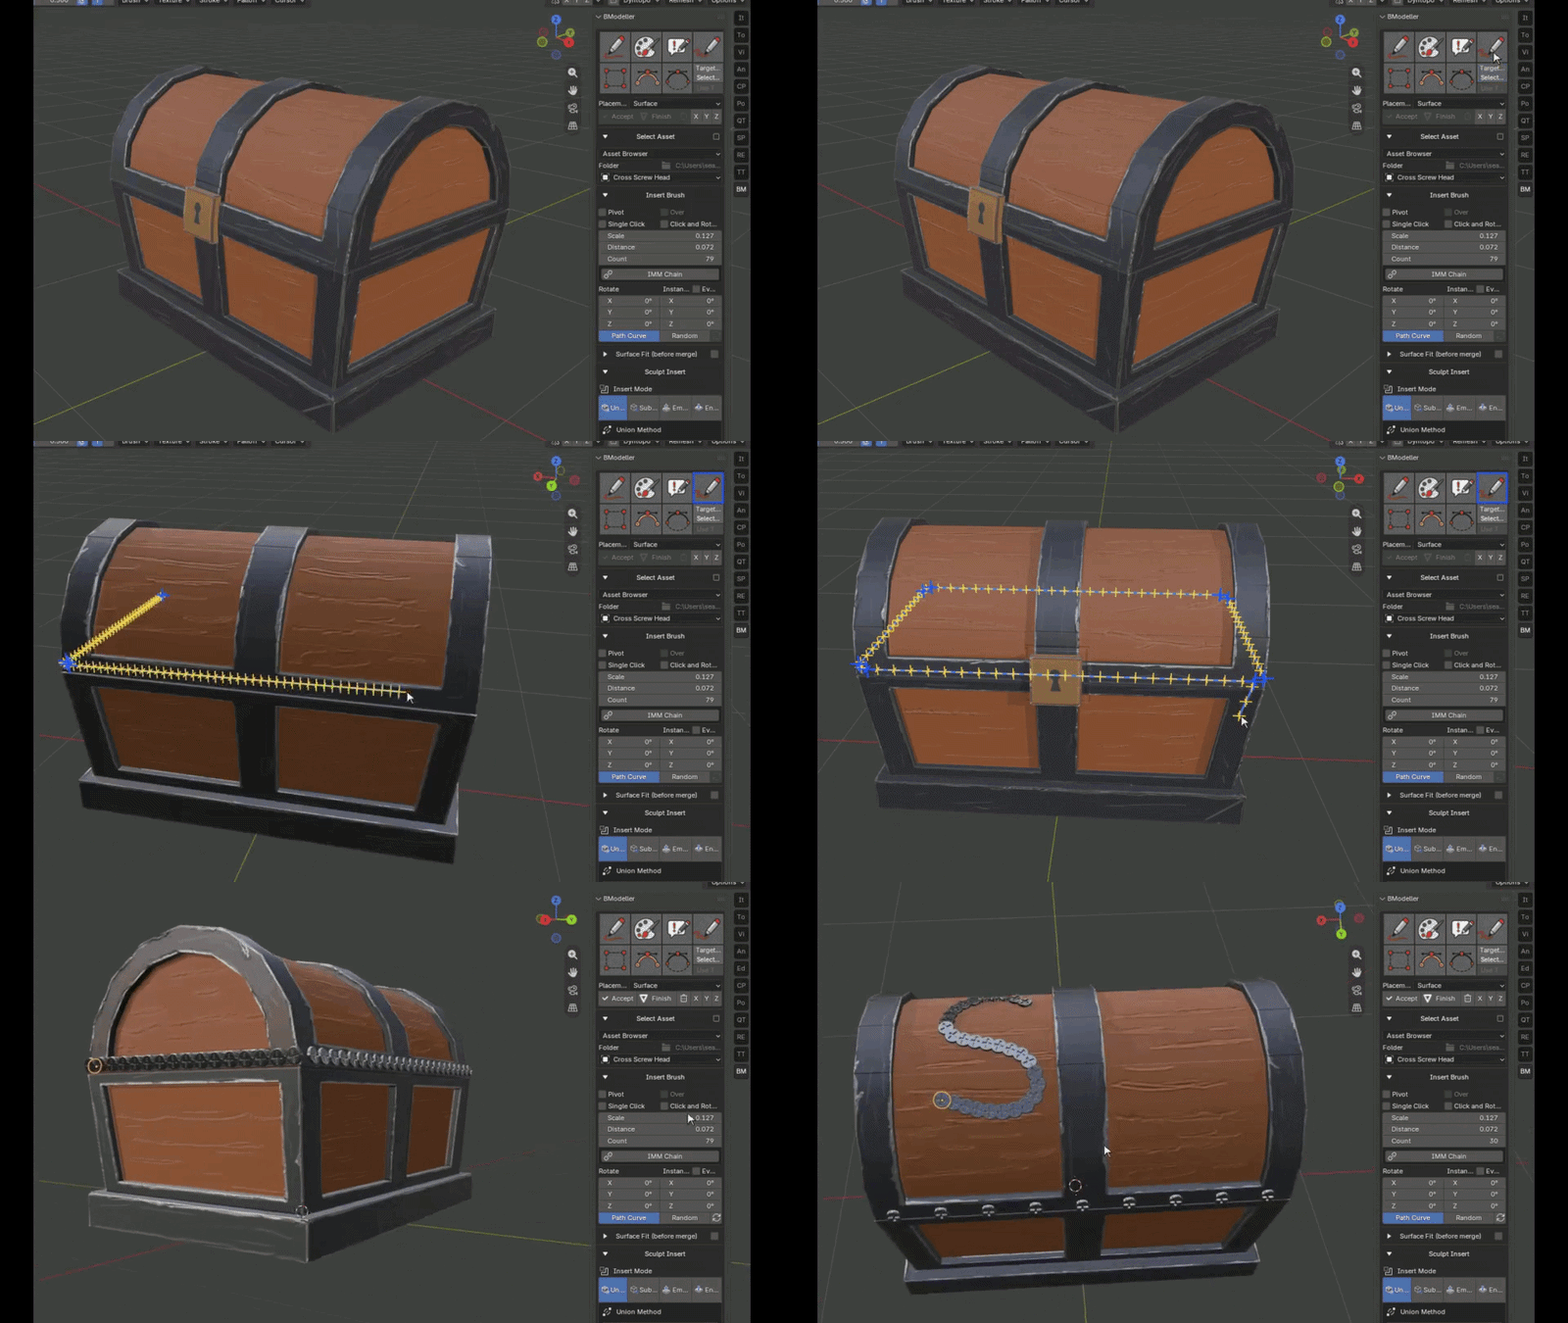
Free brush
Sketch a freely shaped guide to arrange inserts. Press Enter to complete it. Use Scale, Distance or Count and optional seeded Random variation to tune the pattern.
BMODELLER / 14
Add Curve: editable distribution
Create a Blender Curve that remains editable after placement. Move points, reshape splines, or change Count and Distance to update the insert distribution. Multiple splines in one Curve act as separate paths.
BMODELLER / 15
Rectangle brush
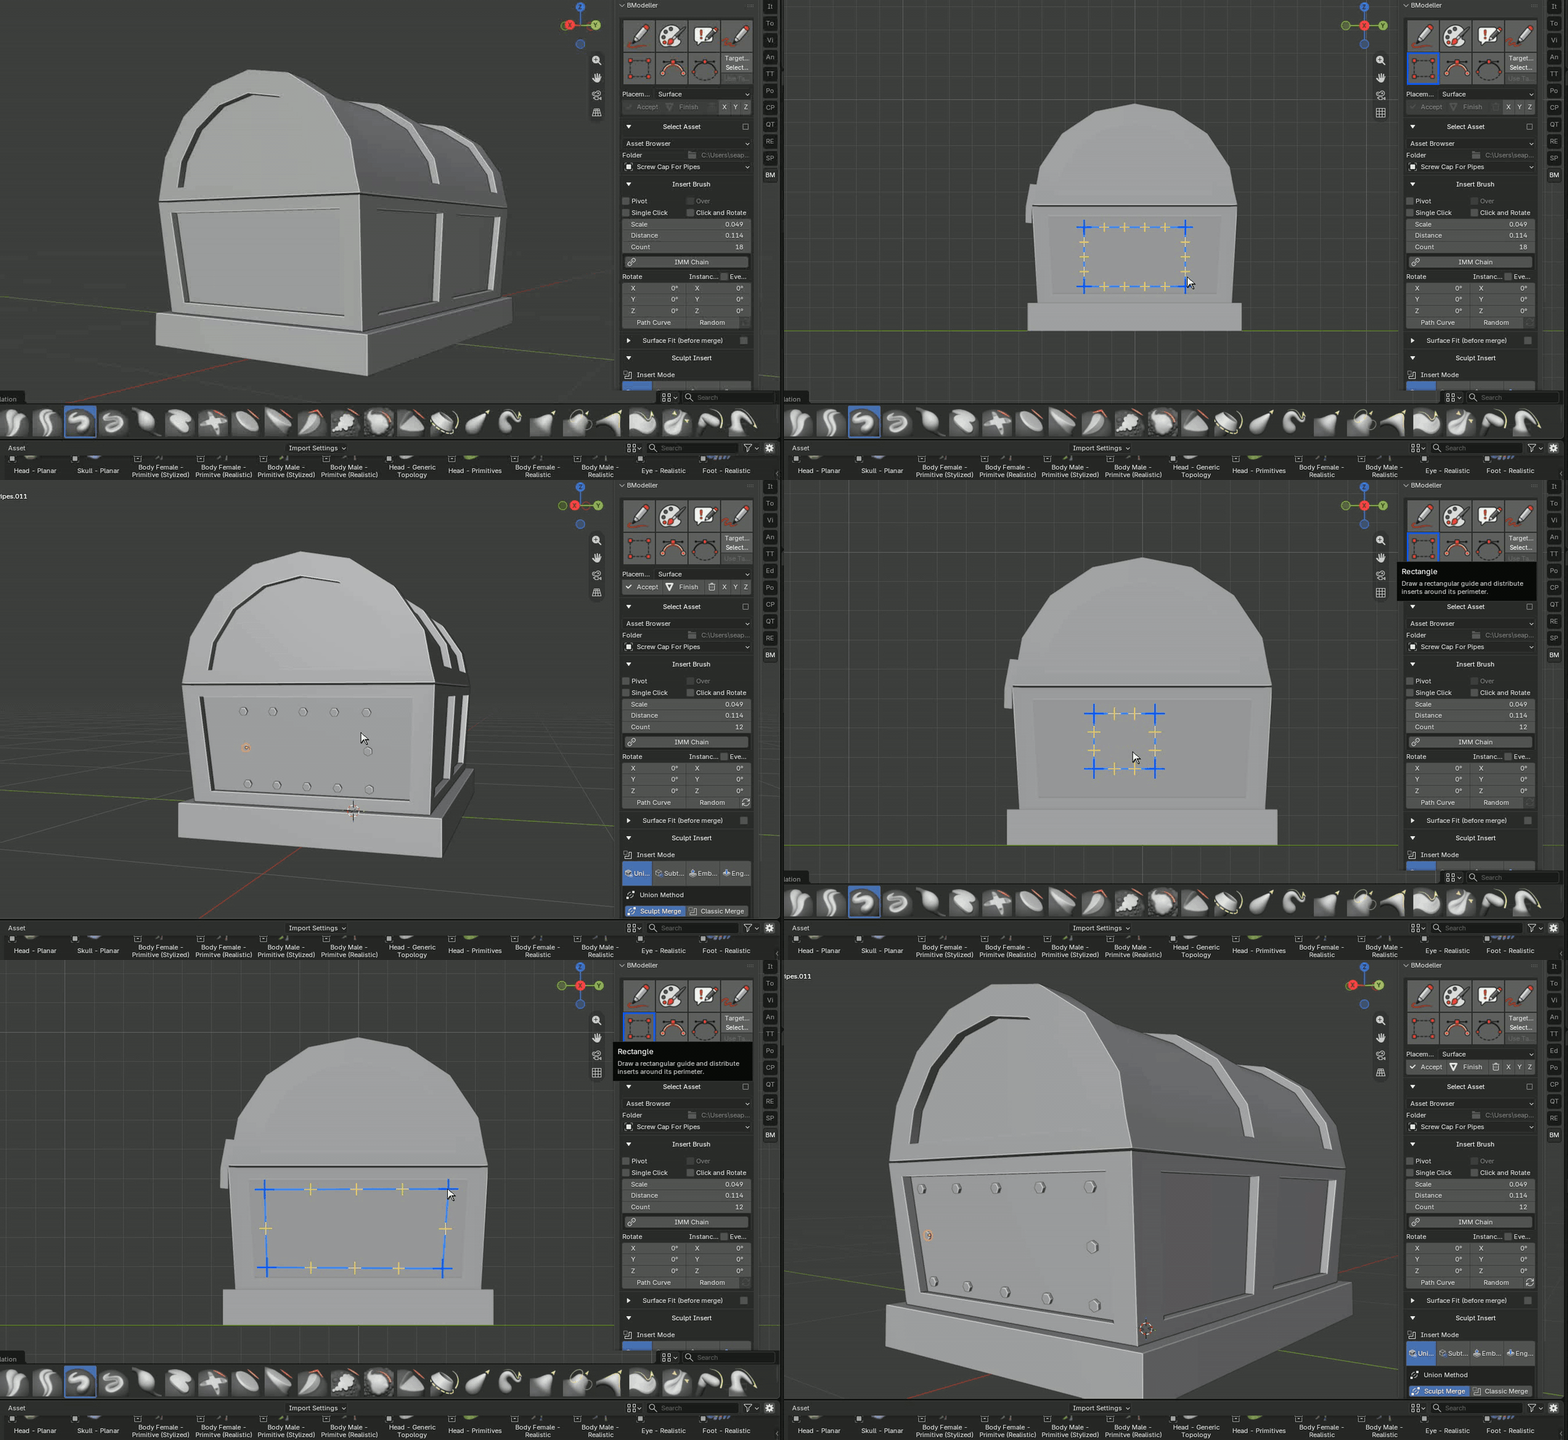
Draw a rectangular guide and distribute the selected insert around it. Press Enter to complete the path, then adjust spacing, count, scale, and orientation.
BMODELLER / 16
Rectangle brush: model example
Use a custom model as the repeated element in a rectangular layout on a mesh. This is useful for panels, ornaments, borders, and other regularly spaced details.
BMODELLER / 17
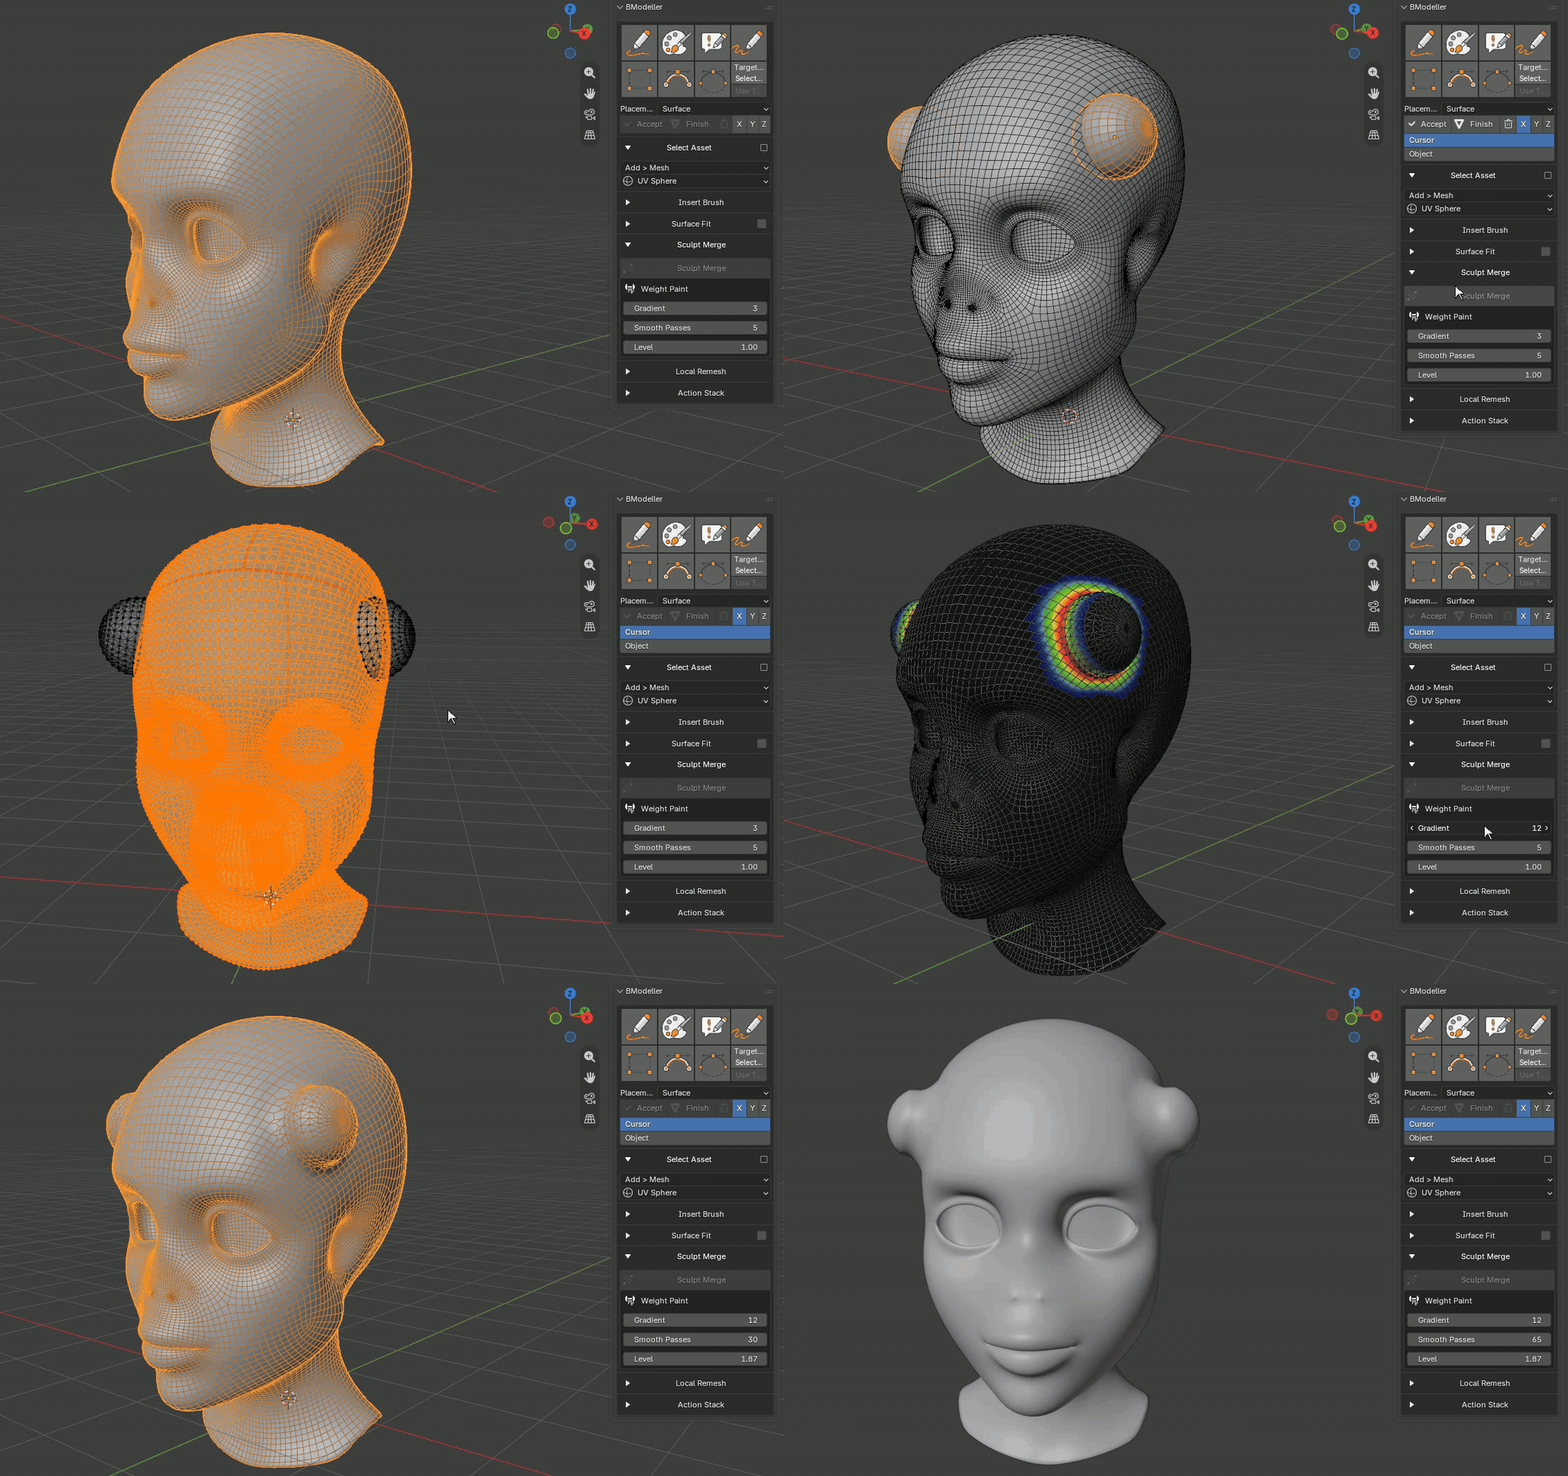
Sculpt Merge and Weight Paint
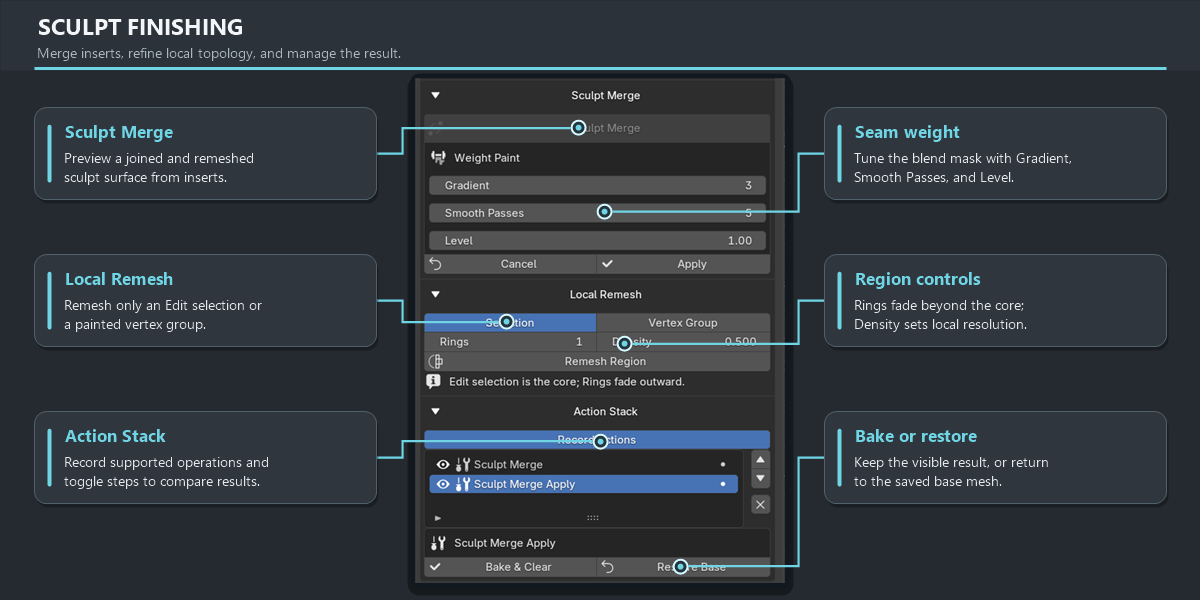
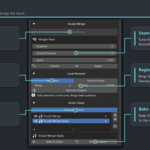
With Surface Fit disabled, Sculpt Merge previews a joined and remeshed sculpt surface for touching inserts. Its Weight Paint seam mask uses Gradient, Smooth Passes, and Level. Check the preview, then use Apply or Cancel inside Sculpt Merge.
BMODELLER / 18
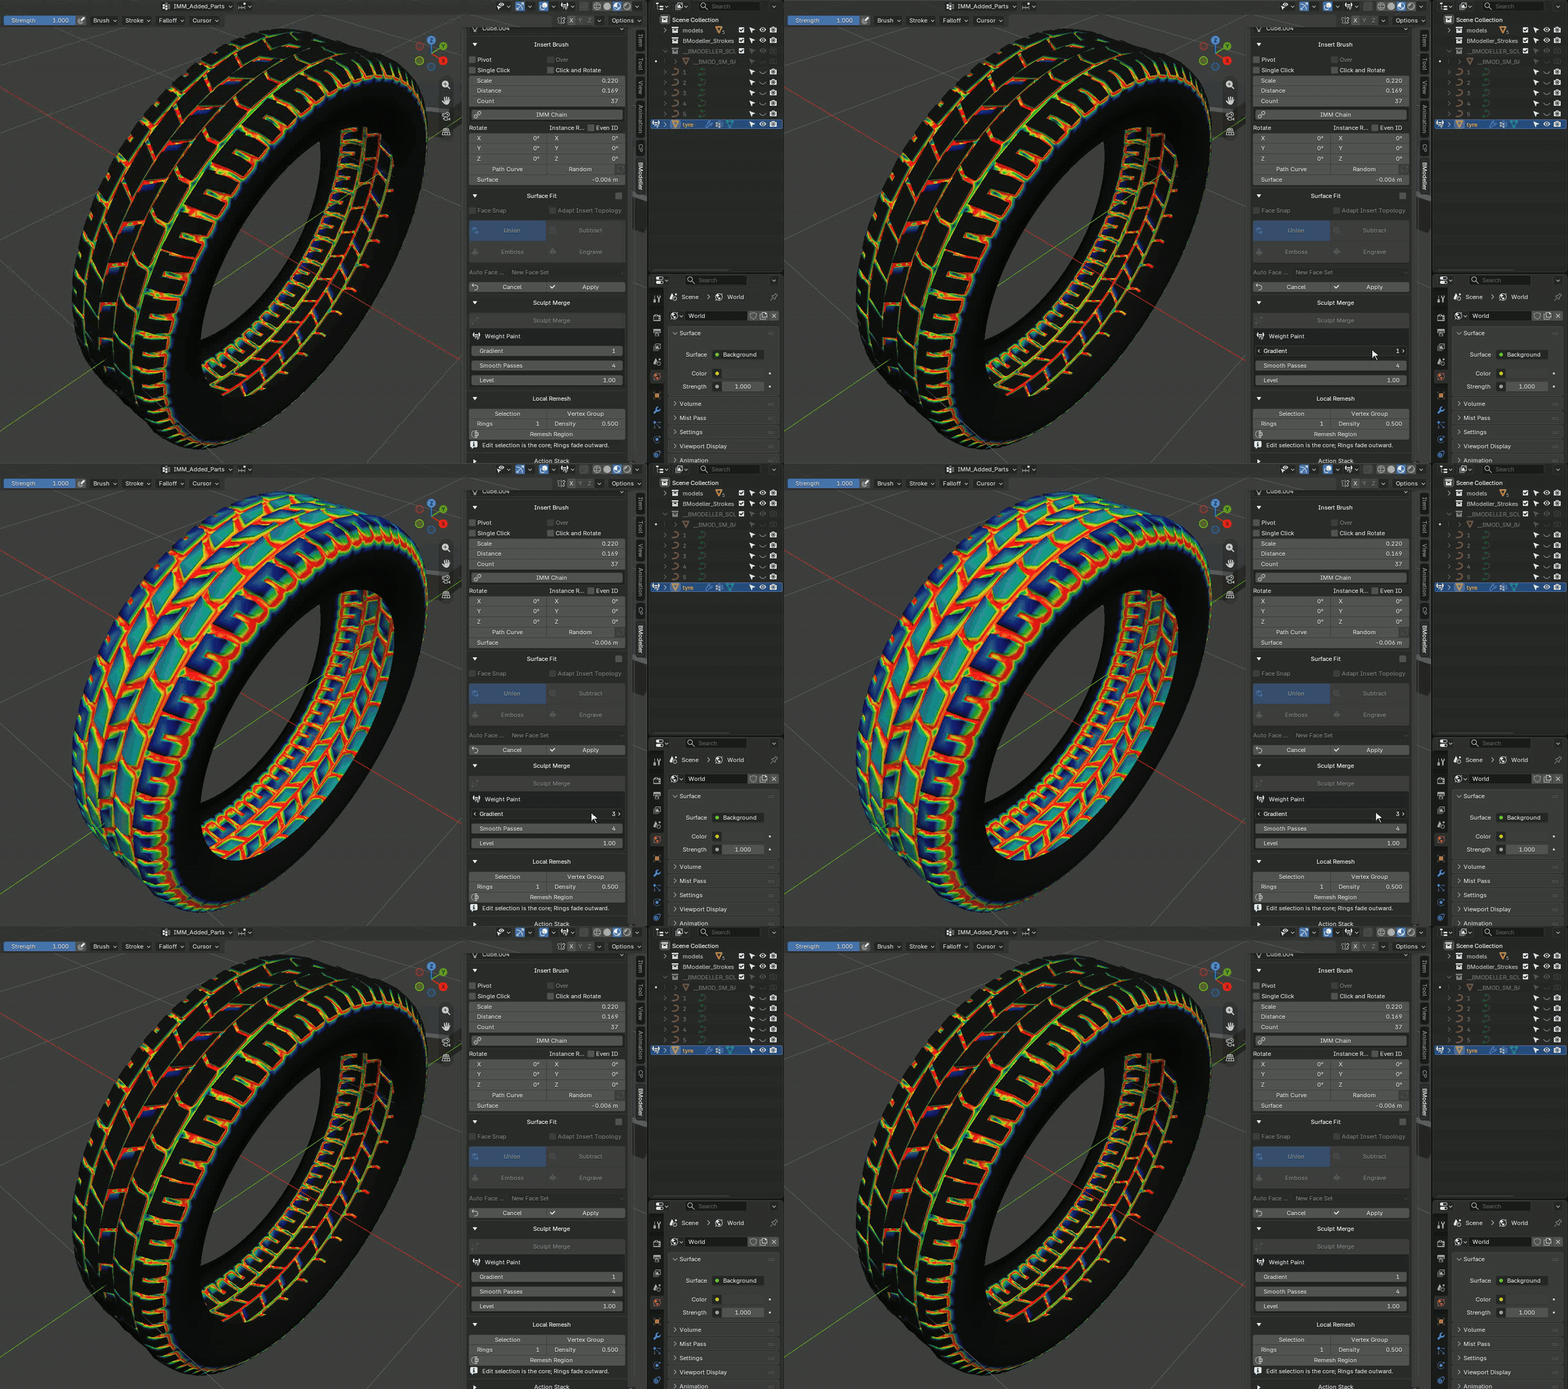
Fine control over the merge
Tune Gradient to widen the seam mask from the join, Smooth Passes to soften it, and Level to change mask strength. These controls help shape a smoother sculpting transition before applying Sculpt Merge.
BMODELLER / 19
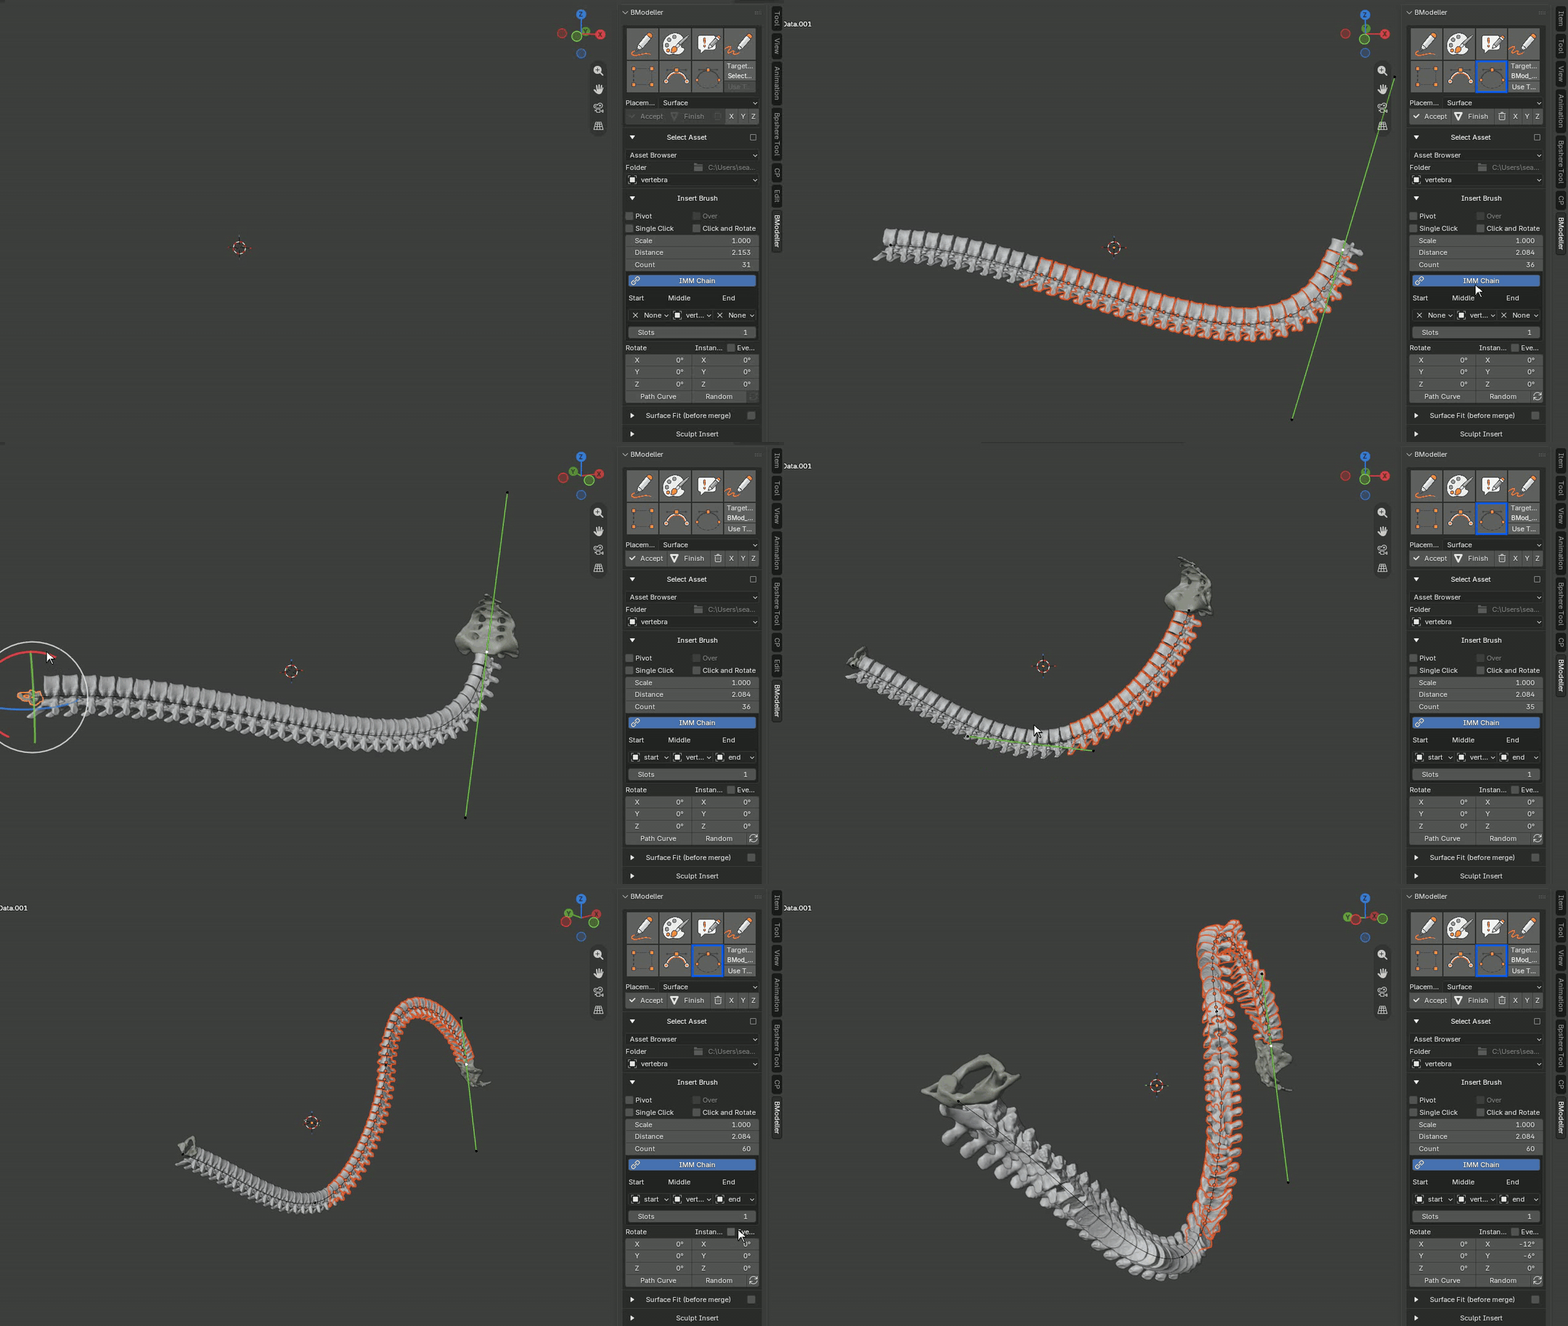
IMM Chain: varied objects on a path
Build an insert sequence with Start, Middle, and End variants across Paint, Annotate, or drawn paths. Use Count or Distance to control the arrangement, and choose sequential or seeded-random variation.
BMODELLER / 20
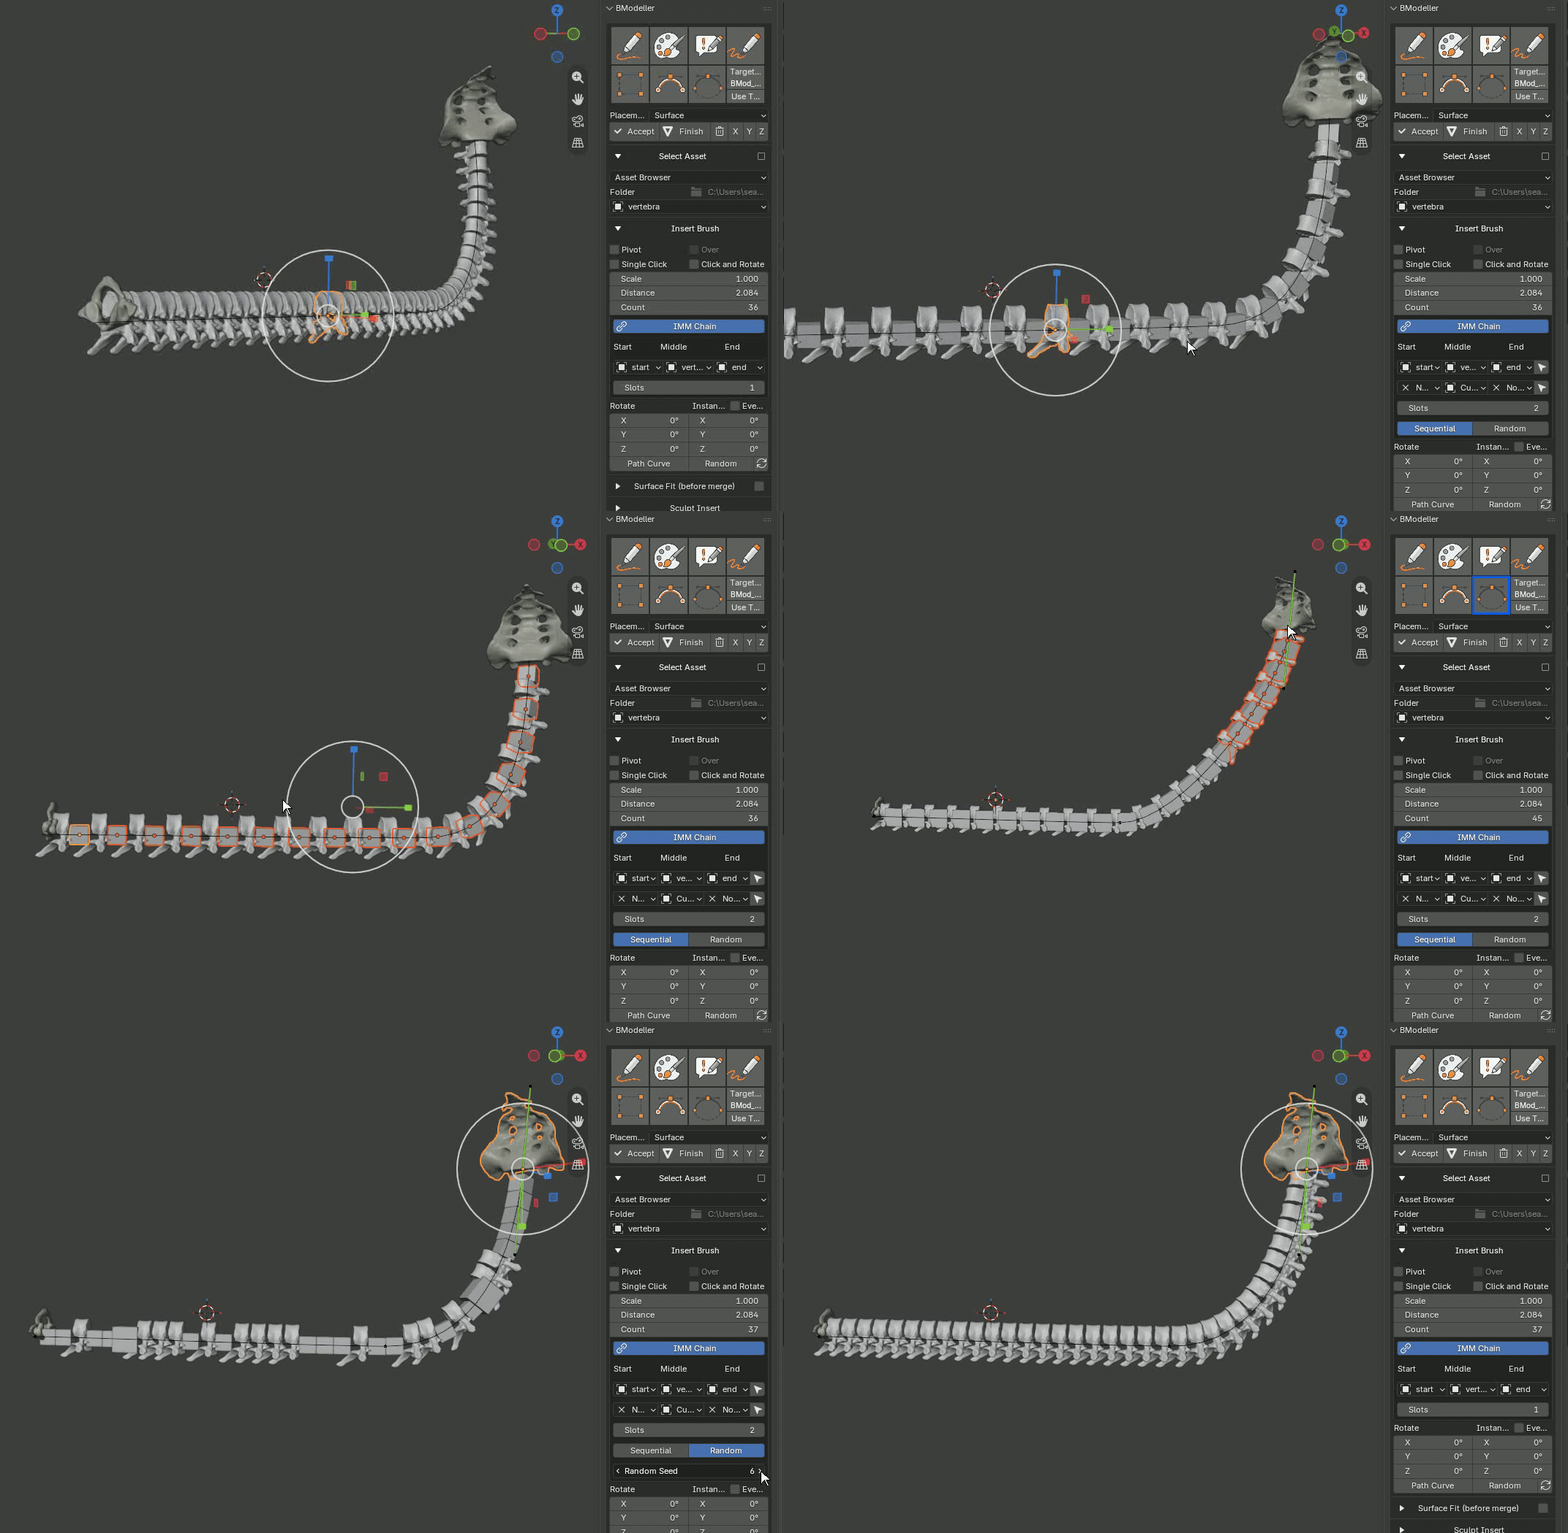
IMM Chain slots
Use up to five slots to organize different assets in the chain. Adjust the assigned objects and their transforms to create repeating patterns such as spines, links, trim, or armor details.
BMODELLER / 21
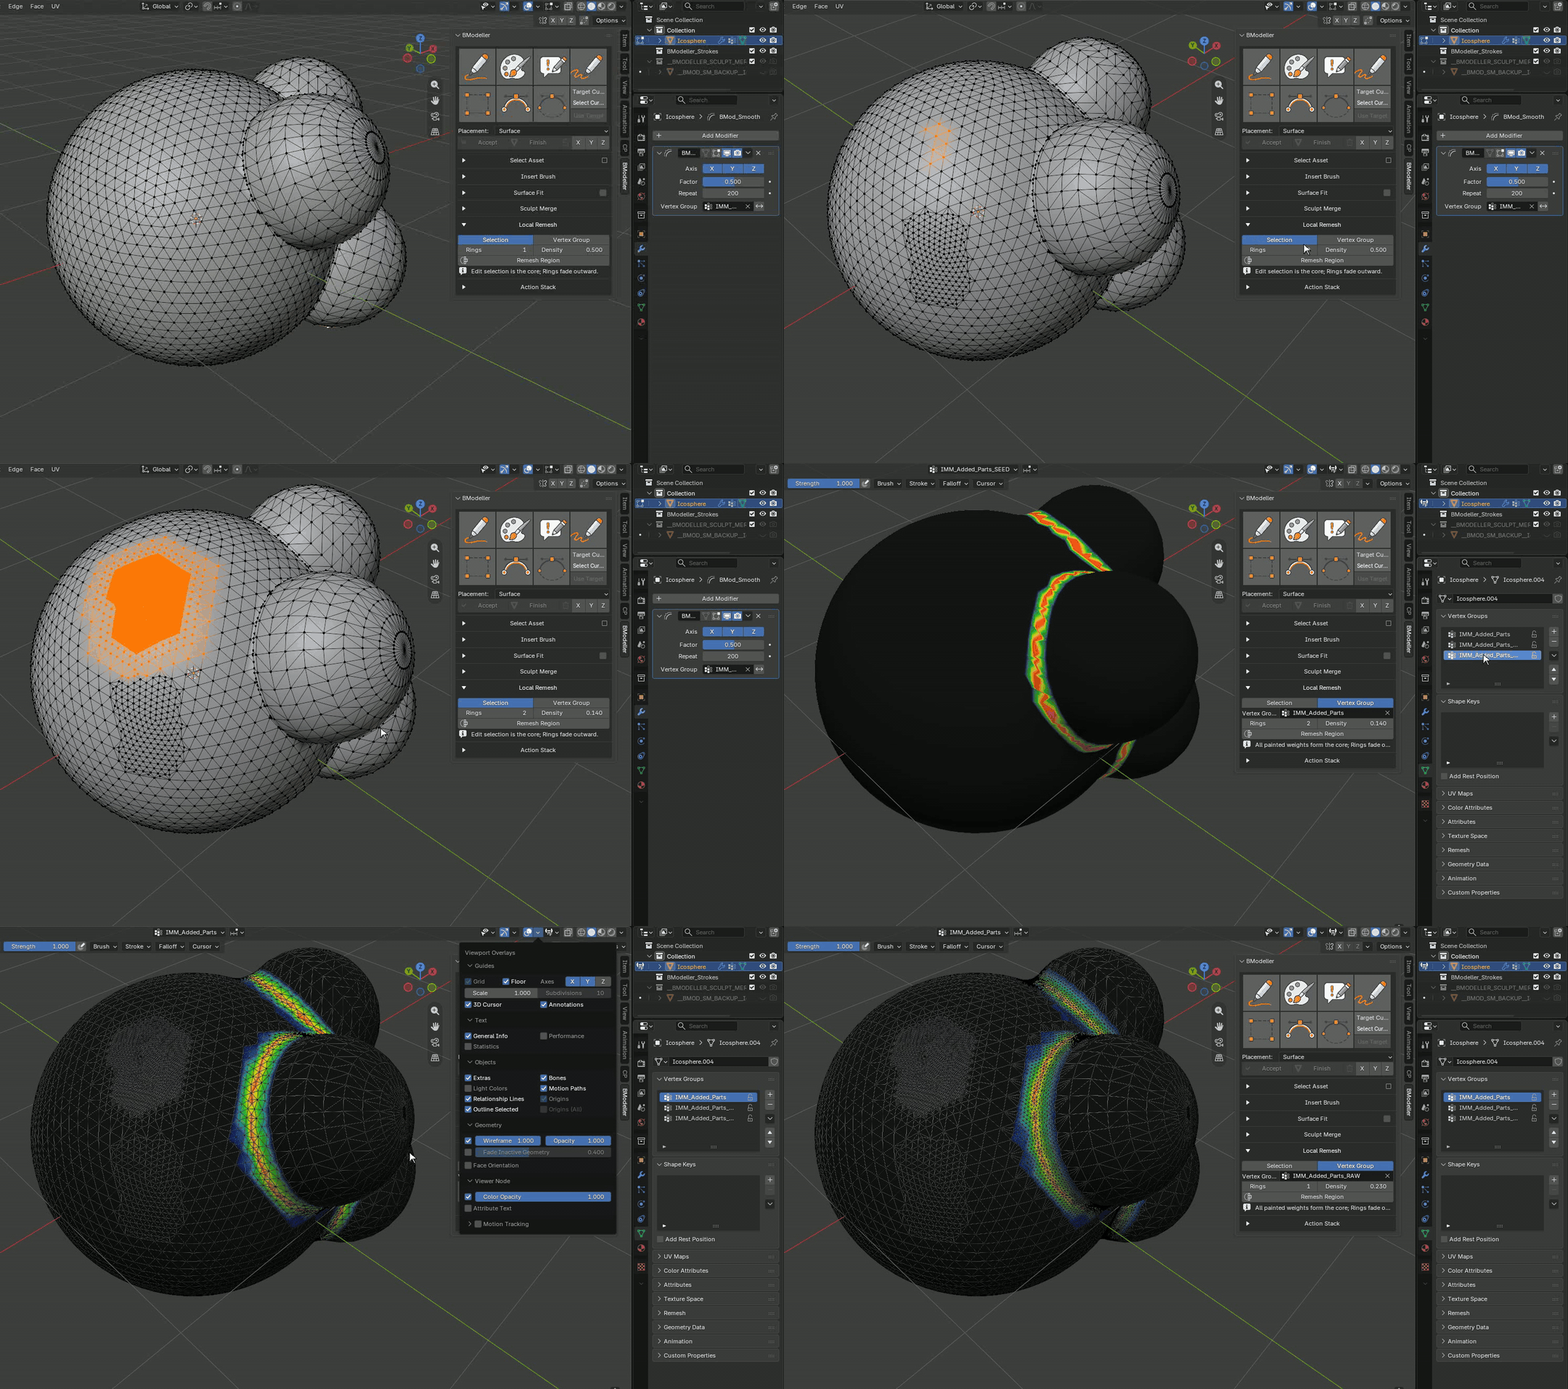
Local Remesh
Remesh an Edit Mode selection or a chosen vertex group without rebuilding the entire object. Rings expands the affected area, while Density sets its resolution. The IMM_Added_Parts group can target a sculpt-merge seam.
BMODELLER / 22
Viewport GPU shelf and pie menu
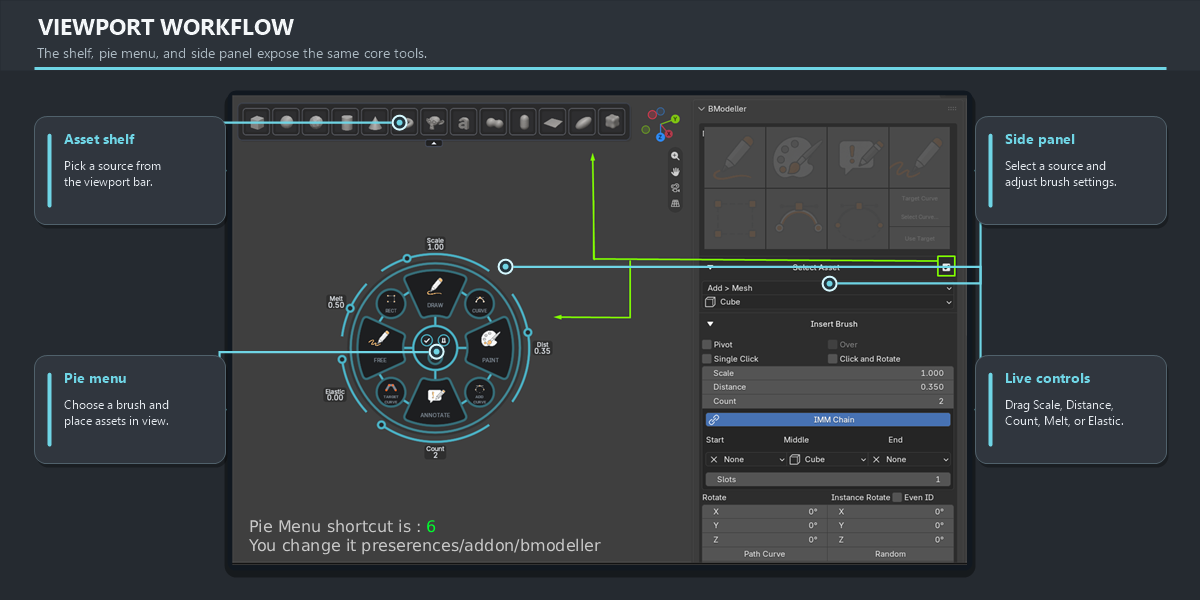
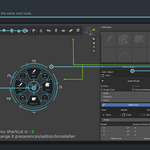
Keep assets and workflow controls within the 3D Viewport. The optional top shelf supports horizontal scrolling and can be collapsed; the pie menu gives quick access to brushes and placement controls. Middle-mouse orbit, pan, and zoom remain available while the menu is open.
Keep your workflow editable
Enable Record Actions to retain supported Surface Fit, Sculpt Merge, and Local Remesh steps as rebuildable history. Use the eye controls to inspect results, Bake & Clear to keep the visible result, or Restore Base to return to the saved base.
After Apply or Finish, choose another mesh or Curve to begin again. If an interrupted operation disables the brushes, use Finish Insert Mode. The add-on includes a Help panel for its controls.
Blender 5.0–5.x (below 6.0) · GPL-3.0-or-later · Zekeriya AYAN