 Medicraft


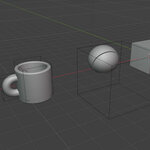
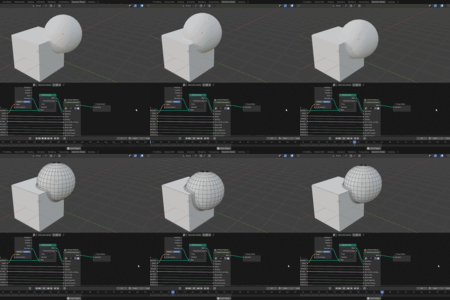
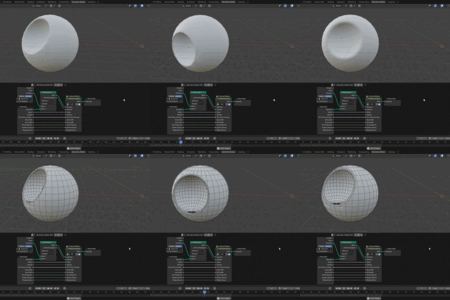
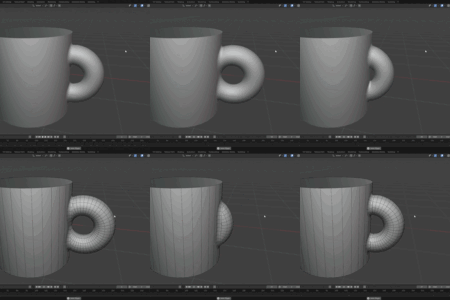
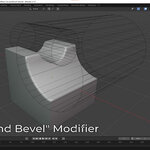
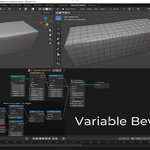
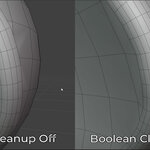
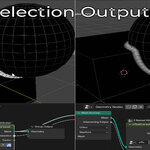
A Geometry Nodes setup that procedurally generates offset cuts and bevels along continuous edge loops. Designed as a non-destructive alternative to tools like Mesh Machine's "Offset Cut," this asset handles boolean intersections, offset cuts, and beveling in a single evaluation without the need to apply modifiers.
The core node group can also be isolated to execute offset cuts and variable bevels on any continuous edge loop within a mesh.
Included Assets
"Boolean and Bevel" Modifier Wrapper: A pre-configured Geometry Nodes modifier designed specifically for boolean operations. It handles the target object selection, the boolean math, and the subsequent offset cut and bevel.
- "Boolean and Bevel Node": the same modifier, in the form of a standalone node group that you can use directly in your node trees.
"Offset Cut and Bevel" Node Group: The core processing node. It can be appended into custom Geometry Nodes trees to apply the offset cut and bevel logic to arbitrary edge loop selections.
Key Features
Universal Edge Loop Processing: The core node processes any continuous edge loop provided via the selection input, allowing for procedural bevels on custom geometry selections (e.g., rims, borders, or procedurally generated cuts).
Built-in Topology Cleanup: An optional toggle merges nearby vertices generated by the boolean operation, resolving common shading artifacts associated with raw boolean intersections.
-
Variable Bevel Widths: Bevel widths can be driven dynamically, either using vertex groups or procedurally, creating variable bevels along a single continuous cut. Your loops must have adequate resolution of course.
Bevel Weight Output: The beveling operation can be bypassed. Instead, the node will execute the offset cut and assign a Bevel Weight attribute to the new edges, allowing standard Bevel Modifiers further down the stack to handle the geometry.
Layered Operations: Multiple modifier instances can be stacked sequentially to create complex, multi-layered boolean intersections.
Parameter Reference
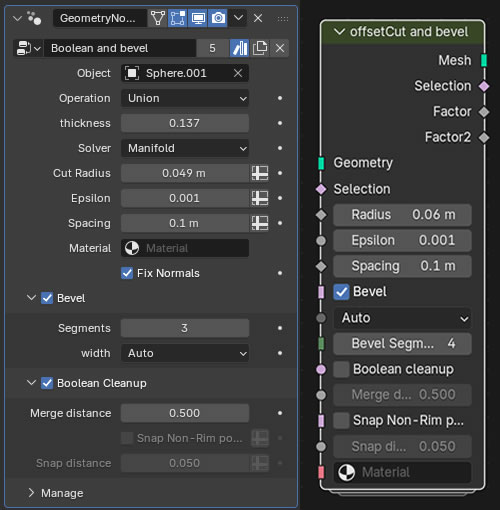
Modifier Specific Parameters
Object: The target object to perform the boolean operation against.
-
Operation: The type of boolean math to execute:
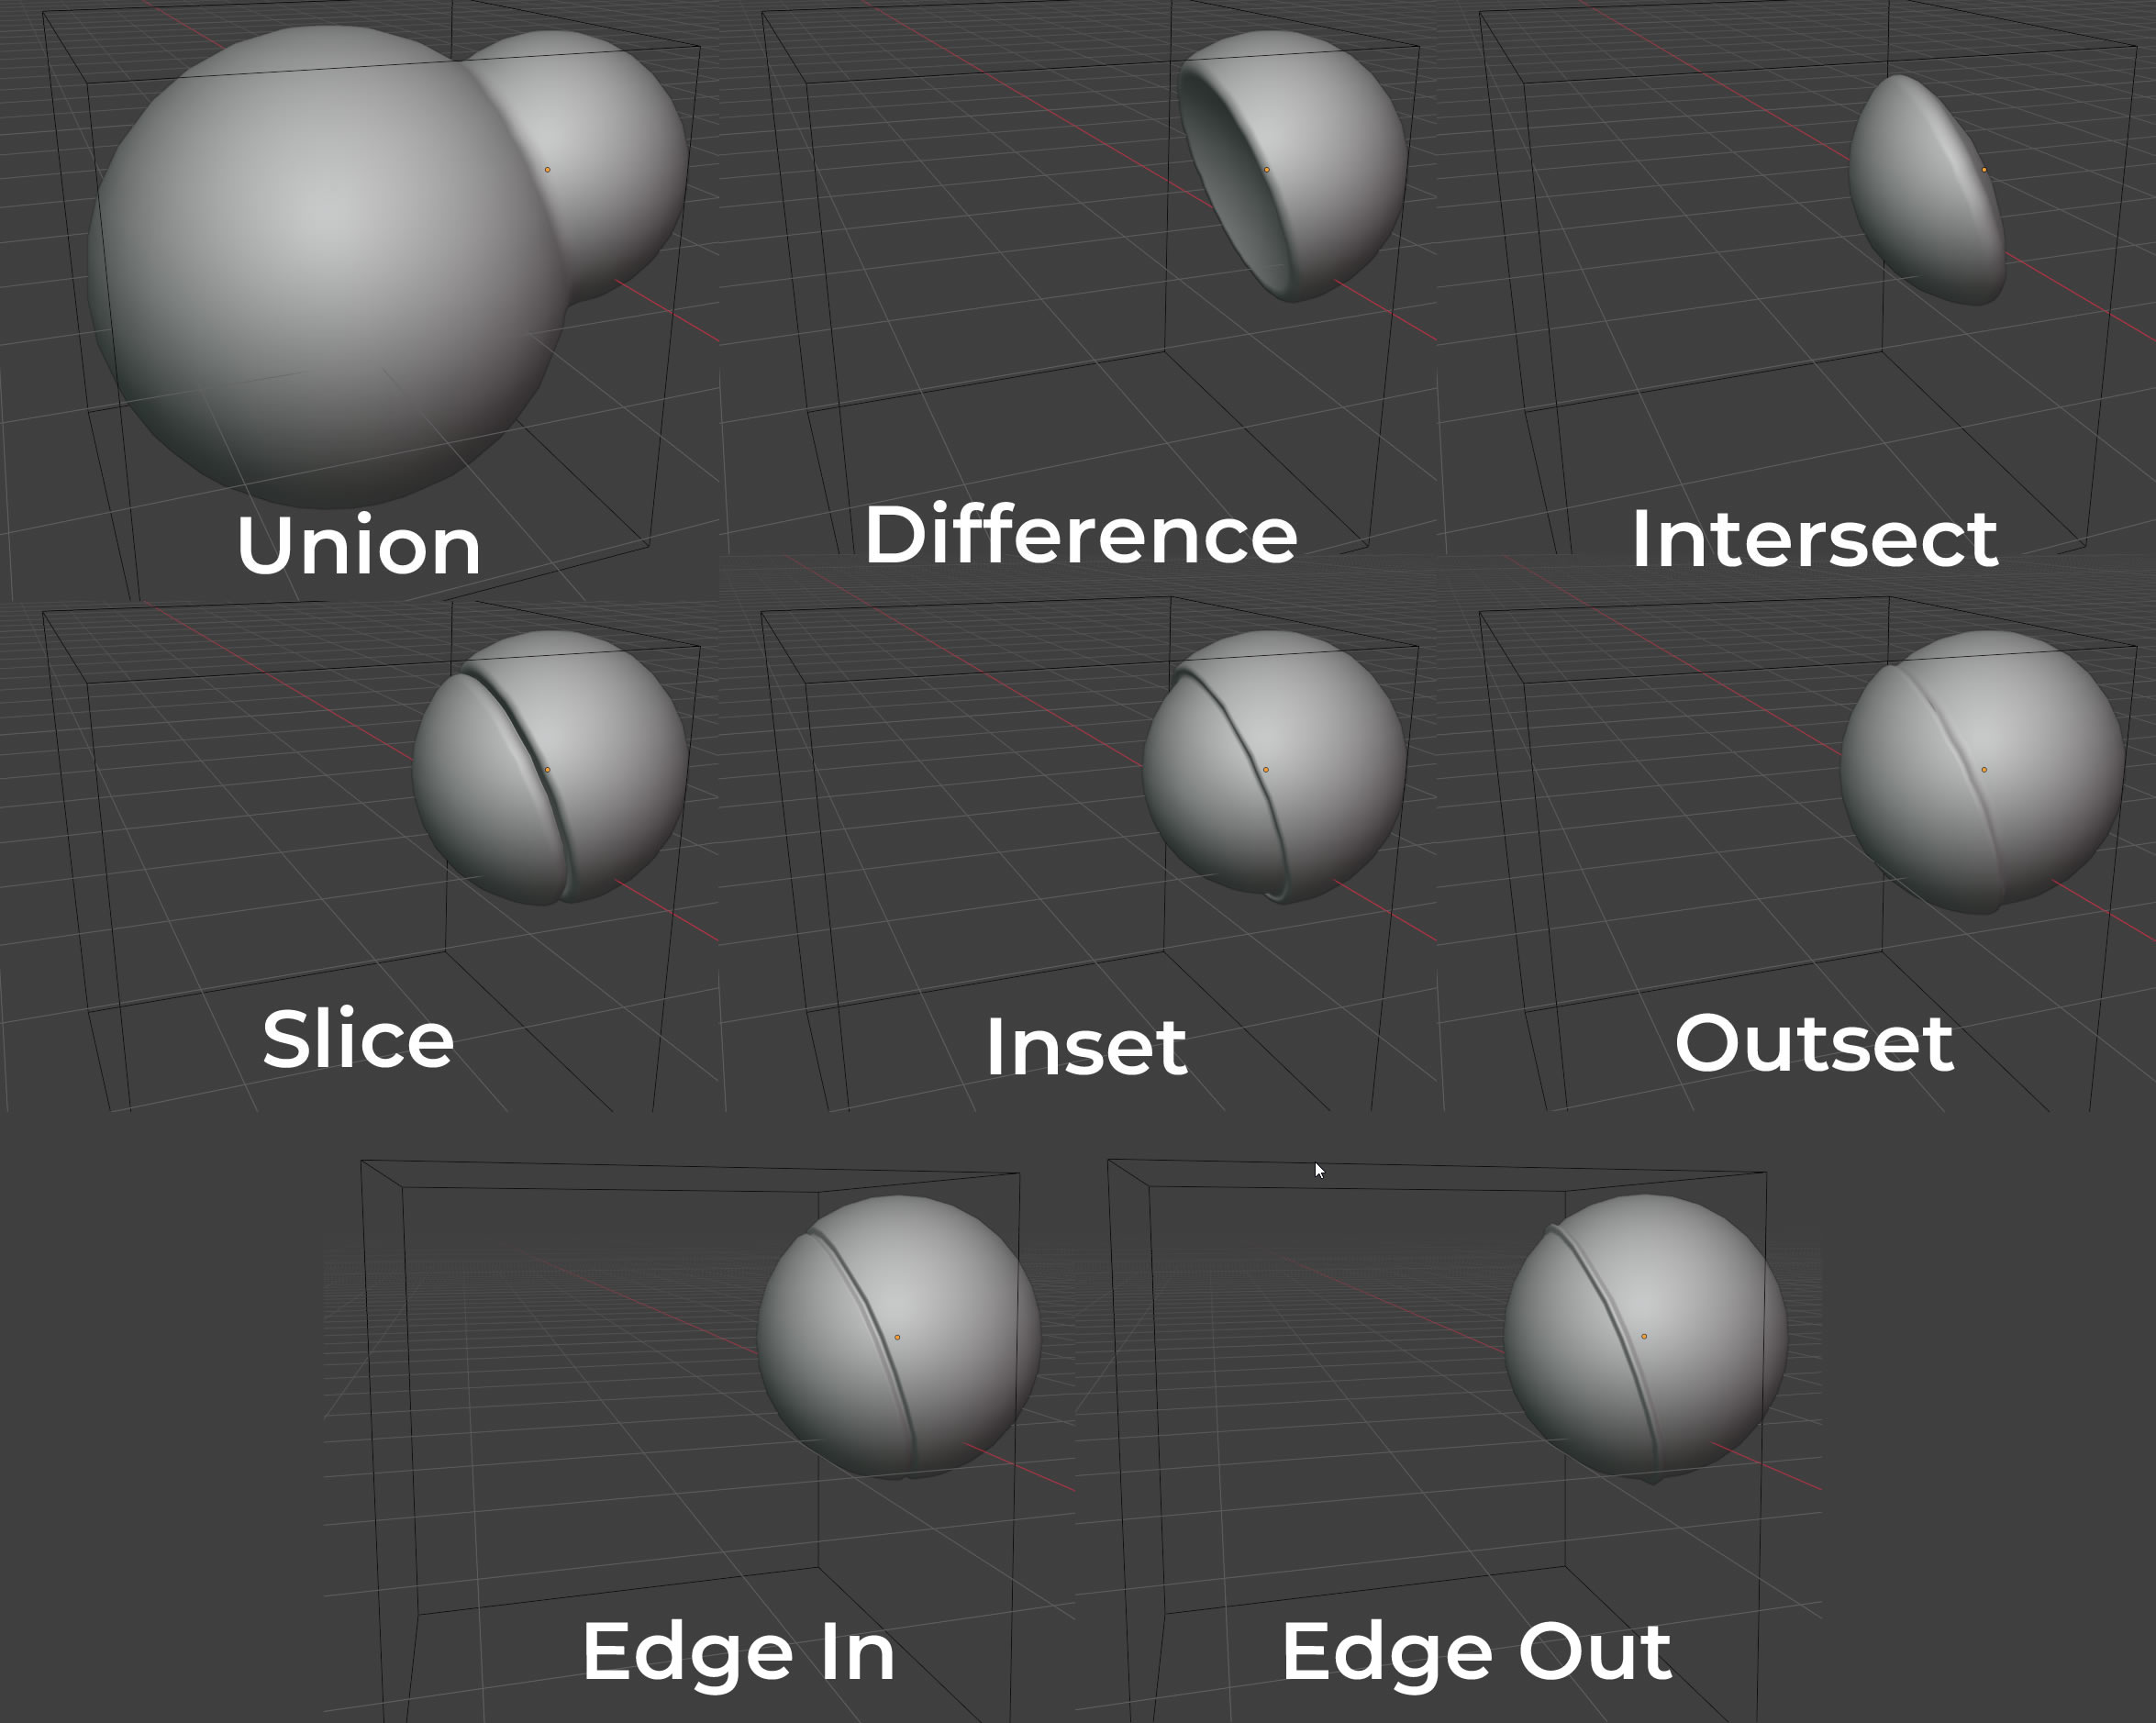
- Union: unions both objects.
- Difference: Subtracts the target object from the current object.
- Intersect: intersects both objects.
- Slice: Uses the shell of the target object to slice the current object, splitting it into two "slices", each with a smooth bevel. Slice thickness can be specified.
- Inset/outset: Creates an inset/outset panel in the current object where it intersects with the target object. Positive thickness will inset, negative thickness will outset. This mode is experimental and needs careful adjustment of the parameters, especially “Thickness” and “Cut radius”. If the cut radius is too big for the thickness the boolean fails.
- Edge: Creates a raised/inset edge with an offset defined by the "Thickness" parameter where the two meshes intersect. You get to choose the profile as one of "Smooth", "Bump", or "flat".
Solver: The boolean solver method (Fast or Manifold). Note that if you're using manifold, you must check the "Boolean Cleanup" option if you're using the "Slice" or "Inset/Outset" modes, otherwise the modifier will fail. This is because "Slice" and "Inset/Outset" involve multistep boolean operations and "Boolean Cleanup" Makes sure your mesh remains manifold.
Fix Normals: Transfers the normals of the initial meshes before the booleans to fix shading artifacts. Improved (23-6-2026) to fix issues with flat-shaded faces. Can still give unexpected results sometime though, especially when you use more than one copy of the modifier on the same object. In this case you can just use a Smooth by Angle Modifier/Node or a Weighted normals modifier (or the weighted normals node!) to fix the shading.
Shared Parameters (Modifier & Node Group)
Cut Radius: The width of the initial offset cut extending outward from the intersecting edges. You can pass a field here for variable bevel width. In that case you'll either need to set bevel width to "Auto" or pass the same field (or a fraction of it) into the bevel width.
Epsilon: A tolerance threshold for vertex selection along the offset cut. Increase this value slightly if the node fails to pick up any vertices along the intersection.
Spacing: The spacing between the cut loop segments. Lower spacing gives a higher resolution cut.
Bevel: Apply a bevel to the edges of the boolean. If unchecked, the modifier only does an offset cut, skipping the geometric beveling process and instead outputs a standard Bevel Weight attribute on the selected edges, that can be used in a Bevel Modifier further down the modifier stack.
Bevel width: 'Auto' will match the full cut width. 'Manual' will allow you to specify a bevel width.
Bevel Segments: The resolution (number of segments) of the generated bevel.
Boolean cleanup: A toggle to automatically merge close vertices and repair topology artifacts created by the boolean or cut operations.
Merge distance: The distance threshold used by the Boolean cleanup operation to snap and merge the mesh vertices to the closest verts on the cut loop. You typically need a large value here.
- Snap Non-rim vertices: Boolean Cleanup alone will only snap loose vertices on the rim of the offset cut to the beveled edges. Selecting "Snap Non-rim vertices" will also snap close vertices (closer then the "Snap distance" parameter below) beyond the rim. Use this option if you get some chading issues that "Fix Normals" cannot handle.
Material: The material to be assigned to the newly generated bevel geometry (a UVMap is generated for the bevel loop so you can use it in the shader).
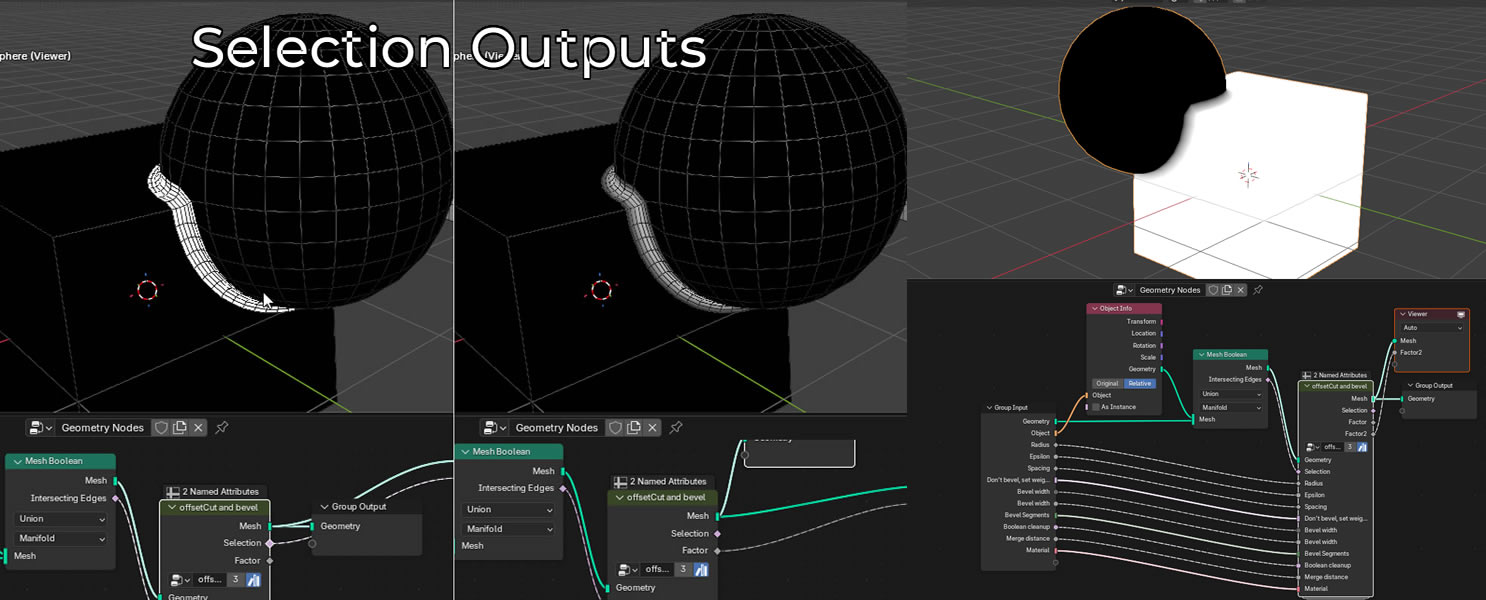
Node Group Selection Outputs:
The node group outputs two selections: A face selection for the generated cut loop, as well as 2 factor selections: one that fades from center to edge, and one that fades from one side of the cut to the other, useful for example for mixing between materials in the shader.
Usage Instructions
Method A: Using the Modifier (For Booleans)
Select your primary object and add a Geometry Nodes modifier.
Assign the Boolean and bevel node group to the modifier.
In the modifier properties, use the Object picker to select your cutter object.
Specify your preferred Boolean Operation (Difference, Union, Intersect).
Adjust the Cut Radius, Spacing, and Bevel Segments to define the cut.
Enable Boolean cleanup if shading artifacts appear around the intersection.
Method B: Using the Node Group (For Custom Selections)
Inside your custom Geometry Nodes tree, append the offsetCut and bevel node group.
Connect your base geometry into the
Meshinput.Pass a boolean selection of a continuous edge loop into the
Selectioninput.Adjust the radius, spacing, and segment parameters directly, or pass a variable attribute into the
Radiussocket for dynamic control.
