 NineLine


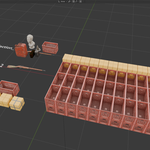
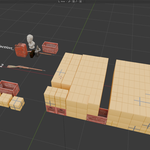
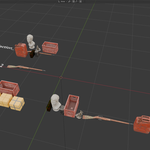
Who is this for?
You have finished creating your objects. Now it is time to place them.
But what if the space you need to fill is too large?
If your placement area is box-shaped, Boxpack can help.
This tool randomly places collection-based objects inside a defined box area, helping you fill spaces quickly and efficiently.
Place objects with simple clicks and save your time.
==================================================================
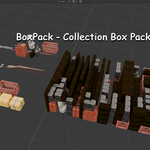
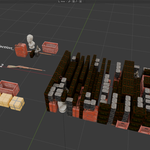
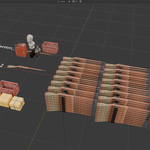
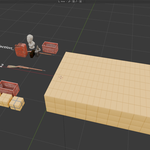
BoxPack is a Blender Extension designed to quickly fill a box-shaped target object with assets from a selected collection.
It places linked duplicate objects using a bounding-box based packing workflow, making it useful for product boxes, crates, storage containers, warehouse props, and background-filler assets.
Example:
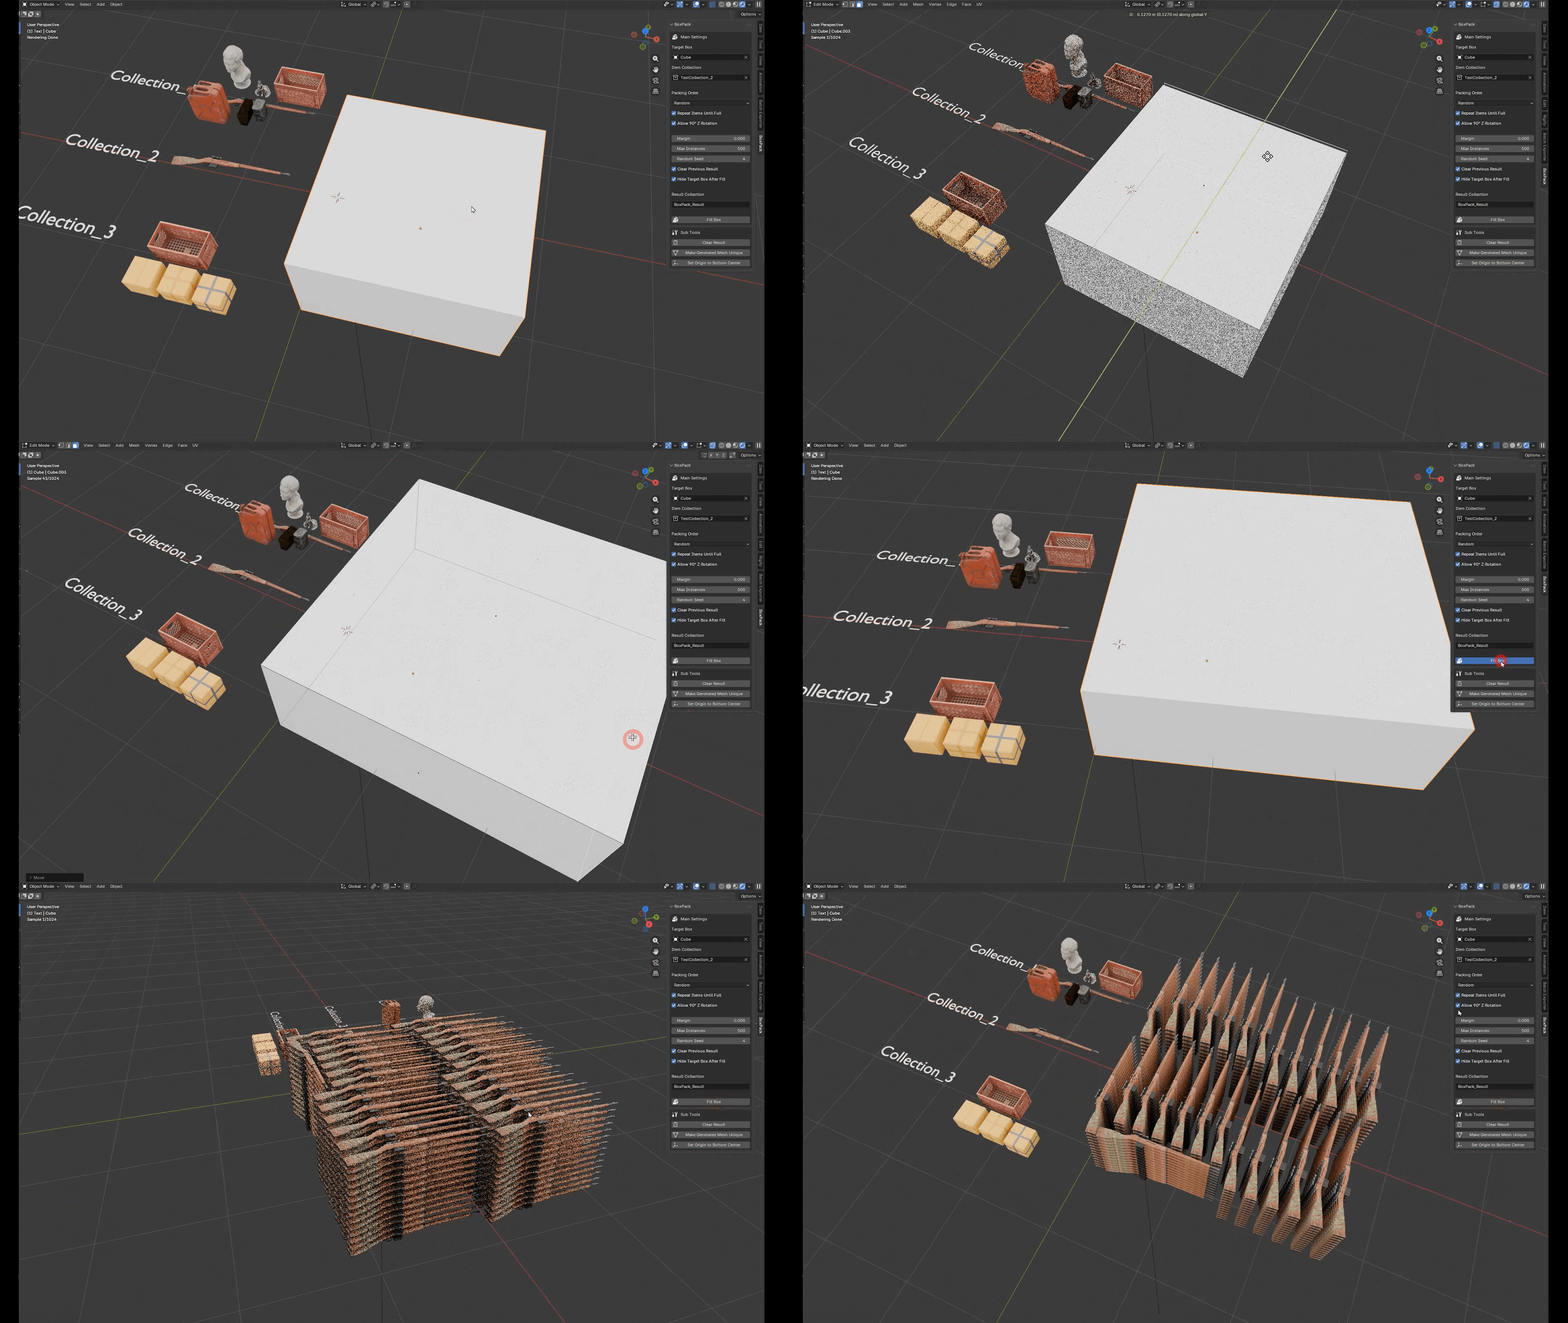
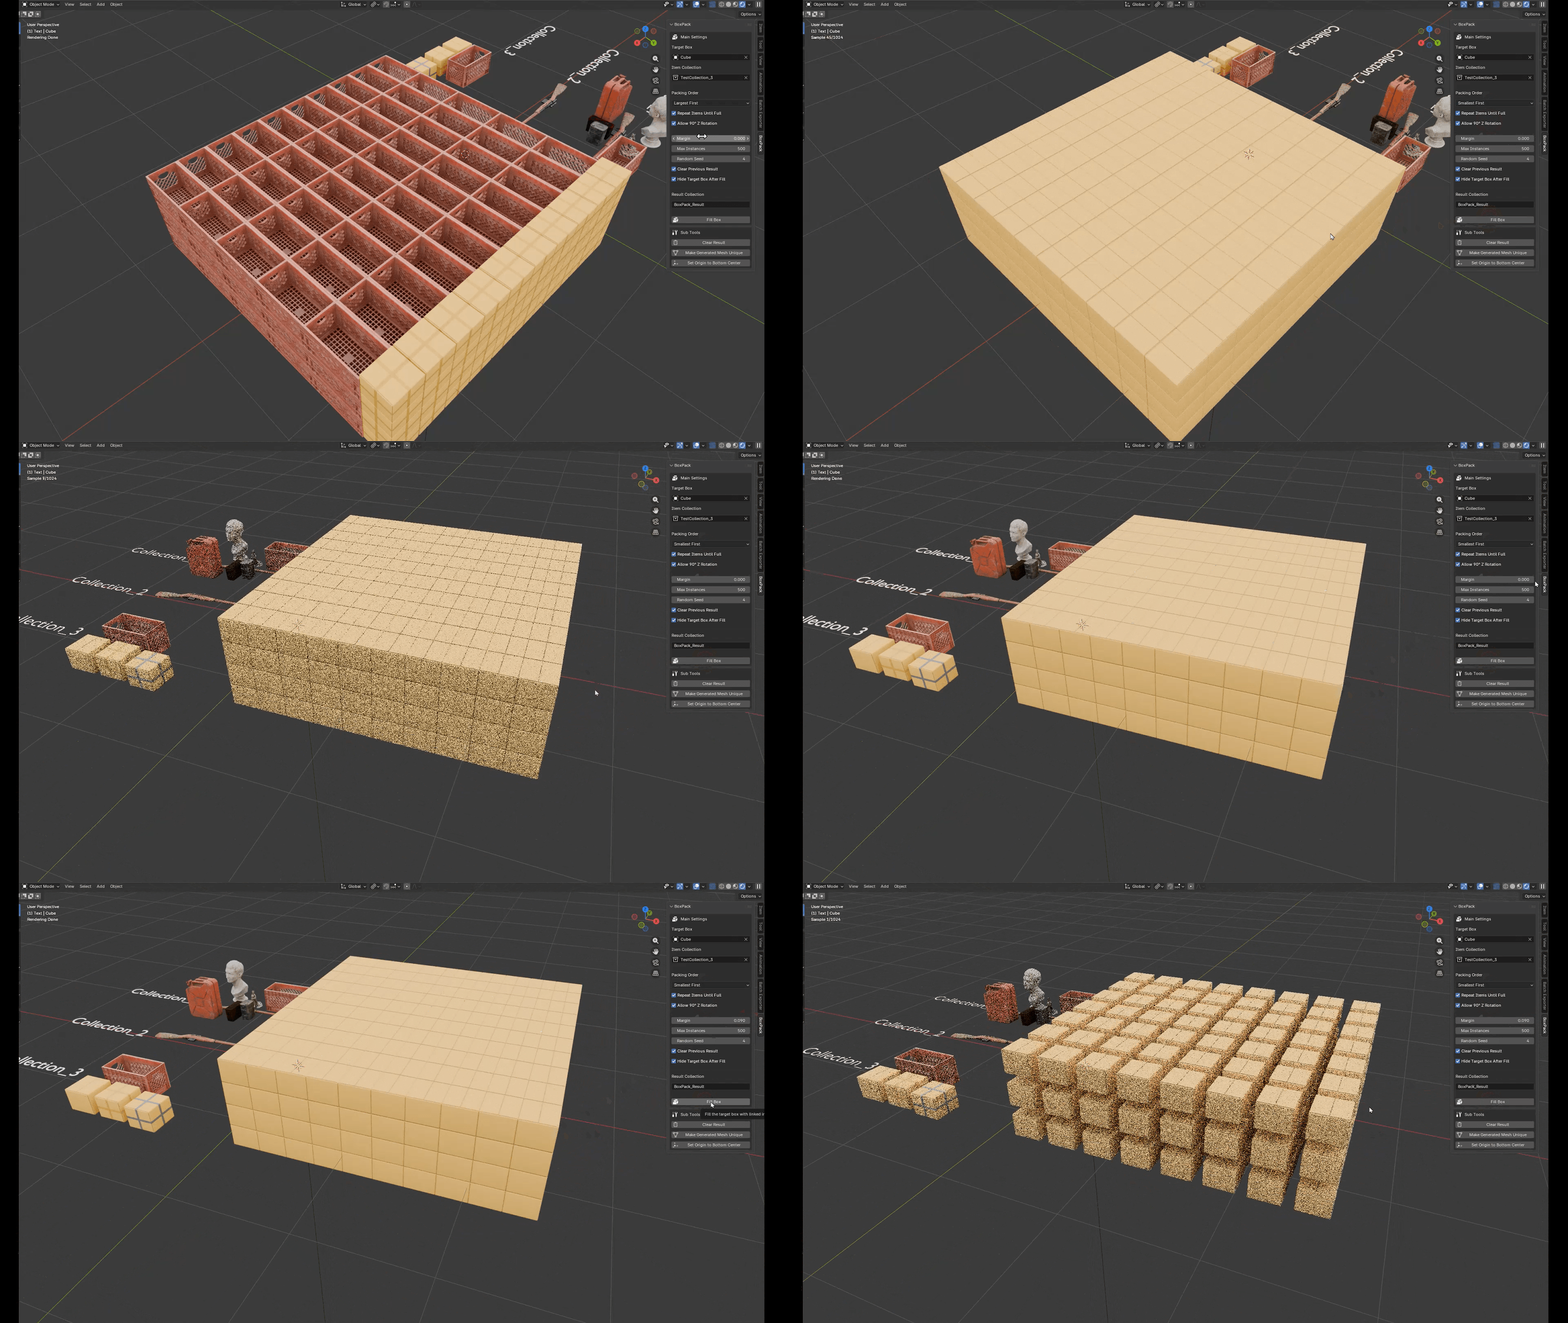
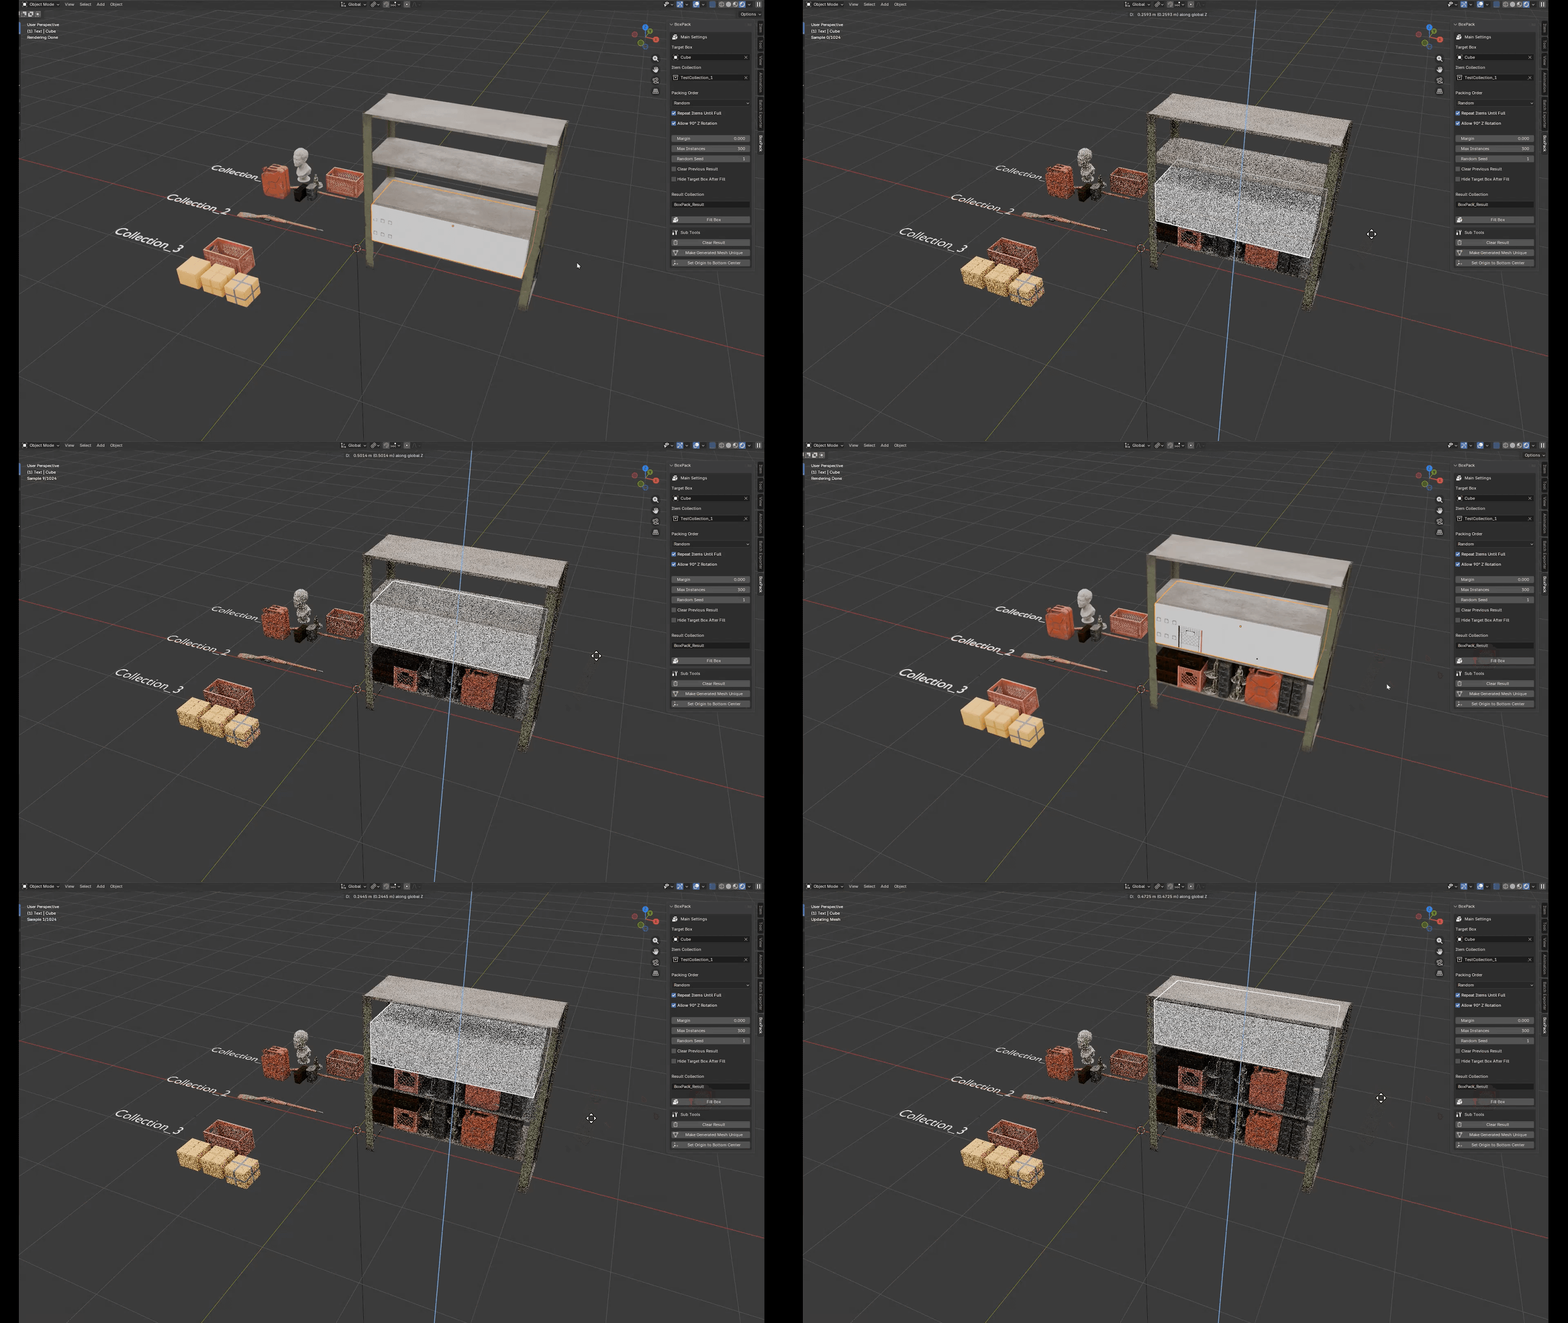
Product Overview
BoxPack automatically packs collection objects inside a target box object. The tool is intended to speed up repetitive scene-filling tasks where many small assets need to be placed inside a larger container.
-
Fill a target box with objects from a selected collection
-
Bounding-box based packing using mesh object dimensions
-
Linked duplicate output for lighter scene management
-
Repeat items until the container has no more available packing space
- Packing order options: Largest First, Smallest First, and Random
-
Optional 90 degree Z rotation for better fitting
-
Positive and negative margin control for loose or tighter packing
- Utility tools for clearing results, making meshes unique, and setting origins to bottom center
Basic Workflow
1. 1. Prepare a target box object. Any object can be assigned, but BoxPack will use its world-space bounding box as the container volume.
2. 2. Prepare a collection containing the mesh objects you want to pack into the target box.
3. 3. Select the item objects and use Set Origin to Bottom Center if their origins are not already aligned to the bottom-center position.
4. 4. Open View3D > Sidebar > BoxPack.
5. 5. Assign the Target Box and Item Collection.
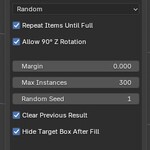
6. 6. Adjust the packing options, such as Packing Order, Repeat Items Until Full, Allow 90° Z Rotation, Margin, Max Instances, and Random Seed.
7. 7. Click Fill Box.
8. 8. Generated objects are placed in the Result Collection. If Hide Target Box After Fill is enabled, the target box will be hidden after successful packing so the result can be viewed immediately.
Example Use Cases
- Filling product boxes with small package assets- Creating warehouse box interiors or open crate contents
- Packing props into containers, bins, drawers, or storage boxes
- Generating background clutter for shelves and storage rooms
- Quickly testing different collection-based packing layouts
Demo Assets:
Some of the 3D models used in this video are provided by Poly Haven.
https://polyhaven.com/