Camera Sequencer
 CREATION-CREW


Camera Sequencer — Blender Addon Documentation
Camera Sequencer lets you assign different cameras to different frame ranges on your timeline. Blender automatically switches the active render camera as the playhead moves, so a single render output cuts between multiple cameras — no manual switching, no separate video-editing pass.
Requirements
- Blender 3.0 or newer
- The file
camera_sequencer_v1.6.0.zip
Installation
- Open Blender.
- Go to Edit > Preferences.
- In the Preferences window, click the Add-ons tab.
- Click the Install... button (top right).
- In the file browser, locate and select
camera_sequencer_v1.6.0.zip(install the zip directly — do not unzip it first), then click Install Add-on. - Back in the Add-ons list, find Camera Sequencer (search "Camera Sequencer" if needed) and tick the checkbox next to it to enable it.
- Close the Preferences window. The addon is now active.
Step 1 — Add your cameras to the scene
Make sure all the cameras you plan to use (e.g.
Camera.001,Camera.002,Camera.003) already exist in your scene (Add > Camera, or already imported/rigged).Step 2 — Add a segment
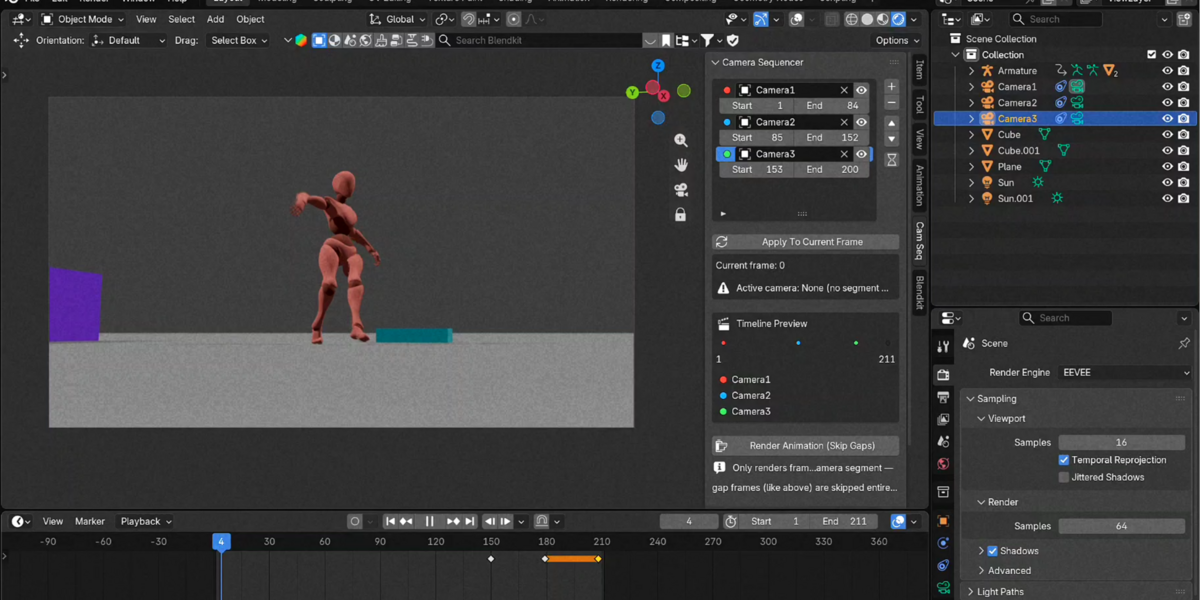
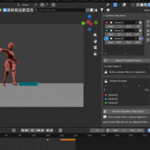
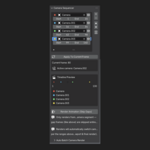
In the Cam Seq panel, click the
+button next to the list. A new empty row appears with:- Camera — dropdown to pick which camera this segment uses
-
Start / End — frame range (defaults to
0 / 0) - Eye icon — mute/unmute this segment
Step 3 — Assign the camera and frame range
For each row:
- Click the Camera dropdown and select the camera for that segment.
- Set Start to the first frame this camera should be active.
- Set End to the last frame this camera should be active.
Example — a 250-frame animation split across 3 cameras:
Row Camera Start End 1 Camera.001 1 90 2 Camera.002 90 180 3 Camera.003 180 250 Step 4 — Repeat for all cameras
Click
+again for each additional camera/segment you need.Step 5 — Reorder or clean up (optional)
- Use the ▲ / ▼ arrows to move a selected row up or down.
- Use the Sort by Start Frame button (clock/sort icon) to automatically order all rows by their start frame.
- Click
−to delete the selected row. - Click the eye icon on a row to temporarily mute it without deleting it.
- If a row's Start/End fields turn red and a warning (⚠) icon appears next to its camera, that segment's frame range overlaps another camera's range. This isn't necessarily wrong — remember the topmost matching row always wins during a normal render (see section 5) — but it's worth double-checking the order is what you intend.
Step 6 — Check it's working
- Scrub the timeline (drag the playhead).
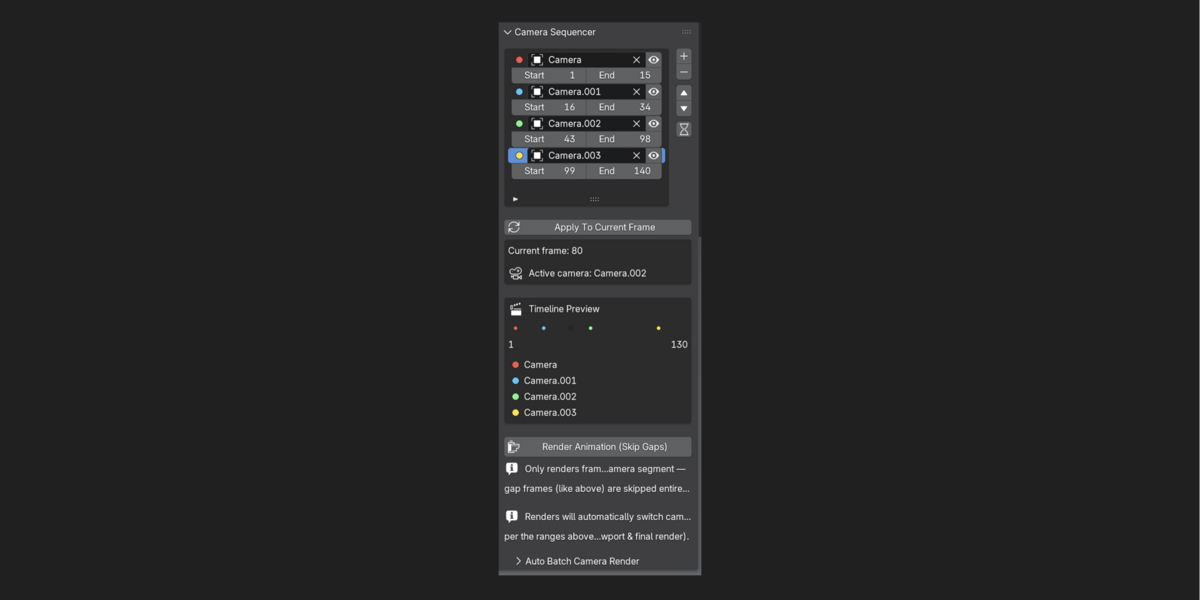
- In the Cam Seq panel, the box at the bottom shows:
- Current frame
- Active camera (the camera currently controlling the render view)
- Confirm the active camera changes as you move across your defined ranges.
- You can also click Apply To Current Frame to force an immediate refresh at any time.
- Check the Timeline Preview bar below the status box — it shows a
color-coded strip of your whole frame range, with a legend naming each
camera's color. A gray section means no camera is assigned there —
worth double-checking before you render.
Step 7 — Render
You now have three rendering modes to choose from:
Option A — Single continuous render (Ctrl+F12 / F12) Render normally:
-
Render > Render Animation (
Ctrl+F12), or -
Render > Render Image (
F12) for a single frame.
Blender will automatically switch
Scene Camerato the correct camera for every frame it renders, based on your defined ranges — producing one continuous output that cuts between all your cameras. This only makes sense if ranges don't overlap, and note that any gap between segments still gets rendered using whichever camera was last active, since a normal Blender render can't skip individual frames.Option B — Render Animation (Skip Gaps) Use this when you have gaps between segments (like frames 35–41 in the example above, where nothing is assigned) and you don't want those frames rendered at all. Click the Render Animation (Skip Gaps) button in the main panel — see section 4.1 below for details. It still switches cameras automatically like Option A, but any frame not covered by a segment is skipped entirely: no image is rendered or written for it.
Option C — Auto Batch Camera Render Use this when your camera ranges overlap — e.g. Camera A on frames 1–70, Camera B on frames 10–60, Camera C on frames 50–100 — and you want a complete, separate render from every camera instead of one spliced output. See section 4.2 below.
-
Render > Render Animation (
Have questions about this product?
Login to message
| Published | about 13 hours ago |
| Blender Version | 3.0 - 5.2 |
| Extension Type | N/A |
| Render Engine Used | Cycles, Eevee, Freestyle |
| License | GPL |
Discover more products like this
batch render multi-camera automation camera remesh cinematic camera-tools building rigging rendering camera switching animation