 Catra
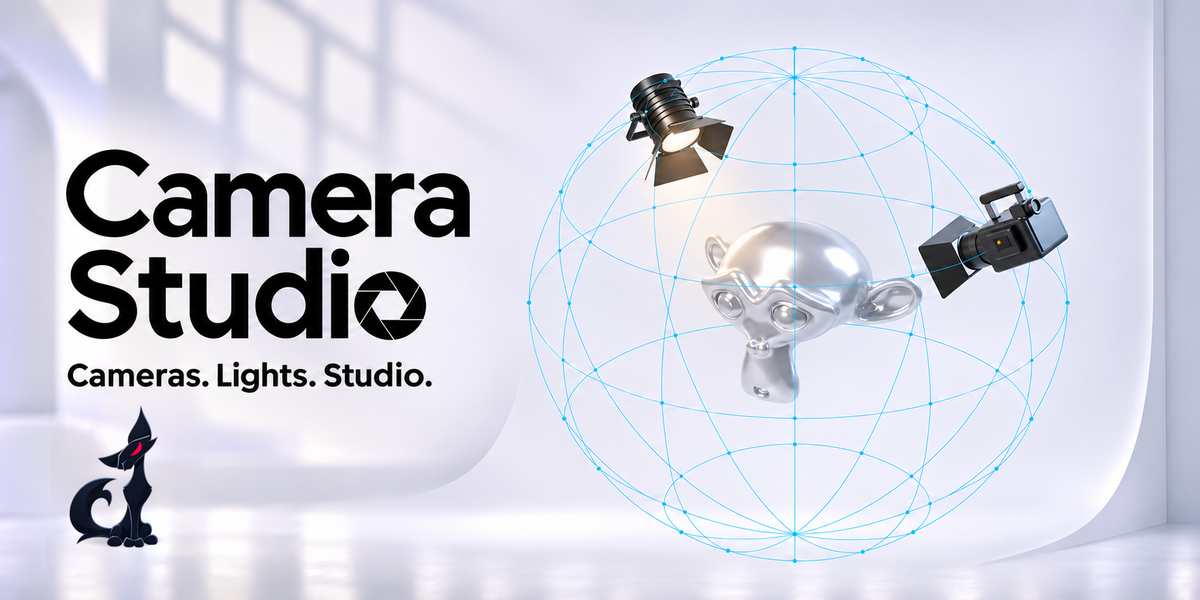
CAMERA STUDIO / HELP
Quick start.
Install once. Build your shot.
01 / INSTALL
Choose your package.
| Blender version | Package & installation |
|---|---|
| Blender 3.6 | Camera_Studio_1.1.0_Blender_3.6.zipPreferences → Add-ons → Install |
| Blender 4.5–5.2 | Camera_Studio_1.1.0_Blender_4.5-5.2.zip (Extension)Preferences → Add-ons → menu → Install from Disk |
Install one ZIP without extracting it, then enable Camera Studio. Disable older copies first. Existing CS rigs and settings are preserved.
Tested on Windows x64. macOS and Linux are untested.
Blender 4.0–4.4 is not supported.
02 / CAMERA
Start with your subject.
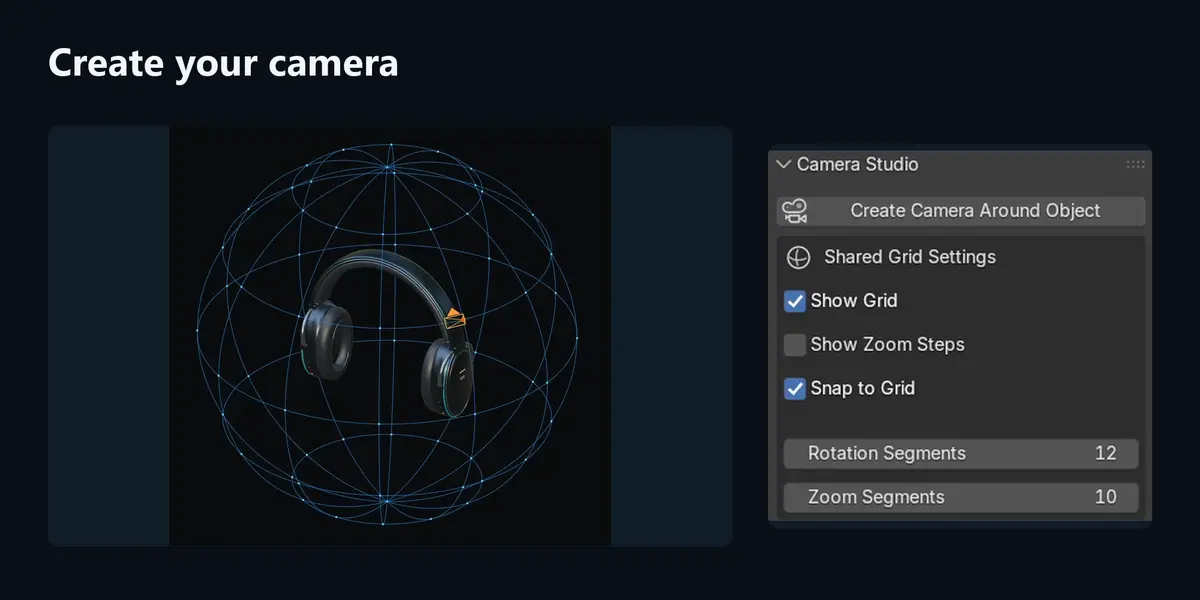
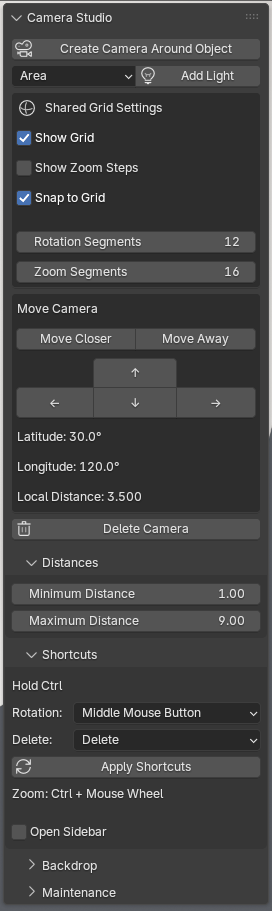
In Object Mode, select your subject. Press N and open Camera Studio.
Click Create Camera Around Object. Keep the camera selected to use its controls.
Ctrl + Numpad 0 makes it the active scene camera; Numpad 0 toggles camera view.
03 / LIGHTING
Add your lights.
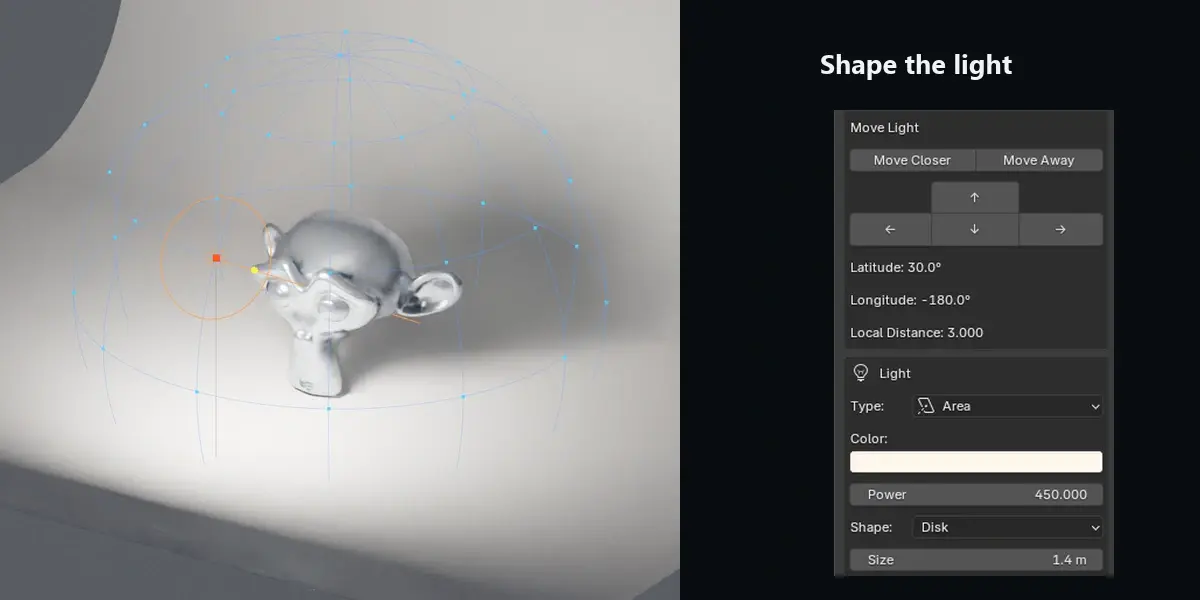
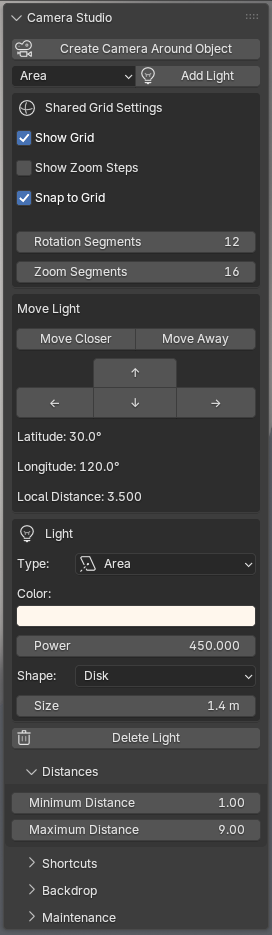
Select the subject, choose Area, Spot, Point or Sun, then click Add Light.
Use the grid controls to position it. In Light, adjust color and intensity, plus the size or angle available for that light type.
Each light has its own position. Sun brightness is independent of distance.
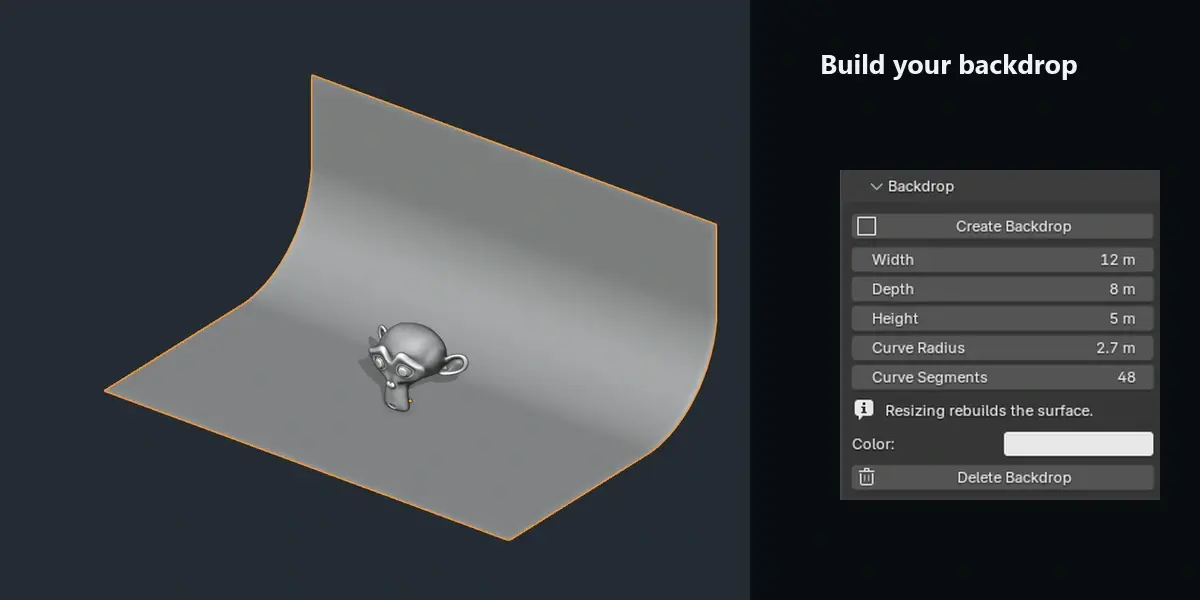
04 / BACKDROP
Create a curved background.
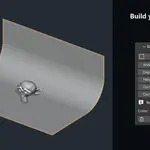
Select the subject, then open Backdrop → Create Backdrop.
Select the new backdrop to adjust dimensions, curve and color. Move or rotate it with Blender’s tools.
Resizing rebuilds the mesh and replaces manual vertex edits. Controls require Object Mode and no shape keys.
05 / CONTROLS
The same controls for both.
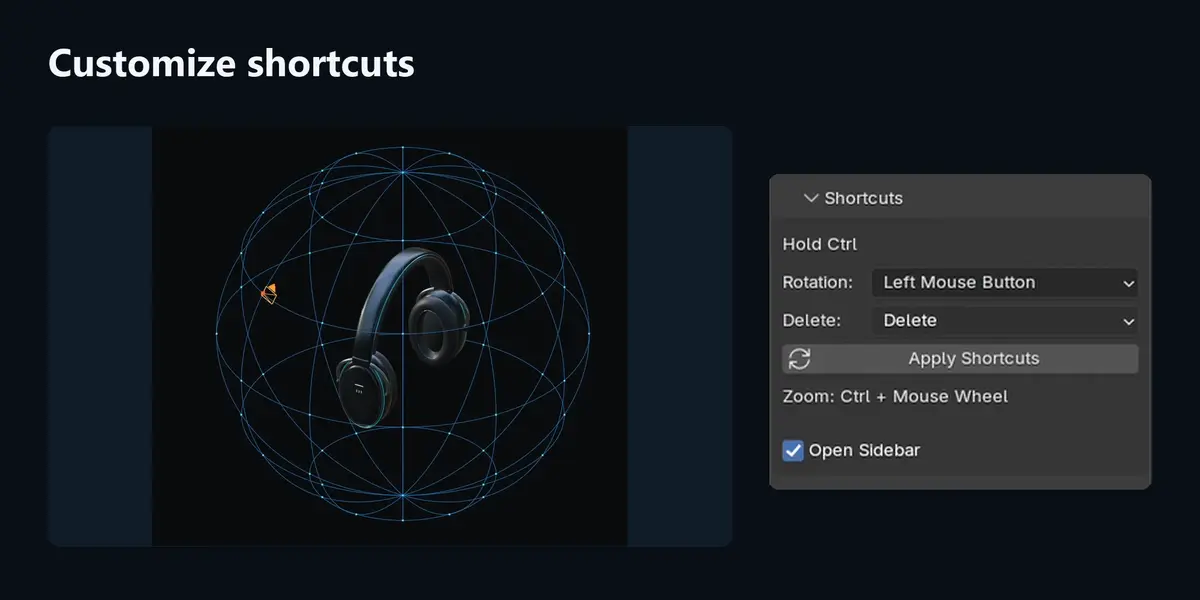
Select a studio camera or light before using the controls. Hold Ctrl with your chosen orbit or delete key.
| Action | Control |
|---|---|
| Orbit | Ctrl + middle mouse drag by default |
| Confirm / cancel | Release the button / Esc |
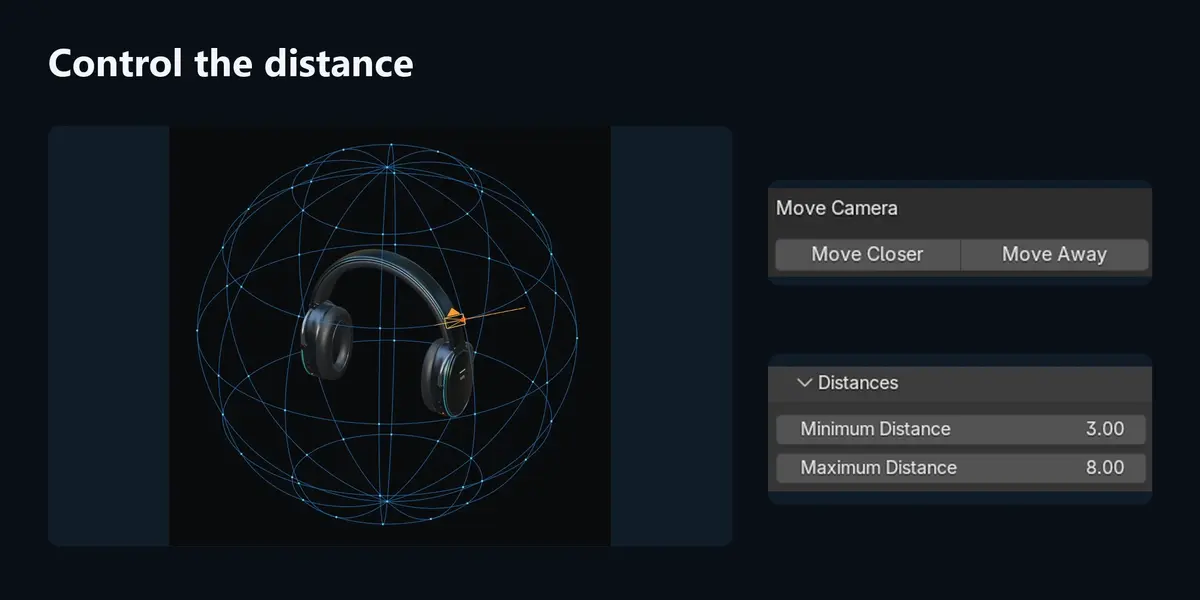
| Change distance | Ctrl + mouse wheel |
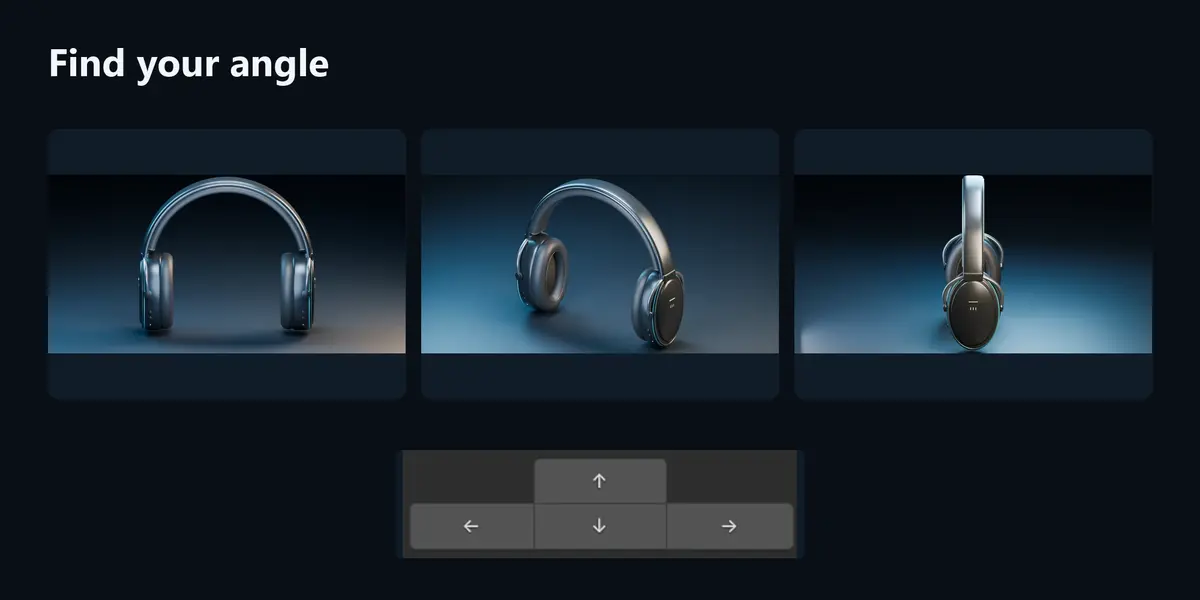
| Step around the subject | Panel arrows |
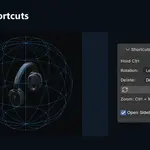
| Customize controls | Shortcuts: orbit button and delete key |
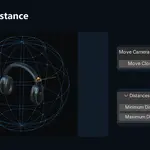
| Limit distance | Distances: minimum and maximum |
06 / GRID
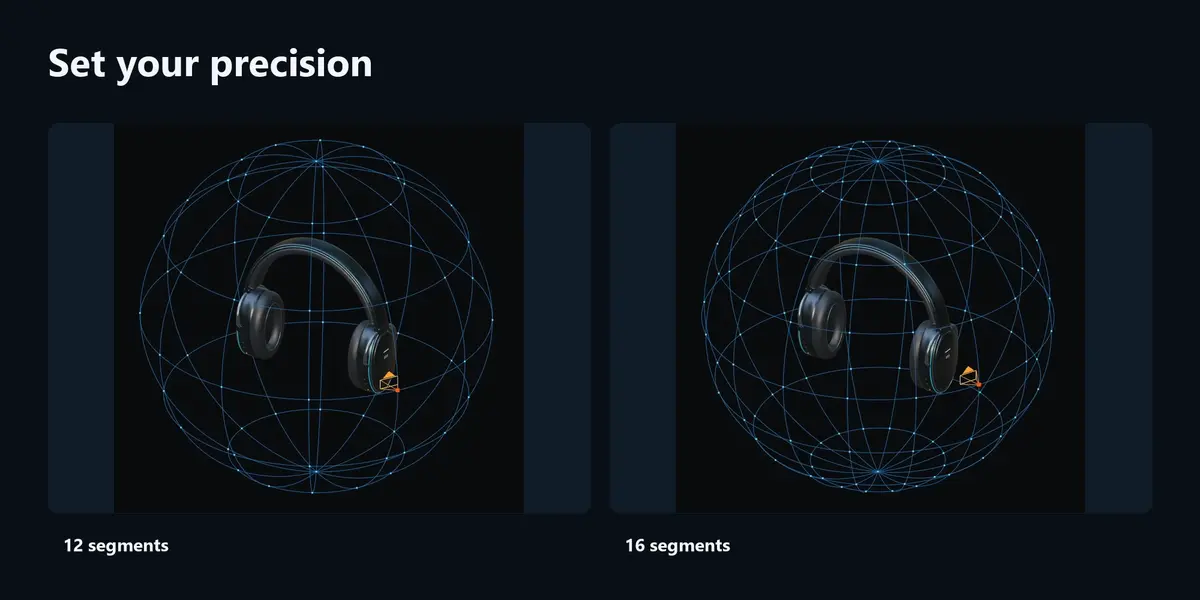
Set the shared guides.
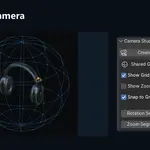
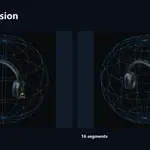
Show Grid toggles the guide; Show Zoom Steps adds distance marks.
Grid settings are shared within the scene. With snapping on, segment changes realign studio cameras and lights, except objects linked to multiple scenes.
The orbit follows the subject’s origin and scale. Use a centered origin and uniform scale for predictable positioning.
Need help? Contact the creator through this product page with your Blender version and steps to reproduce the issue.
Have questions about this product?
Login to message
| Blender Extension Compatible | Yes |
| Published | 3 days ago |
| Blender Version | 3.6 - 5.2 |
| Extension Type | Add-on |
| License | GPL |
Discover more products like this
camera Lighting camera controls orbit camera Studio Lighting light rig snapping grid camera rig product-visualization backdrop cyclorama