CamSplitter 2
 CG-Mechanics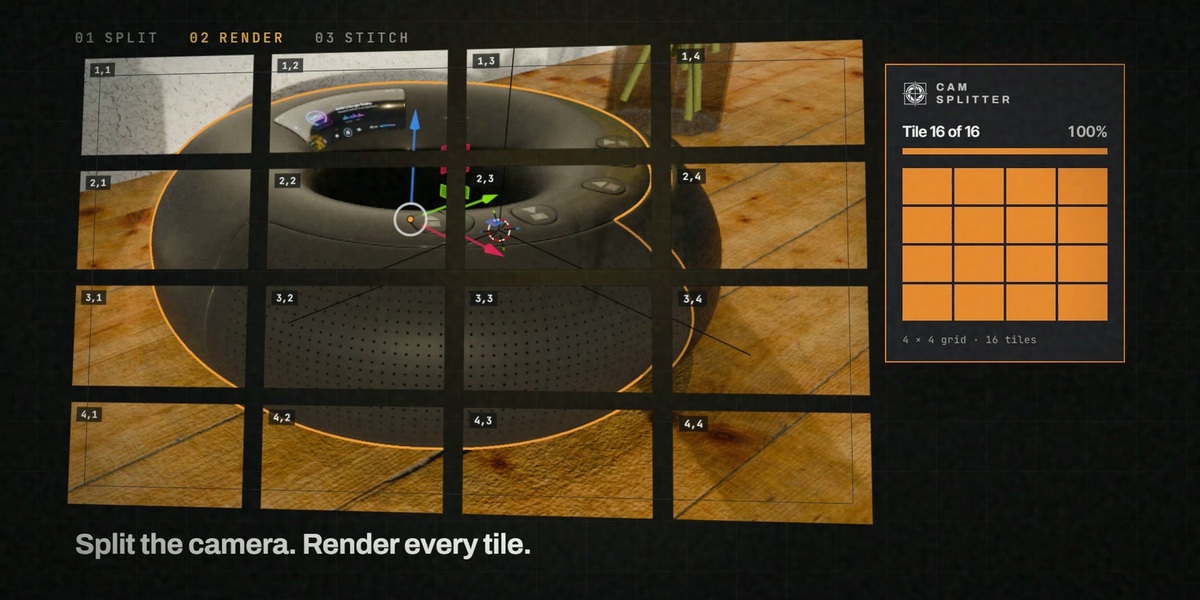
CamSplitter - Professional Tile-Based Rendering for Blender
Purpose
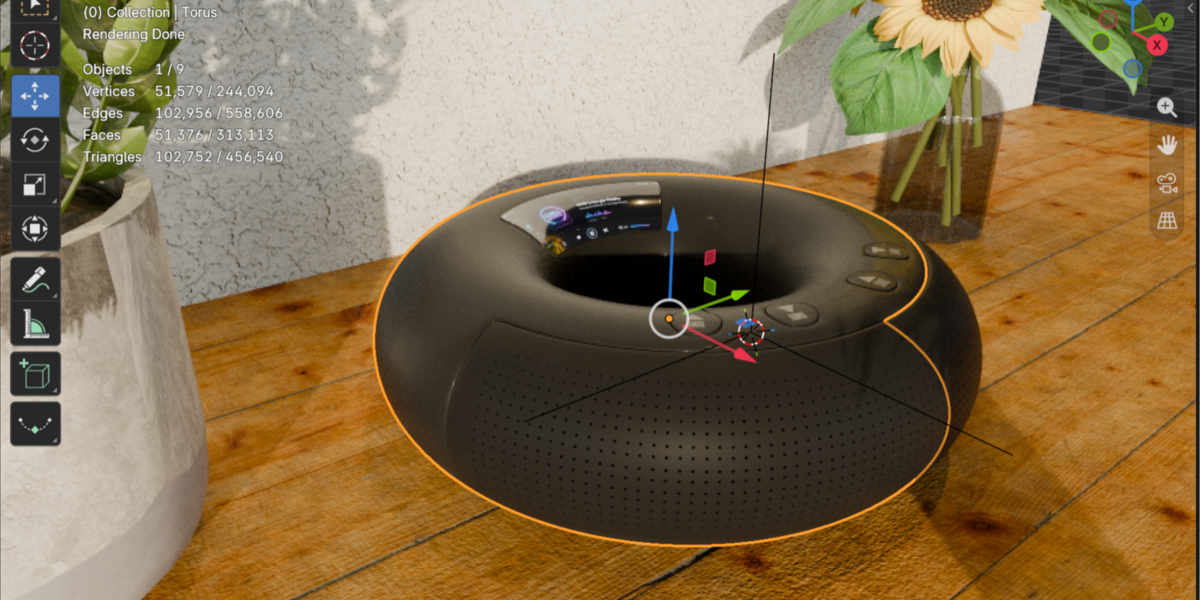
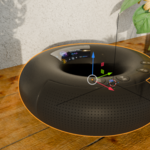
CamSplitter enables you to render ultra-high-resolution images that exceed your GPU memory limits by intelligently splitting your camera view into manageable tiles. Each tile is rendered individually and automatically reassembled into a seamless final image, allowing you to create stunning 8K, 16K, or even higher resolution renders on standard hardware.
Key Features
Core Rendering
- Automatic Tile Rendering - Splits any resolution into a customizable NxN grid
- Seamless Composition - Intelligent overlap handling prevents visible seams
- Continuous Mode - Resume interrupted renders, only render missing tiles
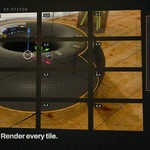
- Single Tile Preview - Test individual tiles before full render
- Memory-Efficient Chunked Composition - Compose massive grids in smaller batches to prevent memory overflow
Smart Analysis Tools
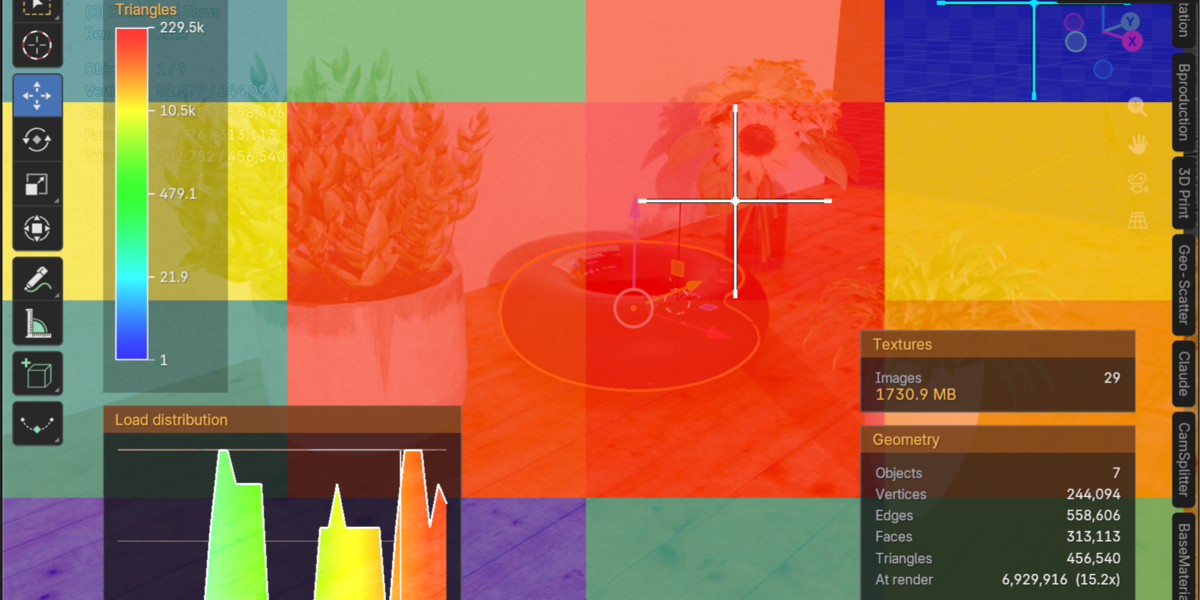
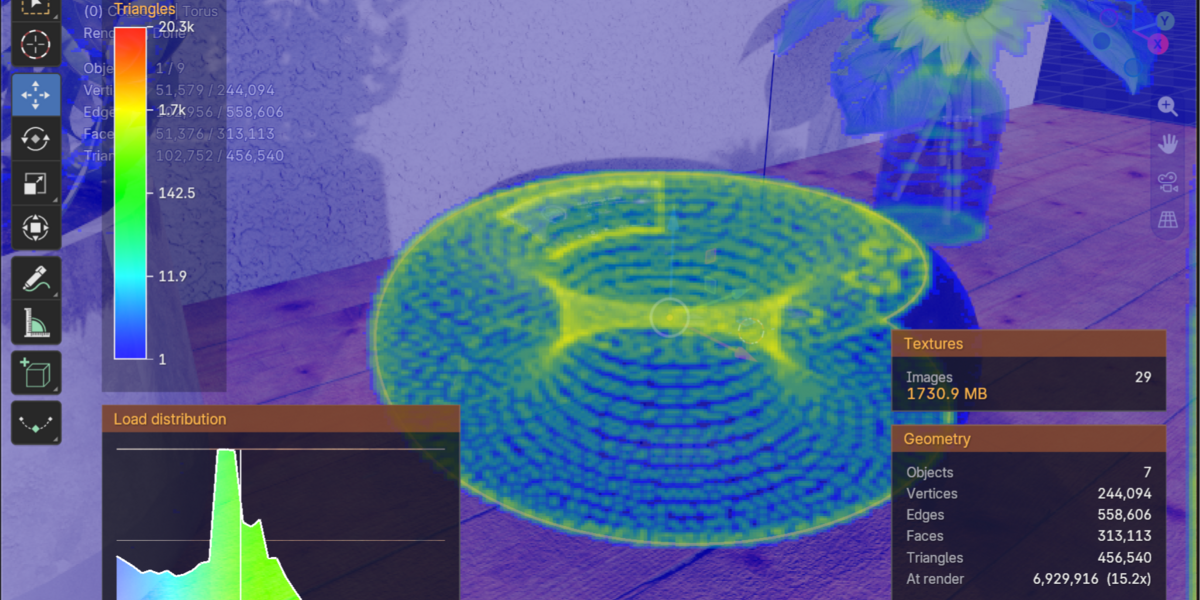
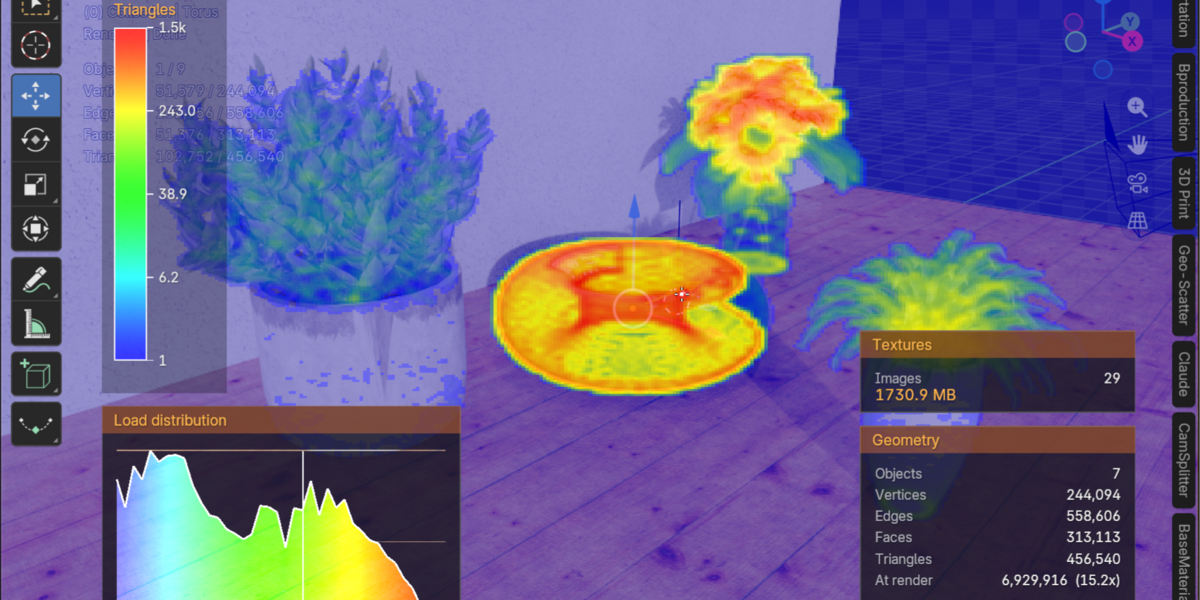
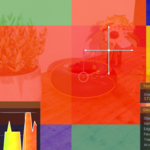
- Grid Heatmap - Visualize triangle density across your camera view using the current grid
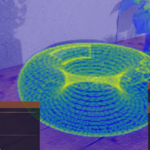
- High-Resolution Heatmap - Detailed complexity analysis with customizable resolution
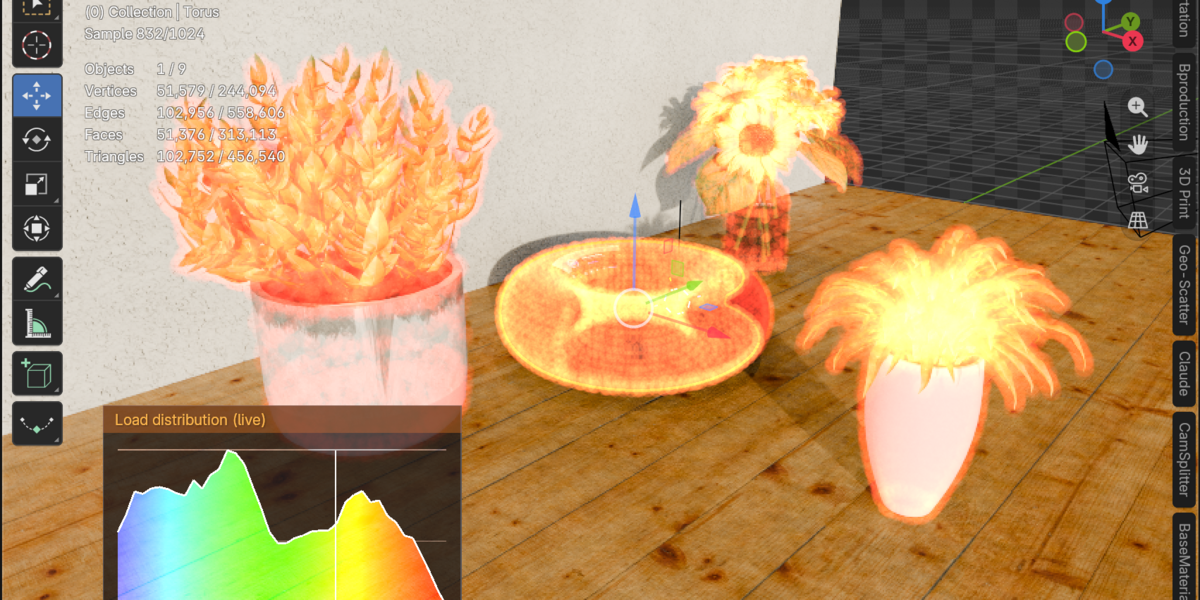
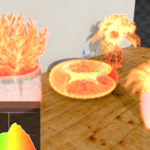
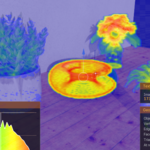
- Object Heatmap - Identify memory-heavy objects by polygon count and size
- Real-Time Viewport HUD - Animated object tracking with live information overlays
Advanced Controls
- Pixel-Perfect Alignment - Fine-tune X/Y adjustments to eliminate sub-pixel gaps
- Auto-Recommend System - Suggests optimal overlap settings based on your grid
- Camera Shift Technology - Uses camera shift instead of render borders for accurate results
- Format Preservation - Maintains your chosen output format (EXR, PNG, TIFF, etc.)
- Color Management - Preserves view transform and color settings throughout the pipeline
User Experience
- One-Click Operation - Simple workflow from setup to final image
- Real-Time Progress - Live tile counter and visual feedback
- Debug Logging - Comprehensive logging system for troubleshooting
- Folder Management - Organized output with automatic folder creation
- Quick Access Buttons - Viewport header integration for instant analysis
Advantages
Break Hardware Limitations
- Render resolutions several times larger than your VRAM allows
- No expensive hardware upgrades required
- Works with any GPU and render engine (Cycles, Eevee)
Production-Ready Reliability
- Automatic error recovery with continuous mode
- Perfect pixel alignment with integer-based partitioning
- EXR workflow preserves maximum quality
Time-Saving Workflow
- Skip existing tiles when re-rendering
- Preview single problematic tiles
- Heatmap analysis prevents wasted render time on complex areas
- Batch composition for massive grids
Professional Quality
- No visible seams or color shifts
- Maintains full HDR color depth
- Preserves camera perspective accuracy
- Production-tested on commercial projects
Flexible & Scalable
- Grid sizes from 2x2 to 50x50+
- Chunked composition handles unlimited grid sizes
CamSplitter - User Guide
Quick Start (Basic Workflow)
1. Setup
- Open your Blender scene with the camera positioned as desired
- Press N to open the sidebar and select the CamSplitter tab
- Set your desired final resolution in Render Properties (e.g., 16000 x 9000 px)
- Choose Grid Size (e.g., 4x4 = 16 tiles, 6x6 = 36 tiles)
- Higher grid = smaller tiles = less memory per tile
2. Set Export Folder
- Click the folder icon next to Export Folder
- Choose where rendered tiles and final image will be saved
- The addon creates subfolders automatically
3. Render
- Click the Render button (CamSplitter)
- Wait while the addon:
- Renders each tile automatically
- Shows progress (e.g., "Tile 5/16")
- Composes the final seamless image
- Done! The final image is saved in your export folder
Advanced Features
Continuous Mode (Resume Interrupted Renders)
Use
Case: Your
render crashed, or you want to add more tiles to an existing render.
How to Use:
- Click Continuous button instead of Render
- The addon automatically detects existing tiles
- Only missing tiles are rendered
- All tiles (old + new) are composed together
Progress Display: Shows correct count (e.g., "4/9" if 4 tiles already exist)
Render Single Tile (Test/Preview)
Use Case: You want to test one specific tile before rendering the full grid.
How to Use:
- Go to Utililies panel in the CamSplitter tab
- Set Segment Row (1 = top row)
- Set Segment Col (1 = left column)
- Click Render Segment
- Only that single tile is rendered and saved
Tip: Use this to test lighting or material changes on a small area first.
Analysis Tools (Viewport Header Buttons)
After installation, you'll see 4 new icon buttons in the 3D Viewport header (next to Viewport Shading):
Grid Heatmap
- Icon: Grid
- Function: Shows triangle density using your current Grid Size
- Use Case: See which tiles are complex before rendering
HighRes Heatmap
- Icon: Tracker
- Function: High-resolution heatmap with custom resolution
- Settings: Adjust resolution in N-Panel → HighRes Options
- Use Case: Detailed complexity analysis for optimization
Object Heatmap
- Icon: Object Data
- Function: Shows object complexity (memory + polygon count)
- Use Case: Identify heavy objects to optimize or hide
Object Tracking HUD
- Icon: Viewzoom
- Function: Animated bounding boxes with live object information
- Features:
· Shows: Object name, Tries-count
· Real-time updates when objects move
- Toggle: Click again to disable
Recompose Options (If Something Goes Wrong)
If the automatic composition fails, you can manually recompose:
Recompose From Folder
- Uses existing tiles in the export folder
- Rebuilds the final image without re-rendering
- Use Case: Compositor crashed or was interrupted
Recompose (Fill Missing)
- Same as above, but creates black placeholders for missing tiles
- Use Case: You want to see partial results even if some tiles failed
Recompose Chunked
- Composes large grids in smaller chunks (e.g., 5x5 at a time)
- Prevents memory overflow with massive grids (10x10+)
- Settings:
- Chunk Size: How many tiles per batch (default: 5x5)
- Skip Existing Chunks: Resume chunked composition if interrupted
- Fill Missing Tiles: Create black placeholders for missing base tiles
- Use Case: Rendering 16x16 or larger grids that crash during composition
Advanced Settings (N-Panel → Advanced)
Shift Compensation
- Auto (Recommended): Automatically adjusts for perspective/orthographic cameras
- Divide: Manual scaling for camera shift
- Multiply: Alternative scaling method
- None: No compensation (use only if you understand the math)
Shift Gain Factor
- Fine-tune camera shift behavior (default: 1.0)
- Increase if tiles don't align perfectly
- Rarely needs adjustment
X/Y Adjust
- Purpose: Eliminate sub-pixel gaps between tiles
- Auto Recommend: Click to calculate optimal values
- X Adjust: Horizontal pixel correction (spread across columns)
- Y Adjust: Vertical pixel correction (spread across rows)
- Use Case: You see thin lines between tiles after rendering
Cleanup Compositor
- Enabled (Default): Automatically clears compositor nodes before composition
- Disabled: Keeps existing nodes (manual control)
Discover more products like this
GPU Optimization Product Renders Heatmap Analysis Continuous Mode Tile Rendering Seamless Composition blender addon Architectural Viz Chunked Composition high resolution