 V4SS3UR

Everything it does
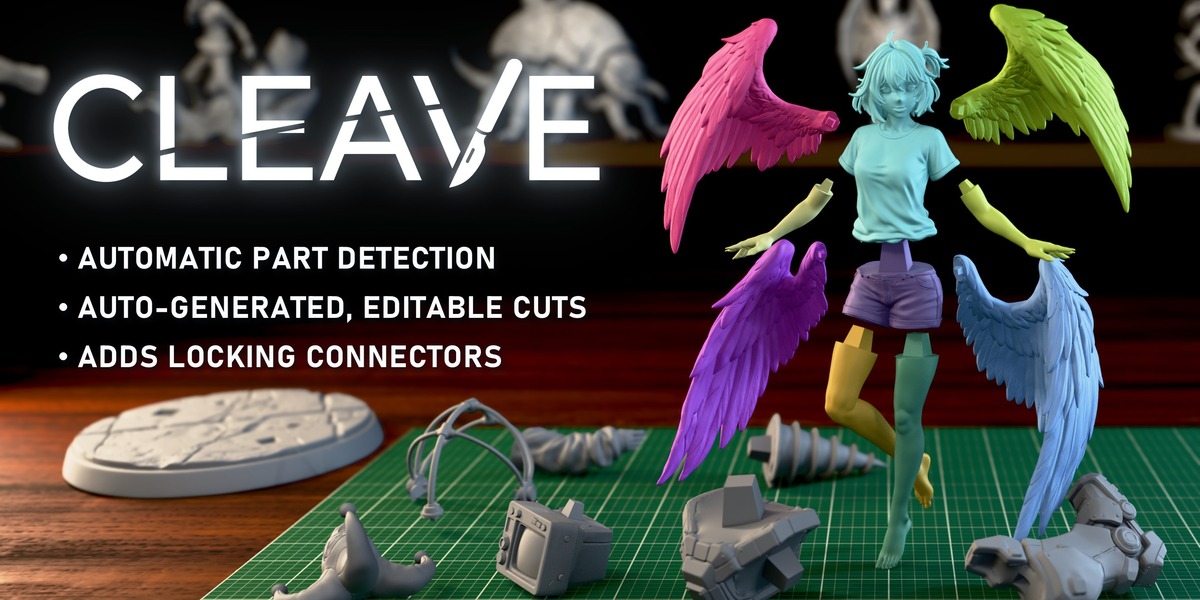
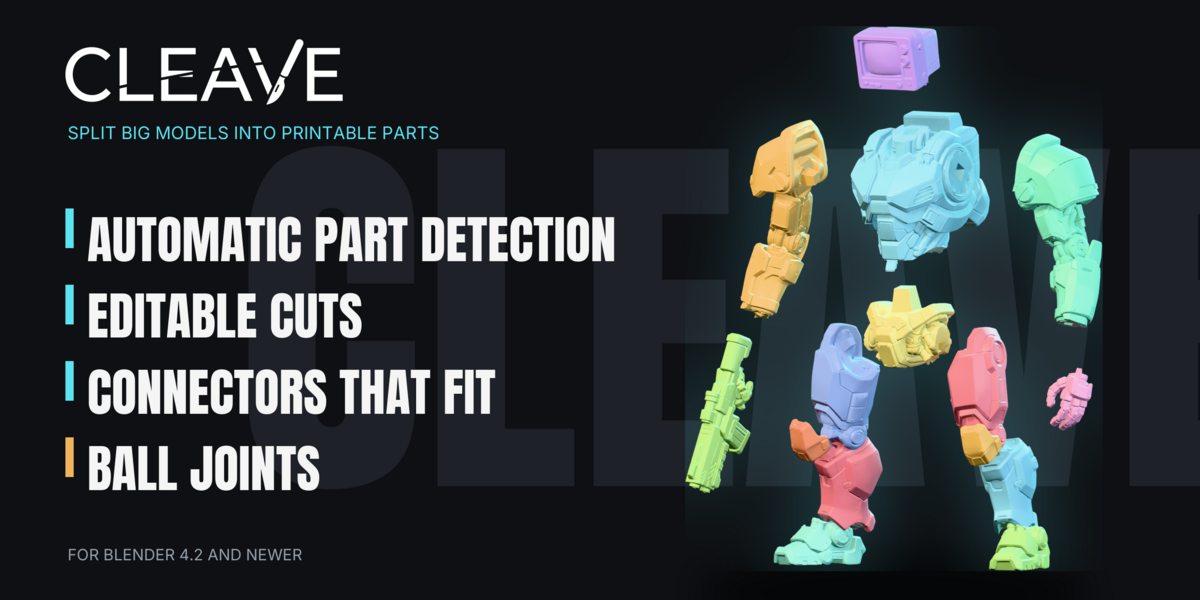
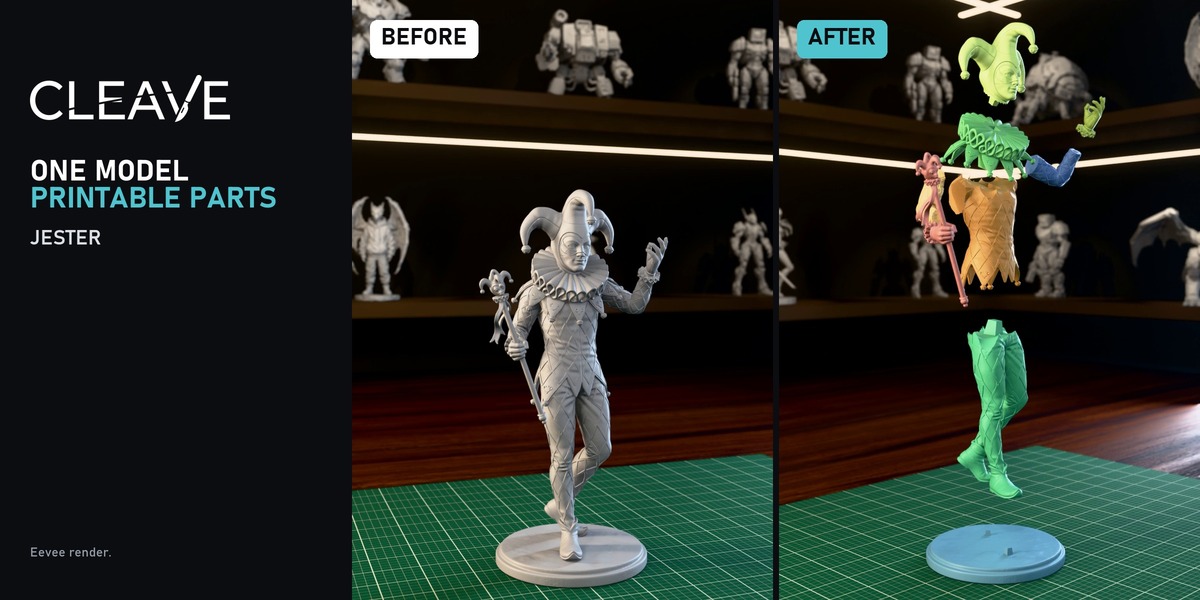
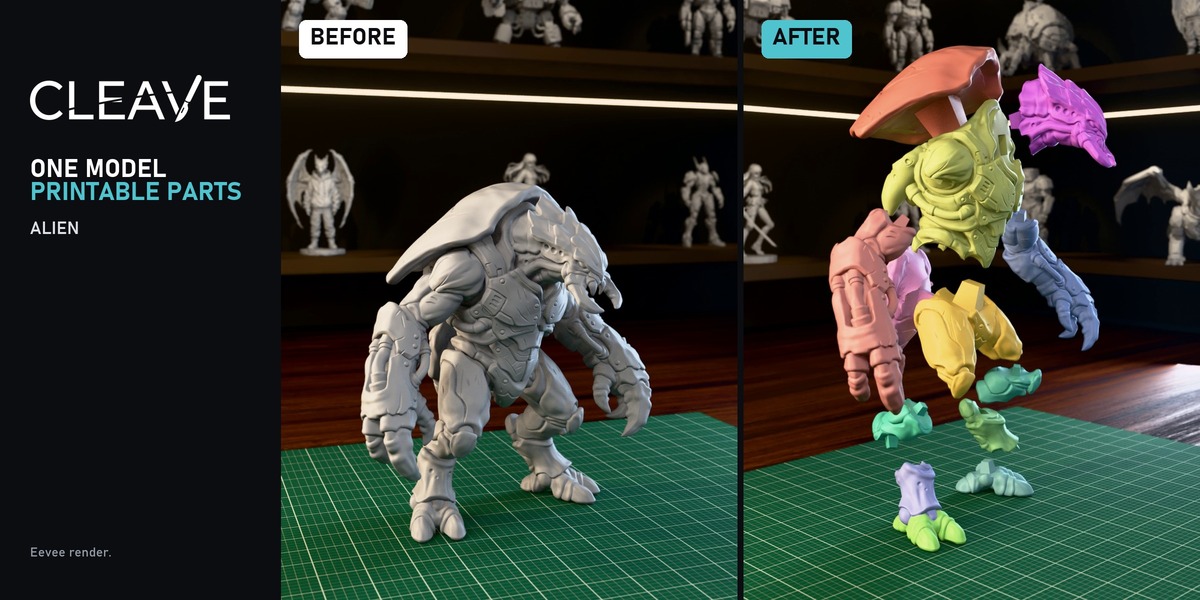
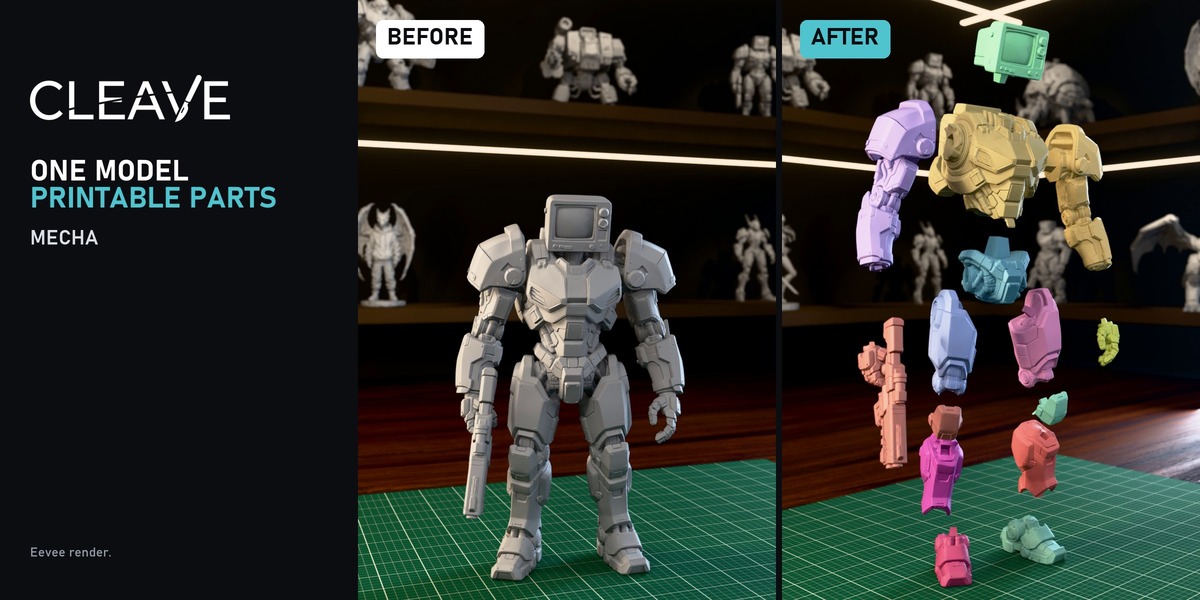
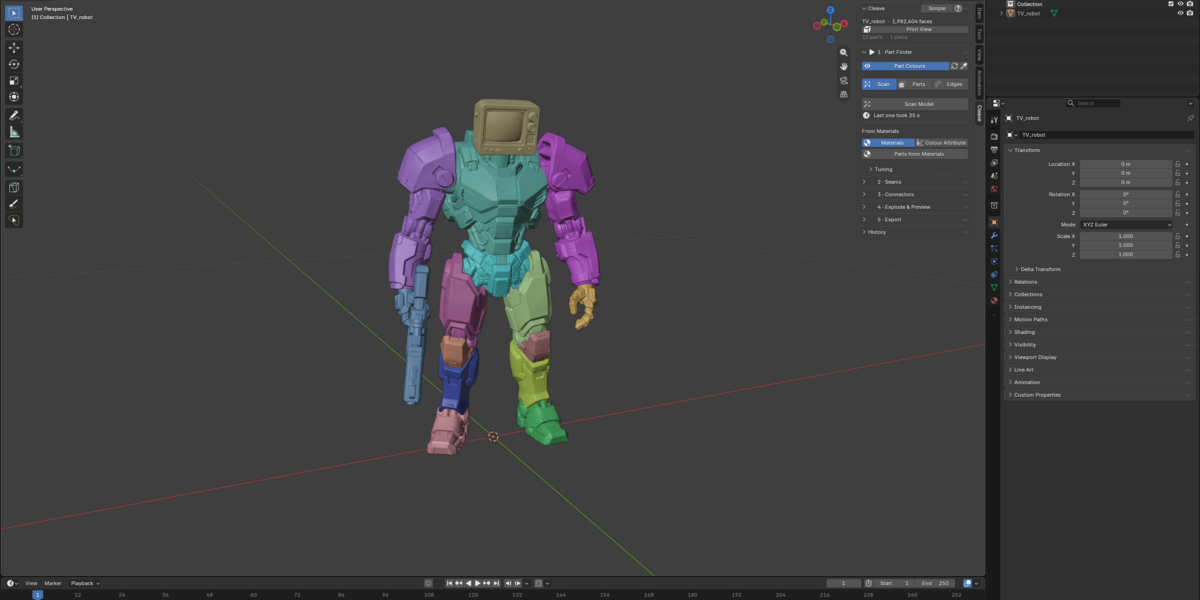
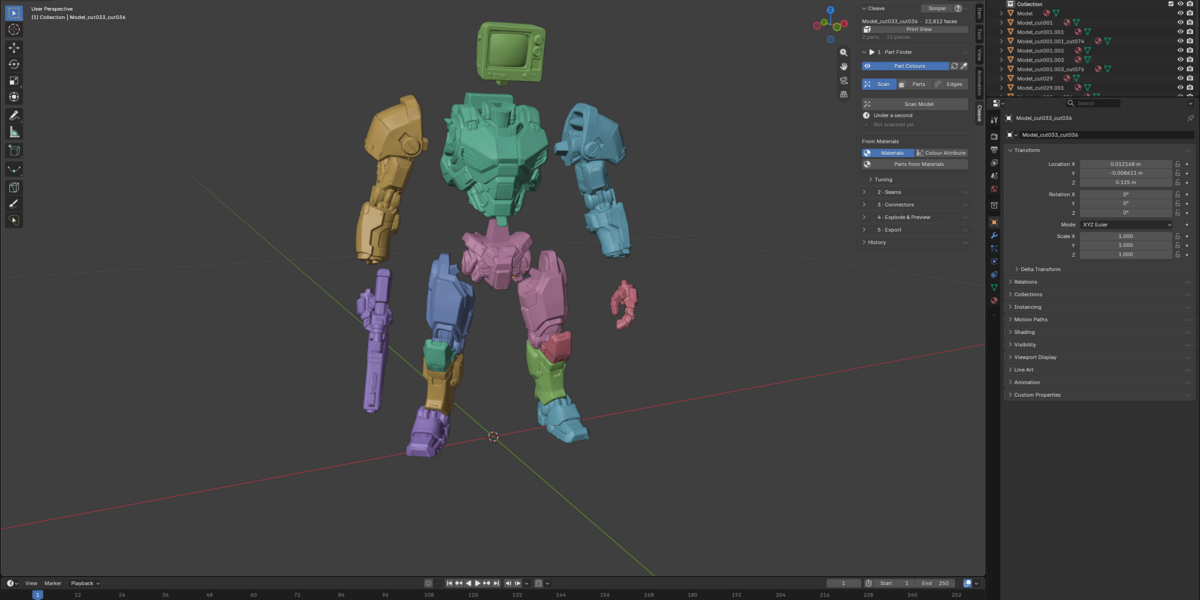
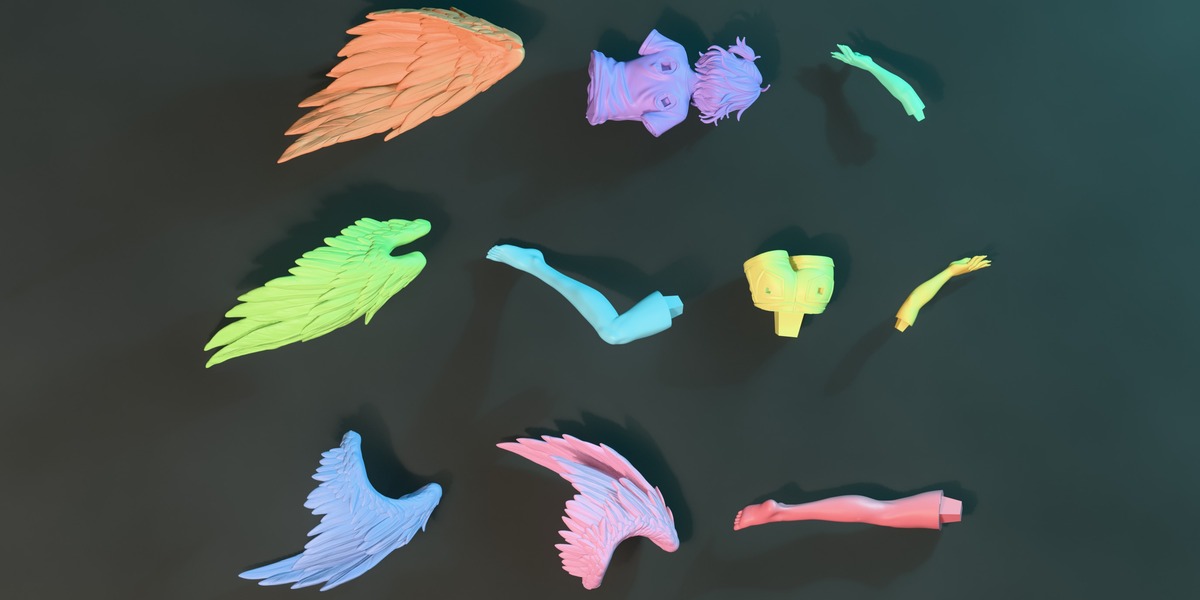
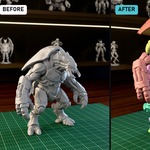
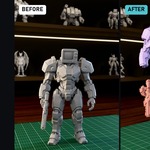
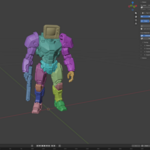
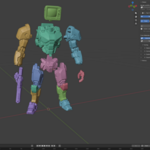
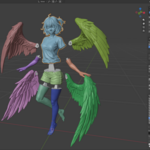
Automatic parts detection
Shape-aware parts. Redrawn live as you slide.
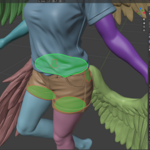
Snap To Creases. Pulls each boundary onto the real creases.
Merge, brush, lasso, box. Repaint any boundary by hand.
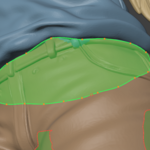
Through and Fill Gaps. Paint the faces hidden behind the model without X-ray, and the ones a stroke missed.
Add A Part. Plant a part the analysis missed.
Subsplit A Part. Re-analyse the torso, leave the rest alone.
Parts From Materials. Take the parts from the model's materials or a colour attribute. The model needs several materials: one textured material will not split.
Seams
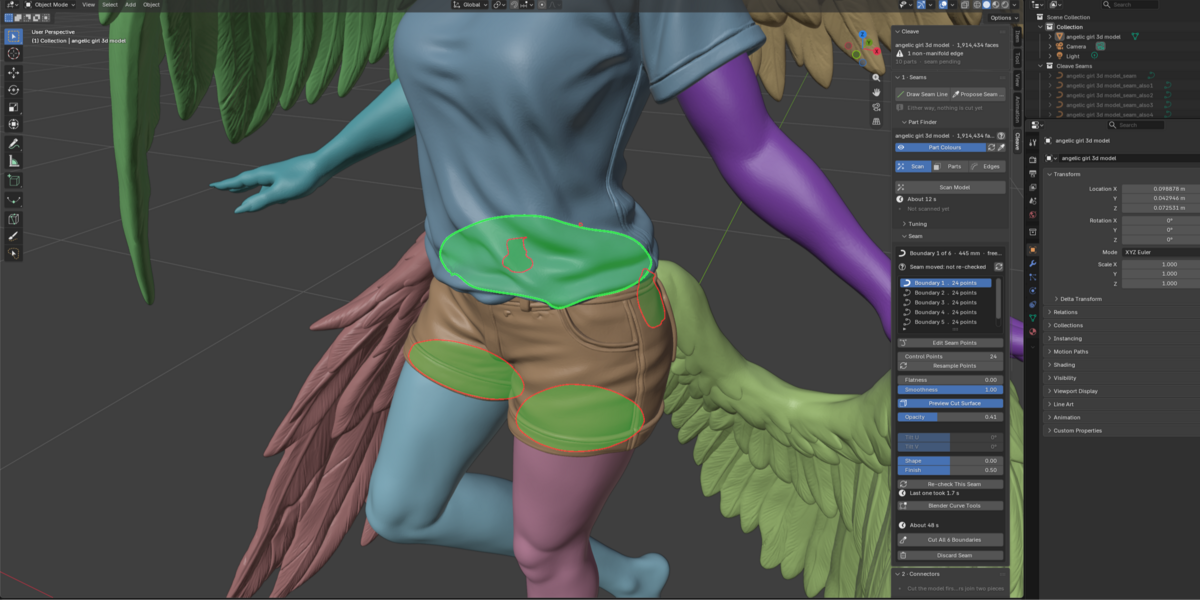
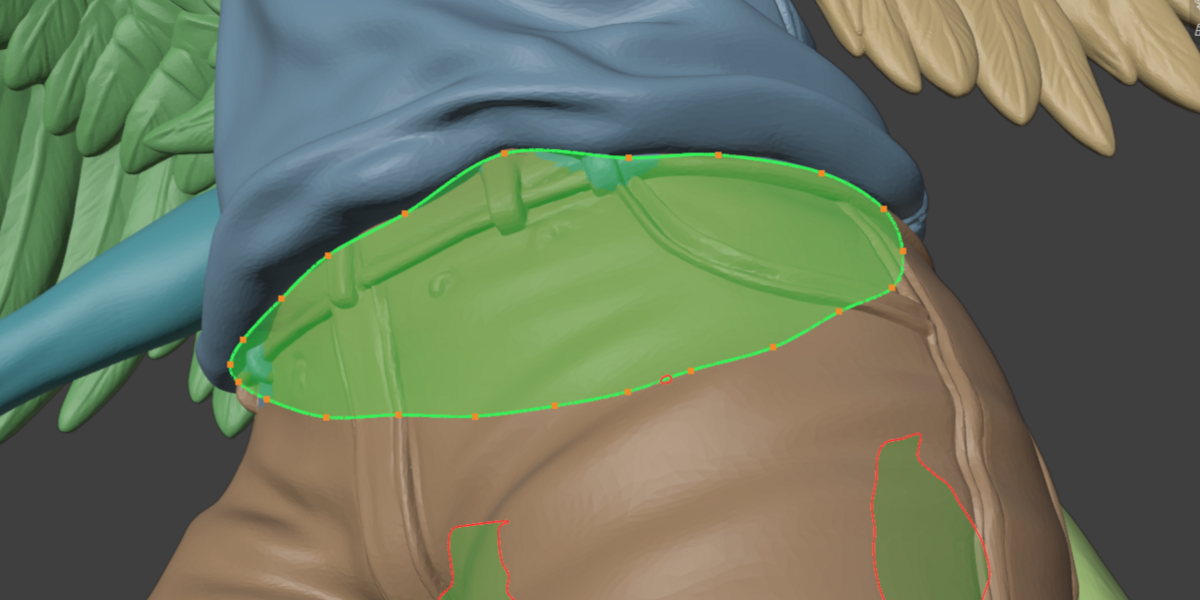
Editable curves. Drag, add and drop points in the viewport.
Flatness and Tilt U/V. Pull the seam onto a flat mating plane. Prints and glues better.
Detail. Keep the boundary's natural wander, or smooth it.
Draw Seam Line. Draw across an arm, get a seam.
Seam From Loop. Hover a ring round an arm, click, get a seam. Shift+Wheel turns it, Ctrl+Shift+Wheel leans it.
Follow groove. G makes the ring follow the fold under the cursor, so the seam hides in the relief. Snap to groove (S) pulls it onto a nearby groove.
Extrude. Push a seam's cut face into a plug and the pocket it fits, with a draft angle and a clearance, so a nearly flat part such as an eye comes off thick enough to print and glue back.
Leave Open. Cut without a cut face: one clean edge loop on each piece, to model the joint by hand.
Copy hand made joint. Model the joint on one side of a cut left open; one click copies it into the other side and closes the cut. Connectors go on a hand-modelled or extruded joint too, and Both Halves puts the matching one on the other piece.
Connectors
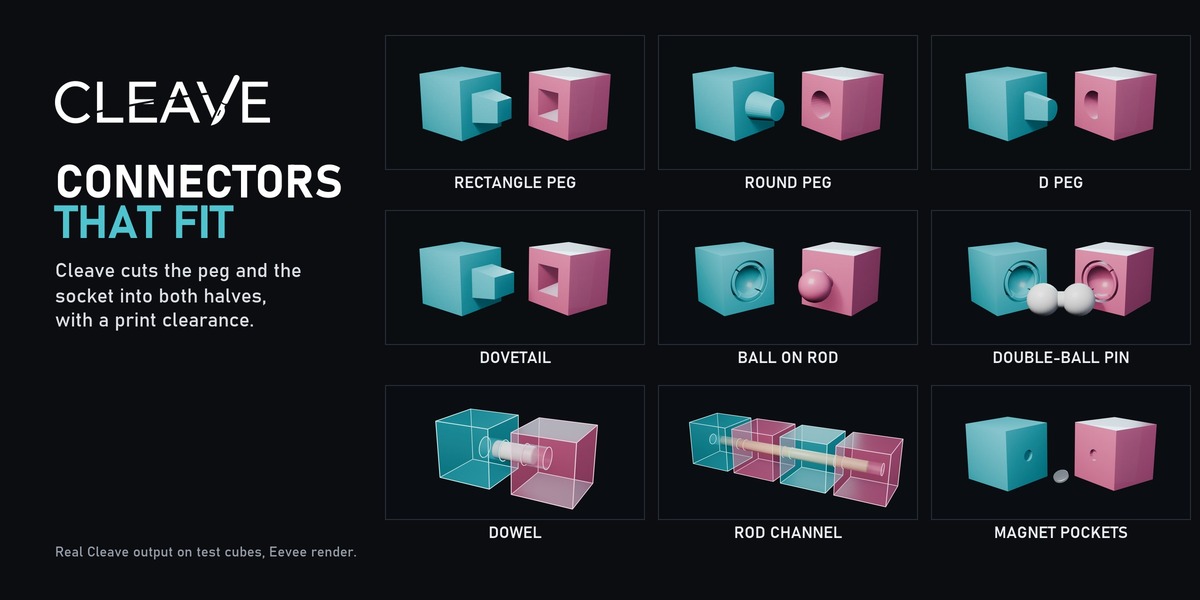
Peg and socket. True millimetres. A push fit, straight home.
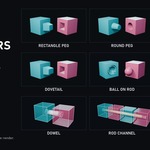
Peg profiles. Rectangle, round (cylinder or cone), D that fits only one way, or dovetail, tapered on two sides and straight on two.
Magnet pockets. 5×2 to 10×3 mm, or your own.
Dowel. A round hole in each piece for a pin printed apart. Export writes the pins beside the pieces or into the 3MF.
Rod Channel. A channel for a reinforcing rod through every piece it crosses, its ends inside the material. The panel gives the rod to cut.
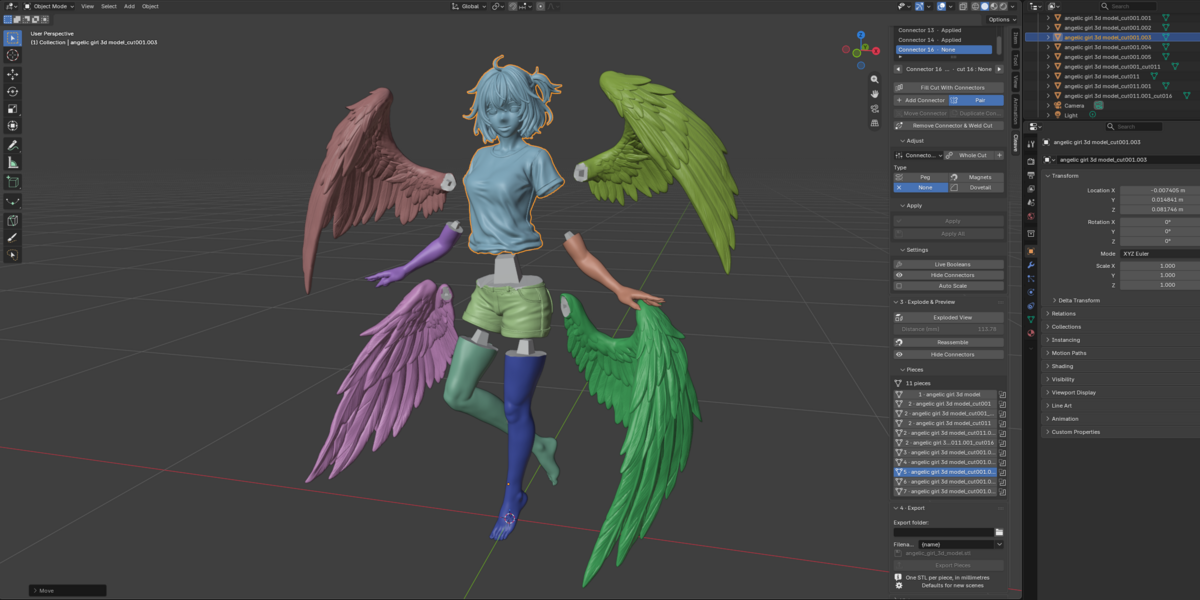
Ball Joint. A ball on one piece, the socket that grips it on the other: posable parts that hold their pose. Apply can move each part to where it sits once assembled.
Fill Cut With Connectors. A whole cut in one click.
Auto Scale. Off by default. Turn it on to keep each one inside both pieces; either way the panel warns when one does not fit.
Viewport handles. Slide, turn, scale, or size one axis, on a cut's joints.
Flip. Swap which half carries the peg.
Presets. Save your own, apply them anywhere.
Printer
Your printer. Over 120 models built in, or your own build volume. Each piece shows whether it fits.
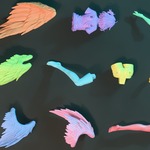
Print View. The pieces packed onto as few plates as they need, in their print pose. Nothing in the scene moves.
Check and export
Explode and Reassemble. The check that proves the joints seat.
One STL per piece, or a 3MF per plate. Millimetres, with a filename template.
Lay flat on the cut. Each piece written resting on its cut, or in the pose Print View shows. Export names any piece too big for the printer.
Make Manifold. Welds open seams and fills holes before you cut. Hollow models stay hollow.
Undo Last, Restore Original. Esc stops a long scan, propose, cut or split.
Saved in the .blend. Reopen tomorrow and carry on, uncut seams included. Rename, duplicate, separate or join pieces and their connectors follow.
Simple mode. Every stage's basic controls in one panel; switch to the full sidebar when you need more.
Discover more products like this
connectors press fit magnet dovetail miniature ball joints 3d printing split STL export split model joint figurine