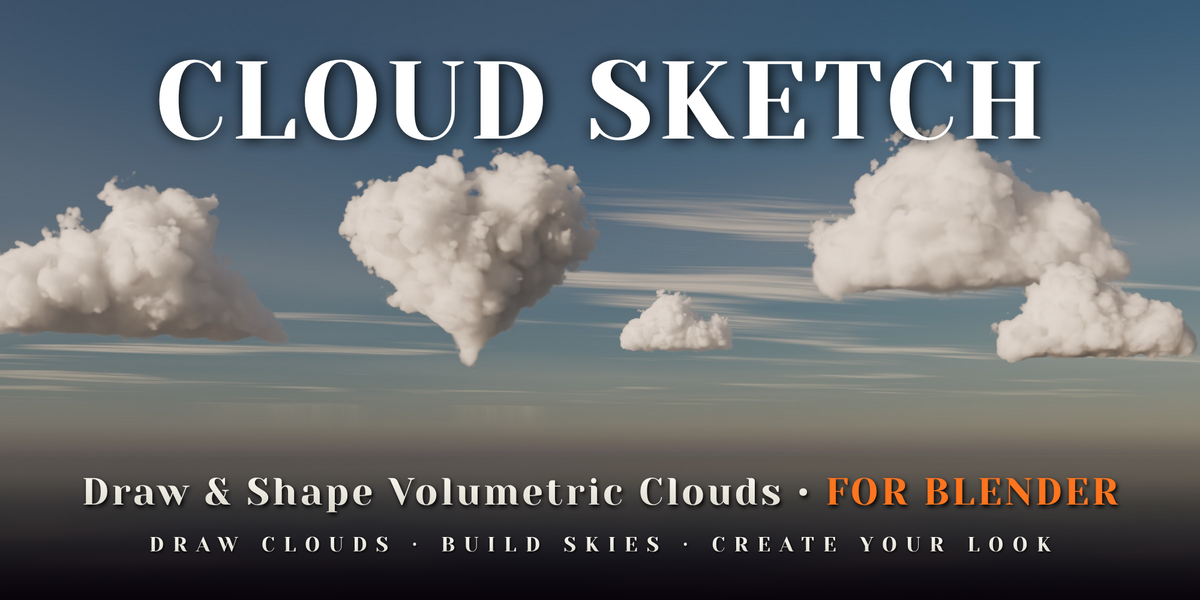
Cloud Sketch — Draw Volumetric Clouds in Blender
 Voyde Procedural
Installation
- Download
cloud_sketch-0.3.0.zip. Do not unzip it. - In Blender, open Edit › Preferences › Get Extensions.
- Open the drop-down menu at the top right and choose Install from Disk…, then select the zip.
- In the 3D Viewport, press N to open the sidebar and click the Cloud Sketch tab.
To update from an earlier version, install the new zip the same way; Blender replaces the old version. In a scene made with an earlier version, click Set Up Sky once to switch it to the live sun and atmosphere.
Quick start
Fill a sky in one click
- Make sure your scene has an active camera.
- In Sky Builder, pick a weather, set Coverage, and click Build Sky.
- Switch the viewport to Rendered (Cycles), or render with F12.
Draw your own cloud
- In Sun & Atmosphere, click Set Up Sky to add a physical sky and a sun lamp. This is optional but recommended.
- Place the 3D cursor roughly where you want your cloud (Shift + Right-click).
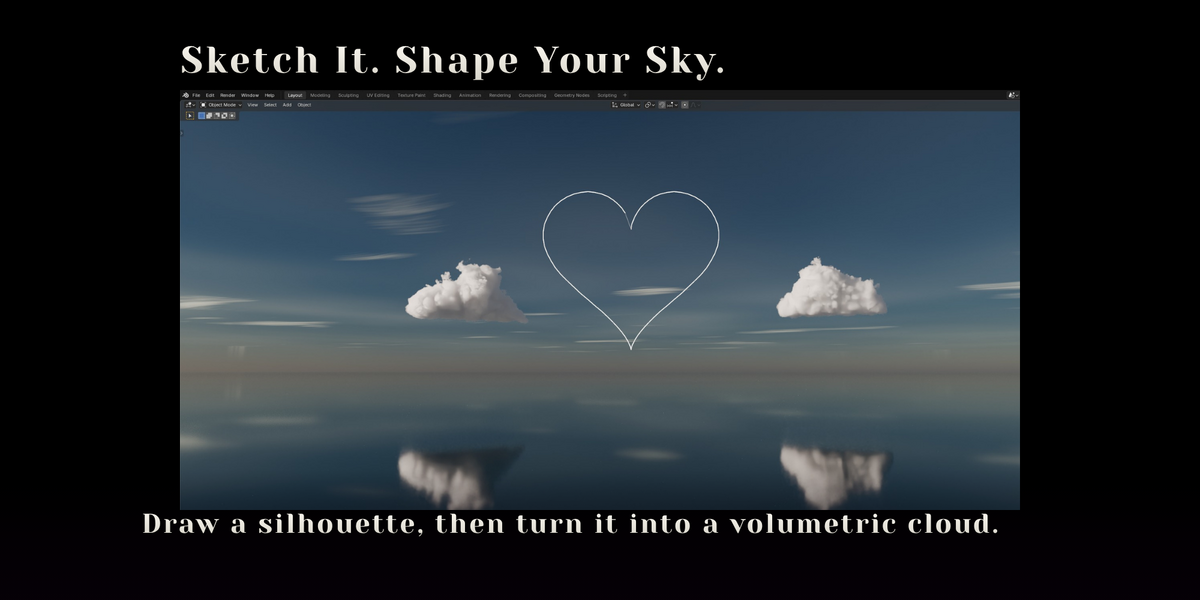
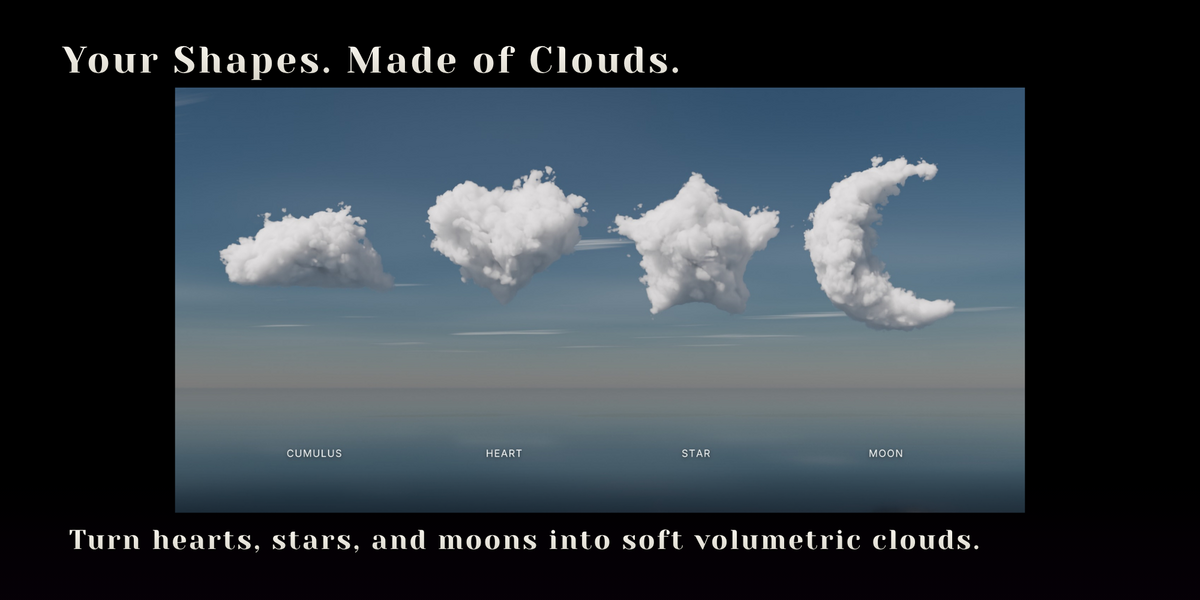
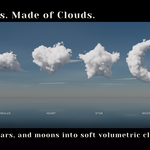
- Click Draw Clouds and drag with the left mouse button to draw a closed shape. Release to create the cloud.
- Draw more shapes, or press Esc or Right-click to finish.
Add a library cloud
- In Library, choose a category, then click the preview and pick a cloud.
- Click Add. The cloud appears at the 3D cursor, facing the view.
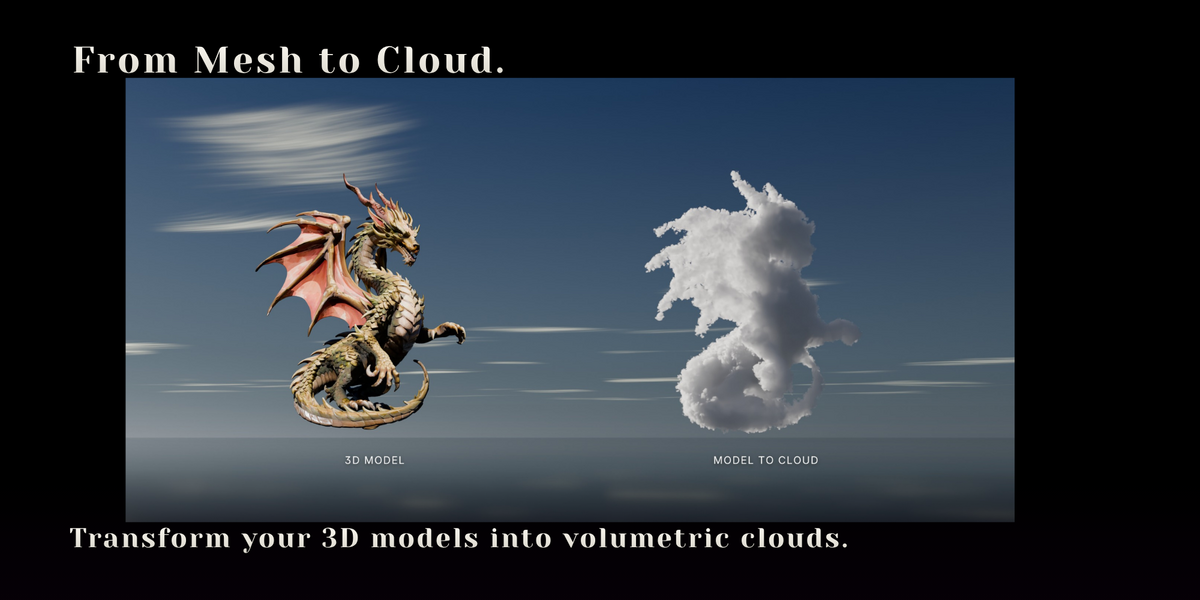
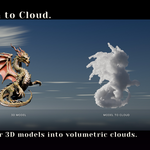
Turn a model into a cloud
- Select one or more meshes, text objects or curves (an imported character, a logo, a word).
- Click Model to Cloud under Draw Clouds. Each model is hidden and a cloud of its shape appears in its place.
- Tweak the cloud in Active Cloud. Raise Swell if thin parts break up, raise Resolution if small parts go missing.
The panel
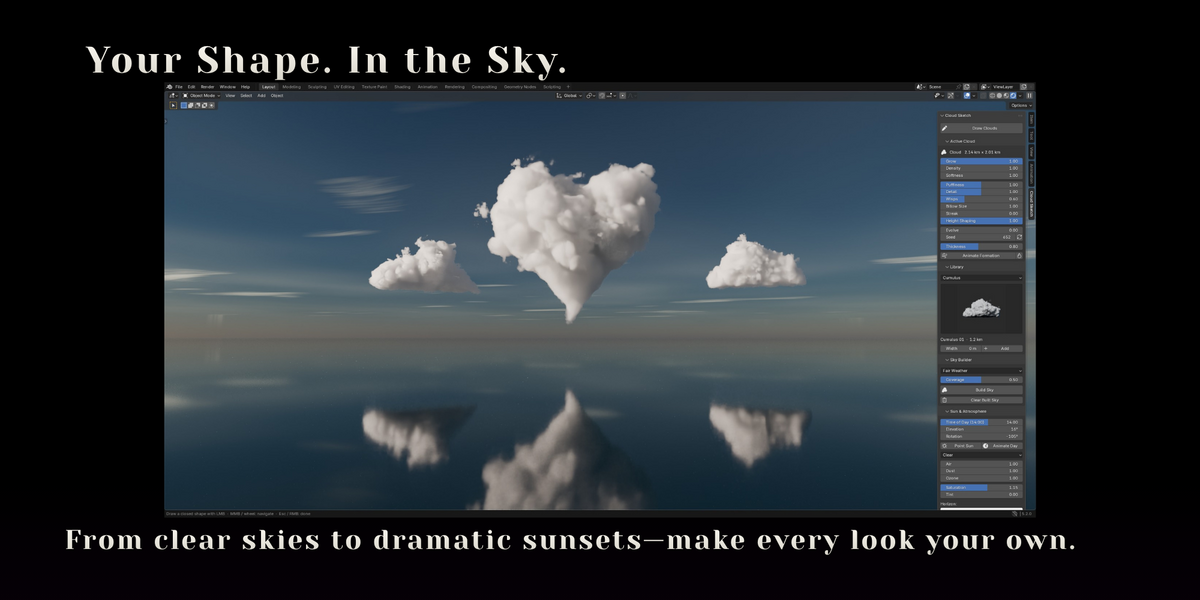
The Cloud Sketch tab has these sections, top to bottom:
- Draw Clouds: the drawing tool, and Model to Cloud under it
- Active Cloud: settings of the selected cloud (only when a cloud is selected)
- Library: browse and add library clouds
- Sky Builder: fill the camera's sky with clouds
- Sun & Atmosphere: physical sky and sun lamp, the live sun, and the atmosphere's colours
- Haze: distance haze
- New Clouds (closed by default): starting settings for drawn clouds
Drawing tool controls
| Input | Action |
|---|---|
| Left mouse drag | Draw a shape. Releasing creates the cloud. |
| Middle mouse, wheel, trackpad | Navigate between strokes |
| Esc or Right-click while drawing | Cancel the current stroke |
| Esc, Right-click or Enter | Finish the tool |
| Ctrl + Z | Undo the last cloud (each cloud is its own undo step) |
The drawing plane always faces the view. Place On (in New Clouds) decides how deep it sits:
- 3D Cursor: a plane through the 3D cursor (default)
- View Center: a plane through the point the view orbits around
If the 3D cursor is behind the view, Cloud Sketch draws at the orbit distance in front of you instead.
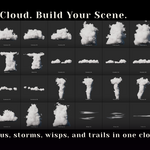
Cloud Library
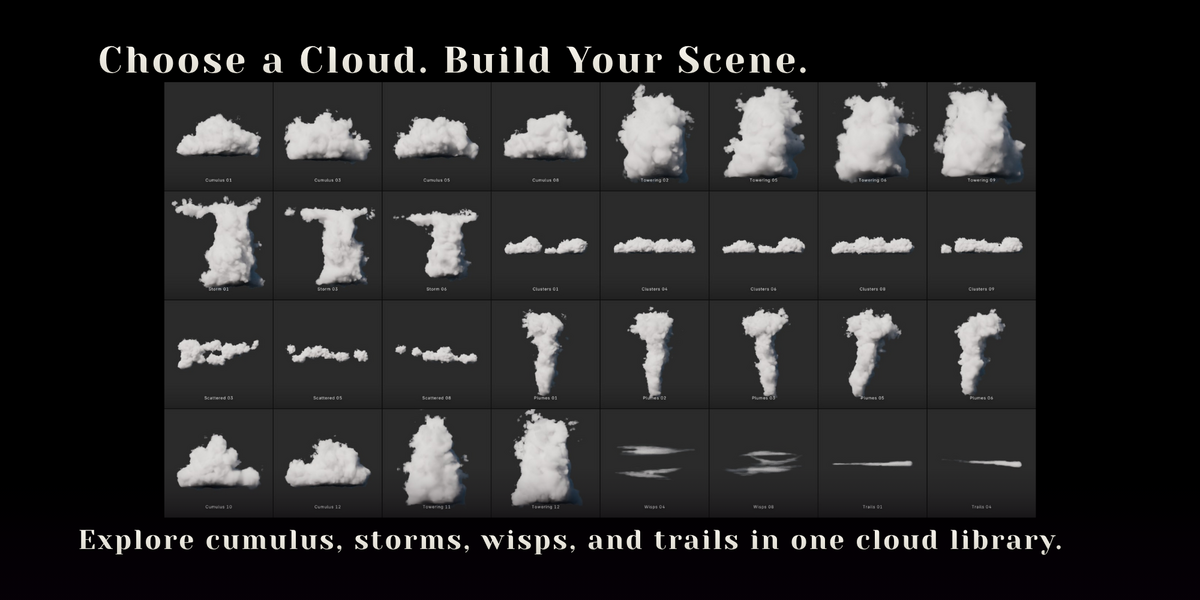
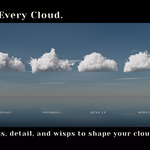
The library has 68 clouds in 8 categories:
| Category | Clouds | Natural width | What they look like |
|---|---|---|---|
| Cumulus | 12 | 1.2 km | Fair-weather clouds with flat bases and rounded tops |
| Towering | 12 | 1.5 km | Cumulus congestus: building towers, taller than wide |
| Storm | 6 | 6 km | Cumulonimbus with a wide, flat anvil top |
| Clusters | 10 | 2.5 km | Clumps of cumulus cells sharing one base |
| Scattered | 8 | 3 km | Small broken fragments spread across the sky |
| Wisps | 8 | 4 km | Thin, wind-stretched strands |
| Plumes | 6 | 0.9 km | Rising columns that bend with the wind and billow out at the top |
| Trails | 6 | 6 km | Aircraft contrails, fresh at one end and spreading at the other |
- Pick a category, click the large preview, and choose a cloud.
- Width sets the size of the added cloud. Leave it at 0 for the cloud's natural size, shown under the preview.
- Add places the cloud at the 3D cursor, facing the view. It is an ordinary Cloud Sketch cloud: every Active Cloud setting works on it.
Library clouds are recipes (a shape and its settings), not stored volumes, which is why the whole library is small and every cloud can be changed afterwards.
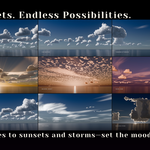
Sky Builder
Sky Builder fills the sky seen by the scene's active camera with library clouds.
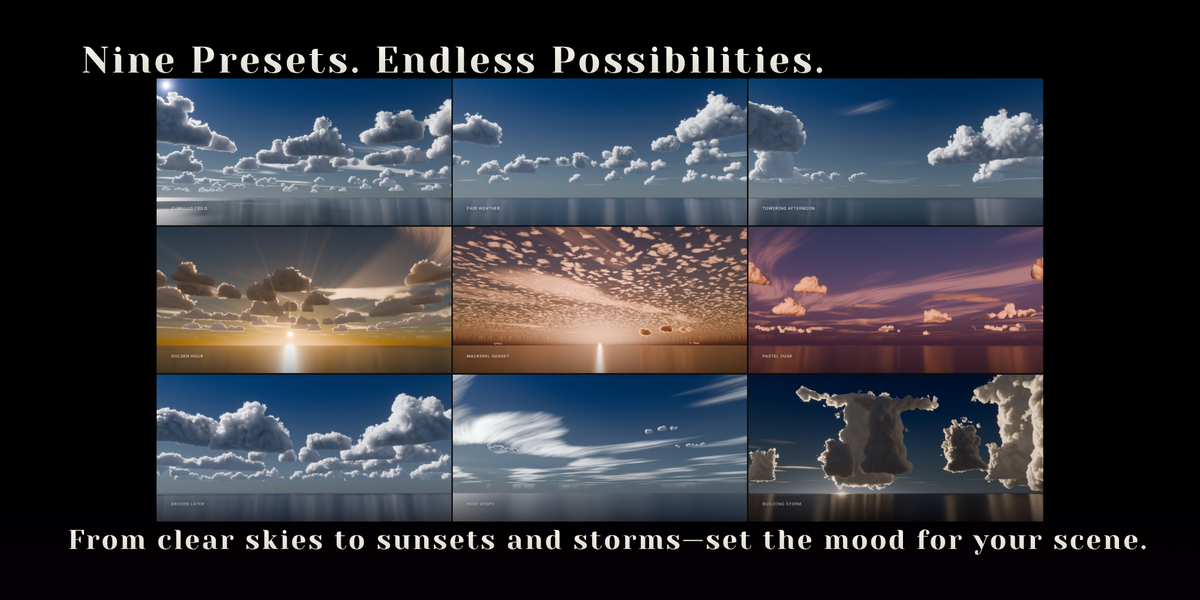
| Weather | What you get | Atmosphere |
|---|---|---|
| Fair Weather | Scattered fair-weather cumulus on a clear day | Deep Blue |
| Cumulus Field | Rows of cumulus stretching to the horizon under a deep blue sky | Deep Blue |
| Towering Afternoon | Cumulus building into towers, lit from the side | Deep Blue |
| Golden Hour | A low sun ahead, behind dark cumulus with glowing rims | Clear |
| Mackerel Sunset | A ceiling of small cloudlets lit orange by the setting sun | Fiery |
| Pastel Dusk | Soft pink clouds under a lavender sky just after sunset | Pastel |
| Broken Layer | A wide layer of cumulus clusters | Deep Blue |
| High Wisps | Bright cirrus strands on a deep blue sky | Deep Blue |
| Building Storm | Dense towers and storm clouds backlit by a low sun | Deep Blue |
Each weather puts the sun ahead of the camera or to one side, so the clouds show sunlit tops over grey, shaded bases, as they do in photos of that weather.
- Coverage sets how many clouds there are: from a handful up to about seventy for Cumulus Field.
- Build Sky places the clouds from 2.5 km out to each weather's farthest distance (20 to 60 km), inside the camera's view, with their bases at one shared height (the condensation level). Clouds stay below 20° above the horizon, where clouds built facing the camera look best; Mackerel Sunset's ceiling of cells is the sky's Cloudlets layer, with a few low clouds near the horizon. It also sets the sun for that weather, its atmosphere, the high clouds and the haze. Building again replaces the previous sky.
- Clouds of the same library shape share their envelope, material and shape image, so even large skies build in a few seconds and keep files small. Each still gets its own size, turn, Seed and Evolve. Editing one gives it its own data.
- In the operator panel (bottom left) after building, you can change the Seed for a different arrangement, place the clouds All Around the camera instead of only in view, and set the Cloud Base altitude, Nearest and Farthest distance and an overall Scale for scenes that are not in metres.
- If the camera's clip end is too short for the farthest clouds, Sky Builder raises it and tells you.
- Clear Built Sky deletes the clouds Sky Builder made, with their data. Drawn and library clouds you added yourself stay.
The built clouds are normal clouds in a Sky Builder collection, so you can move, delete or tweak any of them.
Sun & Atmosphere
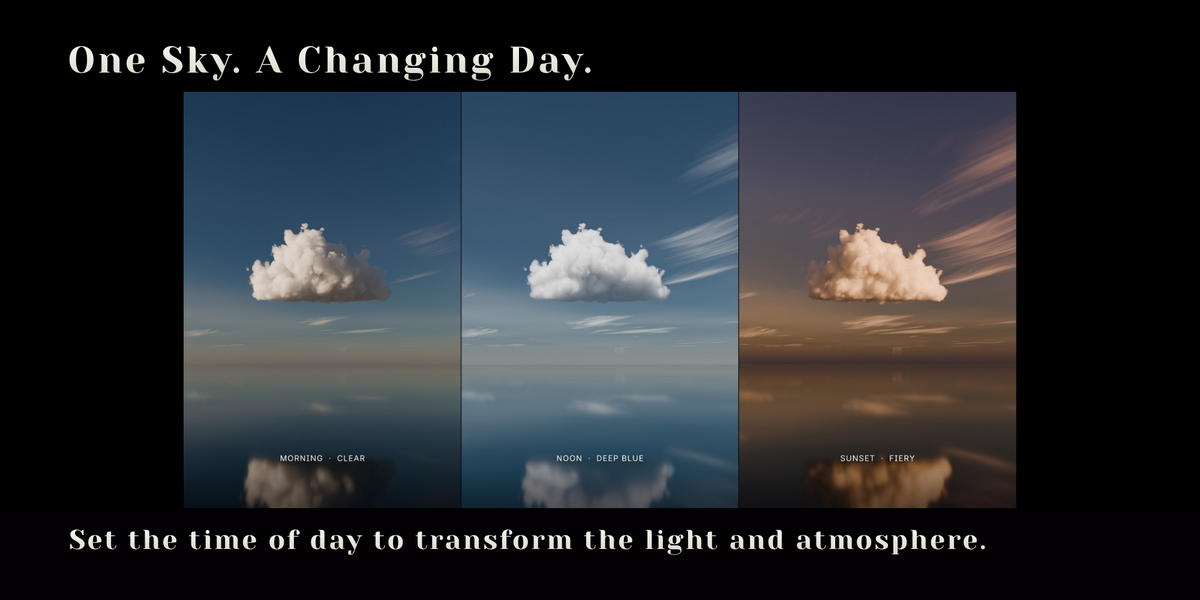
Set Up Sky replaces the world with Blender's physical sky and adds a sun lamp named Cloud Sketch Sun. From then on both follow the settings below live, through drivers: change a value and the Rendered viewport updates. Build Sky does the same set-up. It also sets Cycles volume bounces to at least 32 and raises EEVEE's volumetric resolution. Your own HDRI and lights work too; the sky set-up is optional.
Sun
| Setting | What it does |
|---|---|
| Time of Day | Moves the sun along its daily path (hours; 13.5 is half past one) |
| Elevation | Height of the sun above the horizon. Low values give warm morning or evening light. |
| Rotation | Compass direction of the sun, as in Blender's Sky Texture |
| Point Sun | Move the mouse over the viewport and the sun follows it. Click to keep it there; Right-click or Esc puts it back. |
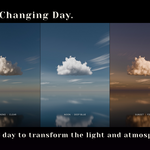
| Animate Day | Keyframes Elevation and Rotation from one hour to another over the scene's frame range |
| Sun Path › Noon Height | How high the sun climbs at noon: low in winter, high in summer |
| Sun Path › Noon Direction | Compass direction of the sun at noon |
| Sun Strength, Sky Strength | Brightness of the sunlight and of the sky |
The sunlight dims and warms as the sun nears the horizon, more so in dusty air, and fades out just below it. Around sunset the sky is lifted a little, the way a camera's exposure would follow the light.
Atmosphere
| Setting | What it does |
|---|---|
| Atmosphere | Preset that sets everything below: Clear, Deep Blue, Hazy, Fiery or Pastel |
| Air | Air molecules: a deeper blue sky by day, redder sunsets |
| Dust | Dust and haze: a paler sky, a glow around the sun, warmer sunlight |
| Ozone | A deeper blue overhead and purple twilight |
| Saturation | Colourfulness of the sky |
| Tint, Horizon, Overhead | A colour grade from the horizon to overhead. The horizon colour also tints the sunlight and the haze. |
High Clouds
| Setting | What it does |
|---|---|
| High Cirrus | Thin, fibrous ice clouds high above the others: curving strands in bands and tufts with open sky between them, and a faint milky veil. More cirrus fills more of the sky. |
| Cloudlets | A high layer of small puffy cloudlets (cirrocumulus and altocumulus) |
| Wind Direction | The direction the streaks run in |
| Drift | Slides the layers with the wind; animate it for moving high clouds |
They are part of the sky, so they light the scene a little and show in reflections, but cast no shadows. Each Sky Builder weather sets its own.
All of these, and the sun settings, can be keyframed.
Haze
Distance haze makes far clouds fade into the colour of the horizon:
| Setting | What it does |
|---|---|
| Haze | How strong the haze is. 0 turns it off. |
| Haze Distance | Distance at which a cloud is about two-thirds faded. Set Up Sky sets it to 20 times the size of a typical cloud in the scene. |
| Auto Color | The haze colour follows the sun's height and the horizon tint: bluish by day, warm at golden hour, dim at dusk |
| Haze Color | Your own haze colour, used when Auto Color is off. Pick it from the sky near the horizon. |
New Clouds settings
| Setting | What it does |
|---|---|
| Place On | Depth of the drawing plane (see above) |
| Thickness | Depth of new clouds relative to their width. 0.8 gives natural cumulus. |
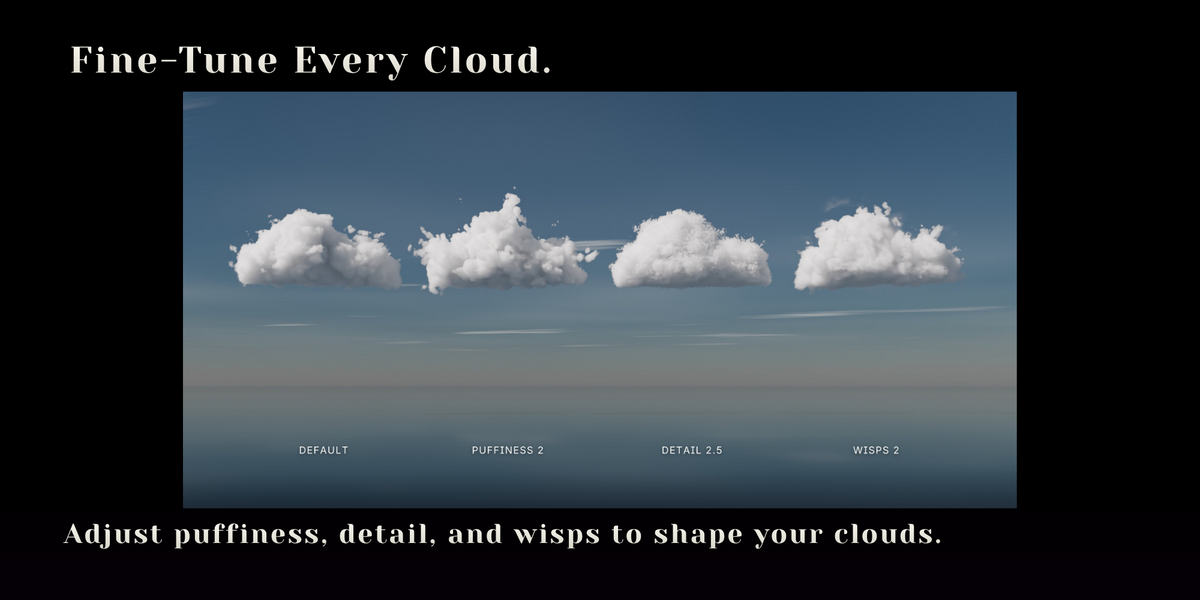
| Puffiness | Size of the round billows on new clouds |
| Detail | Strength of the small bumps on new clouds |
| Wisps | Frayed strands around the edges of new clouds |
| Animate (Frames) | Keyframes Grow from 0 to 1 on every new cloud, starting at the current frame |
Active Cloud settings
Select a cloud to see these settings. Every value except Thickness updates live and can be keyframed.
| Setting | What it does |
|---|---|
| Grow | 0 is no cloud, 1 is fully formed. Keyframe it to make a cloud appear. |
| Density | Optical thickness. Lower values make thin, see-through clouds. |
| Softness | How gradually density fades at the edge. High values look misty. |
| Puffiness | Height of the billows: the lobes, puffs and small puffs |
| Detail | The finest bumps on top of the billows |
| Wisps | Thin, frayed strands around the edges. 0 turns them off. |
| Billow Size | Scale of the billow pattern relative to the cloud |
| Streak | Stretches the billows sideways, for wind-sheared and cirrus-like clouds |
| Height Shaping | 1 gives a smooth, flat base and a busy top, like real cumulus. 0 treats all heights the same. |
| Evolve | Moves the noise through the cloud. Animate it for a slowly changing cloud. |
| Seed | A different billow pattern. The refresh button picks one at random. |
| Thickness | Drawn and library clouds: depth of the shape. Changing it rebuilds the cloud. |
| Swell | Model clouds: how far the cloud swells past the model's surface, in billow heights. Thin parts such as wings, horns and letters need some to stay solid. |
| Resolution | Model clouds: voxels across the model's longest side. Higher keeps smaller parts, using more memory. |
| Animate Formation | Keyframes Grow for all selected clouds, with an optional stagger. A model cloud condenses from its core outward. |
| Rebuild (water drop icon) | Recomputes the selected clouds from their outline, or refits model clouds after their model changed size |
Animation
- Formation: select clouds and click Animate Formation, or enable Animate before drawing.
- Boiling clouds: keyframe Evolve, for example 0 at the first frame and 2 at the last.
- Drifting: clouds are normal objects, so keyframe their location for wind.
Rendering tips
- Cycles gives the softest, most natural light. Inside a real cloud light scatters hundreds of times, which is what makes it white, so use Light Paths › Max Bounces › Volume of 32 (Set Up Sky does this). 8 renders about 1.7 times faster but turns clouds grey; more than 32 looks the same. Lower it temporarily for quick previews.
- Clouds are volumes, so use the denoiser. 64 to 128 samples with OptiX or OpenImageDenoise is plenty for most shots.
- With AgX, a slightly higher exposure (+0.3) or the Medium High Contrast look makes clouds pop.
- EEVEE renders volumes on a grid, so clouds look softer. Set Render Properties › Volumes › Resolution to 1:2 or 1:1 for sharper clouds; it renders slower. Set Up Sky uses 1:2.
- For far-away clouds, lower the Detail value. The finest bumps are too small to see at that distance and the render gets faster.
Duplicating and editing
- Shift + D duplicates a cloud. Different object names give different billow patterns. Changing Thickness or clicking Rebuild on the copy gives it its own data, so the original is never affected.
- You can move, rotate and scale clouds like any object.
- The outline can't be edited after creation. Draw the shape again, or pick another library cloud.
Limitations
- Clouds are procedural volume materials, not VDB files, so they can't be exported to other programs.
- Model clouds are Volume objects built by geometry nodes. Very large or very detailed models at a high Resolution need more memory and take longer to update; lower Resolution while posing the model.
- Each drawn or library cloud is built from a 2D shape facing the view where it was made. Depth is built symmetrically in front of and behind that plane, so seen from far above or straight below a cloud shows its flat base rather than its billows. Sky Builder keeps clouds low in the sky for this reason, and draws Mackerel Sunset's overhead ceiling with the sky's Cloudlets layer instead.
- If you keyframe Puffiness, Detail or Wisps above the value the cloud was built with, billows can be clipped at the cloud's bounds. Set the highest value once and click Rebuild before animating.
Have questions about this product?
Login to message
| Blender Extension Compatible | Yes |
| Published | 6 days ago |
| Blender Version | 5.0 - 5.2 |
| Extension Type | Add-on |
| Render Engine Used | Cycles, Eevee |
| License | GPL |
Discover more products like this
cloud library environment model to cloud clouds sky builder volumetric-clouds procedural Cycles weather sky cumulus eevee