Color Layer Splitter
 Sonneblom Digitaal

Installation
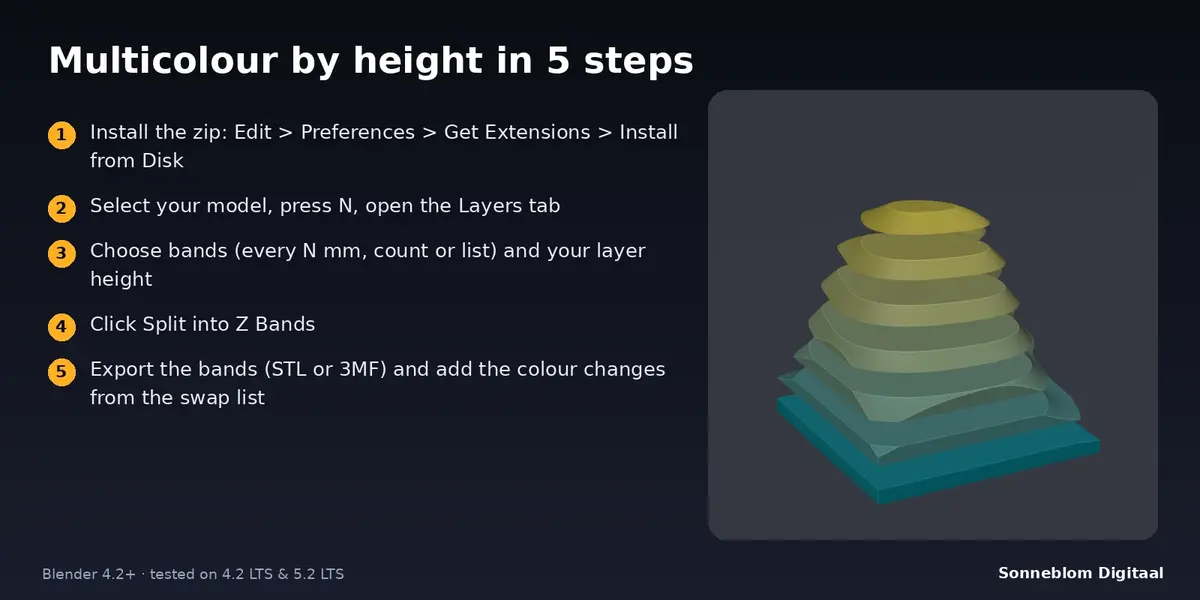
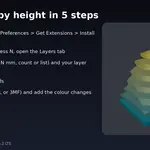
Extension zip (color_layer_splitter-1.0.0.zip, Blender 4.2 and newer): Edit > Preferences > Get Extensions > Install from Disk, choose the zip (or drag the zip into the Blender window). Make sure the add-on is ticked.
Classic zip (color_layer_splitter-1.0.0-legacy.zip): Edit > Preferences > Add-ons > Install from Disk, choose the zip, then tick "Color Layer Splitter".
Where is the panel?
3D Viewport > press N > tab Layers > panel "Color Layer Splitter".
Step by step
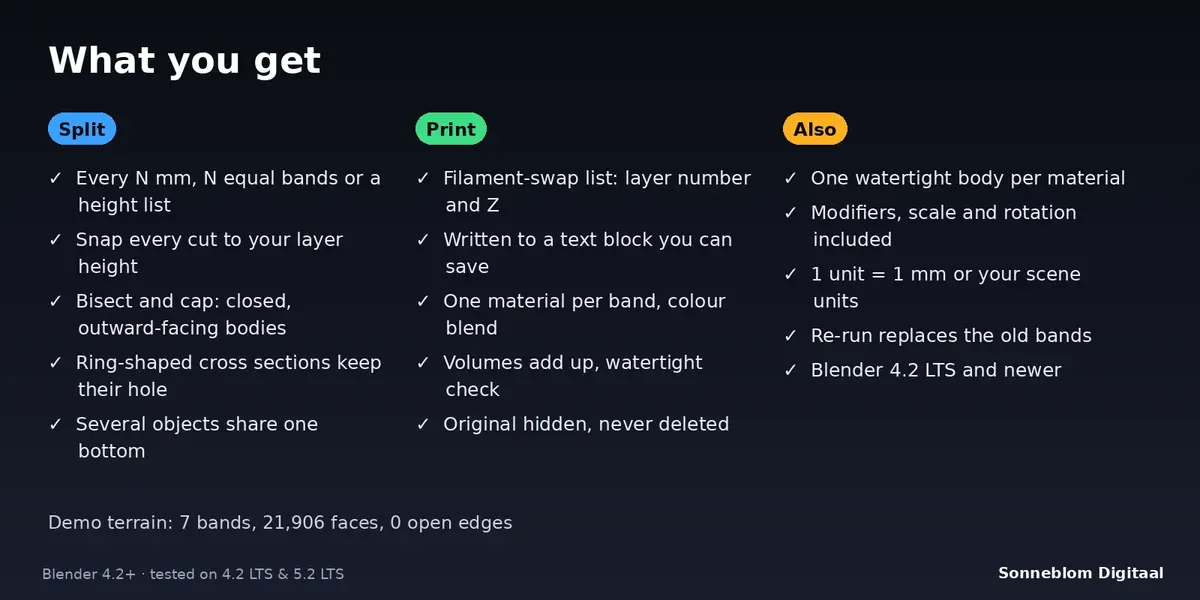
- Select one or more mesh objects. Closed (watertight) meshes give closed bands.
- Set Model units: "1 unit = 1 mm" if you model in millimetres (STL files are read this way), or "Scene units" to follow Scene > Units.
- Choose the band mode: Every N mm, Number of bands or Height list (heights in mm above the lowest point of the selection, e.g. 2, 4.5, 8).
- Keep Snap to layer height on and enter the layer height and first layer height of your slicer profile.
- Pick a bottom and top colour (only for the preview materials in Blender).
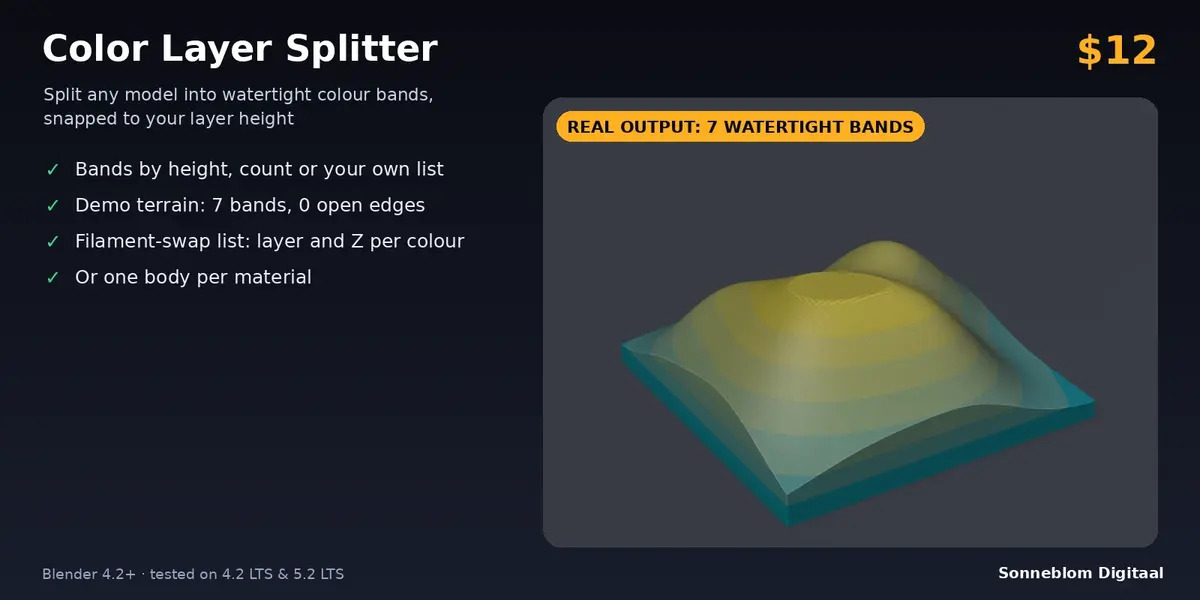
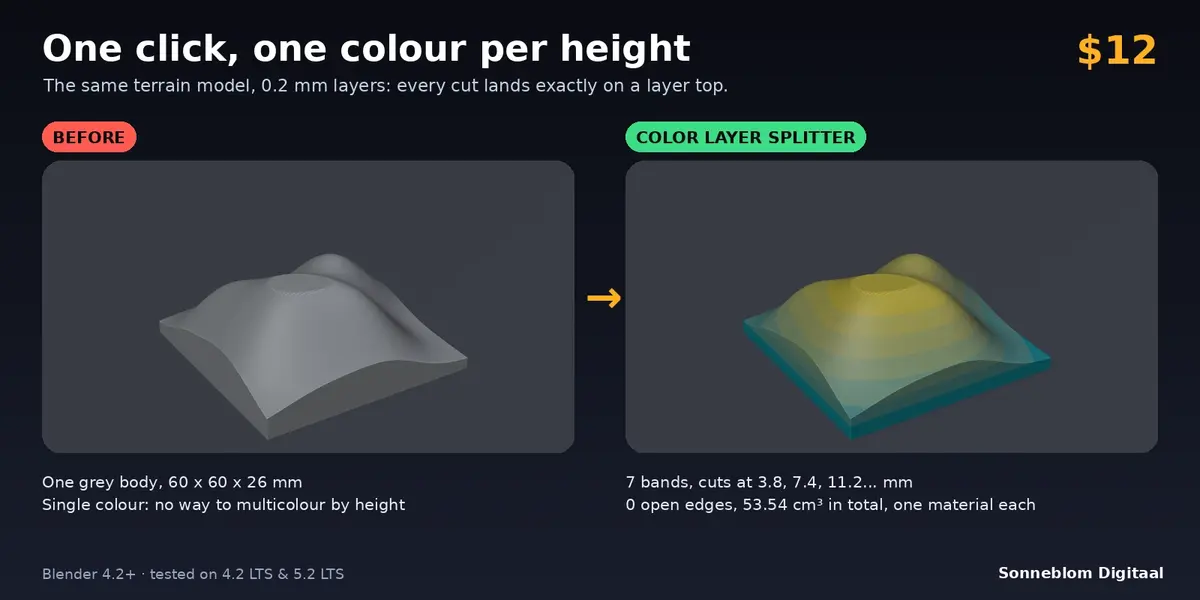
- Click Split into Z Bands. The bands appear as new objects named Name_band_01, Name_band_02 ... in a collection "Name bands". The original is hidden.
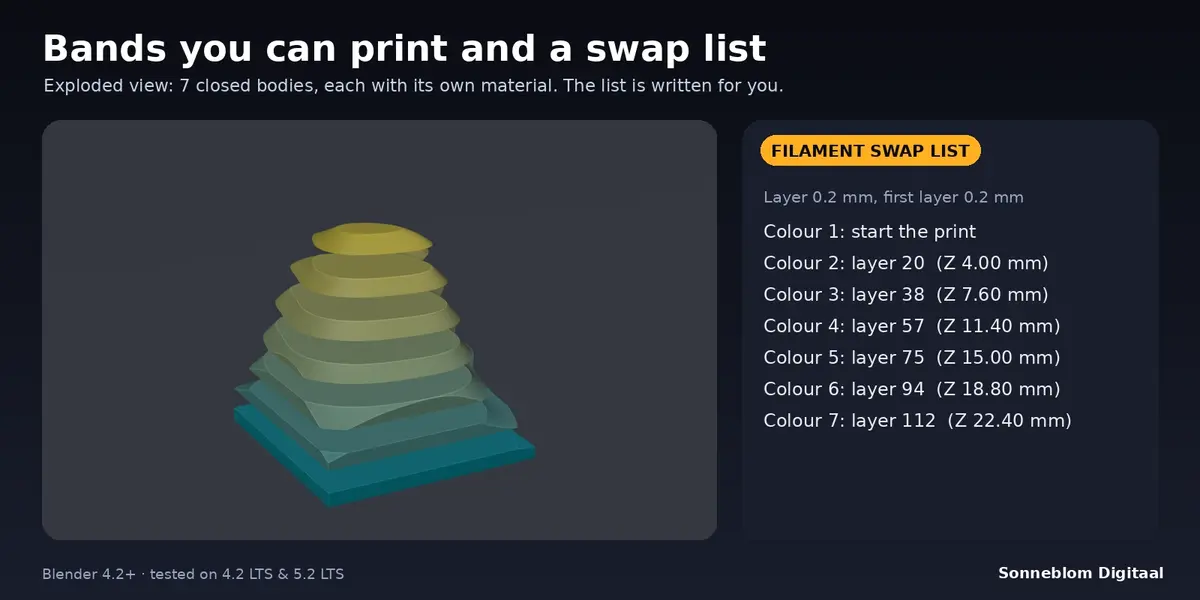
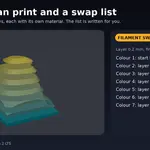
- The panel and the text block "Filament swaps" list, for every colour change, the first layer of the new colour and its Z height.
- Export the bands to your slicer (select them and export STL or 3MF), load them as one multi-part model and add the colour changes at the listed layers (or assign one filament per band on a multi-material printer).
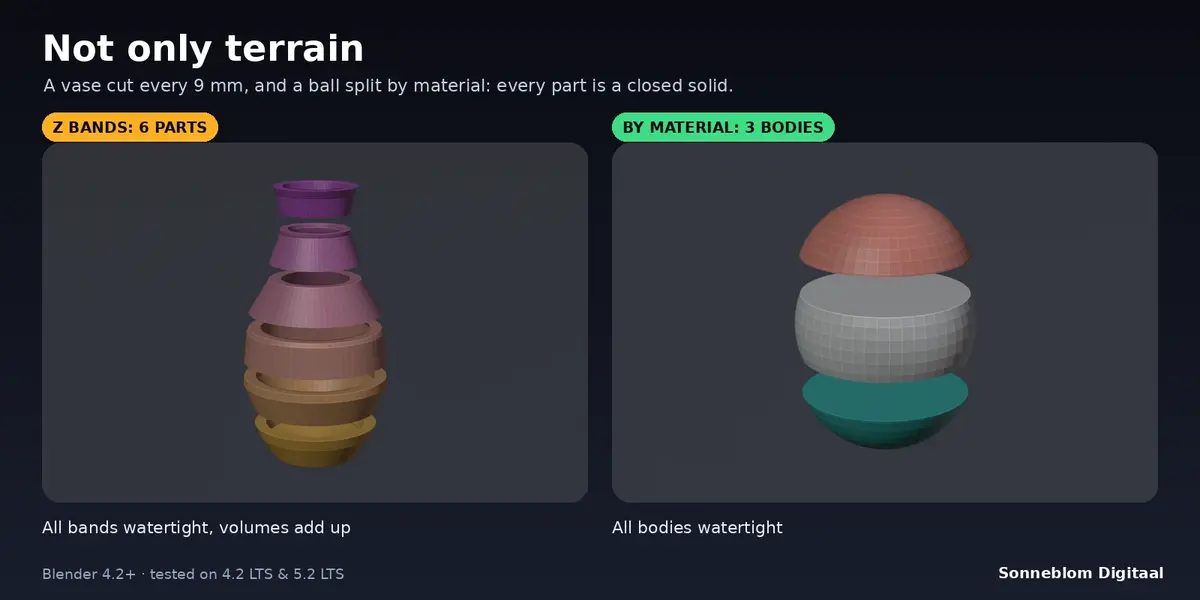
Split by Material: give different faces different materials (Material Properties > Assign in Edit Mode), select the object and click Split by Material. You get one closed body per material, named Name_Material, with that material assigned. The faces where two materials meet are capped flat.
Settings
| Setting | Default | What it does |
|---|---|---|
| Model units | 1 unit = 1 mm | How big one Blender unit is; the alternative follows the scene unit settings. |
| Bands | Every N mm | How the colour change heights are chosen. |
| Band height (mm) | 2.0 | Height of every band in "Every N mm" mode; the last band takes the rest. |
| Bands (count) | 4 | Number of equal bands in "Number of bands" mode (2 to 200). |
| Heights (mm) | 2, 4, 6 | Cut heights in "Height list" mode, separated by commas. |
| Snap to layer height | On | Moves every cut to the nearest layer top. |
| Layer height (mm) | 0.2 | Your slicing layer height. |
| First layer (mm) | 0.2 | Your slicer's first layer height. |
| Bottom colour / Top colour | blue / orange | Preview material colours; bands blend between the two. |
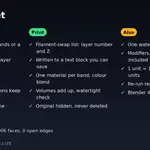
| Write swap list | On | Writes the text block "Filament swaps". |
| Hide original | On | Hides the source in the viewport and in renders; it is never deleted. |
How the swap list is worked out
Heights are measured from the lowest point of the selected objects, which is where the first layer is printed. Layer 1 is the first layer (its height is the First layer setting); every further layer adds the layer height. A slicer samples a layer at its middle, so the colour starts at the first layer whose middle is above the cut. With snapping on, a cut at a layer top means the next layer is the first of the new colour: for 0.2 mm layers a cut at 4.0 mm gives "layer 21 (Z 4.20 mm)", the layer that is printed from 4.0 to 4.2 mm. In PrusaSlicer and OrcaSlicer add a colour change at that Z in the layer slider; other slicers have a pause or filament-change feature at a layer or height.
Tips
- Use a band height that is a multiple of your layer height (for example 2.0 mm with 0.2 mm layers) for even bands.
- Models that stand on the bed (lowest point at the bed) give the swap list you can use straight away. If you move the object, heights always count from its lowest point.
- A very thin band (one or two layers) prints fine but may show the colour below; make colour bands at least a few layers tall.
- Run a repair on a model with holes first; the report tells you when the source has open edges.
Limits
- Horizontal cuts only (planes along Z). Maximum 200 bands per model.
- When a cut would land exactly on a flat face of the model it is moved up by about 0.0006 mm.
- Split by Material caps each colour boundary with a flat face. Strongly curved boundaries are filled with a flat triangulated cap.
- No slicer file export: the add-on gives you the bodies and the list.
Licence
GPL-3.0-or-later. The add-on is free software; the licence file is included in both zips.
Have questions about this product?
Login to message
| Blender Extension Compatible | Yes |
| Published | about 8 hours ago |
| Blender Version | 4.2 - 5.2 |
| Extension Type | Add-on |
| License | GPL |
Discover more products like this
multicolor topographic watertight layers split bands 3d printing filament change