 3DMAGIC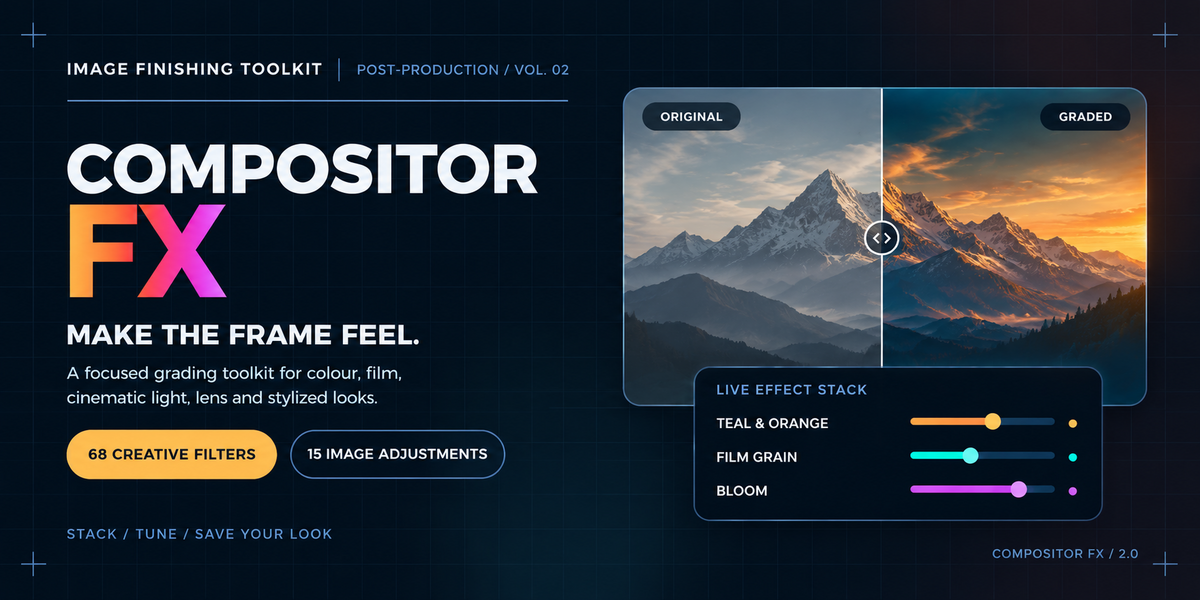

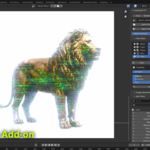
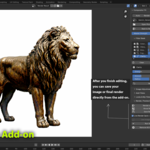
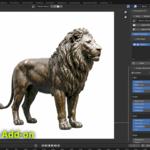
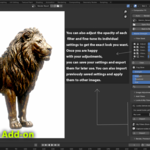
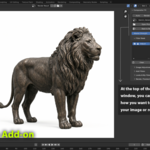
Compositor FX 2.0.0
Professional Compositing, Effects & Look-Building Toolkit for Blender
Compositor FX is a Blender compositor toolkit designed to make image processing faster, more organized and reusable.
Instead of manually creating and reconnecting complex compositor node setups, you can browse a library of ready-to-use effects, add them to your stack, adjust their settings and combine multiple effects into a complete visual look.
You can also save your complete effect stack as a reusable Look, export it as JSON, import it into another project, or create your own custom filters from compositor nodes.
1. Getting Started
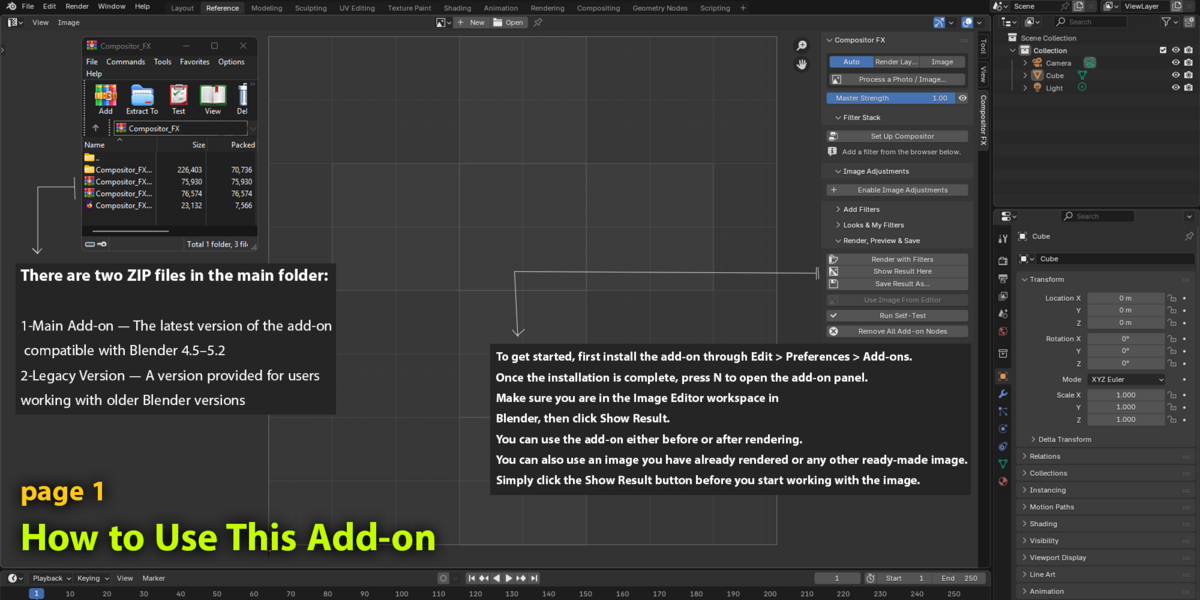
After installing Compositor FX, open the add-on panel from the Blender interface.
The main workflow is divided into several stages:
Filter Browser
Browse and search through the available compositor effects.
Adjustments
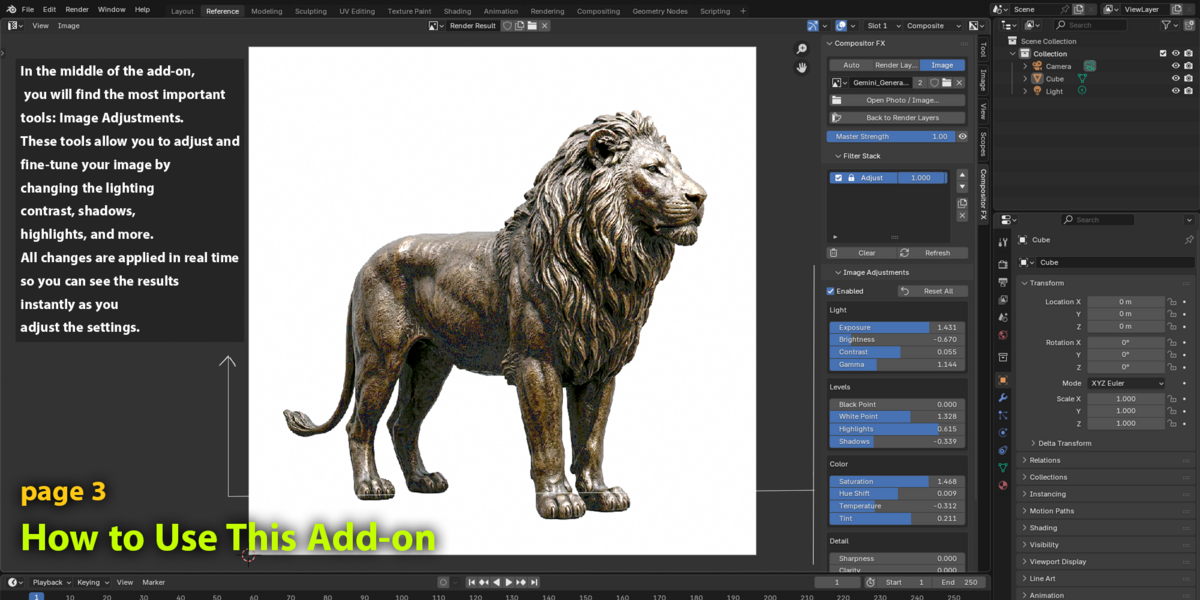
Make quick image corrections such as exposure, contrast, color, highlights, shadows and sharpness.
Effect Stack
Combine multiple filters and control their order, strength and enabled state.
Custom Filters
Turn your own compositor node setups into reusable filters.
Looks
Save and reuse complete effect stacks as JSON presets.
2. Choosing Your Source
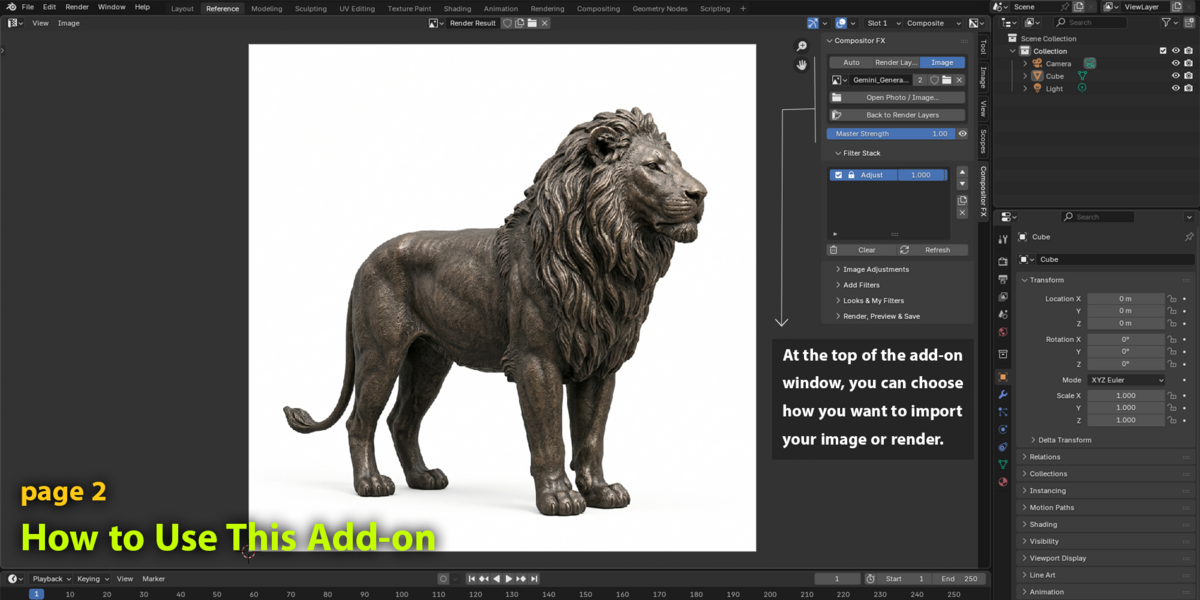
Compositor FX can work with your current Blender render or with a still image.
You can use the tool to:
Process a rendered image.
Apply color grading to a scene render.
Add cinematic effects.
Create stylized image treatments.
Refine lighting and contrast.
Process still images.
Build reusable visual presets.
Start with your source image, then move through the adjustment and filter workflow.
3. Image Adjustments
The Adjust section provides 15 dedicated controls for fast image correction.
These controls are independent from the 68 browser filters.
Light
Exposure
Adjust photographic exposure in stops.
Brightness
Control the overall brightness of the image.
Contrast
Increase or reduce tonal contrast.
Gamma
Adjust the brightness of midtones.
Levels
Black Point
Control where darker values reach black.
White Point
Control where brighter values reach white.
Highlights
Refine the brighter areas of the image.
Shadows
Refine darker areas of the image.
Color
Saturation
Control overall color intensity.
Hue Shift
Rotate the colors around the hue spectrum.
Temperature
Shift the image toward warmer or cooler tones.
Tint
Shift the image between green and magenta.
Detail
Sharpness
Enhance fine image detail.
Clarity
Increase local contrast and perceived texture.
Blur
Apply image softening using a Gaussian-style blur.
4. Filter Browser
Compositor FX includes 68 ready-to-use filters organized into seven categories:
Color — 21 filters
Cinematic — 8 filters
Film — 7 filters
Lens — 10 filters
Detail — 7 filters
Stylize — 10 filters
Utility — 5 filters
Use the search and category controls to quickly find the effect you need.
You can also organize your workflow using favorites and recently used filters.
5. Adding Filters
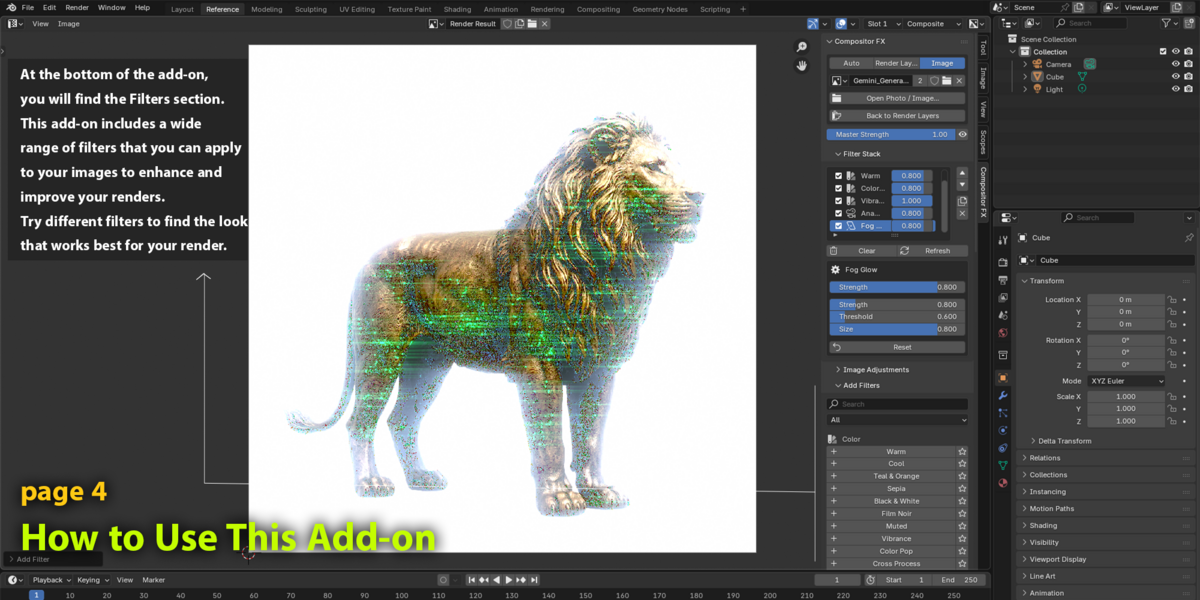
Select a filter from the browser to add it to your effect stack.
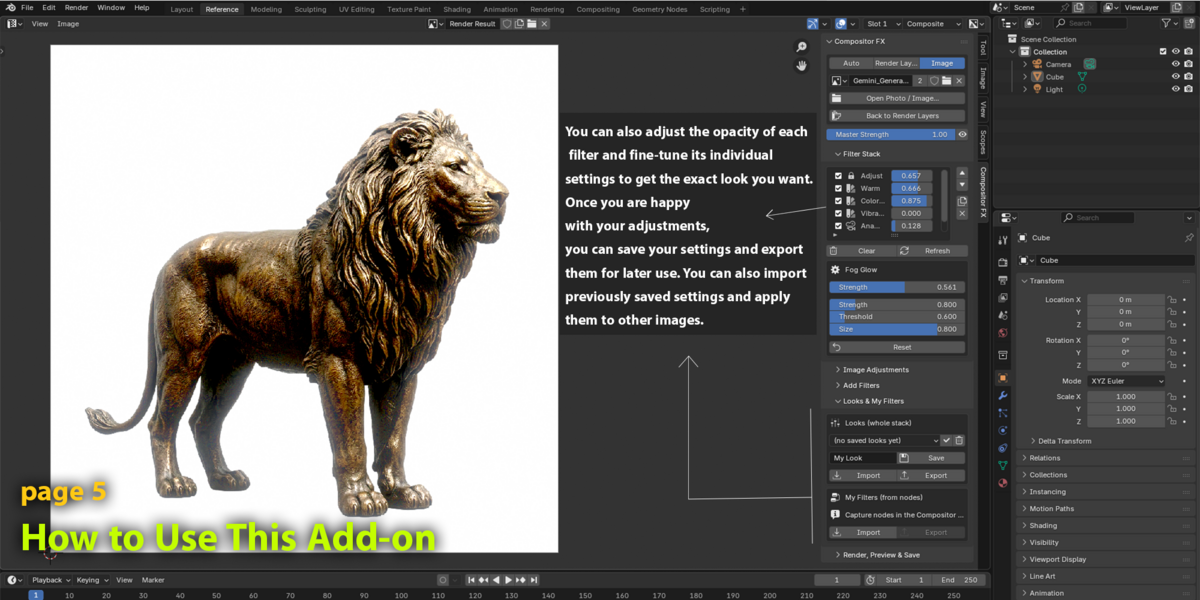
Each browser filter has its own Strength control.
Depending on the filter, additional parameters may also be available.
For example, a glow effect may provide controls for:
Strength
Threshold
Size
While a color effect may provide controls such as:
Saturation
Contrast
Amount
This allows you to use the same filter for subtle corrections or much stronger stylized effects.
6. Managing the Effect Stack
After adding multiple filters, you can manage them directly from the stack.
Available controls include:
Enable / Bypass
Temporarily disable an effect without removing it.
Strength
Control the contribution of an individual effect.
Master Strength
Control the overall strength of the complete effect stack.
Reorder
Change the order in which effects are processed.
Duplicate
Create a copy of an existing effect and its settings.
Reset
Return an effect to its default settings.
Remove
Delete an effect from the stack.
This makes it easy to experiment without rebuilding the setup from the beginning.
7. Building a Look
A Look is a complete effect stack that can be saved and reused.
For example, you could create a stack containing:
Exposure
Contrast
Film Grain
Bloom
Color Grade
Vignette
Instead of recreating this setup manually for every project, save the complete stack as a Look.
A Look can preserve:
Effect order
Enabled / disabled states
Individual Strength values
Filter parameters
Complete stack configuration
8. Import & Export Looks
Looks can be exported as JSON files.
This allows you to:
Back up your favorite looks.
Transfer looks between projects.
Reuse the same setup on different renders.
Share your visual setups with other artists.
To reuse a saved setup, import the corresponding JSON file.
9. Custom Filters
Compositor FX also allows you to create your own reusable filters from selected compositor nodes.
This is useful when you already have a custom node setup that you frequently use.
Select the compositor nodes you want to turn into a filter and create a custom filter from them.
Where supported, exposed node inputs can be adjusted directly from the Compositor FX panel.
Your custom setup can therefore behave like a normal reusable filter instead of requiring you to rebuild the node network manually.
10. Sharing Custom Filters
Custom filters can be shared as JSON.
This makes it possible to transfer your custom effects between projects or share them with other artists.
The JSON workflow can be useful for creating your own personal filter library or maintaining a collection of frequently used compositor setups.
11. Preview, Compare & Refine
Use individual filter Strength controls to fine-tune specific effects.
Use Master Strength when you want to quickly compare the processed result against the overall effect of your stack.
This makes it easier to test different combinations without permanently changing every individual filter.
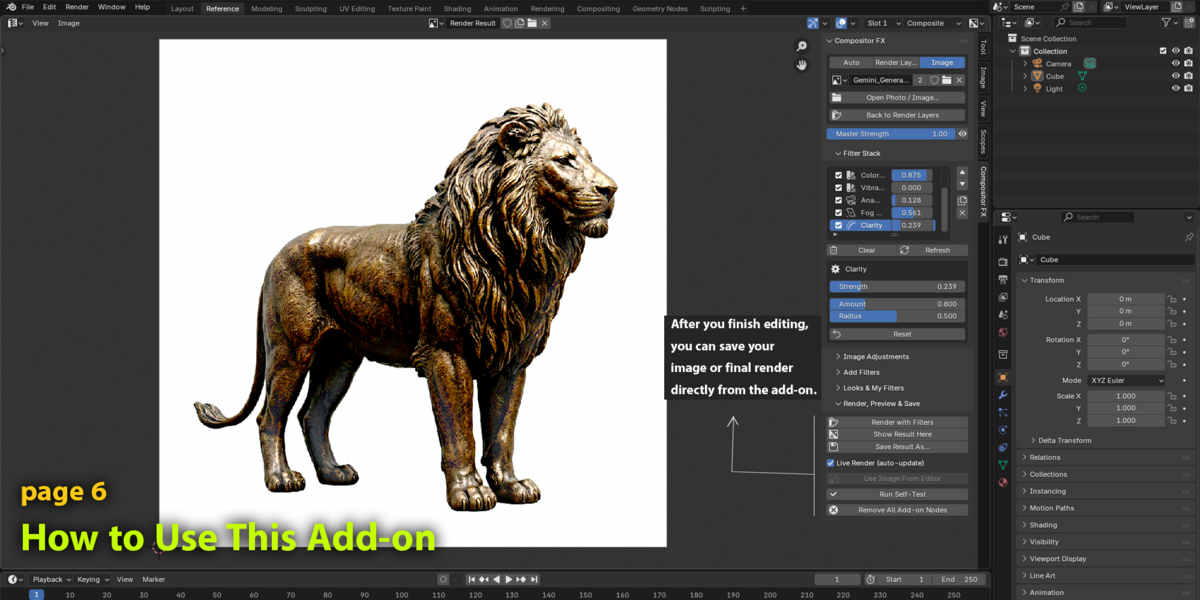
12. Saving Your Final Image
Once your compositor setup is complete, you can use the resulting image in your normal Blender render workflow.
Compositor FX is designed to work alongside Blender's existing compositor rather than replacing Blender's rendering system.
Your final workflow can therefore be:
Render → Adjust → Add Effects → Refine → Preview → Save
13. Filter Categories
Color — 21 Filters
Designed primarily for color grading and image mood.
Includes:
Warm, Cool, Teal & Orange, Sepia, Black & White, Film Noir, Muted, Vibrance, Color Pop, Cross Process, Bleach Bypass, Faded Matte, Cyberpunk, Golden Hour, Moonlight, Gradient Map, Color Tint, Split Toning, Hue Shift, Soft Portrait Film and Vivid Slide Film.
Cinematic — 8 Filters
Designed for cinematic image treatments and presentation.
Includes:
Cinematic Dark, Hollywood, Blockbuster, Letterbox Bars, Anamorphic Streaks, Dreamy Glow, Neon Glow and Filmic Punch.
Film — 7 Filters
Designed for analog, vintage and film-inspired effects.
Includes:
Film Grain, Vintage Film, Old Photograph, Halation, Tungsten Night, Light Leak and VHS Tape.
Lens — 10 Filters
Designed for optical and camera-inspired effects.
Includes:
Vignette, Bloom, Soft Focus, Chromatic Aberration, Lens Distortion, Tilt-Shift, Fog Glow, Star Glare, Atmospheric Haze and Lens Ghosts.
Detail — 7 Filters
Designed for sharpening, smoothing, denoising and detail processing.
Includes:
Unsharp Mask, Clarity, Denoise, Smooth Skin, Despeckle, HDR Tone and Soften.
Stylize — 10 Filters
Designed for artistic and non-photorealistic treatments.
Includes:
Posterize, Pixelate, Oil Paint, Pencil Sketch, Emboss, Invert, Threshold, RGB Split Glitch, Cartoon and Duotone Poster.
Utility — 5 Filters
General-purpose image processing tools.
Includes:
Exposure, Gamma, RGB Curves, Flip / Mirror and Zoom / Rotate.
14. Compatibility
Blender Support
Compositor FX is designed for:
Blender 4.0 – 5.2
The Extension package requires:
Blender 4.2 or newer
A separate Legacy package is included for:
Blender 4.0 – 4.1
The supplied code has been test-run on:
Blender 4.2.23
Blender 4.5.14
Blender 5.0.1
Blender 4.0 / 4.1 and Blender 5.1 / 5.2 were not verified in that test environment.
If you are using an unverified version, run the included Self-Test before using the add-on in production.
15. Performance Notes
Blender versions before 4.5 are limited to 8 active browser filters per stack.
Blender 4.5 and newer do not have this fixed filter limit.
However, compositor processing time can increase depending on:
Number of active effects
Image resolution
Render resolution
Complexity of the effect stack
Available compositor nodes
Blender version
Source image
For complex stacks and high-resolution images, additional processing time is expected.
If a filter requires a compositor node that is unavailable in the current Blender environment, Compositor FX reports the issue and skips that filter instead of blocking the rest of the stack.
16. Important Notes
Film Grain
Film Grain uses a generated static noise tile and does not require an external texture file.
Denoise
The Denoise filter uses Blender's built-in compositor denoising node.
Color Management
The final appearance of effects can vary depending on the source image, render resolution and Blender color-management settings.
Source Images
Different images can produce different results from the same filter settings. Filter values are designed as adjustable starting points rather than fixed results.
17. Recommended Workflow
For a typical render, a practical workflow is:
01 — Render
Create your Blender scene render.
02 — Adjust
Correct exposure, brightness, contrast, gamma, highlights, shadows and color.
03 — Build
Search for the effects you need and add them to the stack.
04 — Refine
Adjust individual Strength values and additional filter parameters.
05 — Compare
Use Master Strength to compare and refine the overall effect.
06 — Organize
Reorder, duplicate, bypass or remove effects as needed.
07 — Save
Save the finished setup as a reusable Look.
08 — Export
Export the Look as JSON if you want to reuse or share it.
18. Quick Example
For a cinematic render, you could build a workflow such as:
Exposure → Contrast → Cinematic Dark → Bloom → Anamorphic Streaks → Film Grain → Vignette
Then adjust the Strength and parameters of each effect until the desired result is reached.
Once finished, save the entire setup as a Look so the same visual recipe can be reused later.
19. Support & Troubleshooting
If an effect does not produce the expected result:
Check that you are using a supported Blender version.
Run the included Self-Test if your Blender version is unverified.
Check whether the filter is enabled.
Check the individual filter Strength.
Check the Master Strength.
Try disabling other effects in the stack.
Check the source image and render resolution.
Make sure the required Blender compositor functionality is available.
Because compositor results depend on the source image, resolution and Blender environment, identical settings may produce different visual results on different images.
Compositor FX 2.0.0
Created by 3DMAGIC
A reusable compositor workflow for Blender artists who want to spend less time rebuilding nodes and more time refining their final images.
Have questions about this product?
Login to message
| Blender Extension Compatible | Yes |
| Published | about 9 hours ago |
| Blender Version | 4.0 - 5.2 |
| Extension Type | Add-on |
| License | GPL |
Discover more products like this
Compositing compositor color grading rendering Cinematic Effects image-effects Filters Film Effects compositor-fx lens effects blender addon Post-Processing