Compositorfx
 kunemann


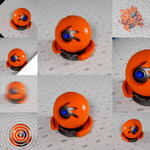
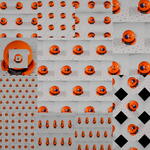
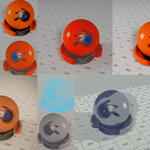
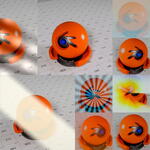
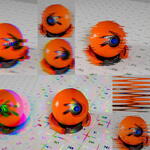
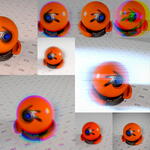
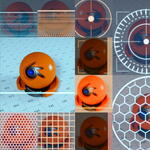
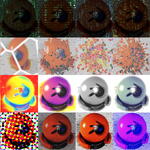
What you get
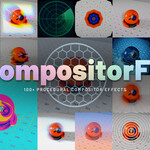
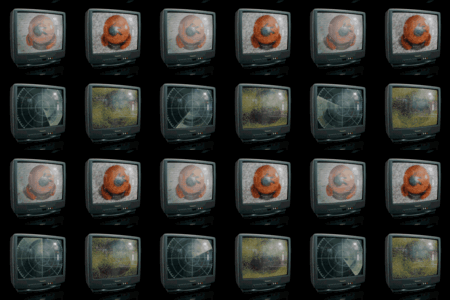
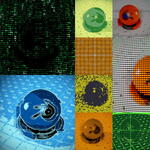
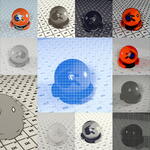
CompositorFX is a library of 100 finished compositor looks for Blender 5.1, organized into 9 categories: Lens, Light, Distort, Glitch & Signal, Stylized, Retro, HUD, Monitors and Tiling. Every effect is a self-contained node group — no add-on, no plugin, nothing to install, and no After Effects round-trip. You drop a preset into the compositor, wire your image, and the look is live.
Requirements
- Blender 5.1 or newer (built and tested on 5.1.2).
- The compositor node system — works with EEVEE, Cycles or imported footage.
- No add-on to enable. CompositorFX is a standard Blender asset library.
Installation
- Save the included CompositorFX.blend somewhere permanent on your drive.
- Open Edit > Preferences > File Paths > Asset Libraries and add the folder that contains the file (or point it directly at the file's folder).
- Open the Asset Browser and pick the CompositorFX library. All 100 effects appear instantly, sorted by category with thumbnails.
Using an effect
- Switch to the Compositing workspace and enable Use Nodes.
- Drag any preset from the Asset Browser into the compositor.
- Wire your Image into the effect's Image input, and connect the effect's output to your Composite / Group Output.
- Open the node's N-panel > Item (or the group's inputs) to dial it in.
Controls — the same grammar on every effect
Each effect exposes its parameters in a clear, consistent layout so there is no learning curve when you move from one to the next:
- Amount — a true 0–1 strength control, not an opacity crossfade. It mixes the real effect, so the result stays correct at every value.
- Parameters — 7 to 14 meaningful controls per effect (colors, scale, mode selectors and more), all with production-ready defaults.
- Animation — animated effects expose Speed and a universal Reverse toggle. Keyframe anything; loops are built to tile cleanly.
- Use Depth — connect a Z / Depth pass for distance-aware results (focus pull, fog, atmospherics).
- Use UV — connect a UV pass to lock the effect to the surface so the look sticks to objects as the camera moves. A nested Adjust sub-panel adds Offset, Scale, Ratio and Flip U/V.
- Use Normal — where relevant, drive shading from a Normal pass.
- Mask — feed any mask to limit the effect to part of the frame.
- Mask Input Image — clip the output's alpha to the masked region so the result is transparent outside and ready to overlay on another shot.
Stacking effects
Effects are ordinary node groups, so you can chain as many as you like — feed the output of one into the input of the next. Drop a Color Balance or Curves node anywhere in the chain to grade between looks.
Depth & UV passes
For depth- and UV-aware effects, enable the matching pass in View Layer Properties > Passes (Z for depth, UV for the UV pass), then wire the Render Layers output into the effect's Depth / UV input and turn on the corresponding toggle. Without a connected pass the effect simply runs in flat 2D mode.
Tips
- Every effect is non-destructive — nothing is baked. Tweak any parameter and re-render.
- Use the Amount slider to blend an effect to taste rather than deleting and re-adding it.
- Multi-mode effects (e.g. Mirror, Halftone Pro, Lens Flare Pro) carry a mode selector — try each integer mode for very different looks from a single node.
- Append a preset instead of linking it if you want to edit the internal node tree for a custom variant.
Support
Questions, requests or a shot that won't behave? Reach out through the Superhive message system and we'll help. Updates are free for the life of the product.
Have questions about this product?
Login to message
| Dev Fund Contributor | |
| Published | 3 months ago |
| Blender Version | 5.1 - 5.2 |
| Render Engine Used | Arnold, Cycles, Eevee, Luxrender, Mental-Ray, Octane |
| License | Creative Commons |