Decal Wrap
 SkdSam

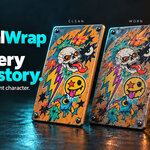
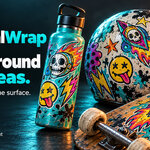
Blender add-on · User guide
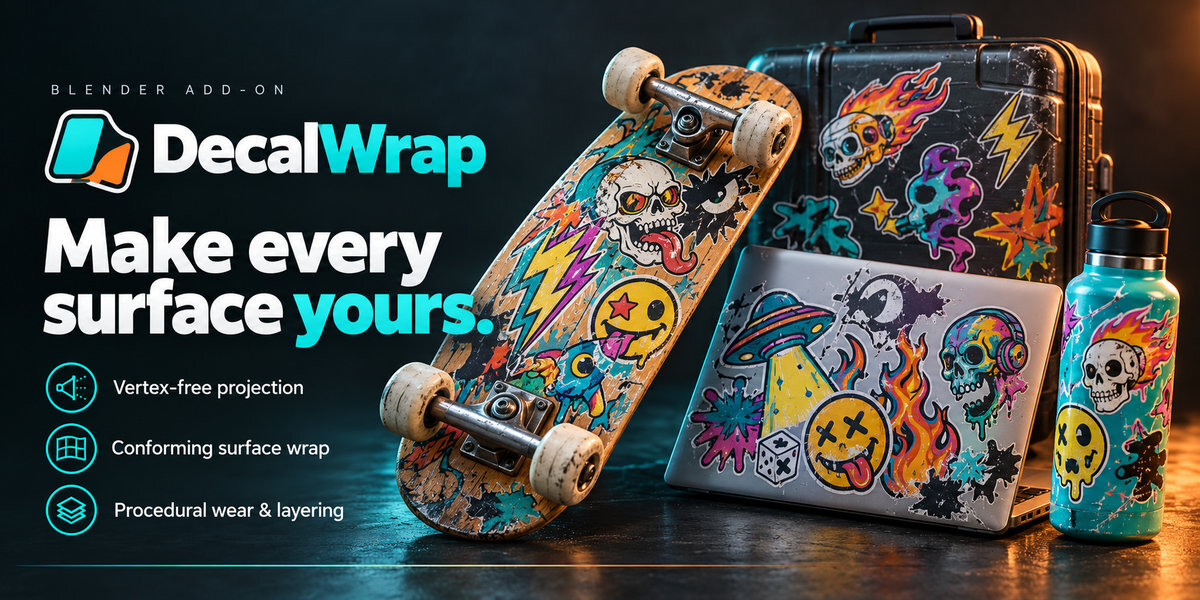
Make every surface yours.
Place artwork on your models, wrap it around curved surfaces, build overlapping designs, and add procedural wear. Start with one image and keep adjusting your decals directly in Blender.
01 · Get set up
Install once. Start creating.
Use the same DecalWrap ZIP for either installation method. You do not need to unpack it.
Blender 4.2 and later
- Open Edit → Preferences → Get Extensions.
- Open the menu in the upper-right corner and choose Install from Disk….
- Select the DecalWrap ZIP and complete installation. Enable the add-on if prompted.
Blender 3.6–4.1
- Open Edit → Preferences → Add-ons.
- Click Install… and select the same DecalWrap ZIP.
- Enable DecalWrap in the add-on list.
Compatibility: Blender 3.6–5.2 is the target range. Render checks cover Blender 4.4, 5.1 and 5.2; Blender 3.6 remains a compatibility target rather than a runtime-verified release.
02 · Your first decal
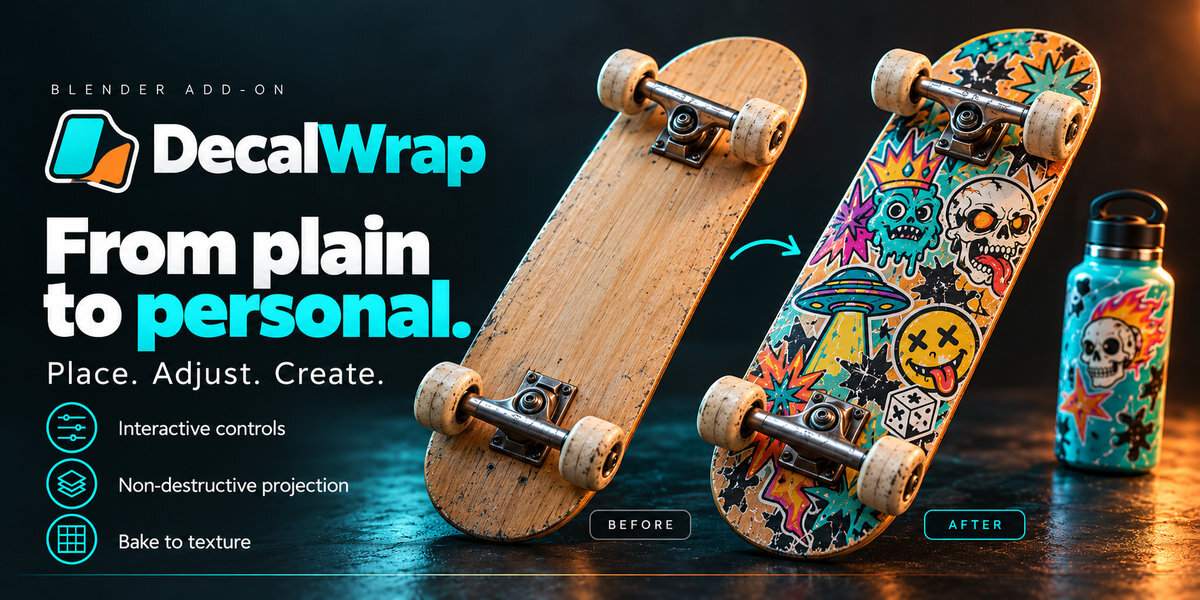
Choose an image. Place it on a model.
- Open your model in Object Mode. Use Material Preview or Rendered shading to inspect the decal material.
- Open DecalWrap. With your pointer in the 3D Viewport, press N and choose the DecalWrap sidebar tab.
- Load your artwork. Expand New Decal and open or select an image. A PNG with a transparent background is a useful choice for a shaped sticker.
- Choose your starting settings. Set the size, Box Depth (Thickness), and mode. Start with vertex-free projection for painted graphics, or surface wrap for curved sticker overlays.
- Click Place Decal. Move your pointer over the target surface. The decal follows the surface normal. Use the wheel to size it and Ctrl + wheel to rotate.
- Left-click to drop the decal. Fine-tune it with the rotation ring, corner scale handles, or on-screen buttons.
- Confirm. Press Enter or Space. Use Shift + Enter to confirm and immediately place another.
To edit it later, select its entry under All Decals or the target object's decal list. Expand its settings, then click Move / Rotate / Scale with Widget.
03 · Viewport controls
Adjust without leaving the viewport.
| Input | Action |
|---|---|
| Move pointer | Aim the decal over a surface during placement. |
| Left-click | Drop the decal and activate the adjustment widgets. |
| Mouse wheel | Change decal size; box depth scales proportionally. |
| Shift + wheel | Adjust projection box depth. |
| Ctrl + wheel | Rotate in 15-degree increments. |
| W | Switch between projection and surface wrap. |
| Enter or Space | Confirm and finish. |
| Shift + Enter | Confirm and start another placement. |
| Esc or right-click | Cancel placement. |
Use the Rotation slider for an exact angle, Flip to mirror the image, and Fit Aspect to restore its proportions. The rotation ring spins the decal; corner handles resize it.
04 · Choose a surface workflow
Project or conform.
Vertex-free projection
Projects the image through the target's material without cutting the target mesh or adding vertices to it. A useful choice for painted graphics and complex overlapping designs.
Adjust Box Depth (Thickness) so the projection volume reaches the intended surface. Excessive depth can include surfaces you did not intend to cover.
Conforming surface wrap
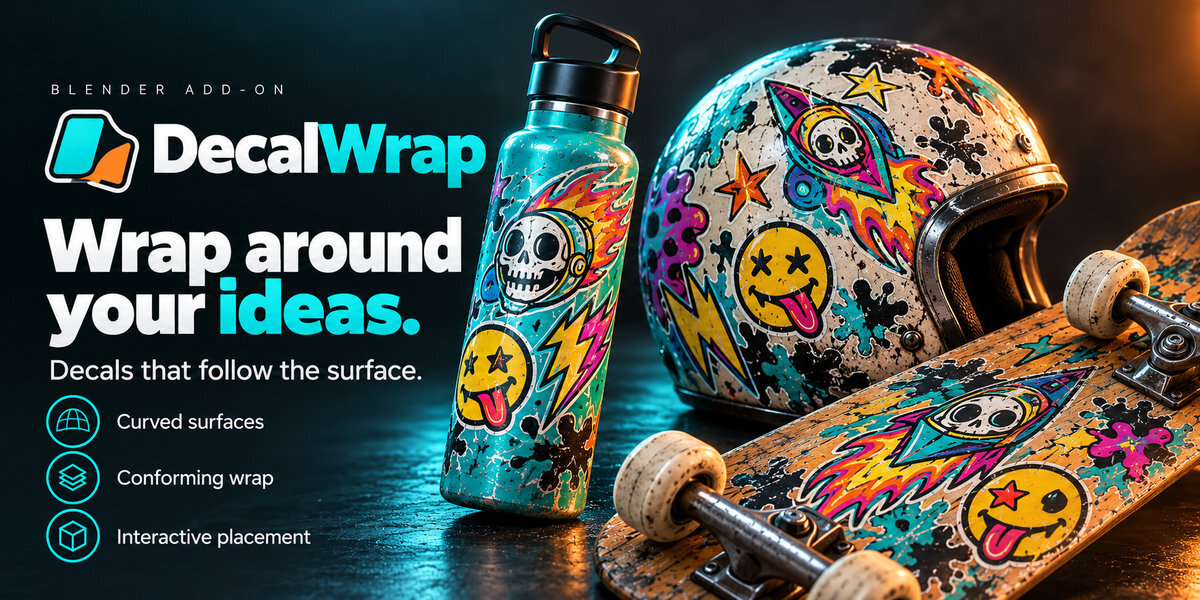
Creates a separate conforming decal mesh for curved objects such as bottles, helmets, or rounded panels.
Use Surface Offset to separate the overlay from the target if it clips. Surface Patch is the recommended method for curved overlays; other shrinkwrap methods can distort UVs.
Choose the mode before placement, press W during placement, or use Switch Mode in the decal settings.
05 · Build your design
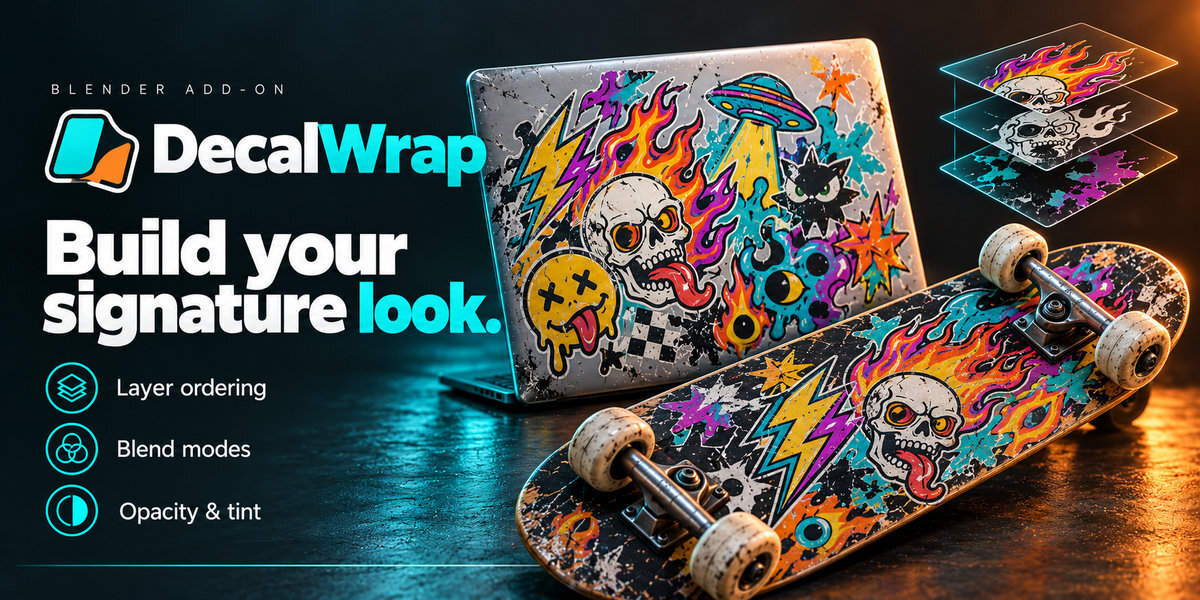
Stack, blend, and personalise.
- Select the target mesh and open its decal list. Entries are displayed top layer first.
- Use the up/down arrows to bring a decal forward or send it backward within its stack. New decals and duplicates start at the top.
- Choose a Blend Mode and adjust Blend Amount directly in the row. Lower amounts reveal the layers below.
- Expand the decal settings to adjust its colour tint, transform, image, and wear.
Available blending includes Normal, Multiply, Screen, Overlay, Add, Soft Light, Darken, and Lighten. Try Multiply for darker printed graphics, Screen for lighter graphics, or Normal for straightforward sticker coverage.
Use Duplicate Decal to reuse a design. Shift + D duplication is also supported; duplicated decal materials and shader groups are made independent.
Mixed modes have separate stacks: surface overlays sit above shader projections. Arrows reorder decals of the same type on the same target. Use the same mode for layers you want to freely interleave.
06 · Add character
From pristine to weathered.
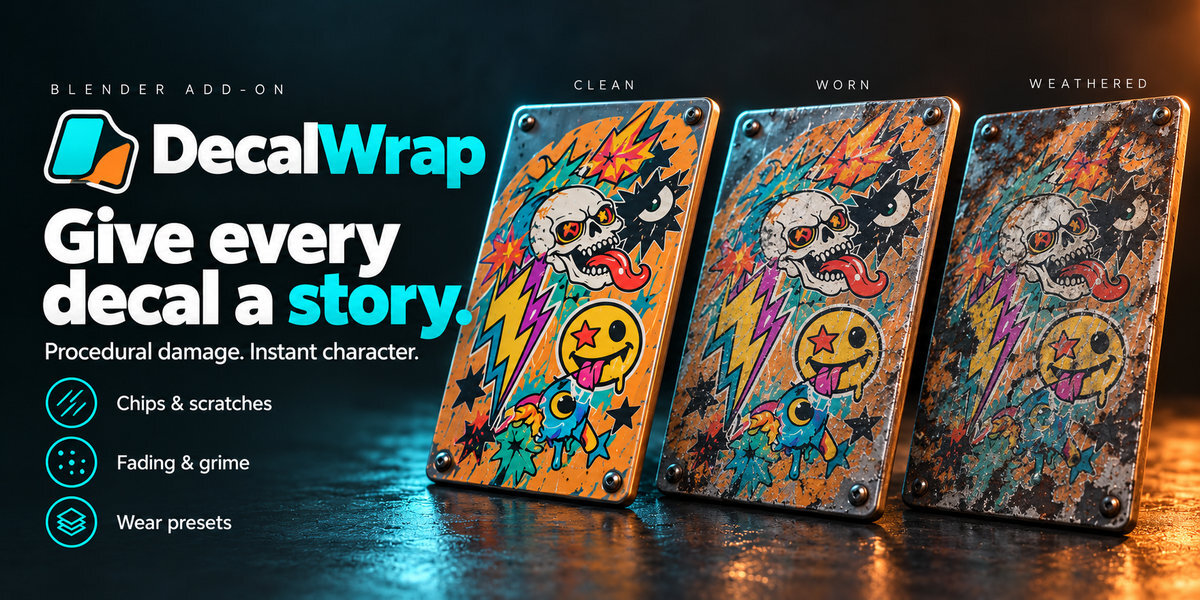
Select a decal and expand Damage / Wear. Choose a preset, click Apply, then open an effect section to tune the result. Wear works with both decal modes.
Break up the edges
Edge & Interior Wear controls edge erosion and interior holes. Use Chipping for flakes, Scratches for directional abrasion, and Cracks for fine breaks.
Age the colour
Fading & Colour Ageing adds patchiness, yellowing, and desaturation. Dirt / Grime changes the pigment without cutting holes.
Vary the pattern
Change the seed, scale, rotation, and offset under Pattern Placement. These move the wear pattern independently of your artwork.
Suggest peeling
Peeling removes edge flakes and adds a discoloured rim. It is a shader effect; it does not create physically lifted sticker geometry.
Pick a starting preset
Clean / Reset, Subtle Handling, Faded Sticker, Chipped Paint, Scratched Vinyl, Peeling Sticker, Dirty / Aged, Street / Skate Wear, Heavy Industrial, Weathered Outdoor, Battle Damaged, and Wasteland / Derelict.
Clean / Reset resets wear while preserving the image, tint, global opacity, transform, and wrap settings. Applying a preset is undoable. Mask images remain selected, but wear-mask strength resets to zero.
Control exactly where wear appears
- Wear Mask: white removes the decal; black keeps it. Choose an image, increase its strength, and invert it if needed.
- Protection Mask: white protects areas from wear, fading, and grime; black allows those effects. Use it to preserve lettering or a central graphic.
The masks follow the original decal UVs, keeping protected artwork aligned when you move the procedural pattern.
07 · Create a texture
Bake projected colour to an image.
- Save a copy of your editable project before replacing a live decal setup.
- Select the target mesh. It needs a UV map and a material suitable for baking.
- Open Bake in the DecalWrap sidebar and choose the texture resolution.
- Review Replace Decals with Bake. Leave it disabled if you want to retain the current material setup while inspecting the bake.
- Click Bake Decals. The operator uses Cycles for a diffuse colour bake and restores the previous render engine afterward.
- Find the image named after your object with the suffix _Decals in Blender's Image Editor. It is packed into the blend file; save the blend file to keep it. Save the image separately if you need an external texture.
Before applying: the apply option connects the baked image to Base Color and removes live projection groups and child decals. This is a diffuse colour workflow, not a complete PBR export. Separate surface-wrap overlays are not guaranteed to be included by this bake; inspect the output before replacing your editable setup.
08 · Quick answers
Keep creating.
My decal is missing or partly cut off.
Switch to Material Preview or Rendered shading. Check that the correct image is loaded, Blend Amount is above zero, and wear or masks have not removed the artwork. Reposition the decal and adjust Box Depth so the projection reaches the intended surface.
The image looks stretched.
Use Fit Aspect to restore the image proportions. On strongly curved objects, try surface wrap with the Surface Patch method and adjust placement and size.
A wrapped decal clips or flickers.
Increase Surface Offset slightly and inspect the curve. For complex intersecting transparent graphics in Eevee, try shader projection; transparent surface intersections can remain limited by the renderer.
The layer arrows do not move a decal where I expect.
Confirm that both decals belong to the same target and use the same mode. Surface overlays and shader projections occupy separate stacks. An arrow is disabled when the decal is already at that boundary.
I changed my source image, but Blender shows the old one.
Click the refresh button beside the image selector to reload the decal images and refresh their materials and previews.
The bake reports that my object needs UVs.
Select the target mesh, create a UV map and unwrap it in Blender's UV Editing workspace, then try Bake Decals again. Check the generated image before applying it to the material.
Have questions about this product?
Login to message
| Blender Extension Compatible | Yes |
| Dev Fund Contributor | |
| Published | 26 minutes ago |
| Blender Version | 3.6 - 5.2 |
| Extension Type | Add-on |
| Render Engine Used | Cycles, Eevee |
| License | GPL |
Discover more products like this
procedural wear materials Stickers shaders weathering Texturing decals surface-wrap decal wrap decal