DeLight & DeTile PBR Studio
 Cgi Lab
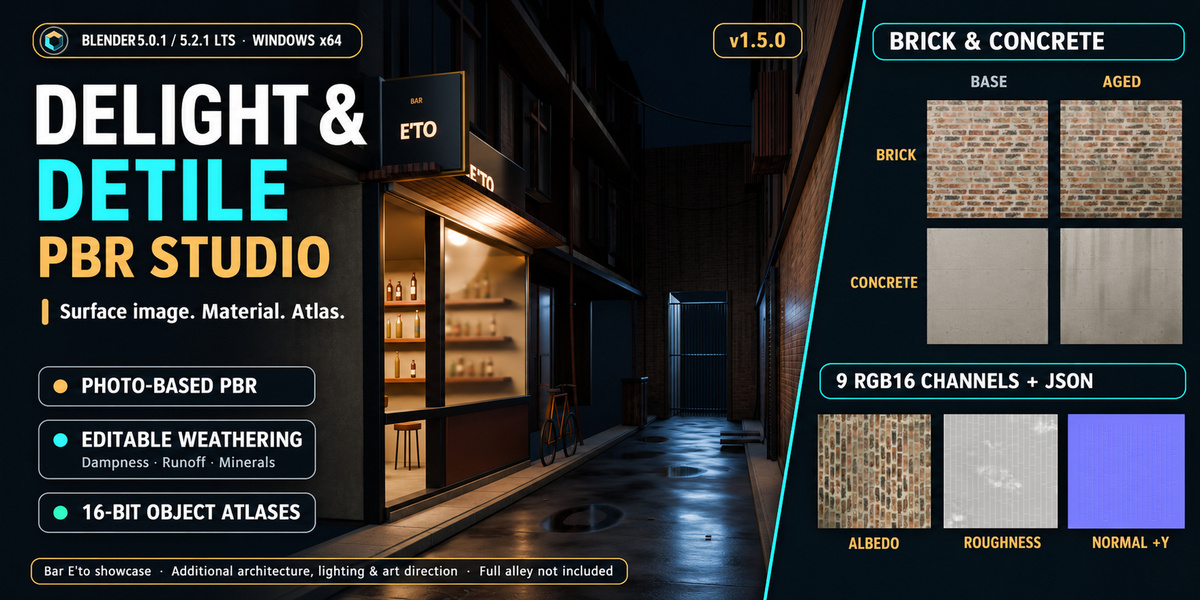
DeLight & DeTile PBR Studio 1.5.0
Your first photo material
Turn the supplied brick surface image into an editable Blender material, then export an object atlas. This walkthrough uses the offline frequency workflow. The optional AI model, an account and an API key are not required.
Platform: Windows x64. Verified in Blender 5.0.1 and Blender 5.2.1 LTS.
Files: install delight_detile_studio-1.5.0.zip. Extract the accompanying buyer package before using samples/Brick_Wall_CC0.png. Do not unpack the extension ZIP itself to install it.
The supplied samples are photo-derived Poly Haven diffuse/albedo surface images, not RAW camera photographs. Their source credits are in samples/ATTRIBUTION.md.
1. Install and make a wall
- In Blender, open Edit > Preferences > Add-ons. Use its menu to choose Install from Disk, select the extension ZIP and enable the installed addon.
- Open a new General file. Delete the default cube. Add Mesh > Plane.
- With the plane selected, press S, 1.25, Enter, R, X, 90, Enter, then G, Z, 1.25, Enter. This makes a simple 2.5 m square wall when scene units are at their default scale. Remain in Object Mode.
- The new plane already has one UV square in 0-1. It is a suitable first atlas target. For another mesh, unwrap unique, non-overlapping UVs first.
- Press N in the 3D Viewport and open DeLight PBR. Widen the sidebar if a control label is clipped.
The addon works on the active object and material slot. Start in a new file so your first material build does not replace a material in an existing project.
2. Build from the photograph
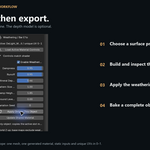
- Under Source Texture & 2x2 Tile Preview, select
samples/Brick_Wall_CC0.png. - In Surface Preset, choose Aged Brick / Bar E'to and click Apply Preset. Selecting a preset alone does not apply its values.
- Keep Photo Width (m) at 2.5, Use Photo Aspect Ratio enabled and UV Tiling Scale at 1 for this wall. These are starting estimates for this example, not measurements recovered from the image.
- Keep Add Height Displacement / Bump disabled. Leave Assign to Active Object enabled.
- Click De-Light, De-Tile & Build PBR. The panel displays progress while the image worker runs. Wait for completion before inspecting the material.
- Switch the viewport to Material Preview. Use Build Test Stage if you want the addon's controlled material preview; Clear Stage removes its owned preview objects.
All presets start with the frequency workflow. Height Engine > Multi-Scale Frequency is displayed for general profiles; Brick / Mortar and Fine Concrete show their physical coverage and relief controls instead. You do not need to download the optional AI model for this walkthrough.
Review joints and repeated borders at the intended viewing distance. The panel reports detection or border warnings. A front-facing photograph with visible mortar is a better input than strongly oblique or irregular brickwork.
3. Art-direct the weathering
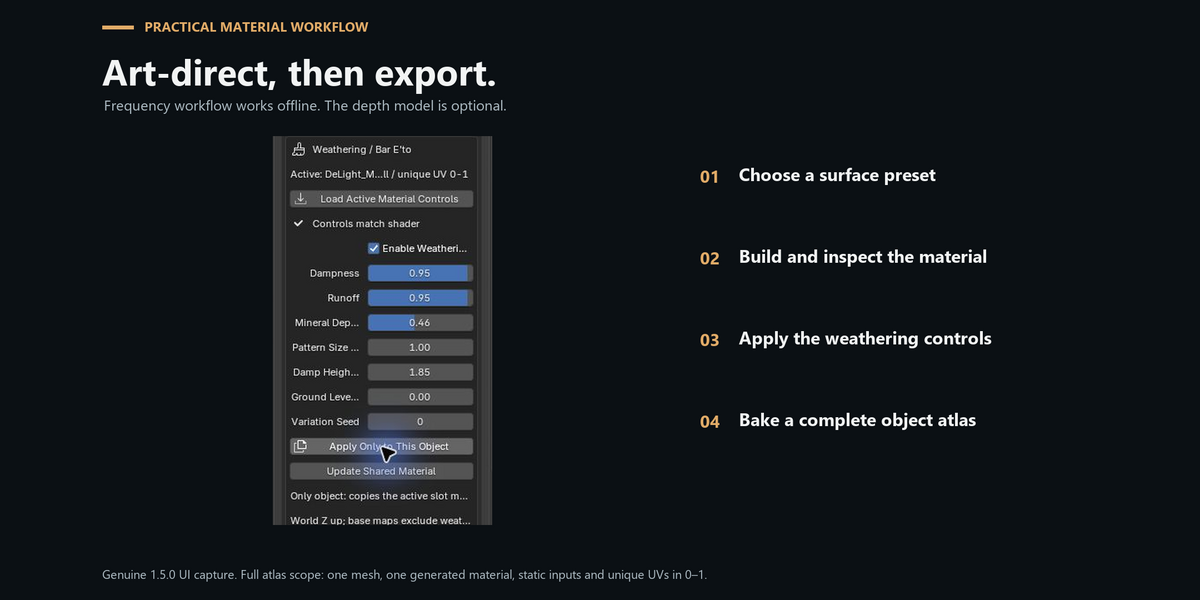
- Select your wall and click Load Active Material Controls in Weathering / Bar E'to. This reads the current shader; it does not rebuild the photograph.
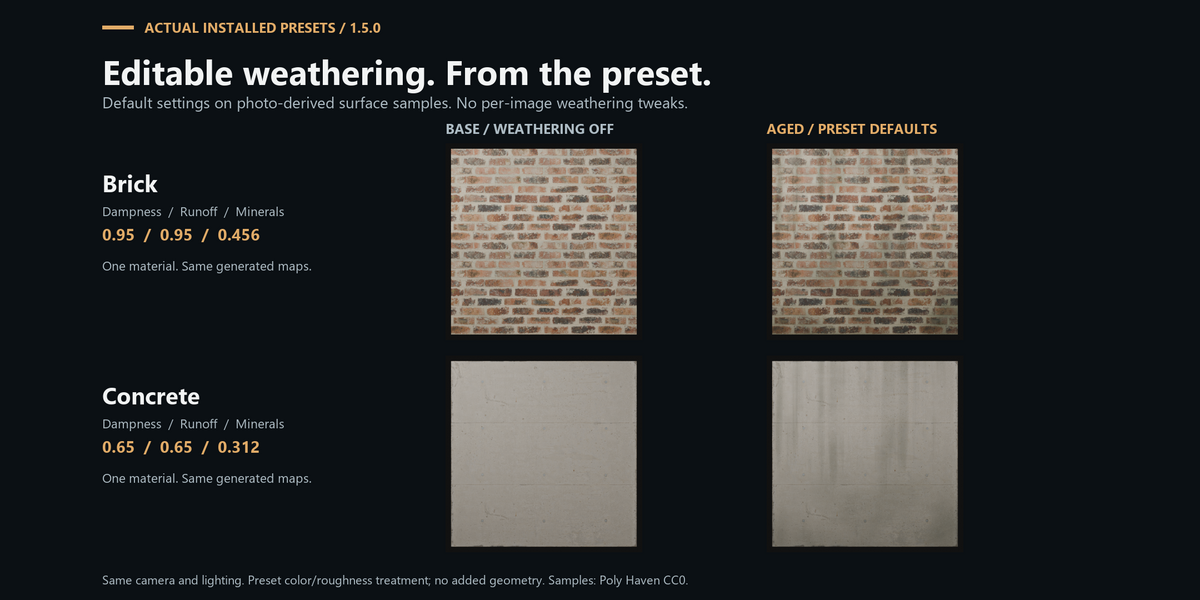
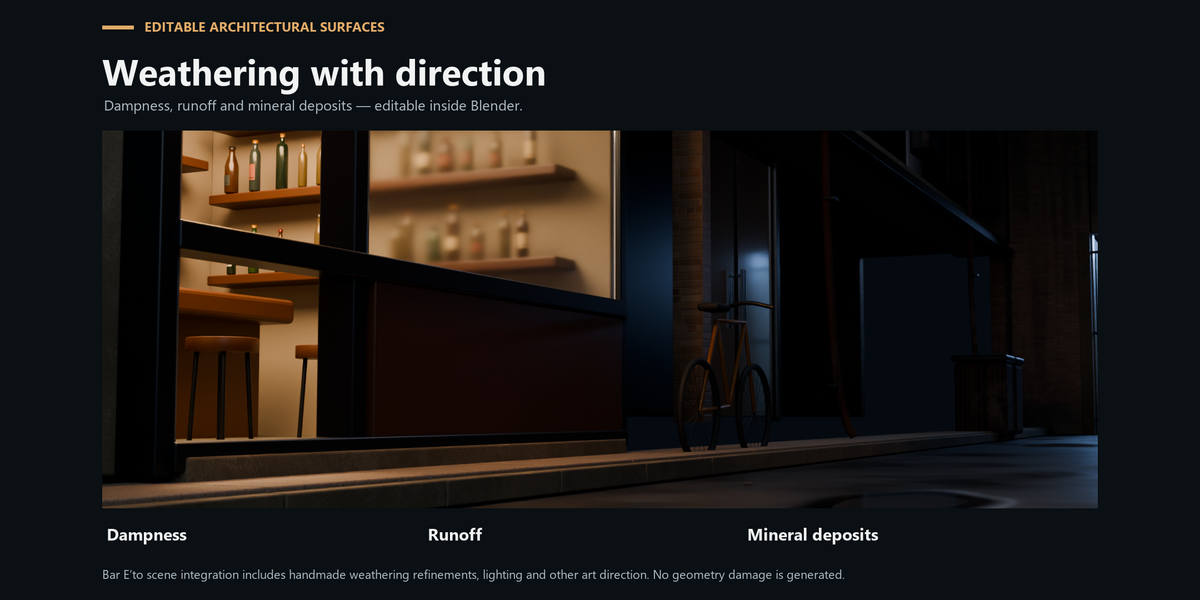
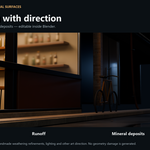
- Adjust Dampness, Runoff and Mineral Deposits.
- Choose Apply Only to This Object to copy and update its active material slot, or Update Shared Material to update every user of that material.
- Check that the panel says Controls match shader. Pending panel changes are not baked until you apply them.
Weathering uses world position and world Z as up. Ground Level (m) locates the ground moisture start. Damp Height (m) changes its height band, while Pattern Size (m) and Variation Seed vary the pattern. Moving the editable object through the world changes the sampled weathering. Baking captures the pattern at the object's current position.
4. Save the editable material
Save your .blend. Then choose File > External Data > Pack Resources and save again to embed the generated image resources. Otherwise the material continues to reference cached images on this computer. Keep the original source image and your saved file as well: the Source Texture path still needs the external source file if you want to reprocess it after moving the project.
5. Choose the right export
Base photo maps
Choose an Export Folder and click Export PBR Maps (16-bit Height). This writes the processed Albedo, Normal, Roughness, Height and AO maps plus processing notes. Height is grayscale PNG16; the other base maps are PNG8. These maps use the original material tiling. Shader weathering is excluded. Exporting the same base names again replaces those output files.
Object PBR atlas with weathering
- Select the wall in Object Mode, with its one generated DeLight material slot.
- In Object PBR Atlas Bake, choose an existing Bake Folder. Create the folder first if necessary. This is the same path field as Export Folder.
- Keep Bake Resolution at 1024 x 1024, Bake Margin (px) at 8 and Complete PBR Atlas enabled.
- Confirm the UV map is unique, inside 0-1 and has enough padding between islands for the margin. This first plane has a single island.
- Click Bake Object Atlas + Masks. A short geometry snapshot runs first; Cycles then bakes on CPU in a separate Blender process. Cancel Processing or Esc cancels an active job. Cancellation publishes no partial export folder.
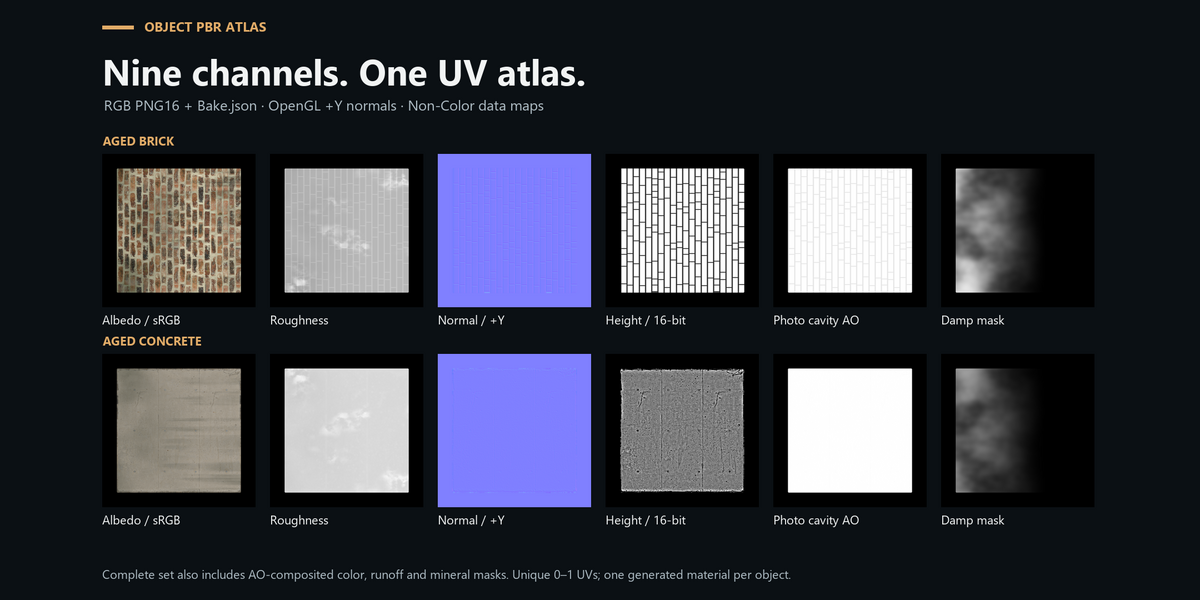
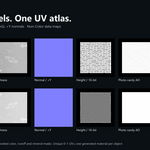
- When complete, click Open Last Bake Folder. Each bake creates a new folder containing nine RGB PNG16 files and
Bake.json.
| Output | Color space | Purpose |
|---|---|---|
color.png |
sRGB | Weathered color including the existing shader AO mix |
albedo.png |
sRGB | Weathered color without that shader AO mix |
roughness.png |
Non-Color | Final weathered roughness |
normal.png |
Non-Color | Tangent OpenGL +Y normal; import at strength 1 |
height.png |
Non-Color | Raw estimated height; displacement settings in JSON |
ao.png |
Non-Color | Photo-derived cavity AO, not geometric ray-traced AO |
damp.png, runoff.png, mineral.png
|
Non-Color | Effective weighted weathering masks |
Disable Complete PBR Atlas for the lighter five-file color/roughness/masks workflow. It needs an existing editable weathering layer.
6. Reuse the atlas without changing the appearance
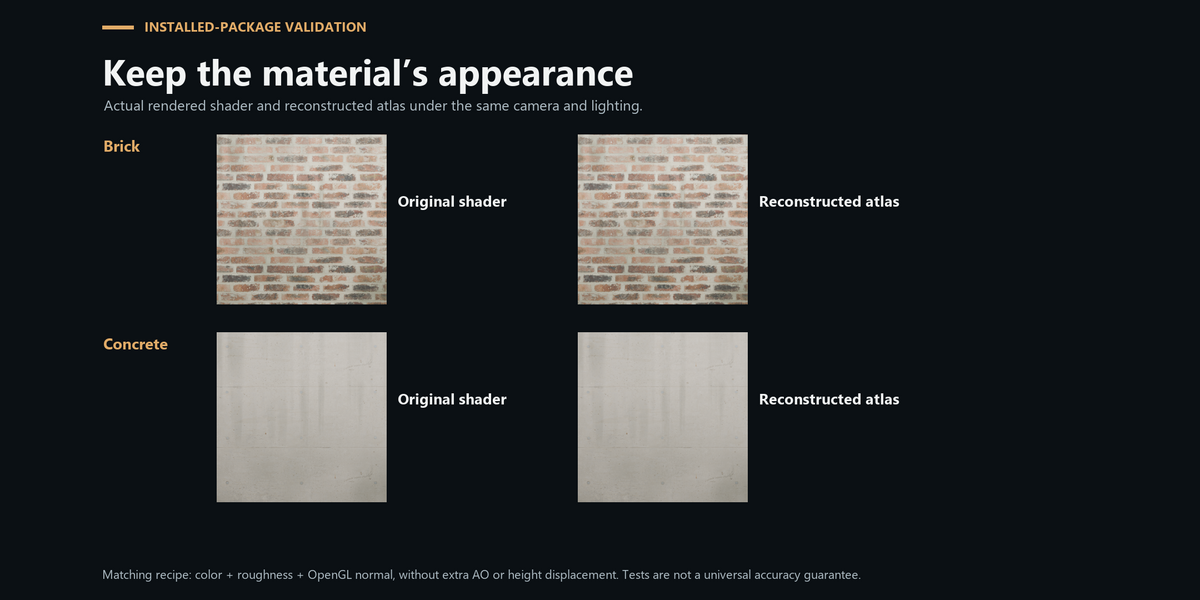
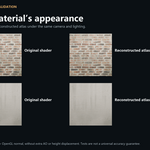
Use the recorded atlas UV map with mapping scale 1. To match the source shader, connect color + roughness + normal, use an OpenGL Normal Map node at strength 1, and leave additional AO multiplication and height displacement disabled. The baked normal already includes the source normal strength and any DirectX input conversion. Do not flip its green channel again for Blender.
For a separate albedo/AO PBR workflow, use albedo + roughness + normal + AO. It may differ from color.png: minerals are blended after AO in the source shader, so applying AO at the end changes the operation order. Do not multiply AO into color.png again. Albedo removes the shader AO mix, not all residual lighting that may remain in the source photograph.
The original base Normal/Height maps still use their original tiling. Use the atlas Normal/Height with the atlas; do not substitute base maps as if they had been baked into the same UV layout. Keep the evaluated surface and tangent basis consistent when moving the atlas to another renderer.
Limits and quick recovery
- The atlas supports one Object Mode mesh, one generated DeLight material, unique UVs inside 0-1 and static shader wiring. No UDIM or multi-material bake.
- Separate multi-material objects by material or prepare a single-material copy. Unwrap again if the bake reports overlapping, out-of-range or zero-area UVs.
- Disable Add Height Displacement / Bump for this atlas workflow. Height is optional estimated relief data, not a geometric displacement bake.
- Save/repack edited textures and restore missing texture files before baking.
- If the material turns pink after moving a file, reopen the original file where its cache is available, pack resources, save, then move the packed copy.
- The addon estimates material maps; it does not recover lost clipped detail or guarantee invisible seams from every photograph. Inspect your final camera view.
For optional AI, enable Blender Online Access and deliberately choose Download AI Height Model. No account or API key is required. A verified cached model can be used offline. The first material and atlas workflow above works without it.
For help, use the marketplace purchase/support channel and include the addon version, Blender version, Windows version, exact operation, error message and a small reproducible example where possible. Do not send confidential assets.
Optional model weights are downloaded from Hugging Face only when requested; inference runs locally. No account, API key or subscription is required.
Have questions about this product?
Login to message
| Blender Extension Compatible | Yes |
| Published | about 3 hours ago |
| Blender Version | 5.0 - 5.2 |
| Extension Type | Add-on |
| Render Engine Used | Cycles |
| License | GPL |
Discover more products like this
seamless brick Concrete Atlas materials baking delighting weathering PBR textures architecture height map