Dewmancy - Condensation, Fog & Droplet Generator
 Vertex Wizards






Install (once, about a minute)
- Unzip the download and put the folder "Dewmancy" somewhere permanent (not in Downloads). Keep the folder "Dewmancy Demo" outside of it.
- In Blender open Edit > Preferences and add the folder "Dewmancy" with "+" in the list of asset libraries: Blender 4.2 to 5.1 under File Paths > Asset Libraries, Blender 5.2 and newer in its own section "Asset Libraries".
- Check the import method of the new library (see below). If unsure, keep the default.
- Done. In any file: select a mesh, Add Modifier > Dewmancy, pick a preset.
Without the asset library: File > Append > Dewmancy.blend > NodeTree > "Condensation" (or a preset), then Add Modifier > Generate > Geometry Nodes and pick the group.
Import method
- Blender 4.2 to 4.5: keep "Append (Reuse Data)", the default. The modifier and its materials come into your file once, as your own editable data.
- Blender 5.0 and newer, "Pack" (the default): nothing to set. Every value in the modifier works as usual; the node groups and materials are stored in your file but locked. Good for most work and for files you send to others or to a render farm.
- Blender 5.0 and newer, "Append": everything comes in as editable data. Each time you add a preset from the menu, another copy comes in. To reuse a copy, pick it in the node group field of the modifier.
- Not recommended: "Link". The file then depends on the library folder.
You can switch the method at any time. It only affects what you add afterwards.
Quick start
- Select your object, Add Modifier > Dewmancy > e.g. "Cold Can". In Blender the modifier is called Condensation.
- Surface: Glass for transparent objects, Opaque for cans, metal, plastic, paint and fruit.
- Amount, Fog, Droplet Size and Running Drops set the main look. Seed gives another pattern.
- Render with Cycles.
The droplets sit on the side the face normals point to. If nothing shows up, check the normals (Overlays > Face Orientation: blue = outside) and Coverage > Side.
Demo file: Dewmancy_Demo.blend has four studio sets with one camera per timeline frame (13 shots) and a scene "Preset Overview". It works without the asset library.
Presets
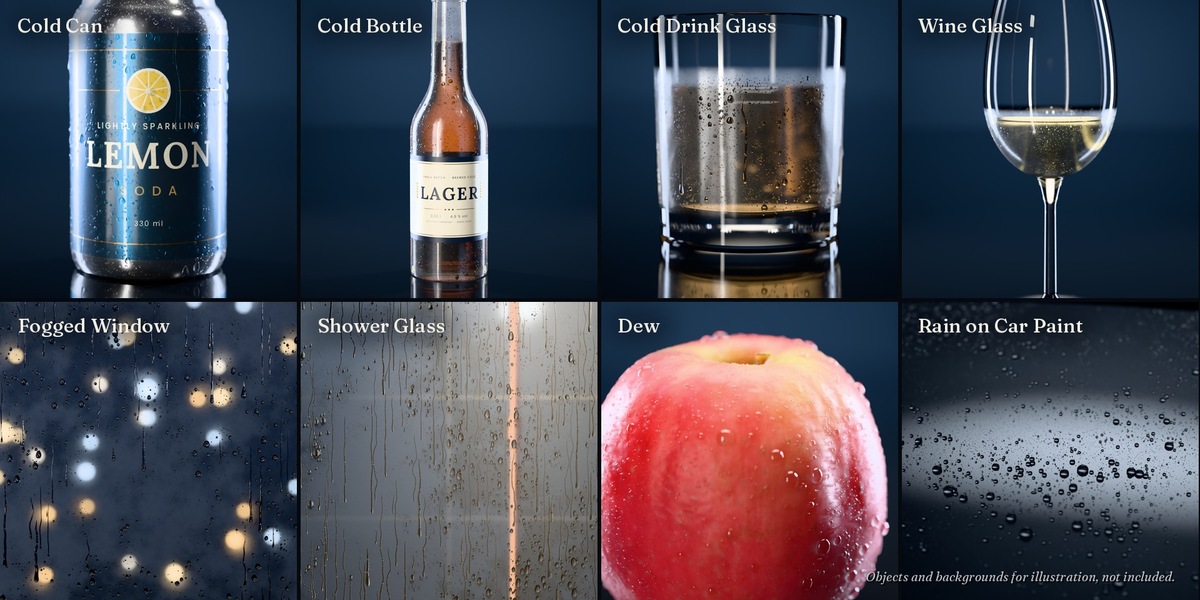
- Cold Can: painted or bare metal cans from the fridge
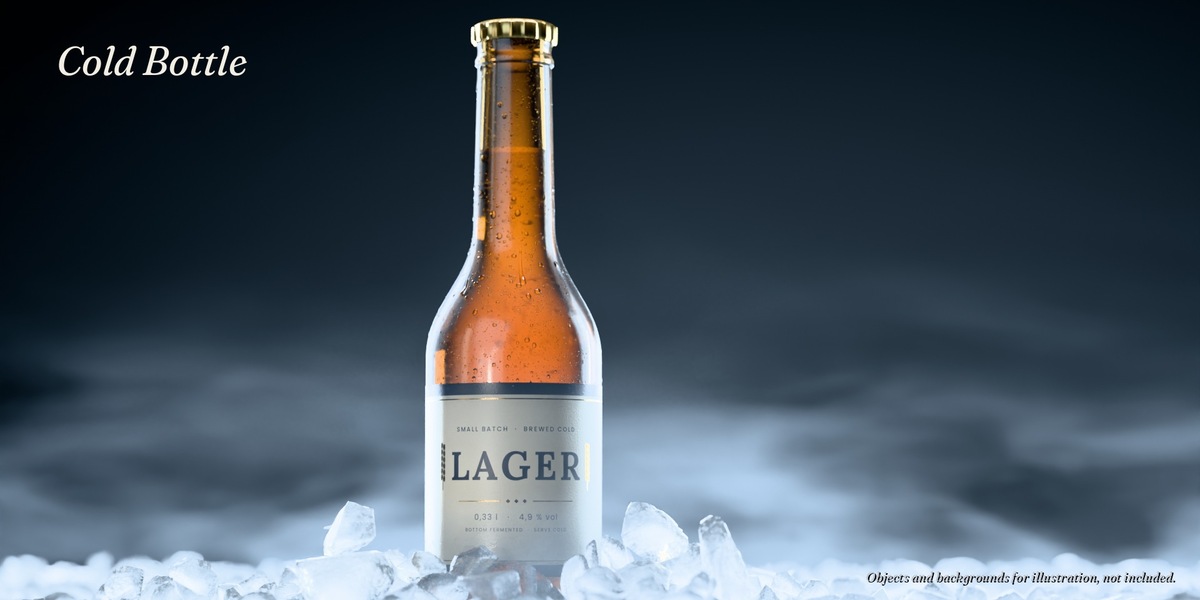
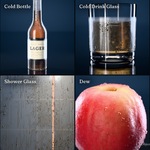
- Cold Bottle: glass bottles straight from the fridge, the whole bottle fogs up
- Cold Drink Glass: tumblers and highballs, up to the fill level
- Wine Glass: only the bowl around the wine, stem and foot stay dry
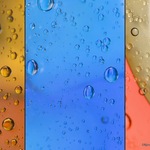
- Fogged Window: panes fogged from the inside
- Shower Glass: steamed-up shower walls and mirrors, long running drops that hang over the lower edge
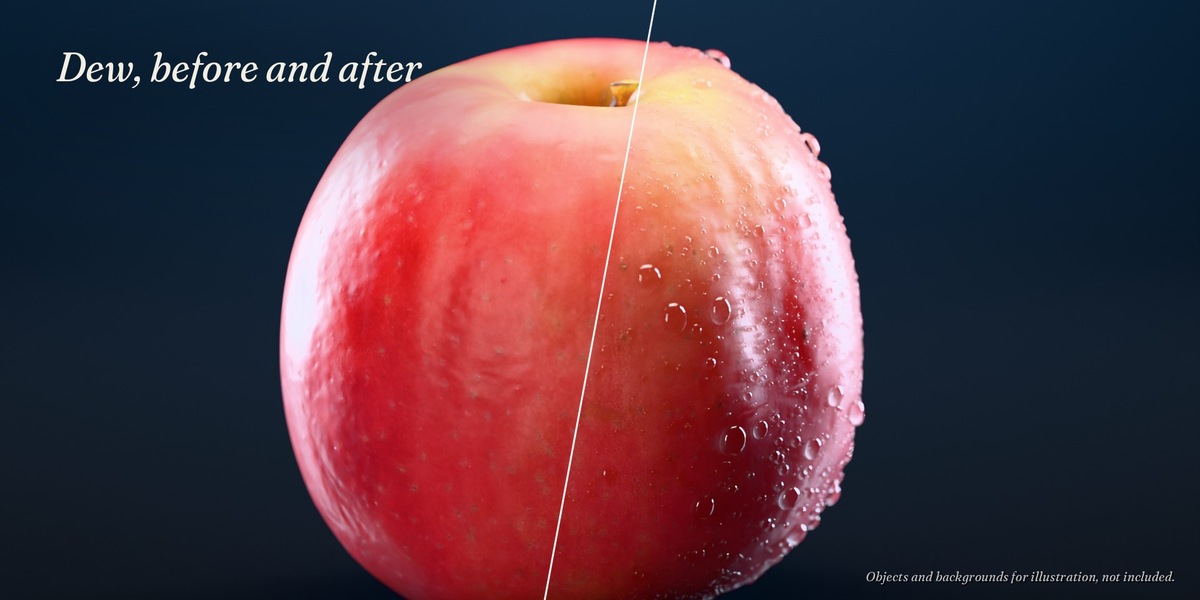
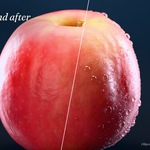
- Dew: round beads on leaves, fruit and plastic, no fog
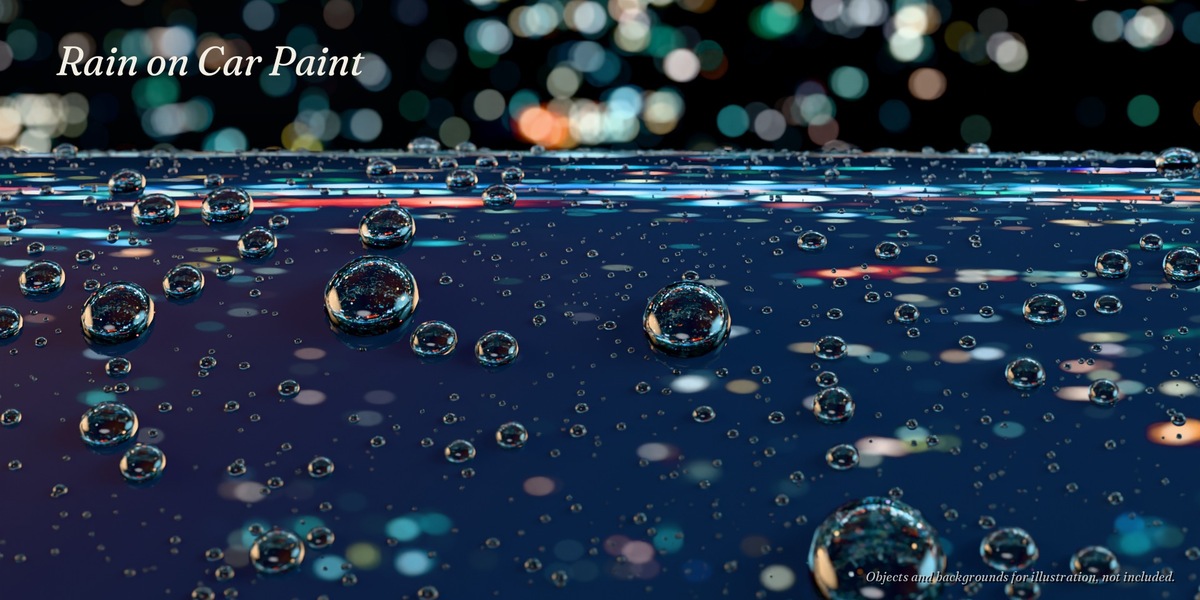
- Rain on Car Paint: rain beads on waxed paint and other water-repellent surfaces
A preset is the same modifier with other default values. Everything can be changed afterwards. To try another preset on the same object, pick it in the node group field of the modifier.
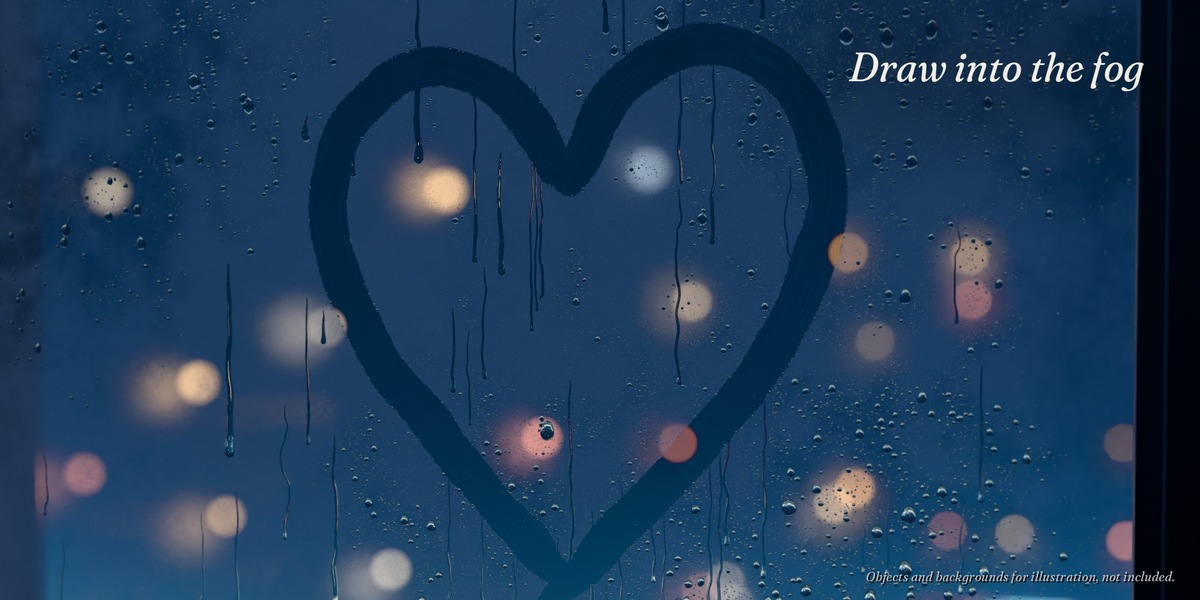
Draw into the fog
With the optional helper add-on "Dewmancy Helper" (install once: Edit > Preferences > Get Extensions > arrow menu at the top right > Install from Disk > dewmancy_helper-1.0.0.zip): select the object, right-click > Draw Wipe (or sidebar N > Dewmancy > Wipe), draw your strokes on the surface, Tab when done. Pen pressure makes the track narrower. Animate Wipe keys Wipe Progress from 0 to 1.
Without the add-on:
- Add > Curve > Bezier. Tab, A, X > Vertices (the curve is empty now).
- Draw tool settings: Depth Surface, Taper Start and End 0, with a pen tablet Use Pressure.
- Draw on the surface, Tab when done.
- Select the object with the modifier and set Wipe > Wipe Object to the curve.
- Parent the curve to the object so it moves with it: select the curve, then the object, Ctrl+P > Object.
To animate the wipe, keyframe Wipe Progress from 0 to 1. Running drops the wipe crosses get a gap there. The wiped area is clear glass in Cycles; EEVEE shows the droplets around it but keeps the fog.
Good to know
- Put Condensation last in the modifier stack (after Subdivision, Bevel, Solidify).
- Black spots in the fog: Render Properties > Light Paths > Max Bounces > Transparent 64 or more.
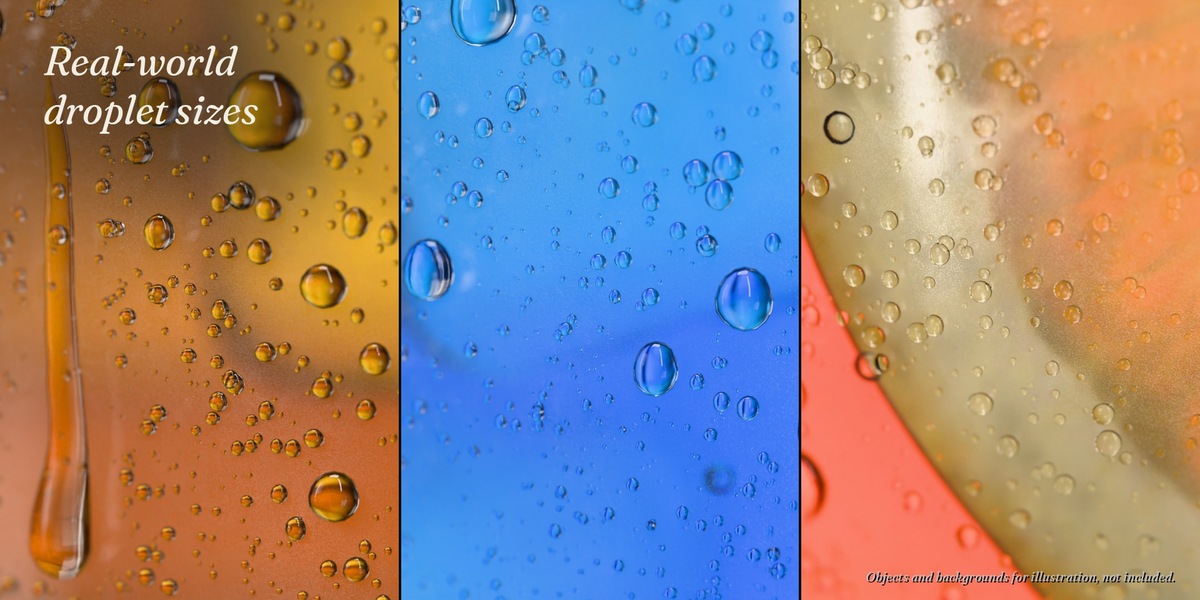
- Droplet sizes are real-world sizes, object scale does not matter. For large objects (car, window) raise Droplet Size.
- Running drops follow world gravity and change when the object tilts (a bottle being poured). For such shots set Running Drops to 0.
- Export, apply or other render engines: switch on Output > Realize first and set Performance > Viewport Display to 1.
- Slow viewport: lower Performance > Viewport Display. Renders always show all droplets.
- A whole shower wall needs about 2 GB of RAM while it is calculated.
- The library does not show up in the Asset Browser: click the refresh button next to the library menu, or restart Blender once.
- Your object's own data stays untouched: the condensation is added next to it.
Credits
Dewmancy by Vertex Wizards (Colin Behrens). The environment light of the demo is the HDRI "Kloofendal 48d Partly Cloudy (Pure Sky)" from Poly Haven (polyhaven.com, CC0). The beer label in the demo is a generic design (typefaces Lora and Poppins, SIL Open Font License). The optional helper add-on is licensed under the GNU GPL v3 or later, like all Blender add-ons.
Have questions about this product?
Login to message
| Rating | 1 ratings |
| Published | 1 day ago |
| Blender Version | 4.2 - 5.3 |
| Render Engine Used | Cycles, Eevee |
| License | Royalty Free |
Discover more products like this
Water geometry nodes droplets fog product-visualization wet rain window Glass condensation procedural dew