 bhdesign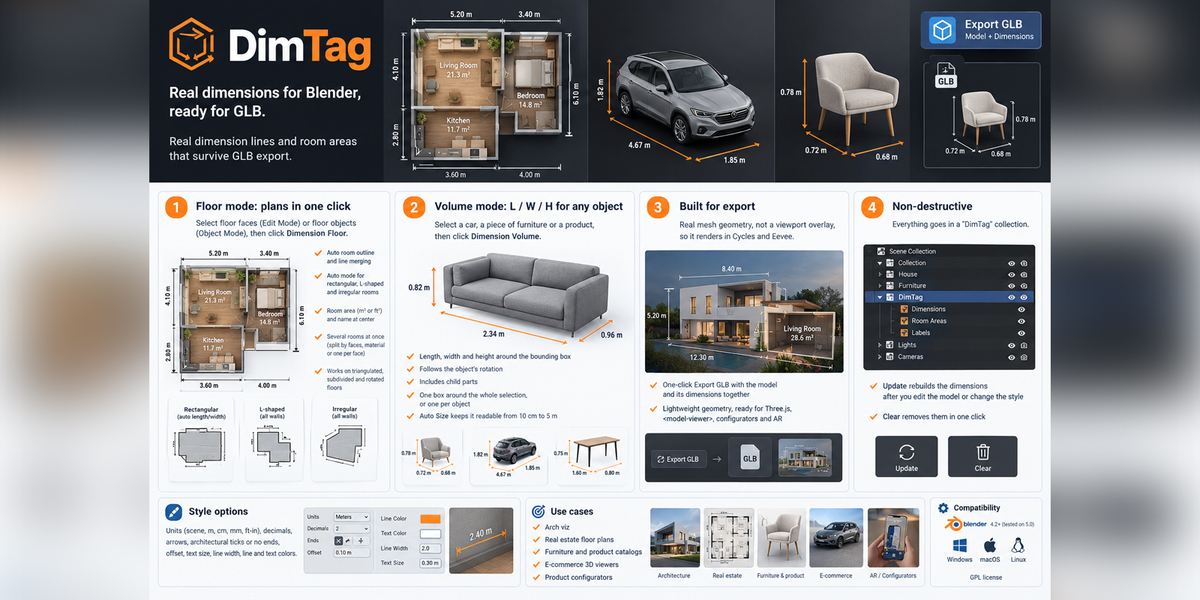
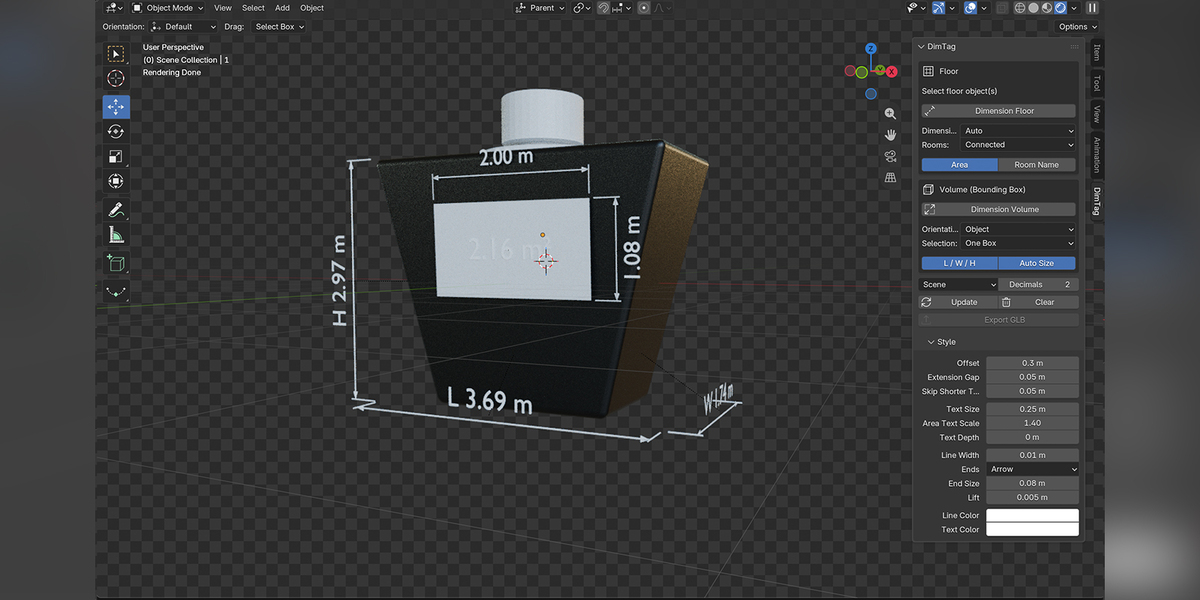
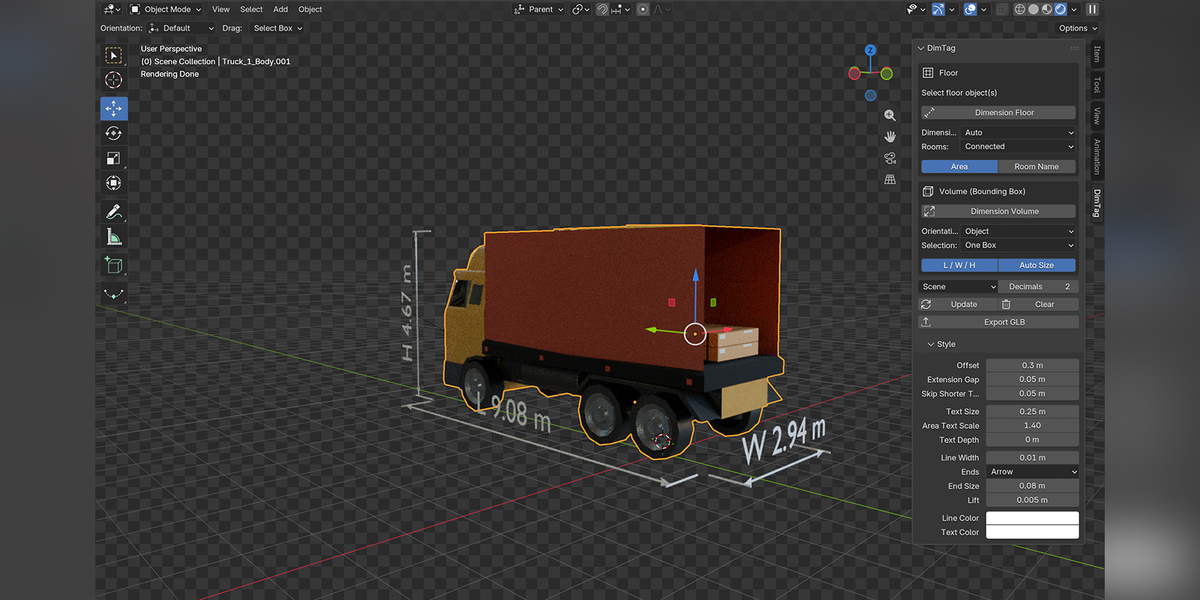
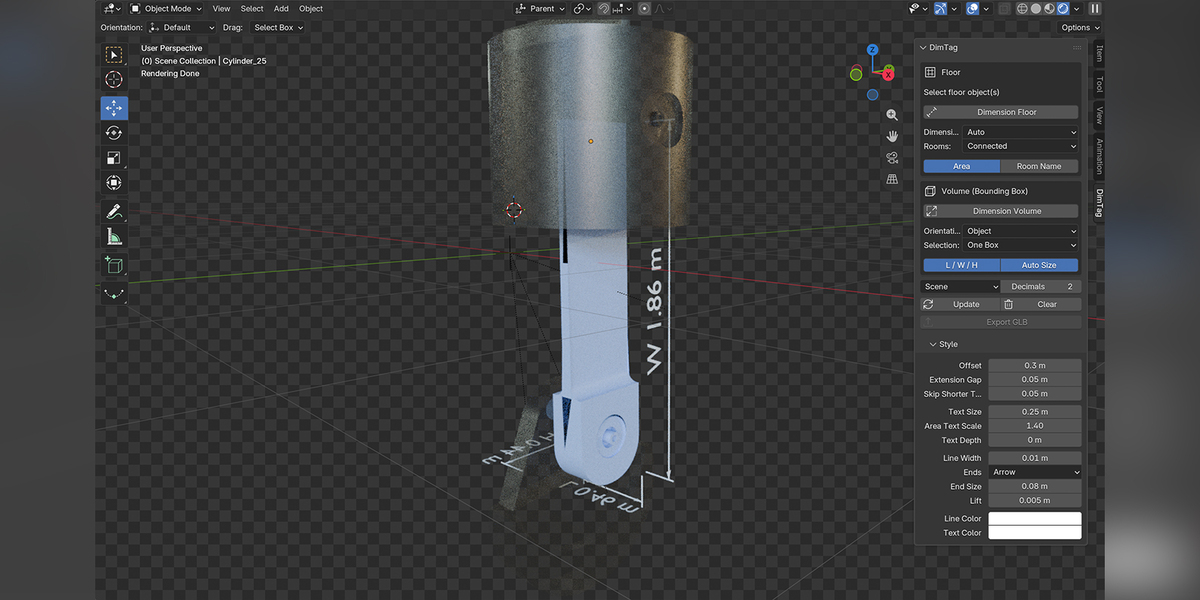
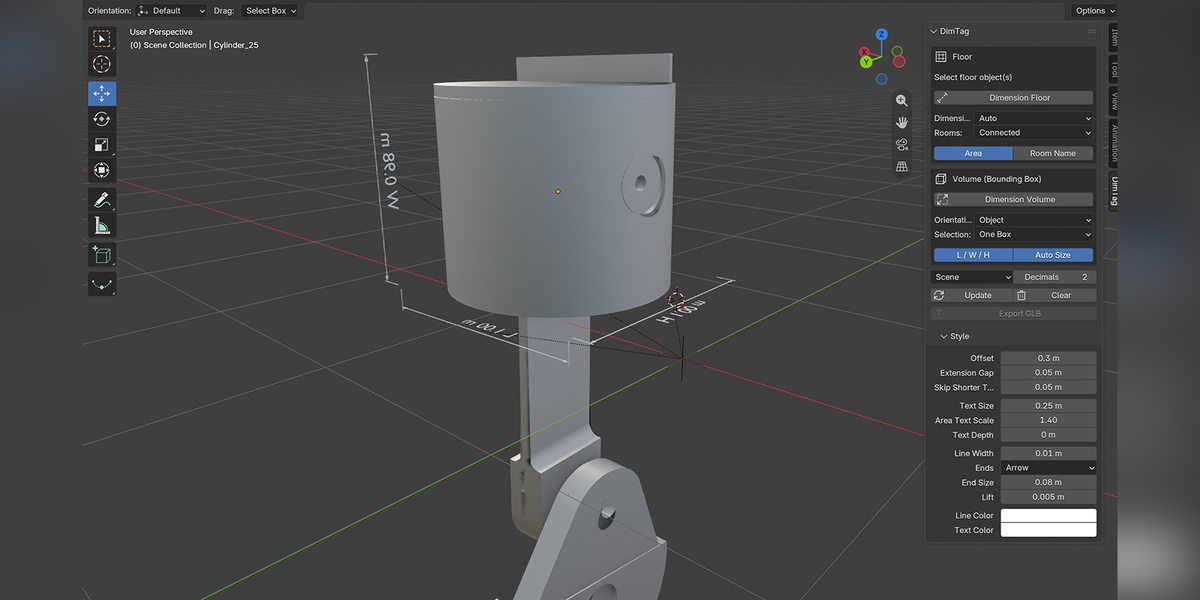
DimTag Documentation
Real dimension lines and room areas that survive GLB export.
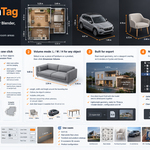
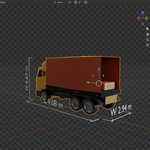
DimTag adds dimension lines, room areas and L / W / H measurements to your Blender scenes as real mesh geometry. Unlike viewport overlays, they render in Cycles and Eevee and export to glTF / GLB, so they work in web viewers, configurators and AR.
Requirements
- Blender 4.2 or newer (tested up to 5.0)
- Windows, macOS and Linux
Installation
- Download
dimtag-x.x.x.zip(do not unzip it). - In Blender, open Edit → Preferences → Get Extensions.
- Click the ⌄ menu (top right) → Install from Disk… and select the zip.
- Make sure DimTag is enabled.
- In the 3D Viewport, press N to open the sidebar and click the DimTag tab.
Updating: uninstall the previous version first (Preferences → Add-ons → DimTag → Uninstall), then install the new zip.
Quick Start
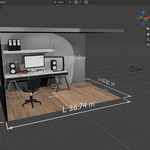
Dimension a room
- Select your floor object, or enter Edit Mode and select the floor faces.
- Click Dimension Floor.
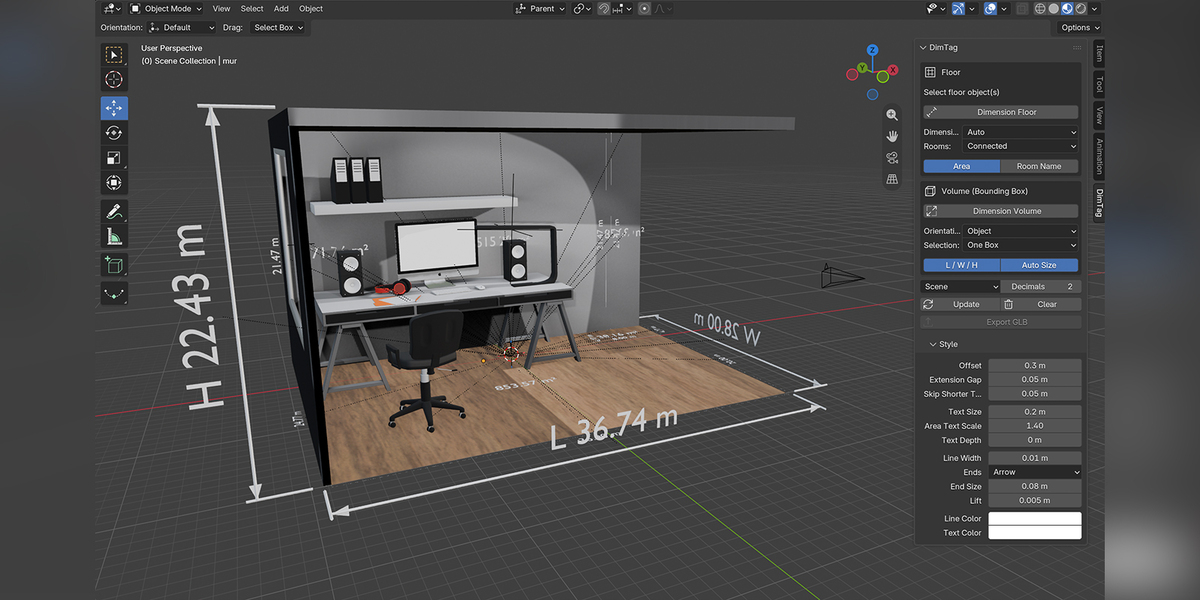
The room outline is detected automatically. You get the wall dimensions and the area in the center.
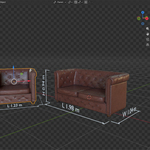
Dimension an object (L / W / H)
- In Object Mode, select an object, such as a car, a sofa or a product.
- Click Dimension Volume.
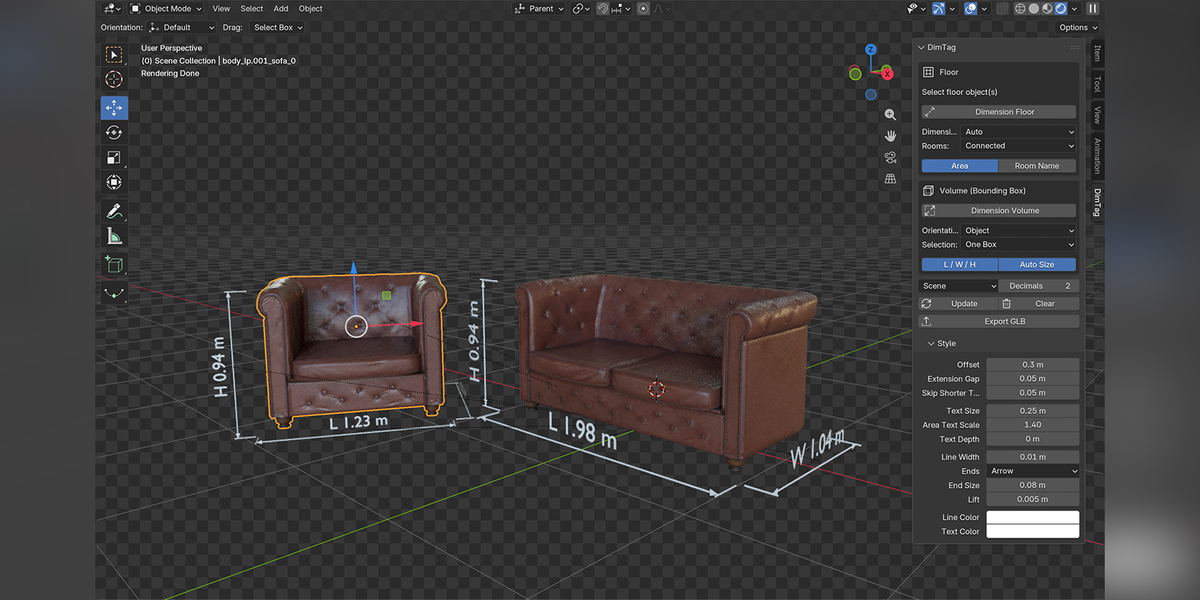
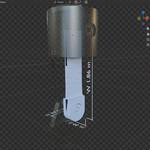
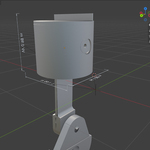
Length, width and height are drawn around the object's bounding box.
Export to the web
- Select your model.
- Click Export GLB.
The model and its dimensions are exported together in one .glb file.
Floor Mode
Use Floor mode for floor plans, real estate presentations and arch viz.
What gets selected
| Mode | Selection | Result |
|---|---|---|
| Edit Mode | Selected faces | Only the selected faces are dimensioned |
| Object Mode | Selected mesh objects | Every face of each object is treated as floor |
DimTag finds the outer boundary of the selection and merges segments that lie on the same line. A subdivided or triangulated floor gives the same clean result as a single quad.
Options
Dimensions
- Auto (default): rectangular rooms get length and width only, and any other shape (L-shaped, irregular) gets every wall.
- Main: overall length and width only, measured along the room's own axes.
- All Walls: one dimension for each wall segment.
Rooms (how the selection is split into rooms)
- Connected (default): faces that touch each other form one room.
- By Material: touching faces that share a material form one room. Useful when a whole apartment is one mesh with a different material per room.
- Each Face: every selected face is its own room.
Labels
- Area: shows the room area (m² in metric, ft² in imperial).
- Room Name: shows the room name above the area.
- Name From: takes the name from the Object name or the Material name.
Volume Mode
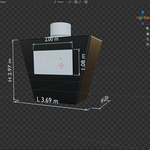
Use Volume mode for product, furniture, vehicle and e-commerce visuals. It works in Object Mode.
Layout
- Length (L): along the object's X axis, on the ground, on the front side. It reads from the Front view (Numpad 1).
- Width (W): along the Y axis, on the ground, on the right side. It reads from the Right view (Numpad 3).
- Height (H): vertical, at the front-left corner. It reads from the Front view.
Child objects are included automatically. Select a parent empty and the whole car, with every part, is measured.
Options
Orientation
- Object (default): the box follows the active object's rotation, so a rotated car still shows its true length.
- World: the box is aligned to the world axes.
Selection
- One Box (default): one bounding box around everything selected.
- Each Object: one bounding box per selected object, including its children.
L / W / H: adds a prefix to the values ("L 4.50 m"). Turn it off for plain numbers.
Auto Size: scales the text, lines and offset to the size of the object, so a 10 cm mug and a 5 m car are both readable.
Units
- Scene (default): follows Scene Properties → Units. Imperial scenes use feet and inches.
- m / cm / mm / ft-in: forces a unit, whatever the scene settings.
- Decimals: the number of decimal places shown (0–4).
Style
Open the Style sub-panel to customize the look.
| Setting | Description |
|---|---|
| Offset | Distance between the wall or object and the dimension line |
| Extension Gap | Gap between the geometry and the start of the extension lines |
| Skip Shorter Than | Walls shorter than this value are not dimensioned |
| Text Size | Height of the dimension text |
| Area Text Scale | Size of the area and name label relative to the dimension text |
| Text Depth | Text extrusion (0 = flat, the lightest option for GLB) |
| Line Width | Thickness of the dimension lines |
| Ends | Arrow, Tick (architectural 45°) or None |
| End Size | Size of the arrows or ticks |
| Lift | Height above the floor, which prevents z-fighting |
| Line Color / Text Color | Colors, applied to the shared DimTag Line and DimTag Text materials |
Tip: sizes are in scene units. The defaults suit models built in meters. If your model is at a different scale, adjust the sizes, or use Volume mode with Auto Size.
Managing Dimensions
Everything DimTag creates goes in a DimTag collection. Each set of dimensions is grouped under an empty named DimTag · <object name>.
- Update: rebuilds the selected dimensions with the current settings. Use it after editing your model or changing the style. Select either the dimensions or the original object. Works in Object Mode.
- Clear: deletes the selected dimensions. Select the dimensions or the original object.
- Re-running Dimension Floor or Dimension Volume on the same selection replaces the existing dimensions instead of duplicating them.
DimTag is non-destructive: your original meshes are never modified.
Export
Export GLB exports the selected objects together with their dimensions as a single .glb file. You can select either the model or its dimensions; DimTag adds the matching objects automatically.
You can also use Blender's standard File → Export → glTF 2.0. Just make sure the DimTag objects are included in your export selection.
Dimension text is exported as real mesh geometry, so it displays in any glTF viewer (Three.js, Babylon.js, <model-viewer>, Sketchfab, AR viewers) without fonts or plugins.
Tips
- Floor plans: use a top orthographic view (Numpad 7) for the cleanest result.
- Whole apartment in one mesh: use Rooms → Each Face or By Material to get one area label per room.
- Product renders: use the Tick ends and a thin line width for a technical look.
- Lightweight web files: keep Text Depth at 0.
Known Limitations
- When two adjacent rooms are dimensioned together, both rooms can draw a dimension on the wall they share.
- Holes in a floor (columns, stairwells) are not dimensioned. Only the outer outline is.
- Flat text is not visible from below the floor.
- In Volume mode, Length always follows the object's local X axis. If your model faces along Y, the L and W labels are swapped.
Troubleshooting
The DimTag tab doesn't appear in the sidebar. Check that the extension is enabled in Preferences → Add-ons. Hover over the sidebar tabs and scroll: DimTag may be below other tabs.
Dimensions are huge or tiny. Your model is probably at a different scale. Adjust Offset, Text Size, Line Width and End Size, or enable Auto Size (Volume mode).
Update says "source object not found". The original object was renamed or deleted. Run Dimension Floor or Dimension Volume again on the object.
Text overlaps the model. Increase Offset in the Style panel, then click Update.
Changelog
0.2.0
- New: Volume mode (L / W / H bounding-box dimensions)
- New: Object or World orientation, One Box or Each Object, Auto Size
- Update, Clear and Export GLB support volume dimensions
0.1.0
- Initial release: Floor mode with room outline detection, area and name labels, Auto / Main / All Walls modes, units, style options, Update, Clear and Export GLB
Support
Questions, bugs or feature requests: [email protected], or the Superhive product page.
Please include your Blender version and, if possible, a screenshot or a small .blend file.
DimTag is licensed under GPL-3.0-or-later. © bhdesign
Have questions about this product?
Login to message
| Blender Extension Compatible | Yes |
| Published | about 19 hours ago |
| Blender Version | 4.2 - 5.2 |
| Extension Type | Add-on |
| License | GPL |
Discover more products like this
3d-viewer ecommerce 3d archviz product 3D floor plan 3dfurniture configurator catalog realestate product configurator