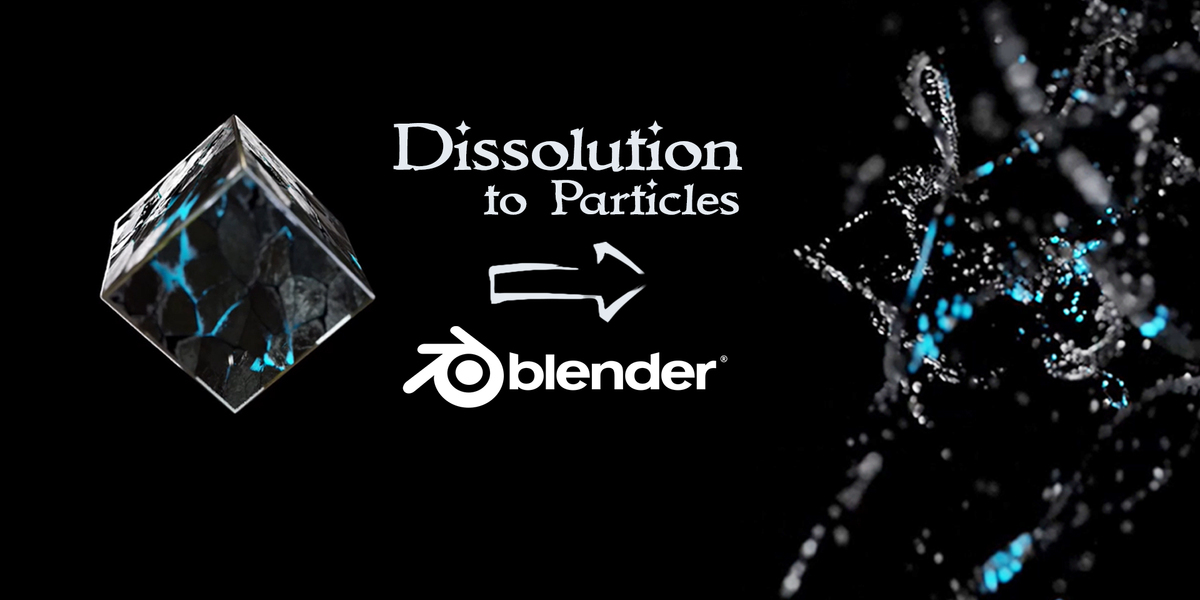
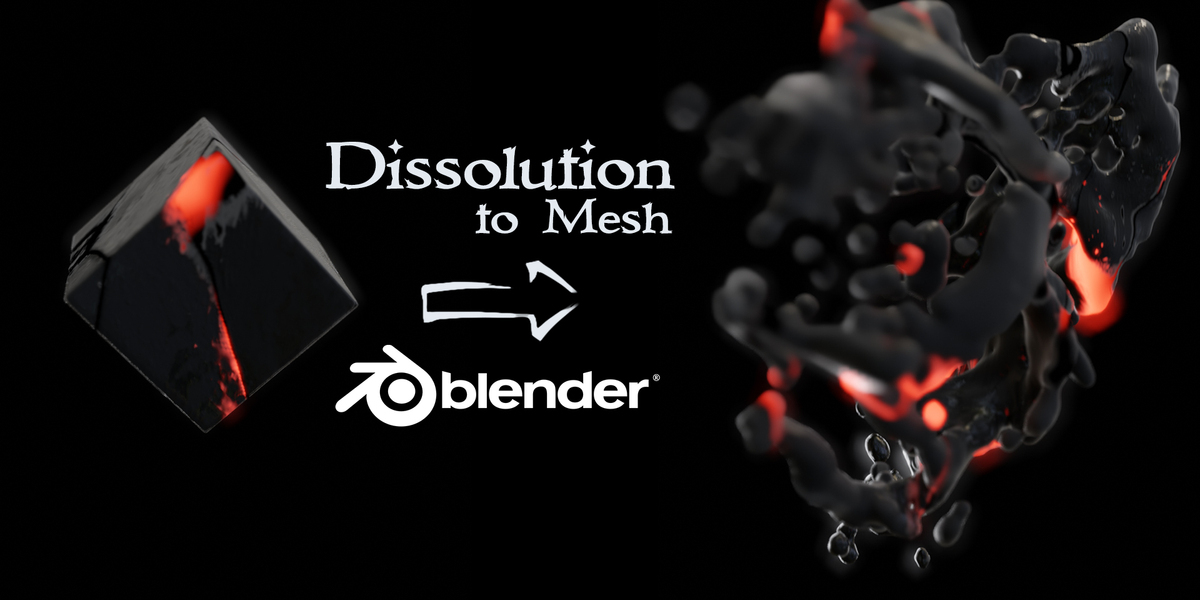
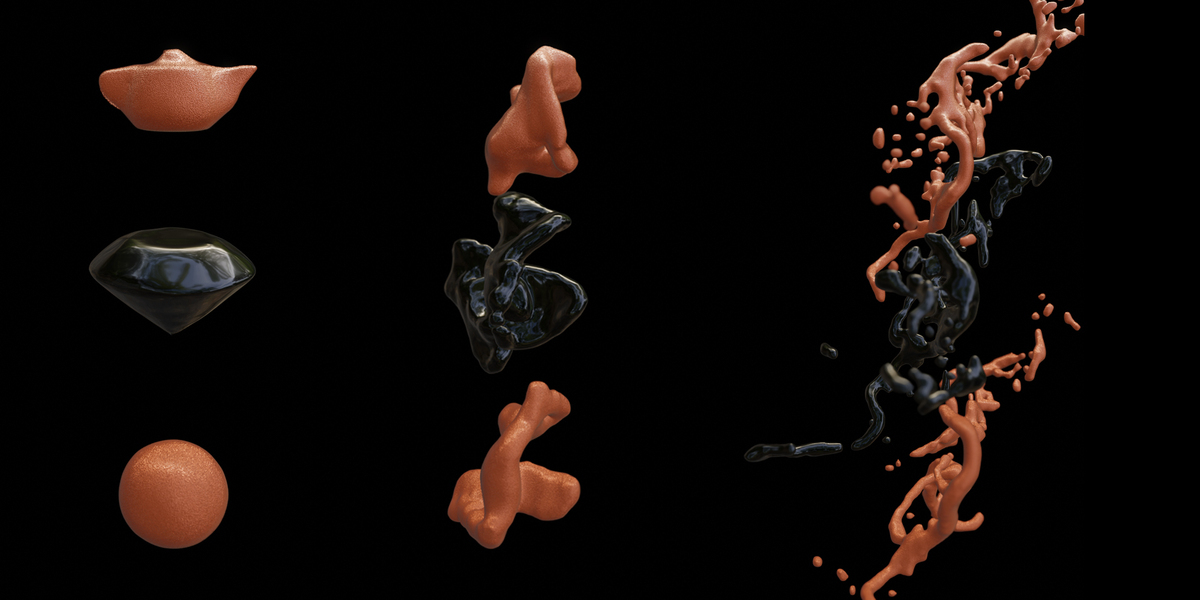
Dissolution Suite — Particle & Mesh Disintegration in Geometry Nodes
 codesignprojects

📖 Quick Start Documentation
1. Importing the Node Groups
- Open your project file.
-
Go to File > Append, navigate to
Dissolution_Particles_Suite.blendorDissolution_Mesh_Suite.blend, open the NodeTree folder, and select:Dissolution_Mesh_to_ParticlesDissolution_Objects_to_Mesh
- Alternatively, mark the node groups as Assets to access them directly from your Blender Asset Browser.
2. Applying to Target Geometry
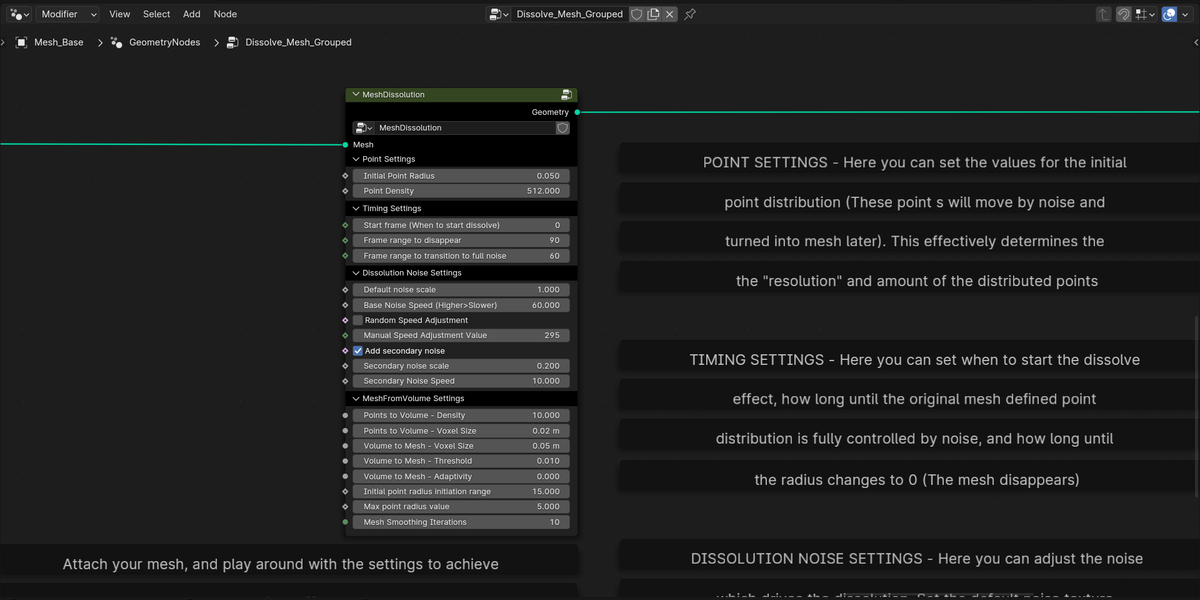
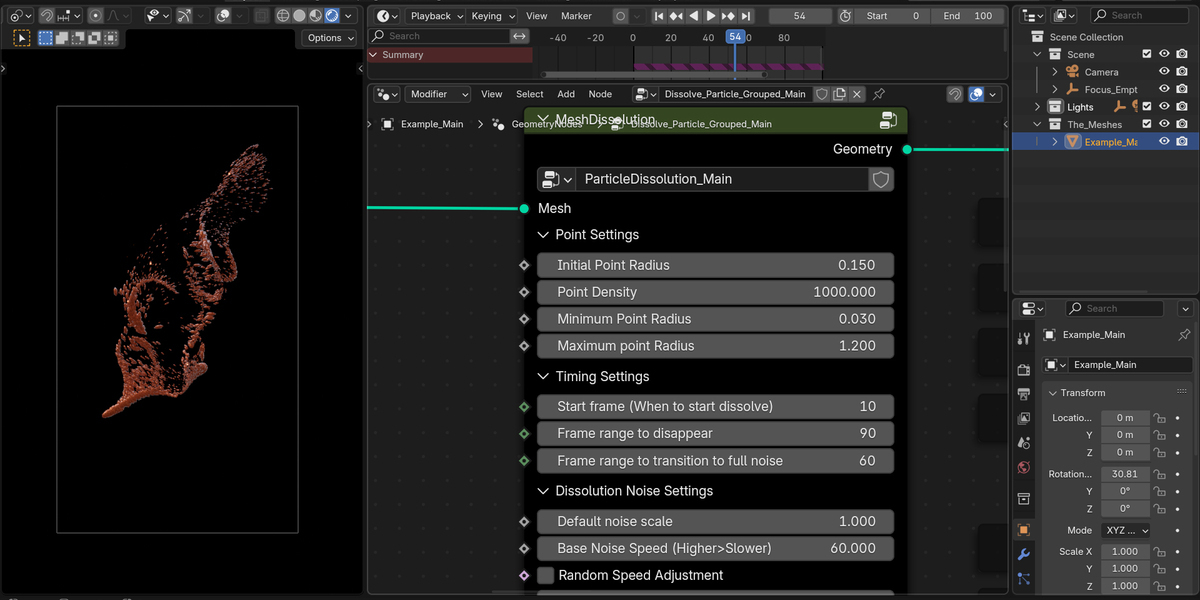
- Select your target 3D object and add a Geometry Nodes modifier.
- Select the appended dissolution node group from the dropdown.
- If using an animated or rigged character: ensure the Geometry Nodes modifier is placed below the Armature modifier in the modifier stack so deformation is evaluated first.
3. Shading & Transparency Setup
-
For Particle Dissolution: Assign the included
M_Dissolution_Blendmaterial to your object. The node group exports an attribute nameddissolve_fac(0.0 to 1.0) into the shader editor to synchronously drive transparency/alpha alongside the particle spawn. - For Mesh Dissolution: The node generates native polygonal geometry on output. Assign any standard material directly to the modifier.
4. Driving the Dissolution Progression
-
Manual Keyframing: Keyframe the
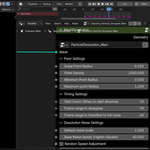
Dissolve Threshold/Progressslider from0.0(fully intact) to1.0(fully dissolved). -
Spatial / Controller Empty: Connect the location of an external Empty object into the
Controller Locationsocket to dissolve the geometry interactively as the Empty passes through the mesh.
Have questions about this product?
Login to message
| Published | 33 minutes ago |
| Blender Version | 4.2 - 5.2 |
| Render Engine Used | Cycles, Eevee |
| License | Creative Commons |
Discover more products like this
dissolve into particles mesh dissolve procedural Dissolve sci fi dissolve into mesh geometry nodes VFX transition disintegration dissolution