Drawer Planner for Gridfinity
 Sonneblom Digitaal
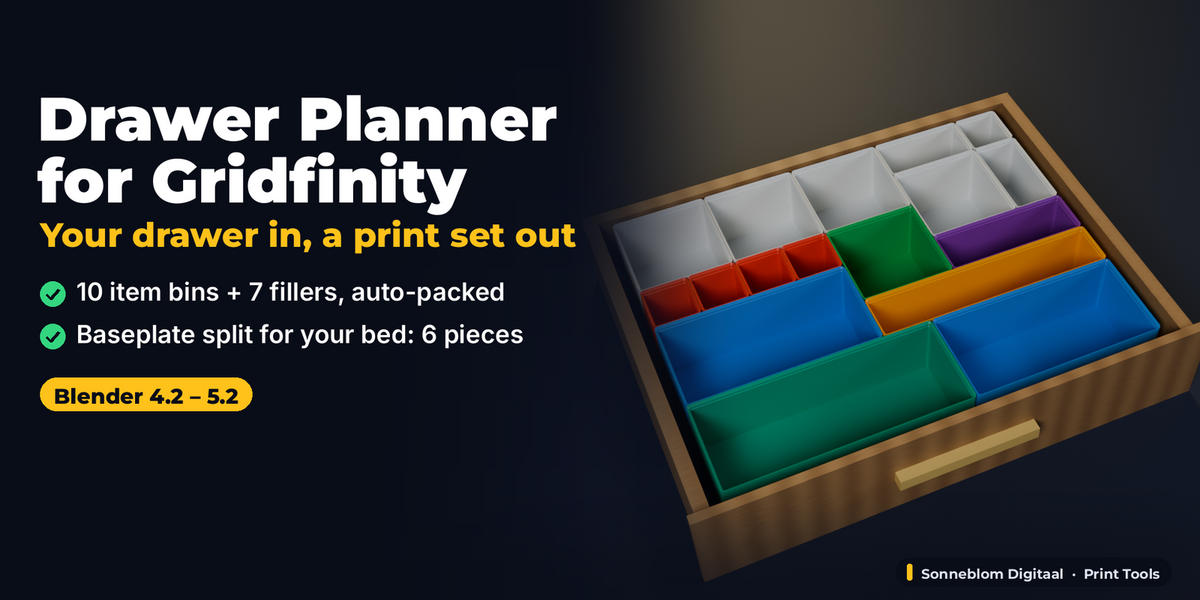
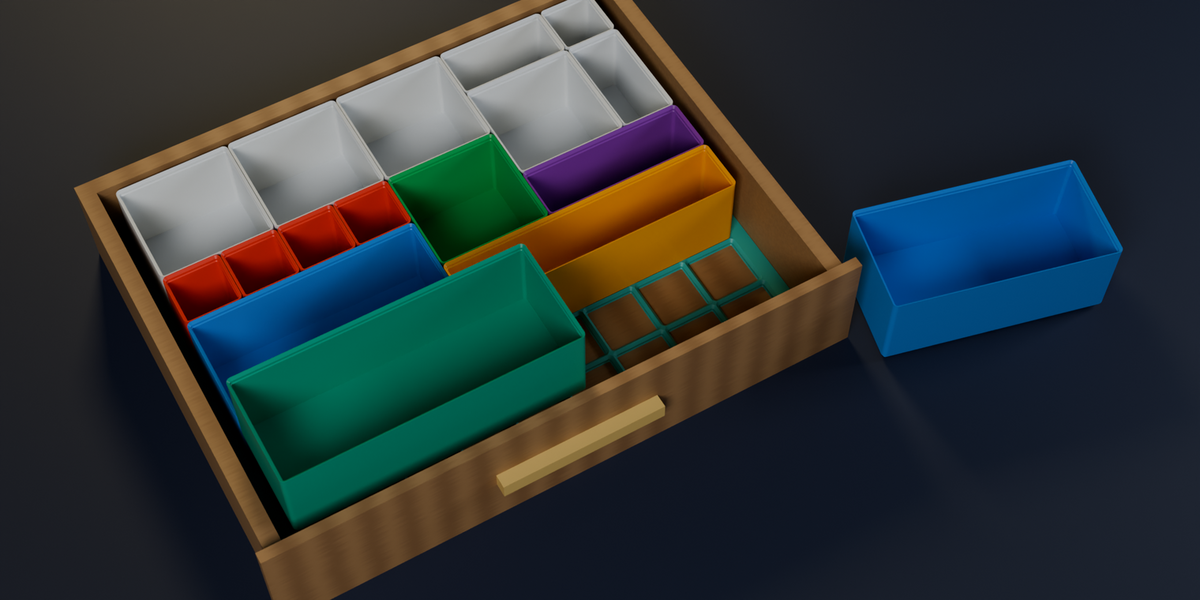
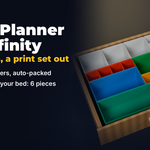
Drawer Planner for Gridfinity 1.0.0 - documentation
Install
- Extension zip (drawer_planner-1.0.0.zip, Blender 4.2 and newer): Edit > Preferences > Get Extensions > the arrow menu (top right) > Install from Disk, pick the zip. Or drag the zip into the Blender window.
- Legacy zip (drawer_planner-1.0.0-legacy.zip): Edit > Preferences > Add-ons > the arrow menu > Install from Disk, pick the zip, then tick Drawer Planner for Gridfinity.
- Install one of the two, not both. To uninstall, remove it in the same Preferences page.
Where it is
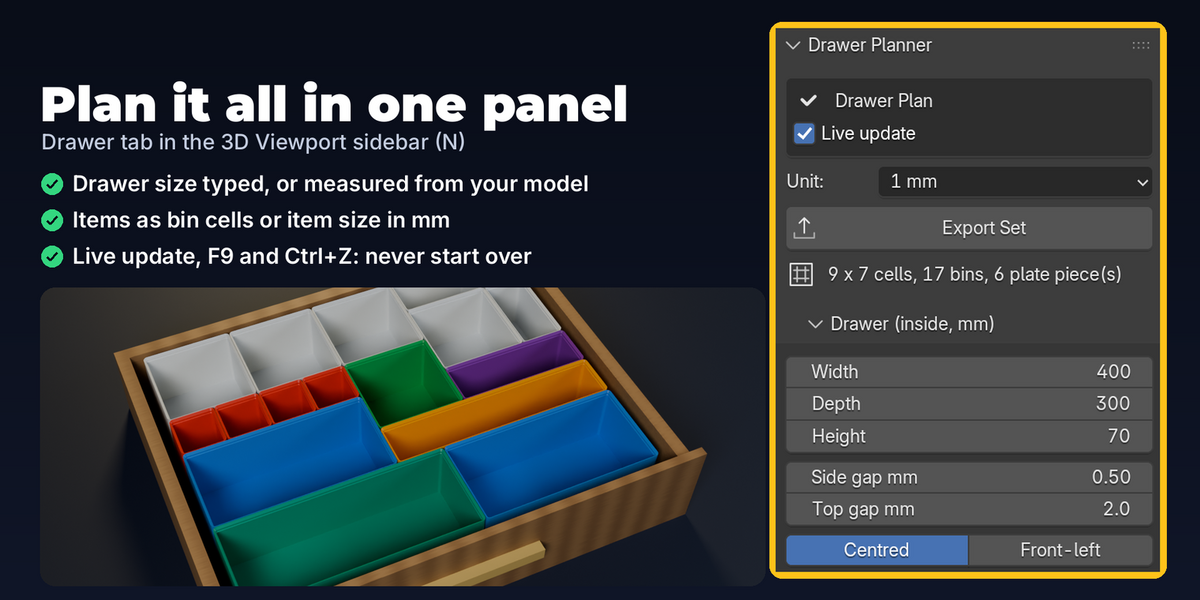
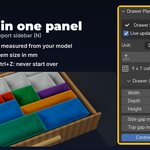
3D Viewport > Sidebar (press N) > tab Drawer. With nothing selected the panel holds the settings for a new plan; select a plan (or any of its bins or baseplate pieces) and the panel edits that plan live.
Step by step
- Check 1 Blender unit = at the top: 1 mm (default) matches STL / 3MF files and slicers.
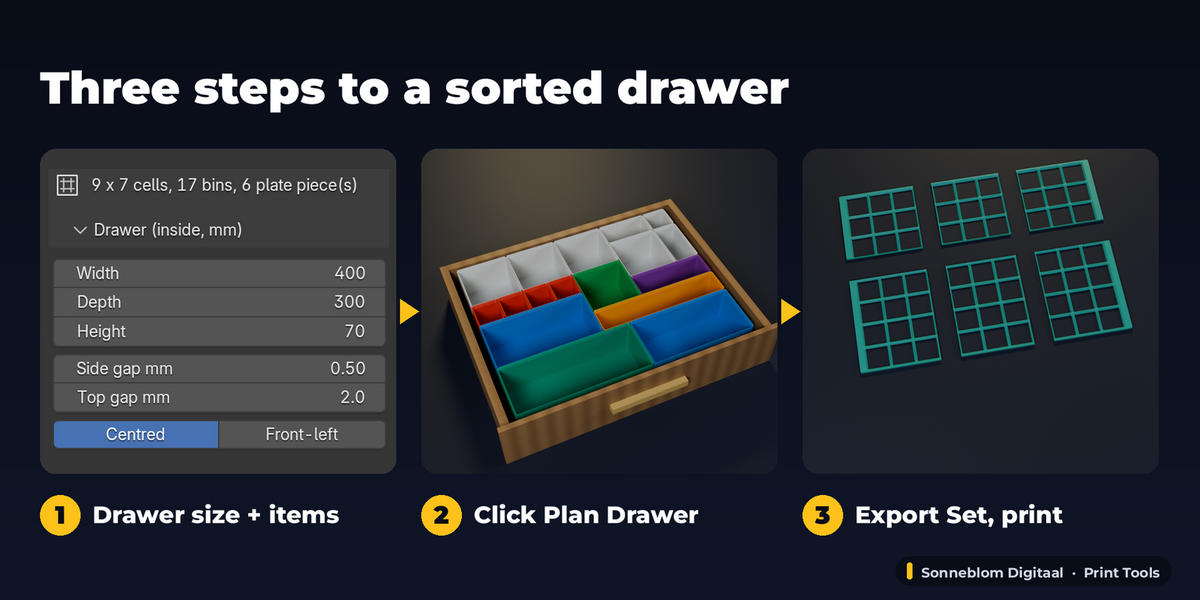
- Drawer (inside): type Width (left to right), Depth (front to back) and Height (floor to whatever is above the drawer) in mm. Or select a box the size of the drawer's inside and click Measure Selected Drawer: its size (scale and modifiers included) is read and the next plan is placed inside it.
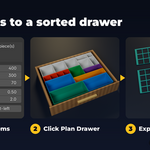
- Items: click + for each kind of bin. Name it, choose Bin cells (type W and D in 42 mm cells) or Item mm (type the item's length and width; the panel shows the bin it gets, e.g. "Gets a 4x2 bin"), the item height if you want it checked, and the Count. Add Example Items fills a typical tool drawer to try it.
- Bins: Fill drawer (tallest bins that fit) or Fixed height; stacking lip, magnet holes, wall, floor, item room; and what happens with the empty cells.
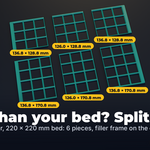
- Print bed: your bed size and Split for print bed.
- Read the box at the bottom: grid, baseplate size, filler frame per side, pieces, bins and their height, and any warning (an item that does not fit, a bin bigger than your bed, an item taller than the bins). Then click Plan Drawer.
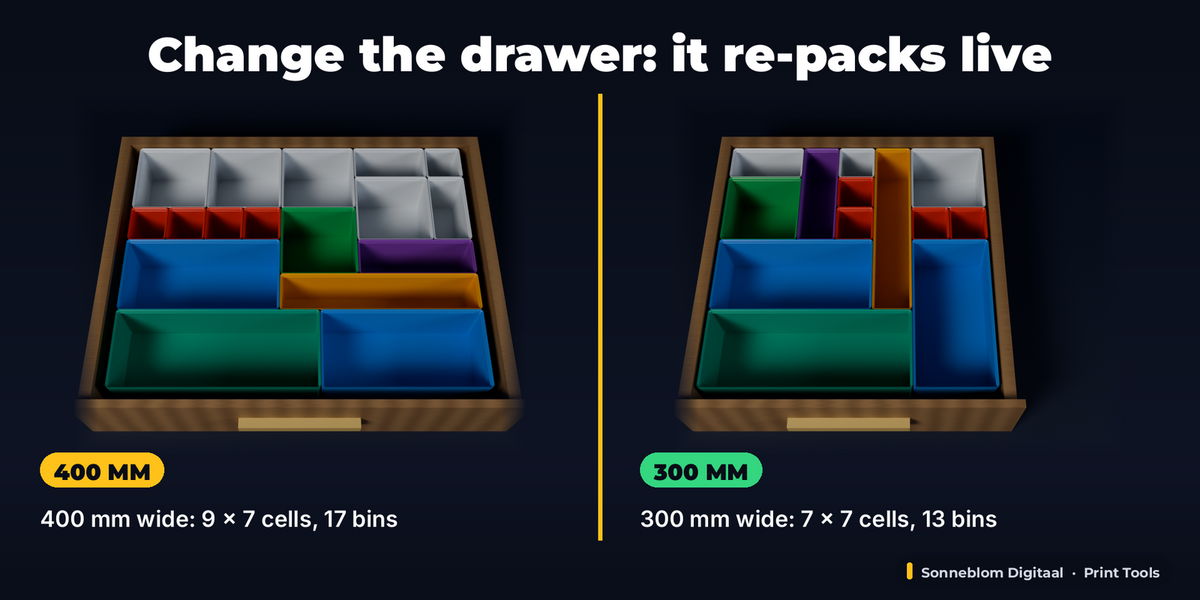
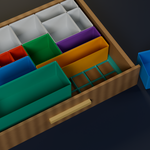
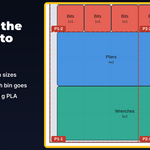
- The plan appears at the 3D cursor (or in the measured drawer): a wire outline of the drawer with the baseplate pieces and bins as its children. Change any setting: the same plan is rebuilt in place. The box shows the check of the final parts and the grams of PLA.
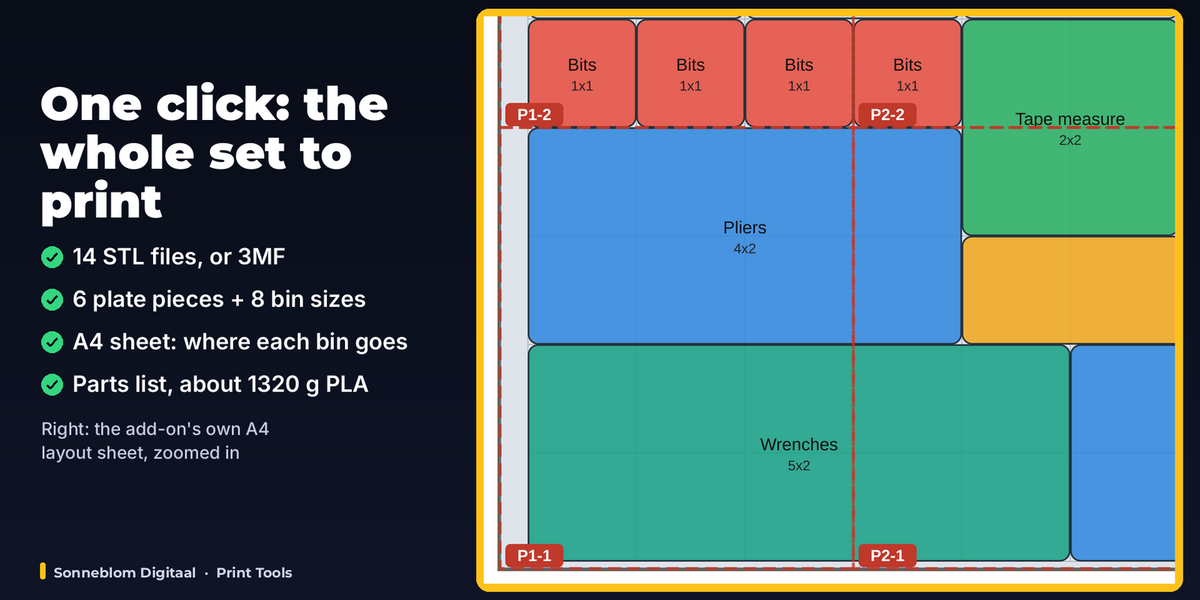
- Click Export Set, choose a folder, STL or 3MF, and whether to write the layout sheet and parts list.
Settings
| Setting | Default | What it does |
|---|---|---|
| 1 Blender unit = | 1 mm | How long one Blender unit is. 1 mm matches STL / 3MF files and slicers; cm, m, inch or Scene (follows Scene > Units). Sizes in the panel are always mm. |
| Width / Depth / Height (mm) | 400 x 300 x 70 mm | Inside size of the drawer (left to right, front to back, floor to what is above it). Or click Measure Selected Drawer. |
| Side gap (mm) | 0.5 mm | Total gap between the baseplate and the drawer walls, per direction (half on each side when centred). |
| Top gap (mm) | 2 mm | Room kept free above the bins so the drawer still closes. |
| Grid position | Centred | Centred (filler frame split over both sides) or Front-left (all filler at the back and right). |
| Bin height | Fill drawer | Fill drawer = the tallest bins in 7 mm steps that fit under the top gap; Fixed = choose the units. |
| Height (units) | 3 | Bin height in 7 mm Gridfinity units when Bin height is Fixed (the stacking lip adds 4.4 mm). |
| Stacking lip | on | Gridfinity stacking lip on the bins (bins of 2 units or more). |
| Magnet holes | off | 6.5 x 2.4 mm pockets under each bin foot for 6 x 2 mm magnets. |
| Wall (mm) | 1.2 mm | Bin wall thickness. |
| Floor (mm) | 1 mm | Bin floor thickness above the feet. |
| Item room (mm) | 1 mm | Extra room around an item you give in mm, when the add-on chooses its bin size. |
| Empty cells | Filler bins | Filler bins (every free cell gets a bin) or Leave empty. |
| Filler max (cells) | 2 | Largest filler bin side in cells (2 = up to 2 x 2). Filler bins are never bigger than your bed. |
| Bed X / Bed Y (mm) | 220 x 220 mm | Usable size of your print bed. |
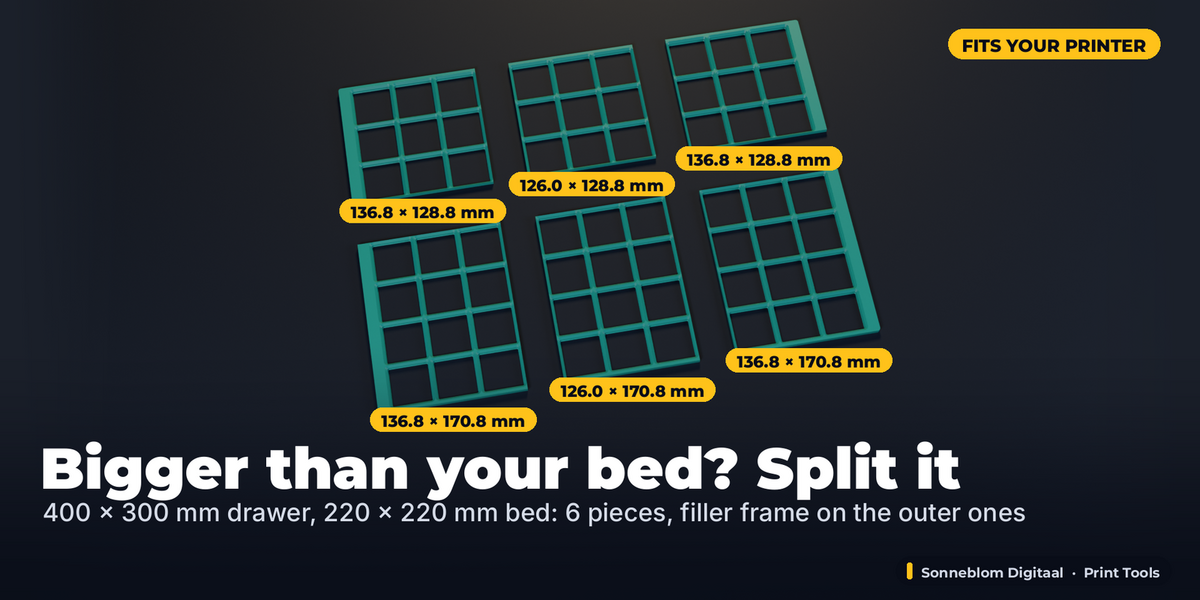
| Split for print bed | on | Cut the baseplate into the fewest, most even pieces of whole cells that fit the bed; the filler frame goes on the outer pieces. |
| Live update | on | Rebuild the plan as soon as a setting changes. Off: change several, then press Update Plan. |
Item list
| Item field | Default | What it does |
|---|---|---|
| Name | Item 1, Item 2 ... | Shown on the layout sheet, the parts list and the object names. |
| Size by | Bin cells | Bin cells: type the bin size in 42 mm cells (1-12). Item mm: type the item's own length and width and the smallest bin it fits through (stacking lip included) is chosen. |
| Item height (mm) | 0 | 0 = not checked; otherwise the panel warns when the item is taller than the inside of the bins. |
| Count | 1 | How many bins of this kind. |
What Export Set writes
- <plan>_baseplate_1-1.stl, _1-2 ...: one file per baseplate piece (column-row, as on the sheet: P1-1 is front left).
- <plan>_bin_4x2x9_print_2x.stl: one file per bin size (W x D cells x height units) with how many to print.
- <plan>_layout.svg: A4 landscape, to scale (the scale is printed on it): drawer, grid, every bin with its name and size, the piece outlines, the parts list. Open it in a web browser and print at 100%.
- <plan>_parts_list.txt: what to print, how many, sizes in mm, grams each and in total, and any warning.
- Files are in millimetres, centred, bottom on Z = 0, ready for the slicer. They always have the planned size, whatever scale or rotation the plan object has.
Changing your mind
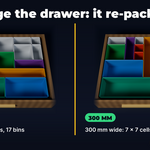
- Every setting is stored on the plan: change it and the plan is rebuilt in place (same plan object, its parts reused). Untick Live to change several settings and press Update Plan.
- Right after Plan Drawer, F9 (Adjust Last Operation) shows the settings too.
- Ctrl+Z steps back through your changes. Reset Settings puts every setting back to the default (the item list stays). Remove Plan deletes the plan and its parts (Ctrl+Z brings it back).
- If a change cannot work (a drawer smaller than one cell, a bed smaller than one cell plus the frame), the panel says why and what to change, and the previous plan stays.
- Start a New Plan copies the selected plan's settings to the panel for a second drawer.
Tips
- Measure the drawer's inside at its narrowest point (runners and lips). A 0.5 mm side gap is enough for a printed baseplate; raise it for a rough drawer.
- For long tools give the size in mm: a 190 mm screwdriver gets a 1 x 5 bin (opening 204 mm with the lip).
- Front-left grid position puts all filler at the back and right, so the bins line up with the drawer front.
- Bins bigger than your bed are flagged in red: give that item a smaller bin or two rows.
- Magnet holes are off by default; switch them on if you glue 6 x 2 mm magnets into the bins.
Limits
- Standard open bins only (no dividers, scoops, labels, screw holes); one bin height per plan; rectangular drawers 43.5-1200 mm.
- Automatic packing only: bins cannot be placed by hand and kept there.
- Hand edits to a part are replaced at the next change; the plan object's scale and rotation do not go into the files.
- Grams are an estimate from the solid volume.
Troubleshooting
- "too small for one 42 mm cell": the drawer needs at least 43.5 mm each way (42 mm + side gap + 0.5 mm frame per side).
- "Did not fit: ...": the listed items have no room left. Use a bigger drawer, fewer or smaller items. Filler bins never take room from your items: they only use the cells left over.
- "Leave Edit Mode": press Tab; the plan cannot be rebuilt while one of its parts is in Edit Mode.
- A tiny plan in the viewport: 1 Blender unit = 1 m (Scene units in a default scene). Set the unit to 1 mm; the files are in mm either way.
- Grey buttons tell you why in their tooltip (Export Set and Update Plan need a selected plan; Measure needs a selected mesh that is not part of a plan).
Licence
GPL-3.0-or-later (see the LICENSE file in the zip). Made by Sonneblom Digitaal.
Have questions about this product?
Login to message
| Blender Extension Compatible | Yes |
| Published | about 3 hours ago |
| Blender Version | 4.2 - 5.2 |
| Extension Type | Add-on |
| License | GPL |
Discover more products like this
baseplate storage 3d printing organizer drawer gridfinity bins