Drip - Procedural Paint, Honey & Slime Drips
 nice mesh
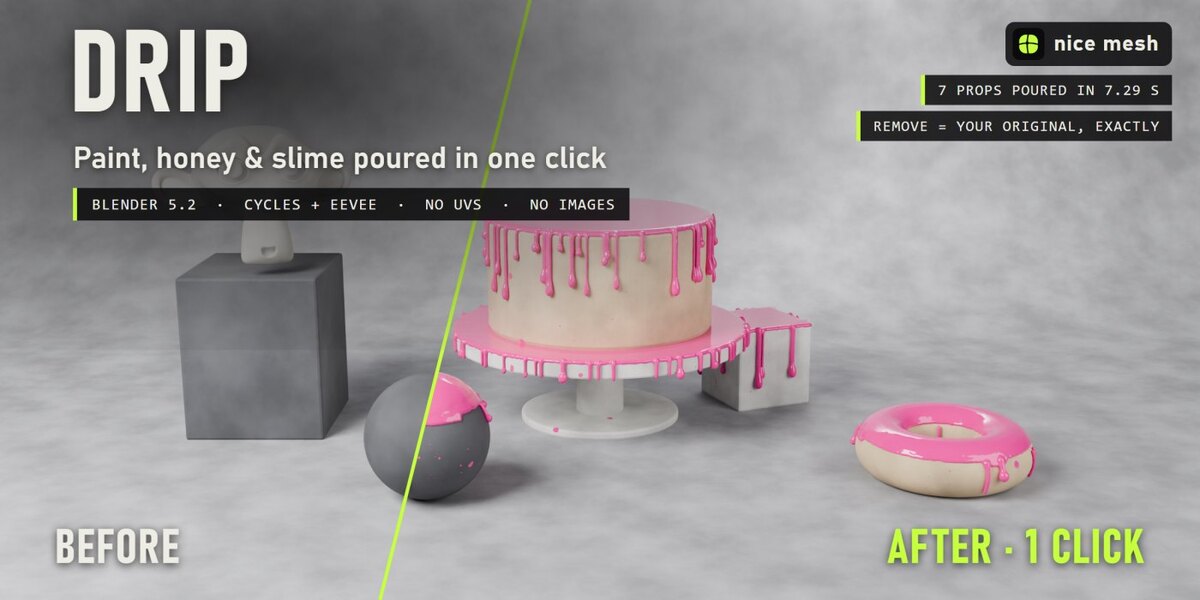
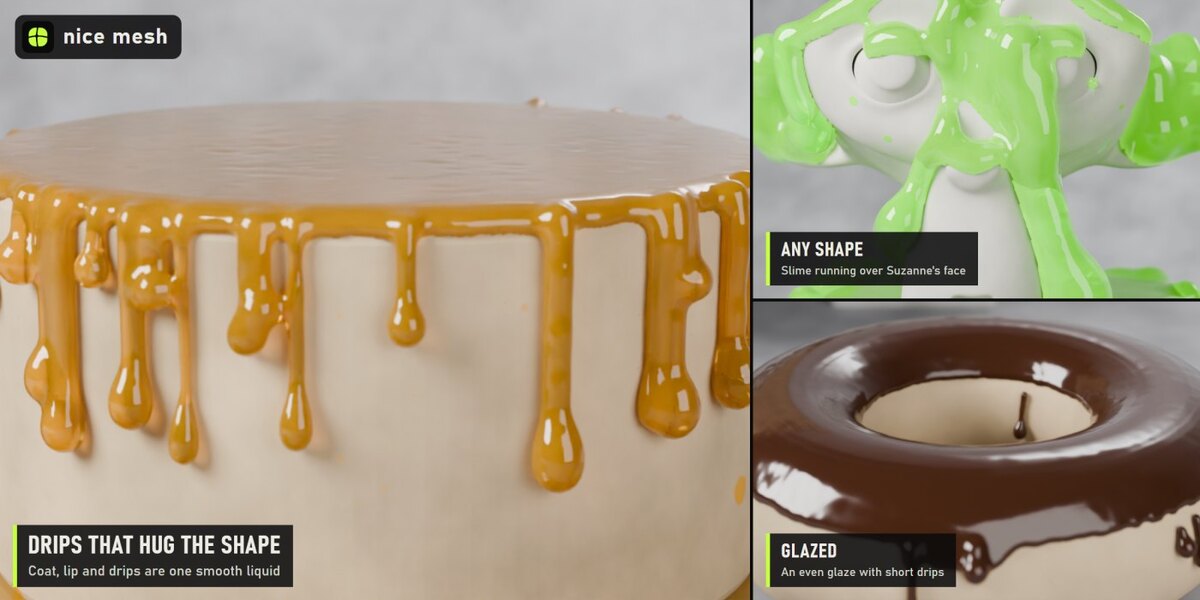
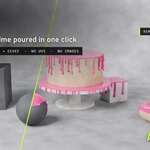
Drip - documentation
Install
Edit > Preferences > Add-ons > drop-down arrow > Install from Disk..., pick drip_v1.0.0.zip (don't unzip it) and tick Drip. Blender 5.2 or newer.
Use
- Select your objects.
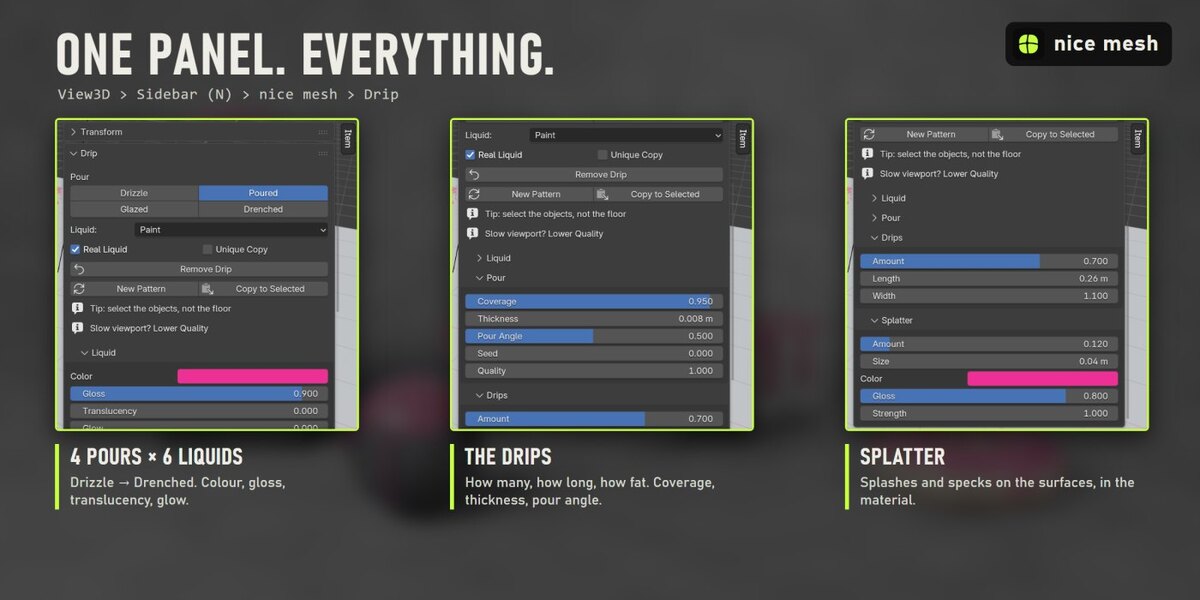
- 3D View > Sidebar (N) > nice mesh > Drip: click a preset.
- Tweak the sliders. The same buttons are in the Object menu.
Buttons
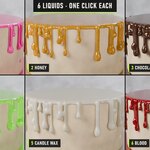
- Presets: apply (or update) the effect on the selected objects.
- Real geometry checkbox: also add the geometry (removable modifier). Off = material only.
- Unique Copy: own copy of a material shared with other objects.
- Remove: take it all off, exactly as it was.
- New Pattern / Copy to Selected: new seed / copy every setting to the selection.
Panels
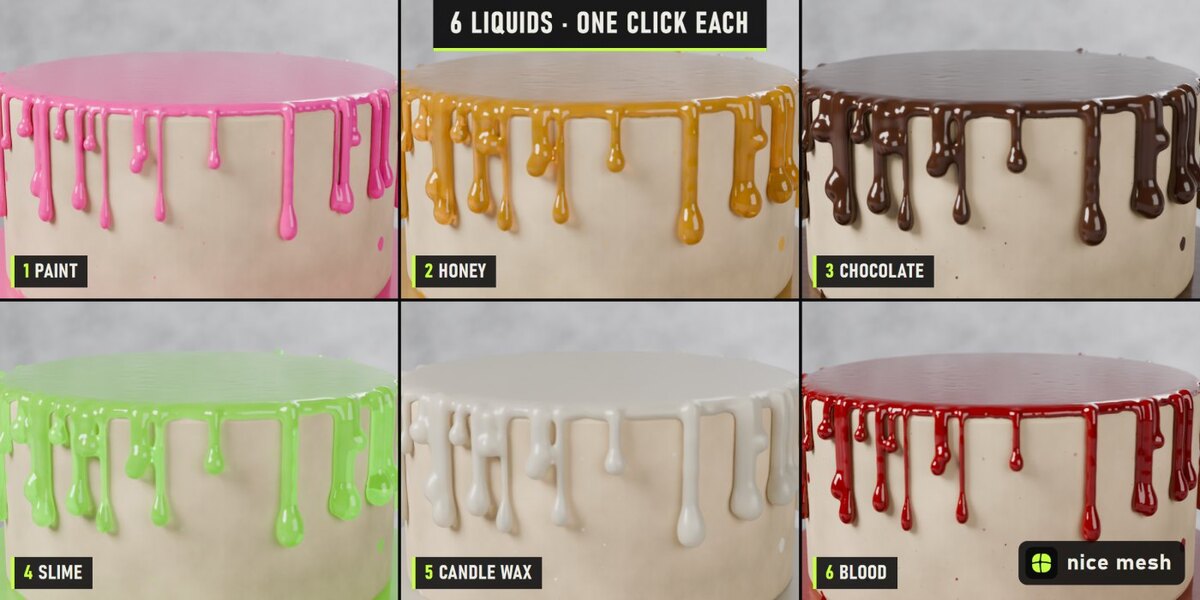
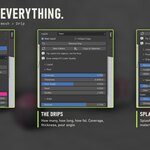
- Liquid: Color, Gloss, Translucency, Glow
- Pour: Coverage, Thickness, Pour Angle, Seed, Quality
- Drips: Amount, Length, Width
- Splatter: Amount, Size, Color, Gloss, Strength
Tips
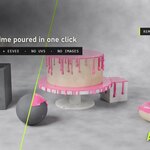
- Select the props, not the floor: every selected object gets its own pour.
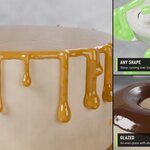
- Thickness sets the coat; Drip Width makes the drips fatter or thinner on top of that.
- Big objects use coarser voxels to stay fast; raise Quality for a finer, smoother skin.
Good to know
- It pours from above: only surfaces that see the sky get coated (nothing under a table top).
- It is not a fluid simulation: drips don't run onto other objects or pool on the floor.
- The liquid is real, dense geometry (about half a million faces on a test scene of six objects). Lower Quality while you work.
- Curves and text get the splatter only; the liquid needs a mesh.
Have questions about this product?
Login to message
| Published | about 13 hours ago |
| Blender Version | 5.2 |
| Extension Type | N/A |
| Render Engine Used | Cycles, Eevee |
| License | GPL |
Discover more products like this
honey wax liquid geometry nodes drip procedural chocolate slime goo paint