Easy Add Bone
 Onion365studio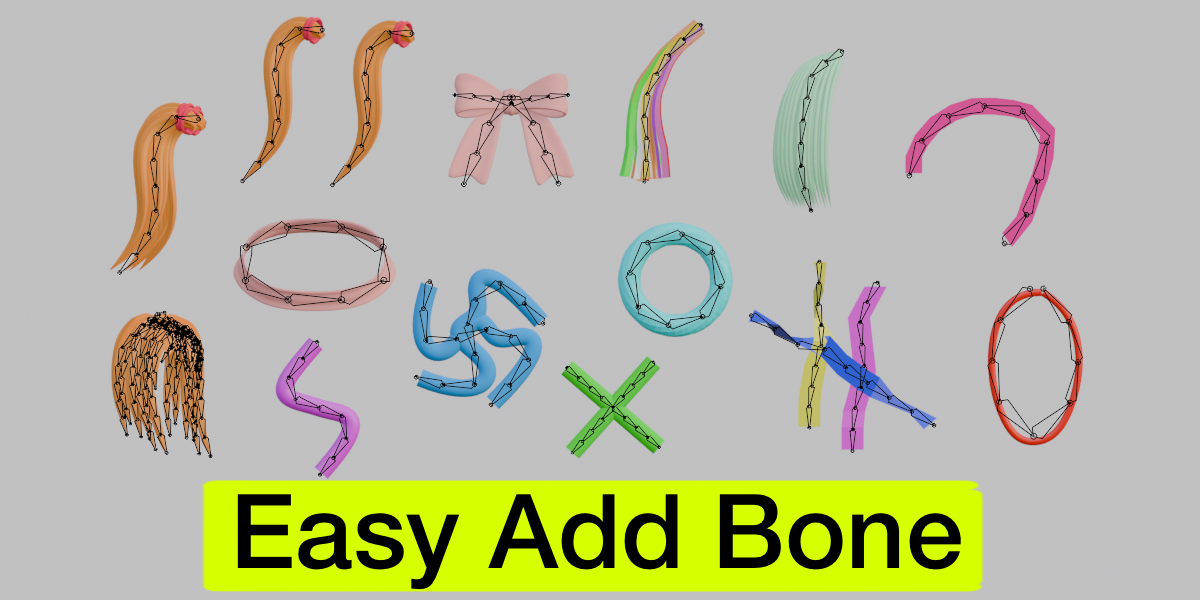
Easy Add Bone: Documentation
Overview
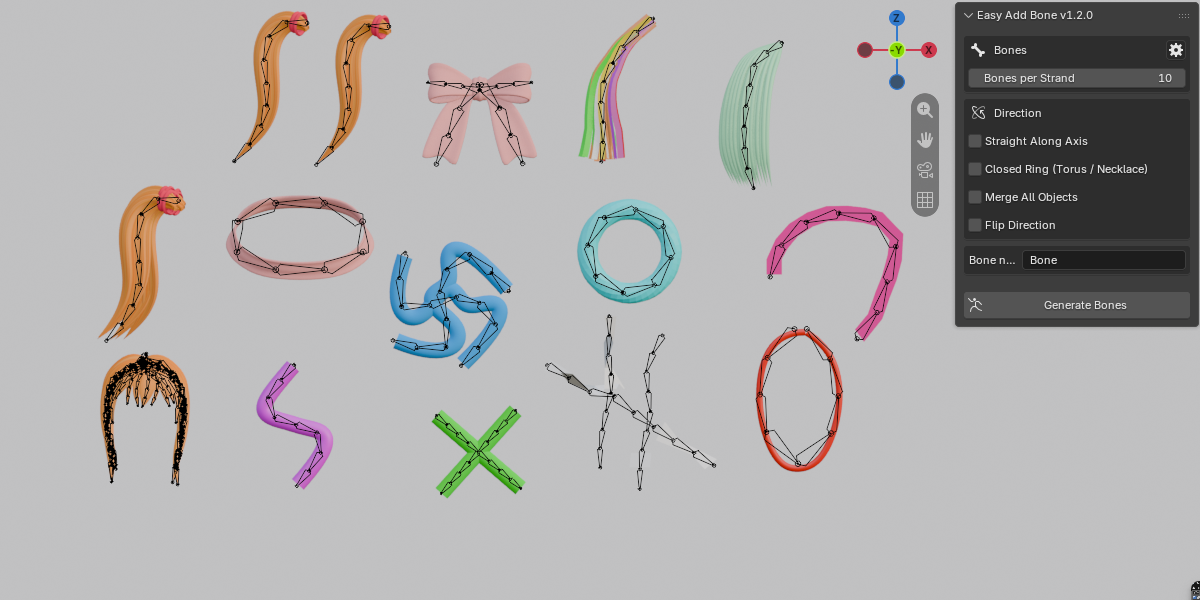
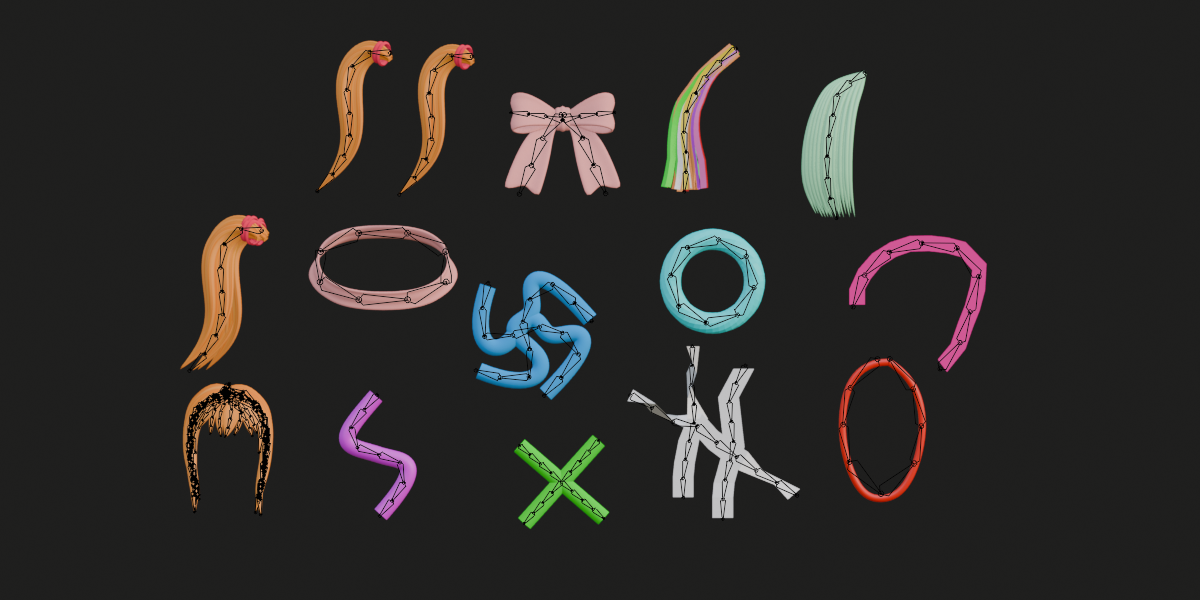
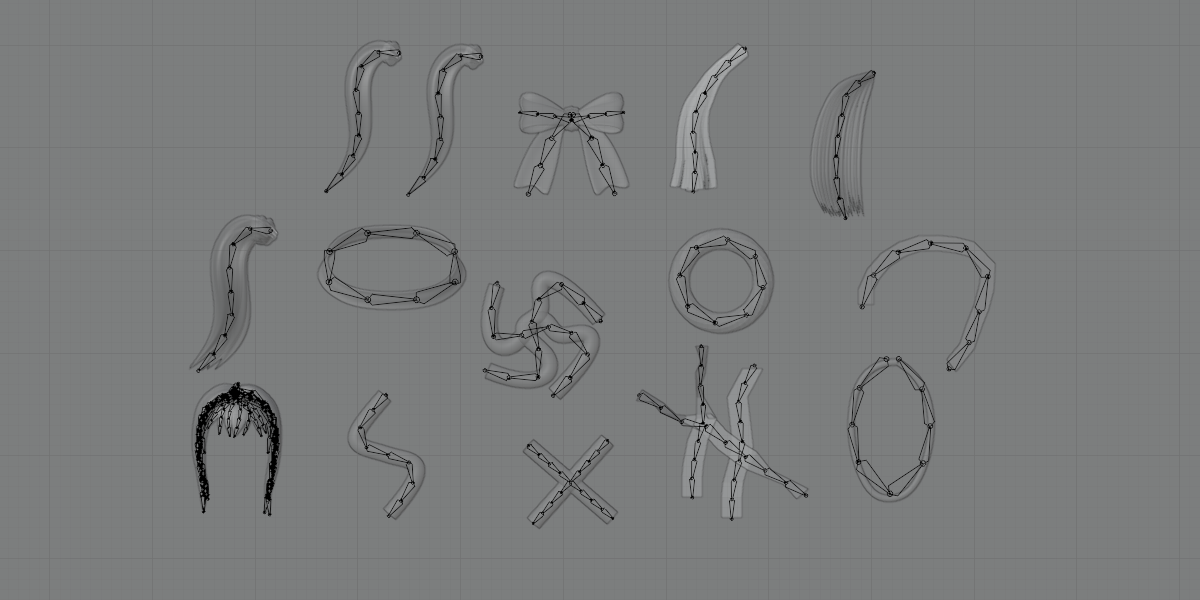
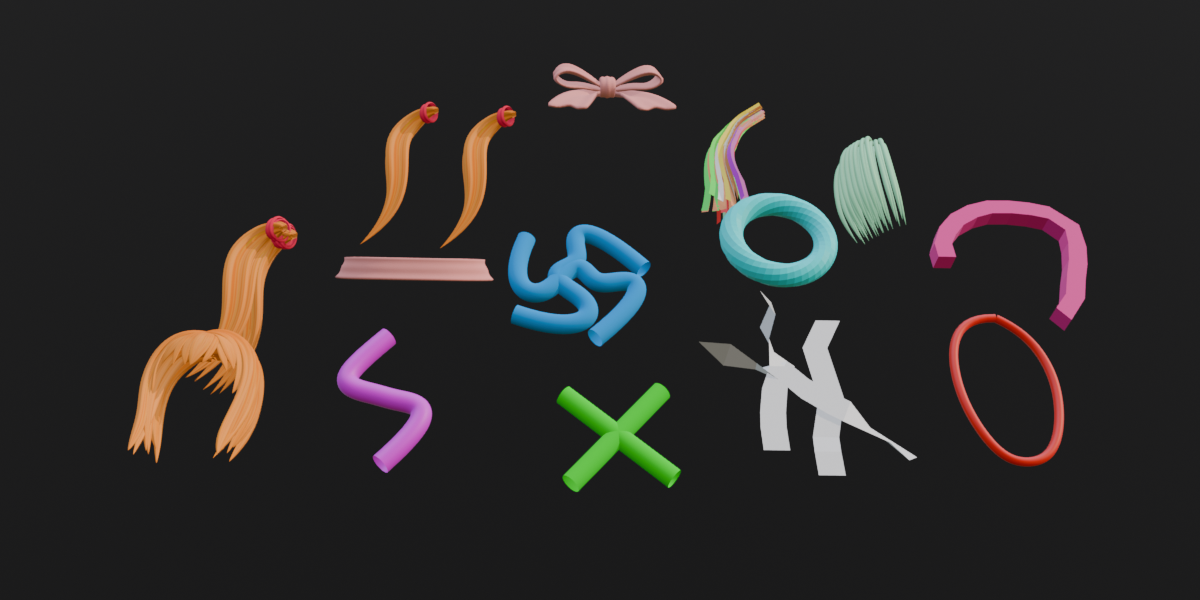
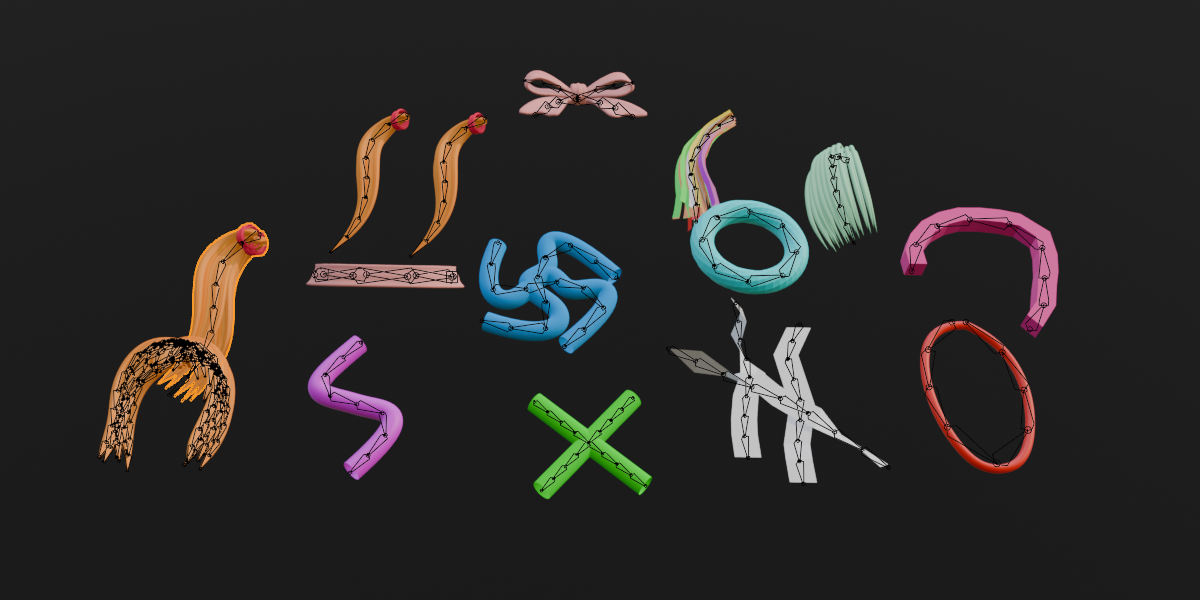
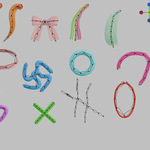
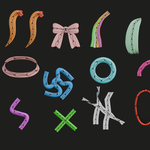
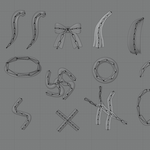
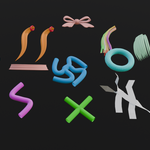
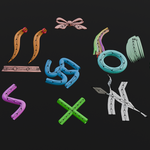
Easy Add Bone detects the shape of strand-like meshes (hair, tails, ropes, ribbons) and generates a connected bone chain that follows their curvature. It can also create vertex weights, an Armature modifier and parenting, so the mesh is ready to pose or simulate straight away. Ring-shaped meshes (necklaces, bracelets, tori) get a closed circle of bones.
Requires Blender 5.2.2 or newer.
Installation
- Go to Edit > Preferences > Add-ons and choose Install from Disk.
- Select the add-on file and enable Easy Add Bone.
- The panel appears in the 3D Viewport sidebar (N) under the Easy Bone tab.
Quick Start
- Select one or more mesh objects. Each must have edges.
- Open N > Easy Bone.
- Set Bones per Strand.
- Click Generate Bones.
A new armature is created and the meshes get vertex groups and an Armature modifier, and are parented to it. The whole operation is a single undo step, and the add-on switches to Object Mode automatically if needed.
Settings
Bones
- Bones per Strand: how many bones each strand gets (default 6).
-
Gear icon (Weights popup):
- Create Vertex Weights: creates one vertex group per bone and adds an Armature modifier.
- Weight Blend: 0 gives a hard cut at each joint, 1 gives a fully linear blend between neighbouring bones (default 0.5).
- Parent Mesh to Armature: parents the meshes to the new armature.
Direction
- Straight Along Axis: skips automatic shape detection and builds a straight chain along the X axis (right to left), centred on the mesh. Good for stiff or perfectly straight objects.
- Closed Ring (Torus / Necklace): parts that run all the way around a hole get a closed circle of bones. The first bone starts at the ring point closest to the 3D cursor and runs counter-clockwise seen from above. Rings need at least 3 bones.
- Merge All Objects: treats all separate planes of all selected mesh objects as a single strand (see below).
- Flip Direction: swaps root and tip. For rings, it reverses the direction around the ring.
Bone name
- Prefix for the generated bones and the armature (default "Bone").
Where the chain starts
- Automatic mode: the root is the wider end of each strand and the bones run toward the narrower end. If both ends are about the same width, the higher end is the root.
- Straight Along Axis: the root is the narrower end. If both ends are about the same size, the chain runs right to left.
- Flip Direction reverses either behavior.
Bones are connected head to tail, and each joint is centred on the mesh around it.
Merge All Objects
Normally, every loose part of a mesh gets its own bone chain. With this option on, all the planes of all the selected mesh objects become one strand: one bone chain through the centre of the whole combined shape, with every plane weighted to it. The planes can be several planes inside one object, or different shapes in separate objects. It suits hair cards or layered ribbons, where several planes together form one lock of hair, and accessories made of several objects that should move as one.
- Works across every selected mesh object. Each object gets its own vertex groups named after the bones of the shared chain, and the Armature modifier and parenting are added to each of them.
- The chain is centred on the middle of the whole combined shape as you see it, so scattered or offset planes don't pull it sideways.
- Bones per Strand, Flip Direction and Straight Along Axis work as usual on the merged strand. Set Bones per Strand to 1 if you only want a single bone.
- If there is only one part in total (one object with one plane), it works as before. Closed rings and ignored small parts are not merged.
- The status bar reports how many parts of how many objects were merged.
- It is off by default, so existing results don't change.
Small parts
Small ring- or blob-shaped loose parts (hair ties, clips, rubber bands) don't get bones of their own. They are weighted to the nearest strand's bones, so a hair tie follows its ponytail, and they stay open for weight painting. Long, thin strands (bangs, ahoge) are never skipped.
FAQ
Q: Nothing is generated, or I get "No strand-like loose parts found".
A: Make sure mesh objects are selected. Each strand needs edges and at least 4 vertices.
Q: The chain runs in the wrong direction (root at the tip).
A: Turn on Flip Direction.
Q: Why does Straight Along Axis start at a different end than automatic mode?
A: Automatic mode starts at the wider end, while Straight Along Axis starts at the narrower end. Use Flip Direction to reverse either one.
Q: My hair is made of many separate planes and I get one chain per plane.
A: Turn on Merge All Objects. All planes of the selected objects are then merged into one strand with one chain.
Q: I turned on Merge All Objects and nothing changed.
A: There is probably only one part in total (a single plane in a single object), and that is handled as usual. Closed rings aren't merged either.
Q: I selected a whole hairstyle (or several locks) and got just one chain with Merge All Objects on.
A: That's expected, since it treats everything selected as one strand. Generate each lock separately: select only the objects of one lock, then click Generate Bones. Or turn Merge All Objects off to get one chain per plane.
Q: Can I merge planes that are in different objects?
A: Yes. Select all the objects and turn on Merge All Objects. There is no need to join them first.
Q: I want just one bone for several objects.
A: Select them all, turn on Merge All Objects and set Bones per Strand to 1.
Q: With Merge All Objects on, the chain isn't where I expected.
A: It is centred on the middle of the whole combined shape of all selected objects. If stray planes or objects stick out far to one side, they shift that middle, so deselect or separate them first.
Q: My hair tie or clip has no bones of its own.
A: This is intended. Small parts follow the nearest strand's bones instead, and they aren't merged into a strand.
Q: How do I get a closed ring of bones around a necklace or bracelet?
A: Turn on Closed Ring and use at least 3 bones. The first bone starts at the ring point nearest the 3D cursor, so move the cursor first to choose where it starts.
Q: Will it change my mesh?
A: No, the geometry is untouched. It only adds vertex groups and an Armature modifier, and parents the mesh if those options are on.
Q: I already have vertex groups on the mesh.
A: Groups with the same names as the generated bones are replaced, and other groups are left alone. Change Bone name if you want to avoid a clash.
Q: The deformation is too stiff or too soft.
A: Adjust Weight Blend in the Weights popup. Lower values give sharper bends at the joints, and higher values give a smoother bend.
Q: Can I process several meshes at once?
A: Yes. Select them all and click Generate Bones. All chains go into one armature. With Merge All Objects on, all the selected meshes share a single chain.
Q: I only want bones, no weights.
A: Open the gear popup and turn off Create Vertex Weights, and also Parent Mesh to Armature if you don't want parenting.
Q: Can I undo it?
A: Yes, Ctrl+Z removes the whole result in one step.
Have questions about this product?
Login to message
| Blender Extension Compatible | Yes |
| Dev Fund Contributor | |
| Published | 7 days ago |
| Blender Version | 5.2 |
| Extension Type | Add-on |
| Render Engine Used | Cycles, Eevee |
| License | GPL |
Discover more products like this
Generate-bone easy-bone auto weight bone-addons hair-bone auto bone Auto-generate-bone auto-add-bone necklace-bone mesh-add-bone circle-bone armature