 Onion365studio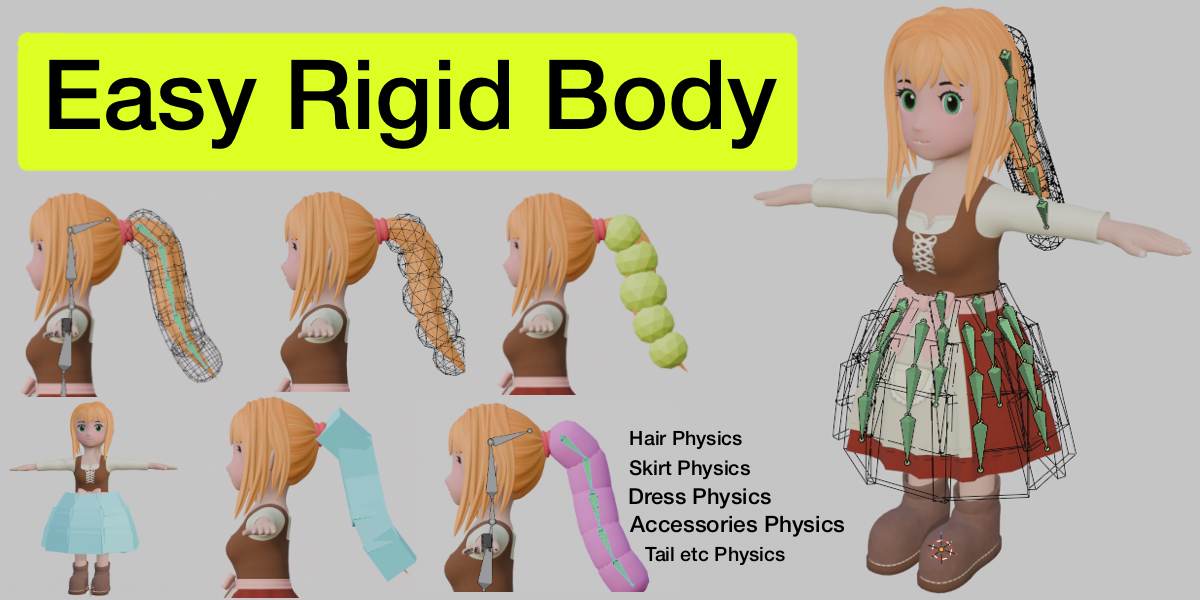
Easy Rigid Body: Hair & Skirt Physics in Blender
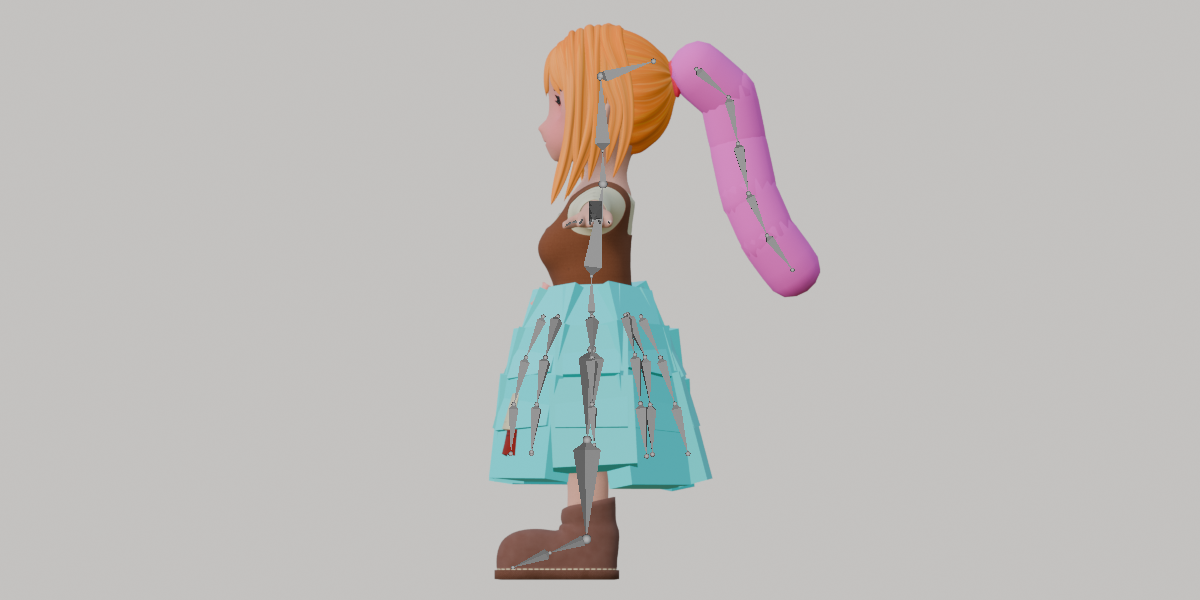
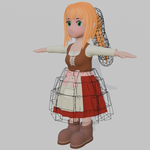
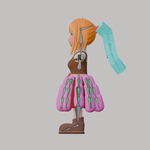
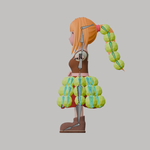
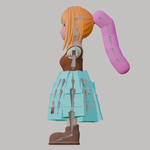
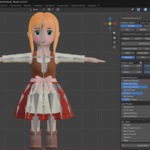
Set up hair and skirt physics without building a rigid body rig by hand. Select your bones, click Add Physics, and Easy Rigid Body generates one block per bone, sizes and aligns each block to its bone, connects them with spring joints, and makes your bones follow the blocks automatically. Add a gust of wind, bake, and you're done.
Need the body to push the cloth or hair around? Switch to Collision mode and add colliders to the same armature in one click. Heading to a game engine? Bake the result back to plain bone keyframes and export.
Features
- One bone, one block. Works on the bones you select in Pose Mode or Edit Mode. Nothing else is touched, and you end up back in Pose Mode with your bones still selected.
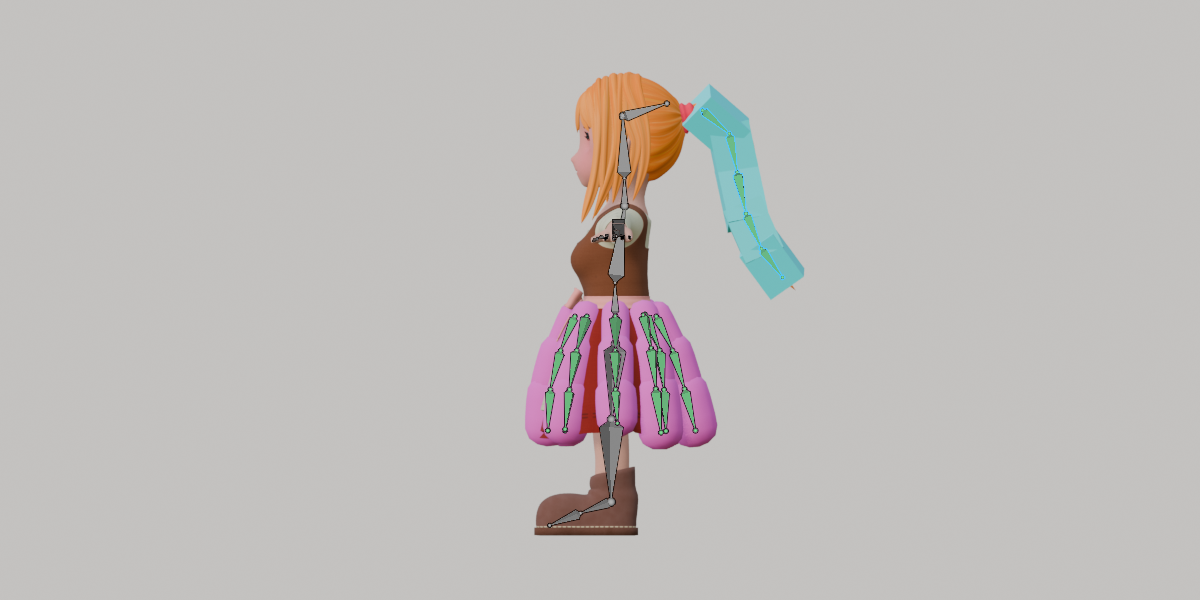
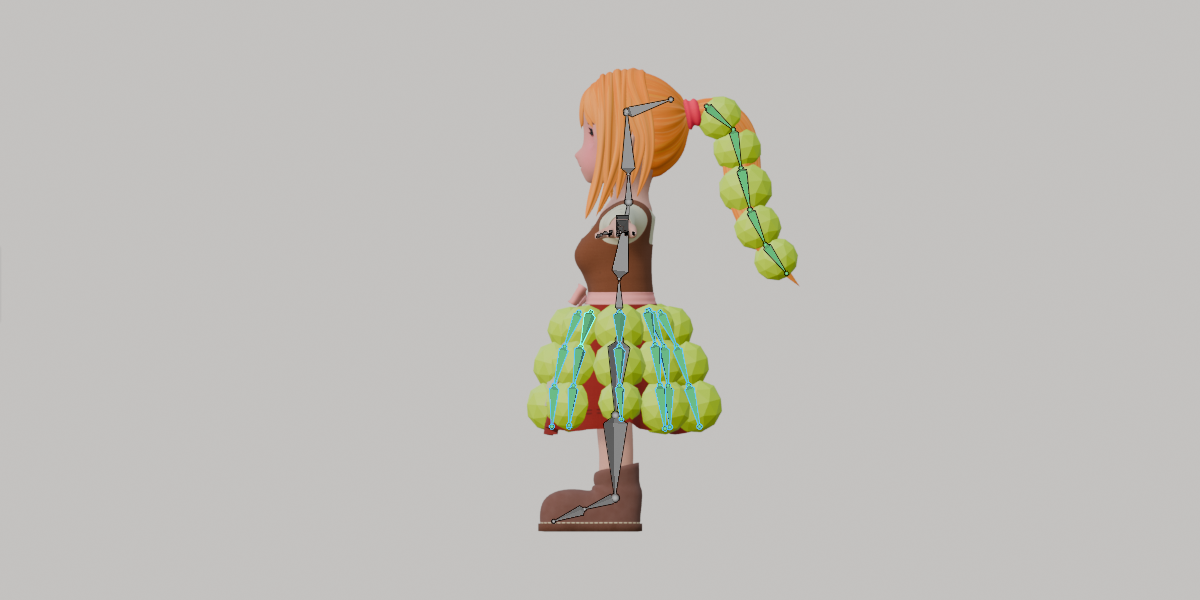
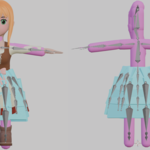
- Physics mode: dynamic blocks, spring joints between segments, and side links between neighbouring chains, all created for you. The top block of each chain hangs from an invisible anchor on its parent bone.
- Smart block sizing: width follows the spacing to neighbouring bones, height follows bone length, and cross-sections are aligned around the skirt. Fine-tune with Width Overlap, Length Overlap, Width and Depth.
- No jamming: neighbouring blocks that overlap are set not to collide with each other, so chains swing freely.
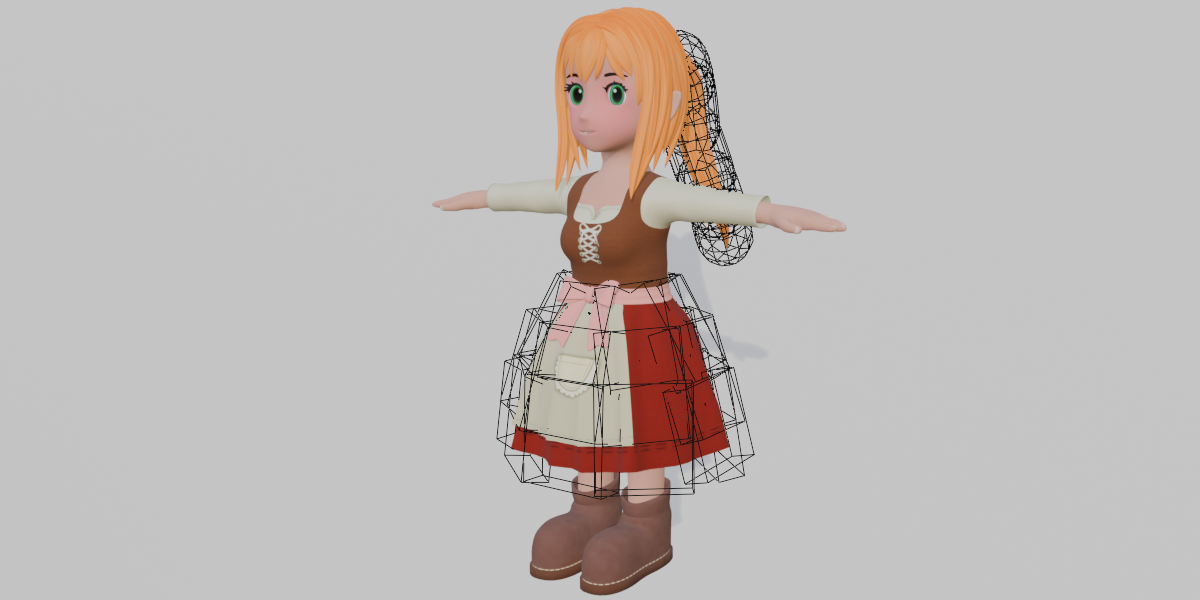
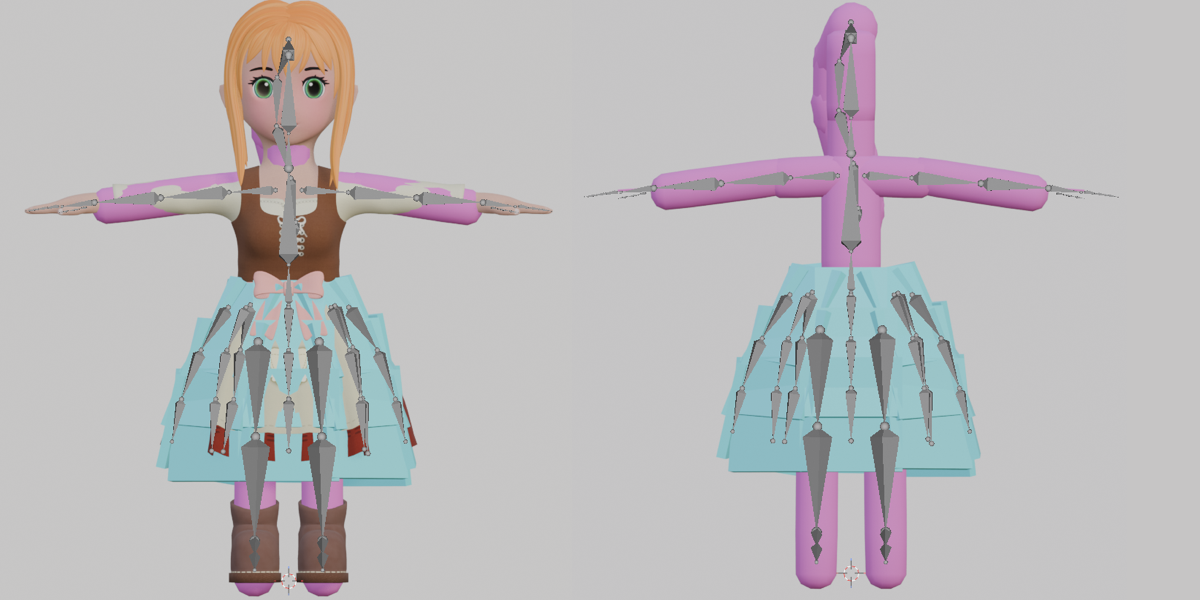
- Collision mode: passive colliders for the body that follow your animation, so hair and skirts don't sink into it.
- Collision Layers (new): every collection has a group number from 1 to 20. Collections that share a lit number ignore each other, and all others collide. Keep hair and skirt from snagging on each other, or let one pass through a specific collider, in a single small window.
- Box, Sphere or Capsule shapes. Collision uses the displayed shape, so what you see is what collides. Capsules suit long, thin skirt strips.
- Live shape sliders for height, width and depth (radius for Capsule and Sphere), set separately for physics and collision blocks.
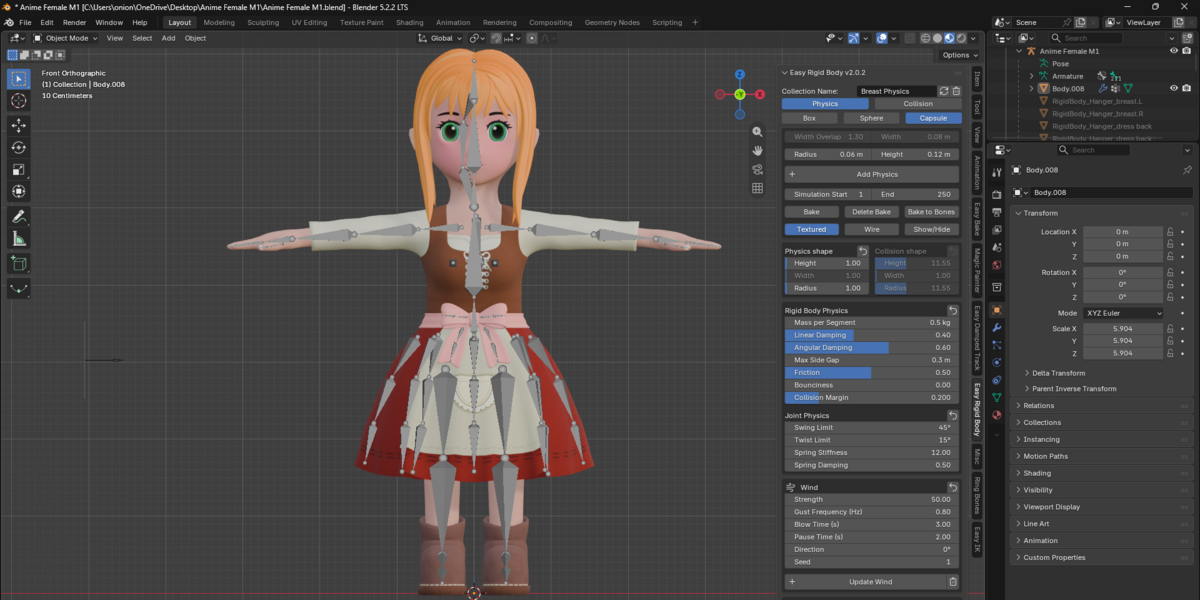
- Wind: one click creates a wind force field with gusts that blow and pause over your simulation range. Adjust strength, gust frequency, blow and pause time, direction and seed. Use Update Wind to apply changes (the wind object stays where you placed it) and Remove Wind to delete it.
- Full control when you want it: mass, linear and angular damping, friction, bounciness, collision margin, swing and twist limits, spring stiffness and damping, side gap.
- Automatic re-simulation as you adjust settings, and a fresh simulation whenever you return to the start frame, so changes to your character animation show up right away.
- Bake and Delete Bake with Simulation Start and End, so playback is identical every time.
- Bake to Bones: turn the physics result into ordinary bone keyframes, one per frame, and automatically remove its blocks, joints, anchors and follow constraints. Ready for FBX, VRM or your game engine.
- Collections: keep Skirt, Hair and other setups separate, rename them, and delete one cleanly, including its follow constraints. Each collection remembers its own settings.
- Clear selected: one click removes the physics or collision of just the selected bones.
- Textured or Wire display for the blocks, plus Show/Hide.
- One-click reset for every settings group, or restore all defaults at once.
How it works
- Select your armature and enter Pose Mode. Open the Easy Rigid Body tab in the N panel.
- Select the collision bones (body, legs) and add Collision.
- Select the skirt or hair bones and add Physics.
- Tune the sliders, then set the simulation range.
- Optional: open Collision Layers to choose which collections collide.
- Optional: click Add Wind for natural gusts.
- Bake. Click Delete Bake before changing settings again.
- Optional: click Bake to Bones to export clean keyframes.
Requirements
- Blender 5.2.2 or newer