Easy Slice
 RGStudios
Easy Slice Documentation
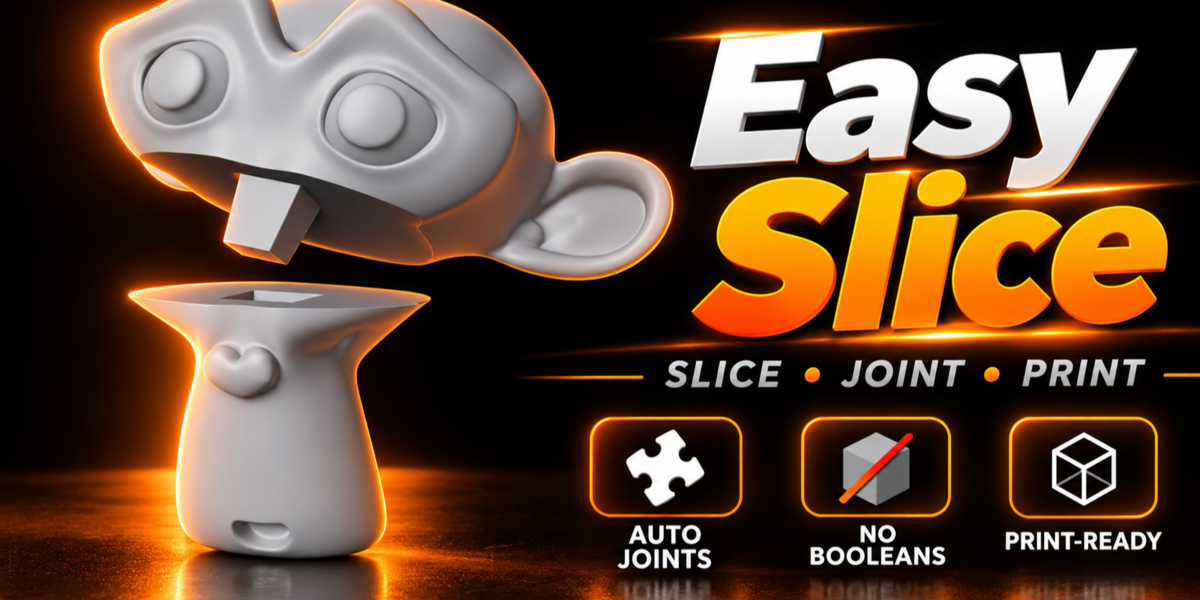
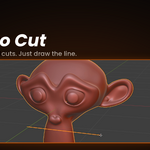
Easy Slice cuts a mesh into two printable parts and builds a matching joint key so the parts snap back together. You draw the cut right on the model.
1. Installation (Blender 4.2 or newer)
- Download
easy_slice_1.0.0.zip. Do not unzip it. - In Blender, open Edit > Preferences > Get Extensions.
- Open the dropdown at the top right and choose Install from Disk...
- Select the zip file. Make sure the add-on is enabled.
- In the 3D Viewport, press N and open the Easy Slice tab.
2. Before you cut
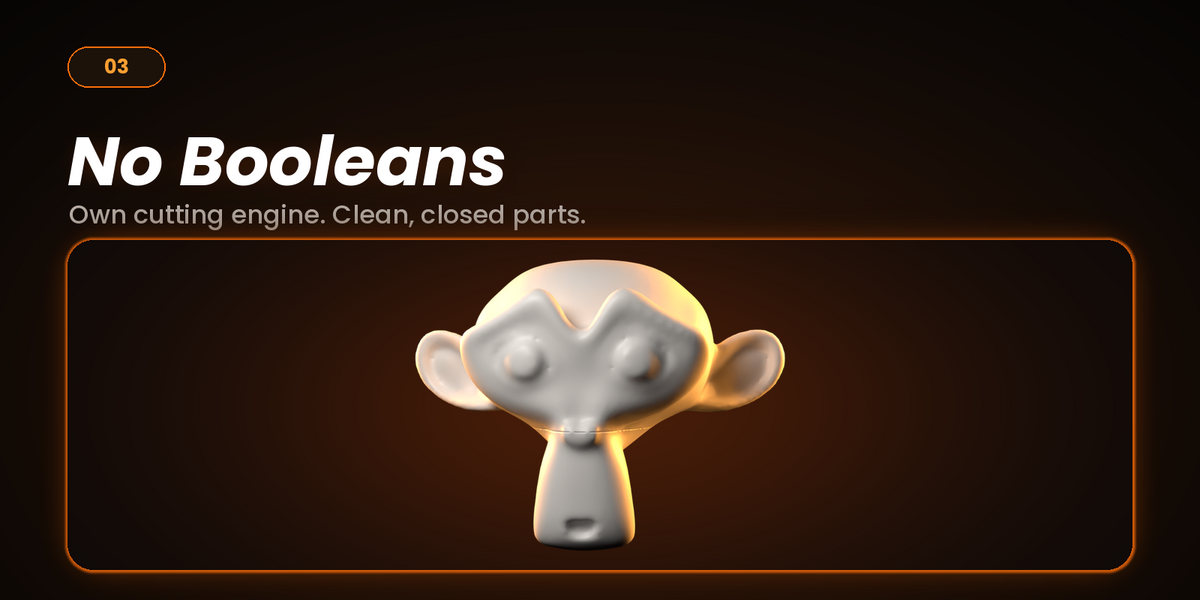
- Select the mesh you want to cut. It should be a solid, closed mesh (no holes).
- Apply the object's scale (Ctrl+A > Scale) if it is scaled.
- If you plan to use millimeter fit, scale the model to its real print size first.
3. Straight Cut
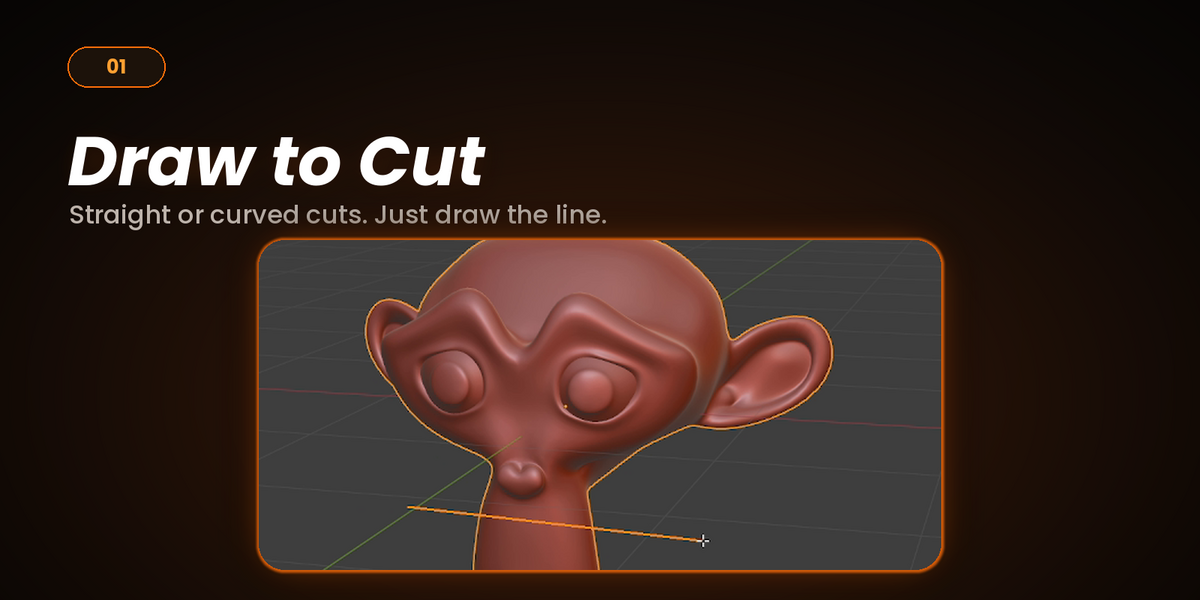
- Select your model and click Straight Cut.
- Drag a line across the model in the viewport.
- The model splits into two parts with a joint key built in.
Press Esc or right-click to cancel. If the line is too short you will see "Drag a longer line."
4. Surface Cut
Use this for curved cuts and cuts that follow the surface, such as around an ear or along a panel line.
- Select your model and click Surface Cut.
- Click points around the part on the model.
- Click and drag to make a point a curve.
- Click the first point (or place the last point near it) to close the loop.
- Press Enter to cut.
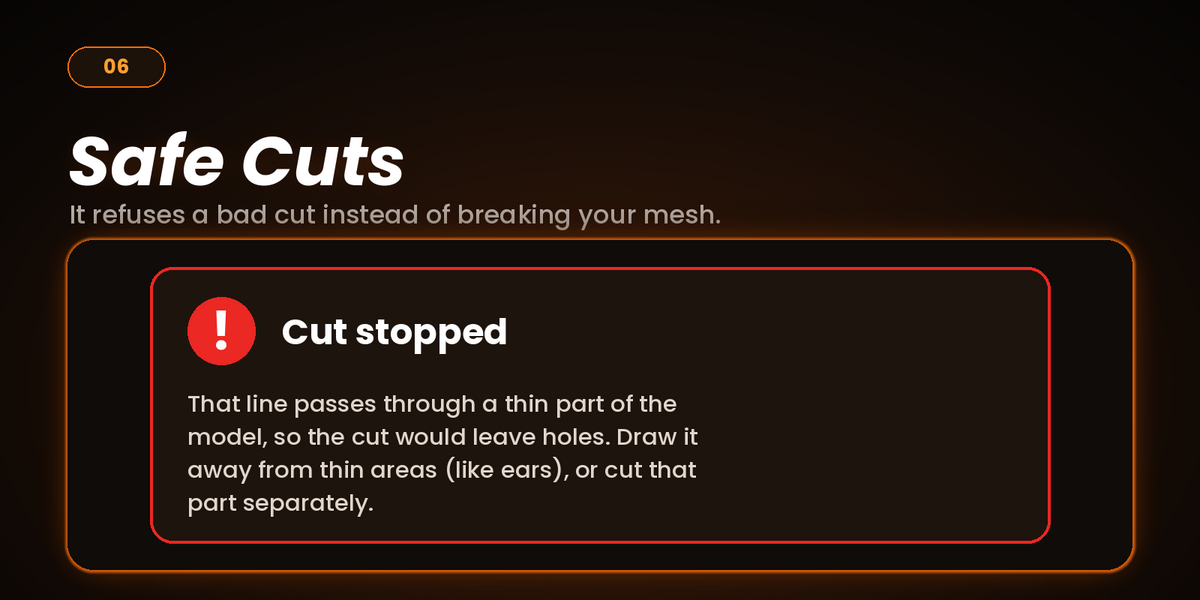
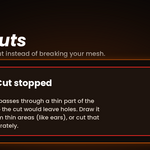
You need at least 3 points. If the line would leave holes (for example through a thin part like an ear), Easy Slice stops, tells you why, and keeps the tool open so you can fix the path.
5. Joint Key
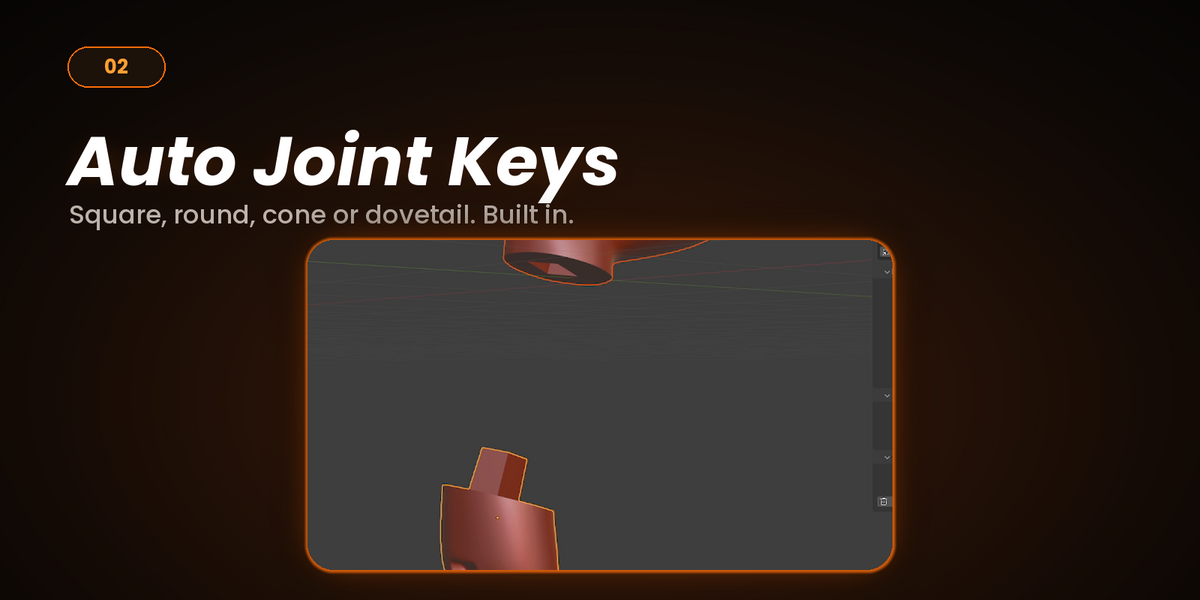
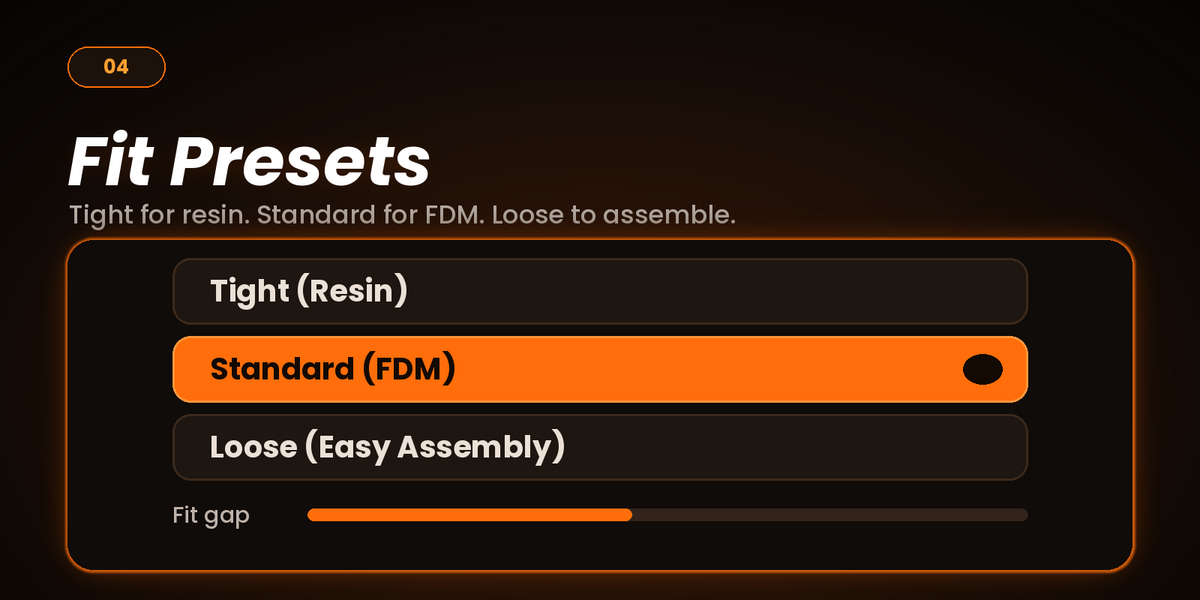
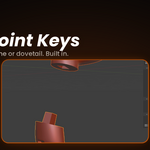
After a cut, select one of the two parts. The panel shows Cut part selected, and the Joint Key and Fit settings update the joint live. Turn Joint Key off to cut without a key.
6. Fit
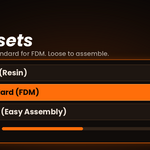
Print a test piece first. Printers differ, so adjust the gap if the fit is too tight or too loose.
7. Working with your parts
Select either part of a cut to see these buttons:
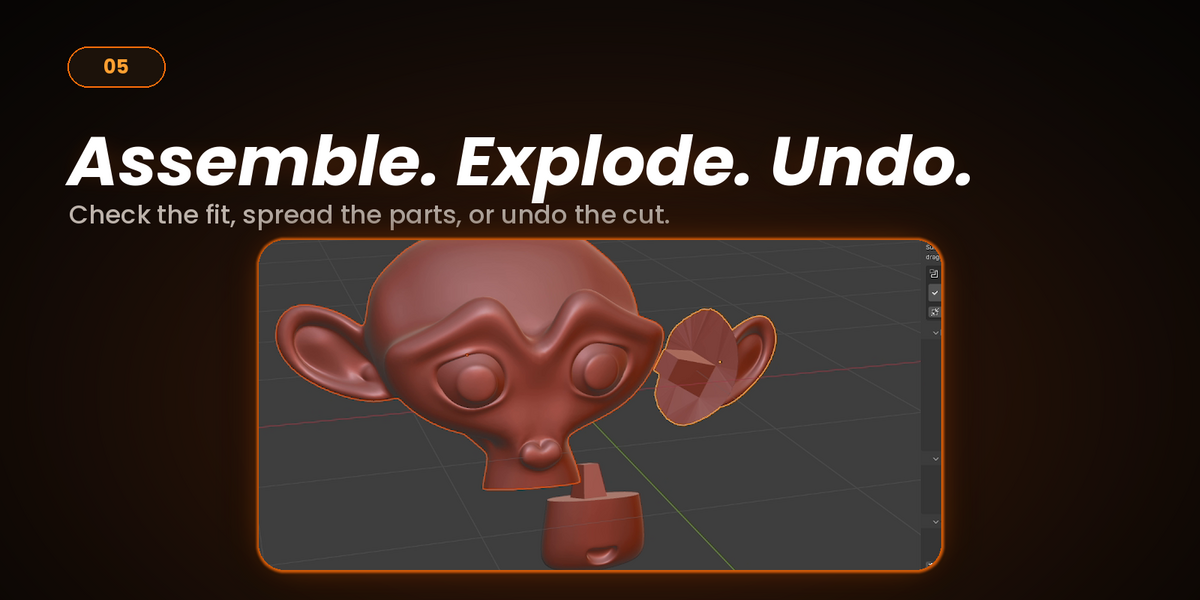
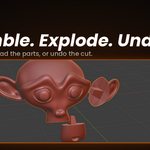
- Explode / Assemble: move the parts apart to check the joint, or put them back together.
- Undo Cut: remove the cut pair and bring back the original model.
- Apply Joint: lock in the joint as it looks now. After this the pair can no longer be edited with Easy Slice and the hidden backups are removed.
Output settings
- Original: Delete (replace the original, Ctrl+Z brings it back), Hide (keep it hidden in the Outliner), or Keep Visible.
- Explode After Cut: spread the parts apart right after cutting.
- Clear Backups: permanently delete the hidden originals kept for Undo Cut. Cuts made before can no longer be undone.
8. Tips
- Cut away from thin areas such as ears, horns or thin plates.
- For long models, make several cuts and use 2 or more keys on round pegs.
- Use Explode to check the joint before you export.
- Export each part as its own STL and print it with the cut face on the build plate.
9. Troubleshooting
10. Support
Questions? Message the creator through the Superhive product page. Please include your Blender version and a screenshot.
License: GPL
Have questions about this product?
Login to message
| Blender Extension Compatible | Yes |
| Dev Fund Contributor | |
| Published | 3 days ago |
| Blender Version | 4.0 - 5.2 |
| Extension Type | Add-on |
| License | GPL |