Easy Tile Generator
 StillMount Studios
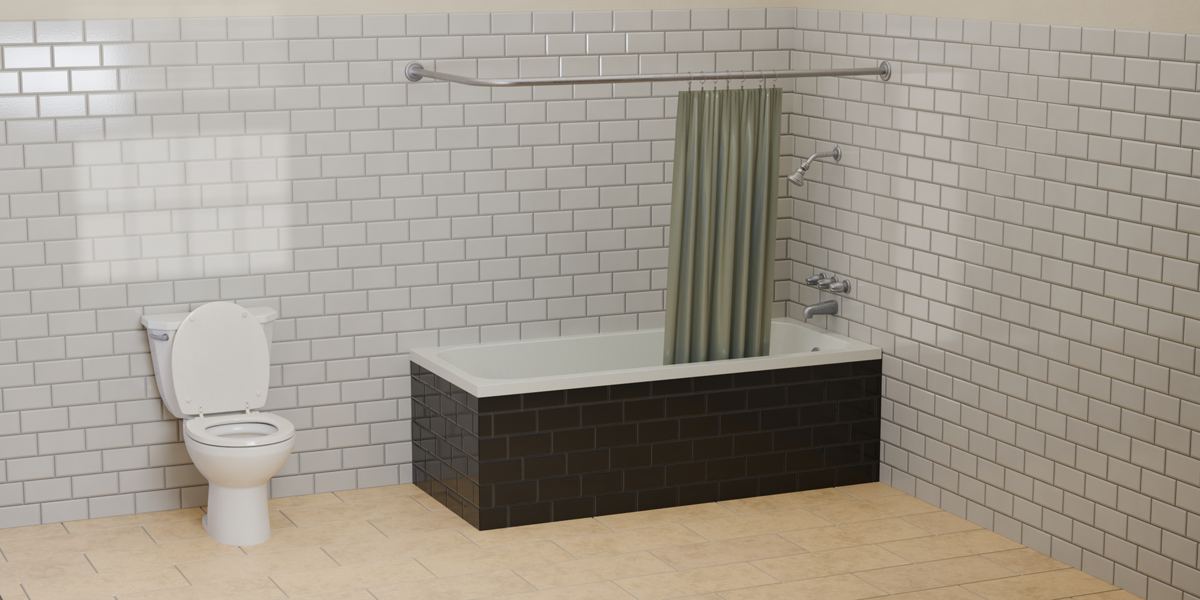
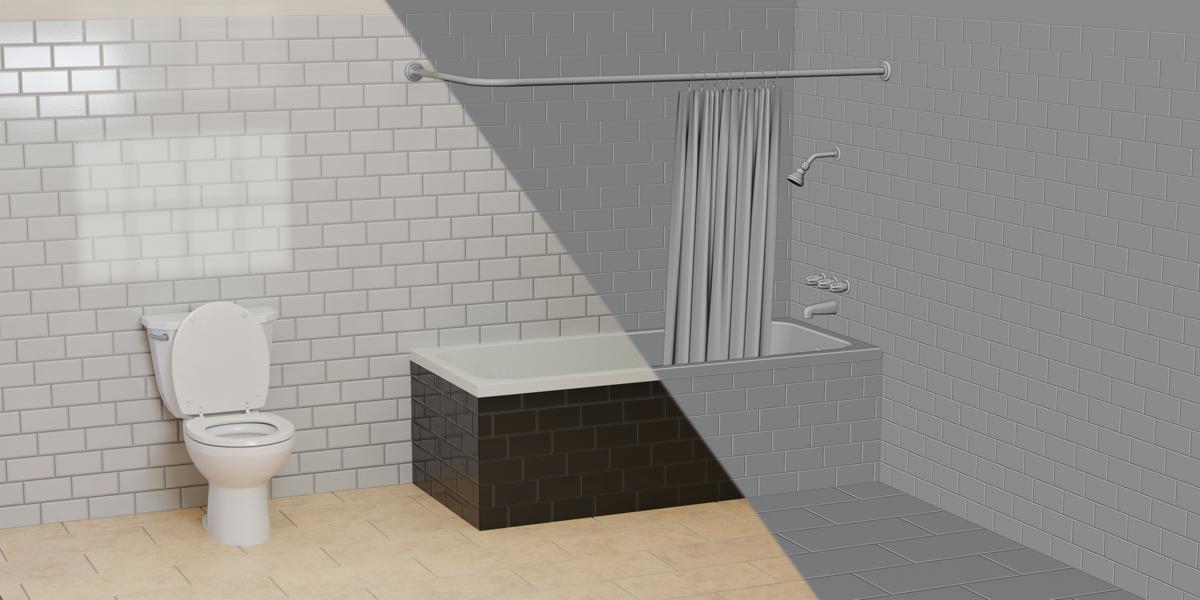
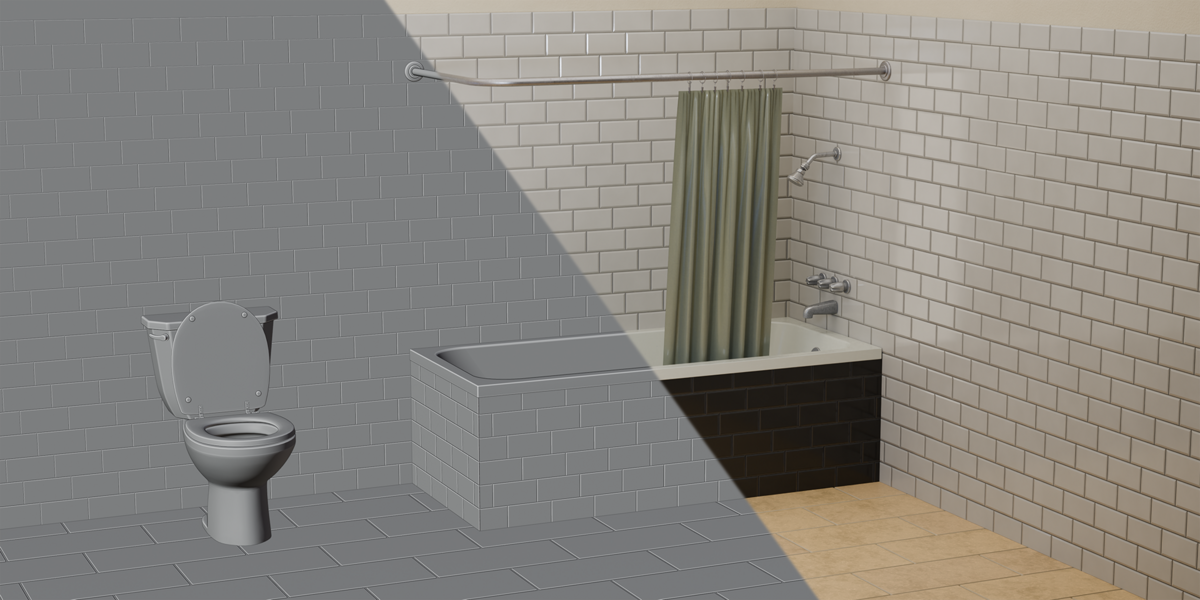
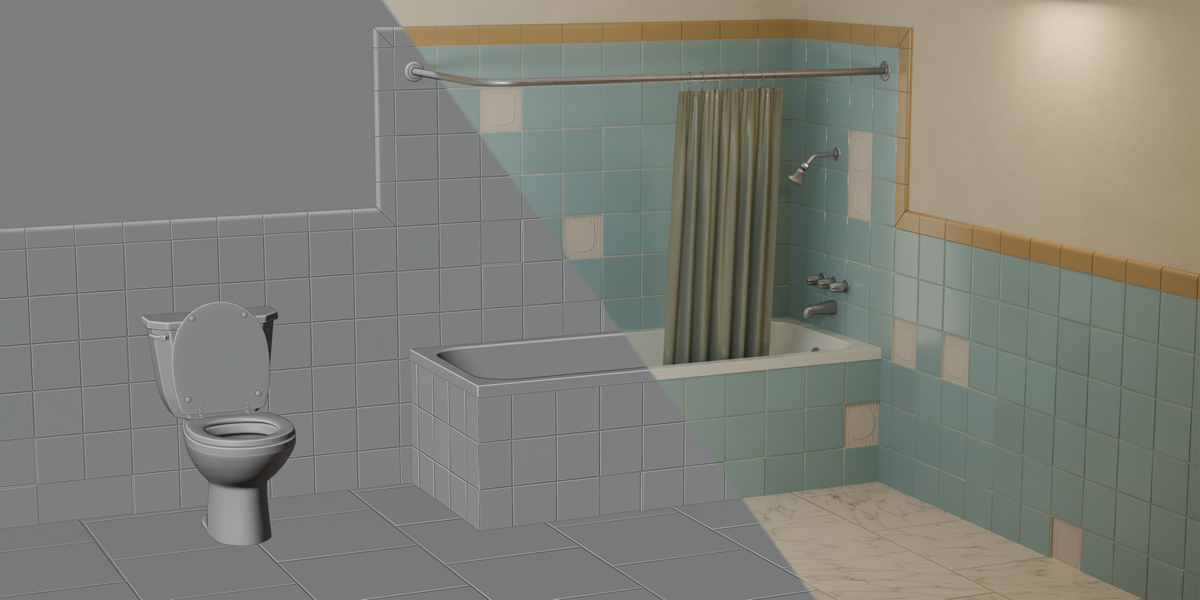
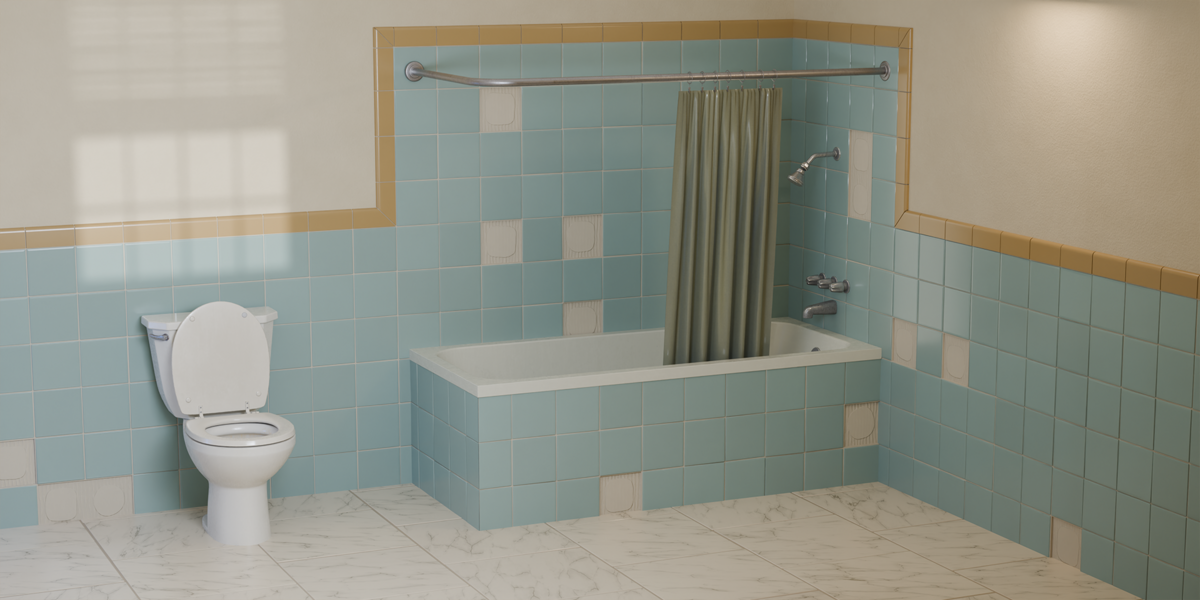
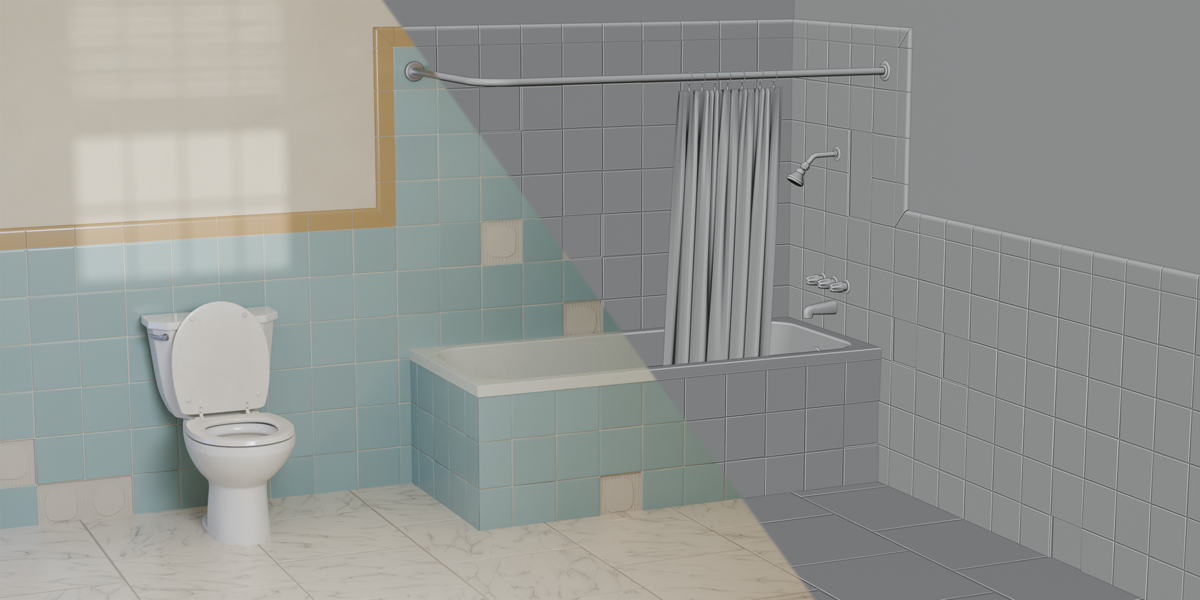
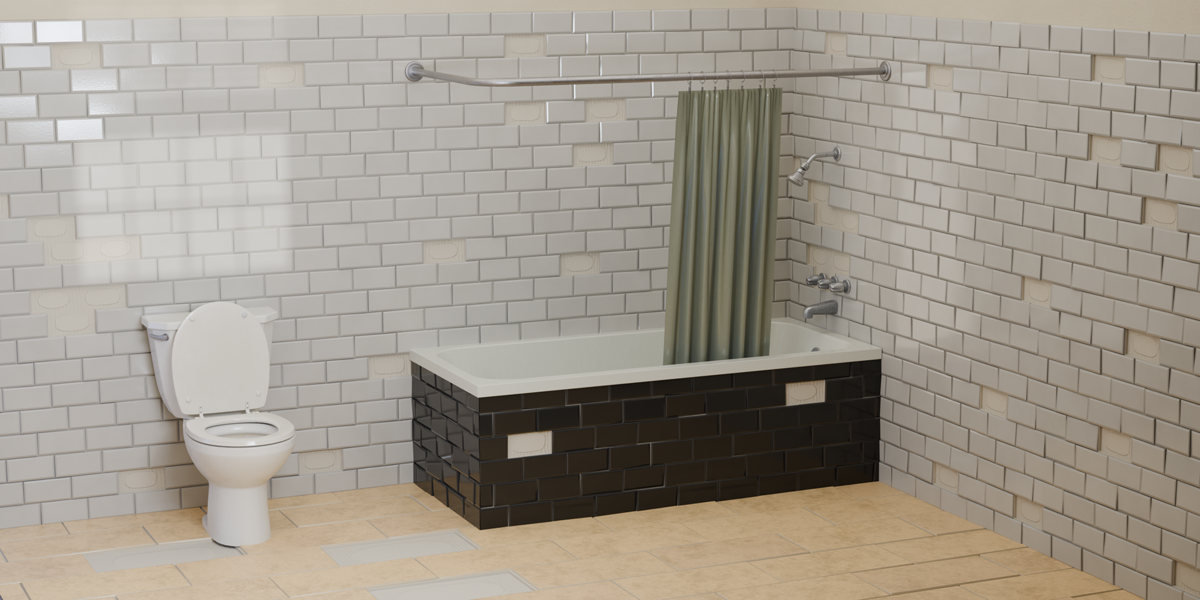
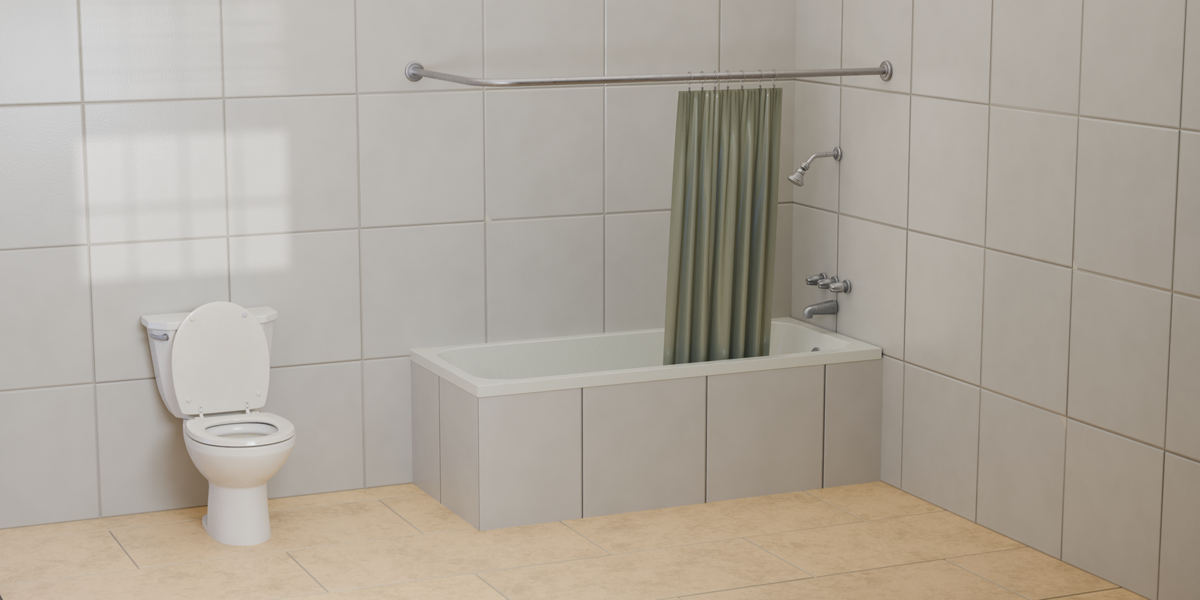
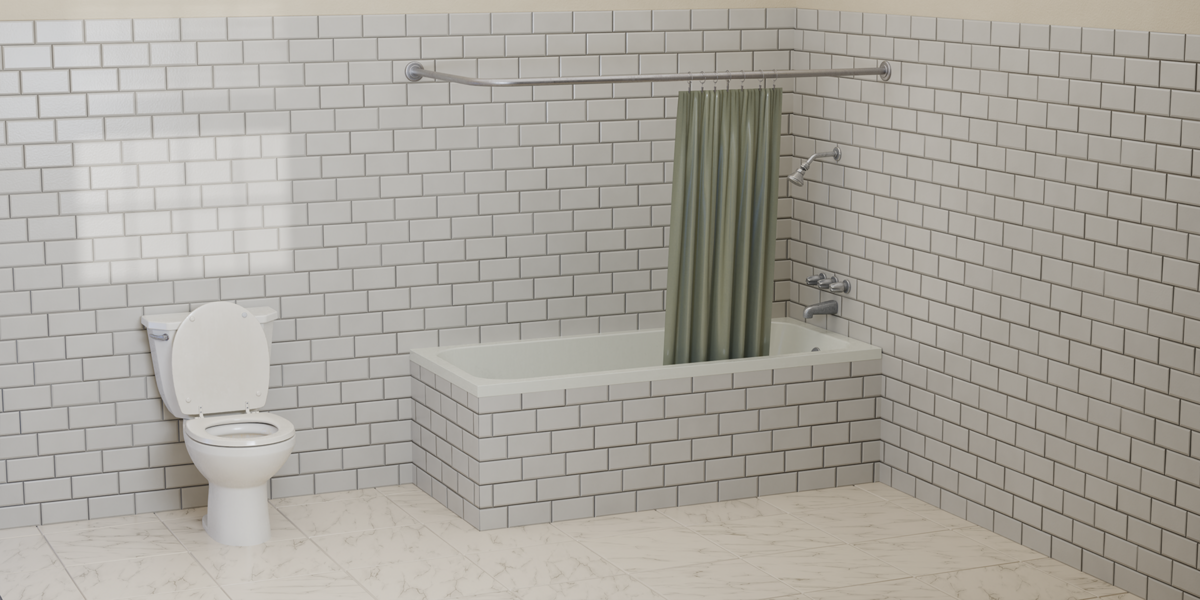
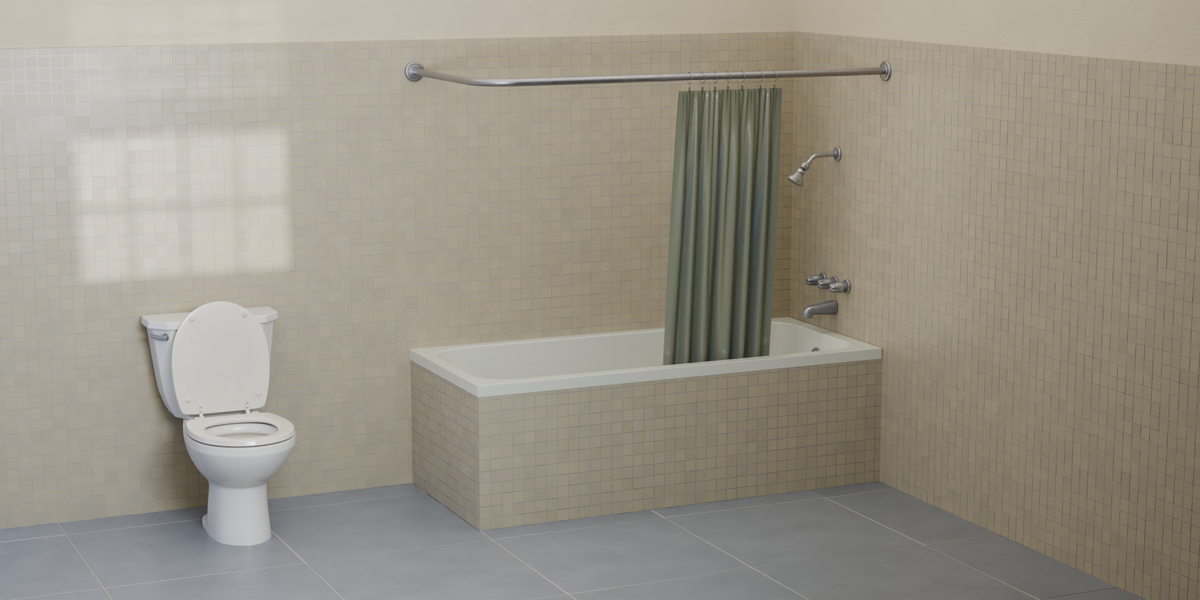
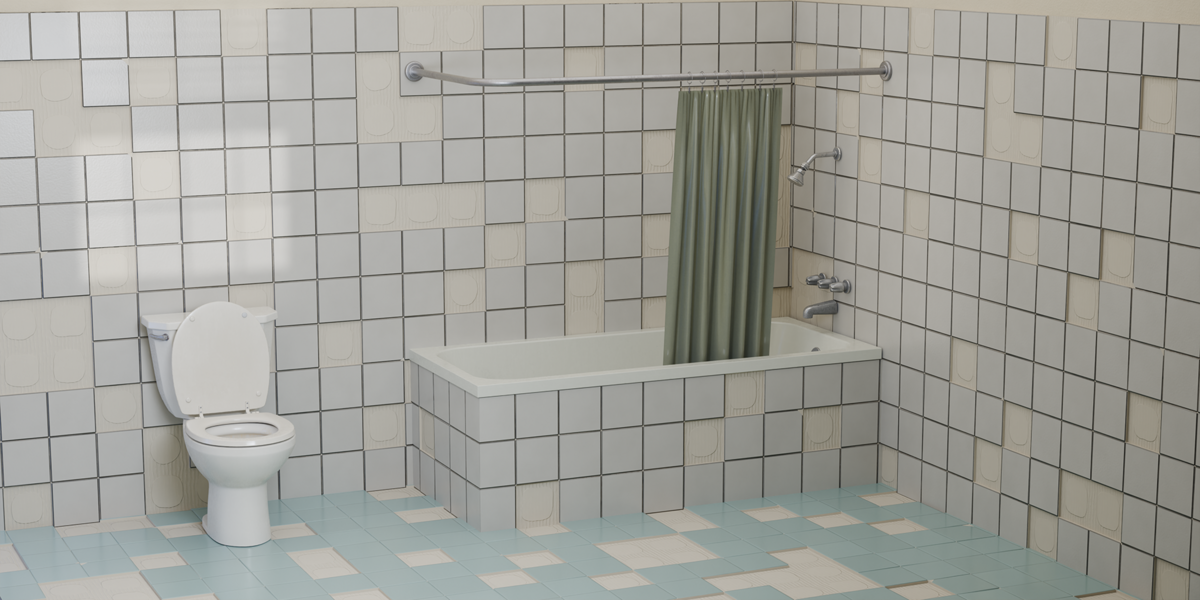
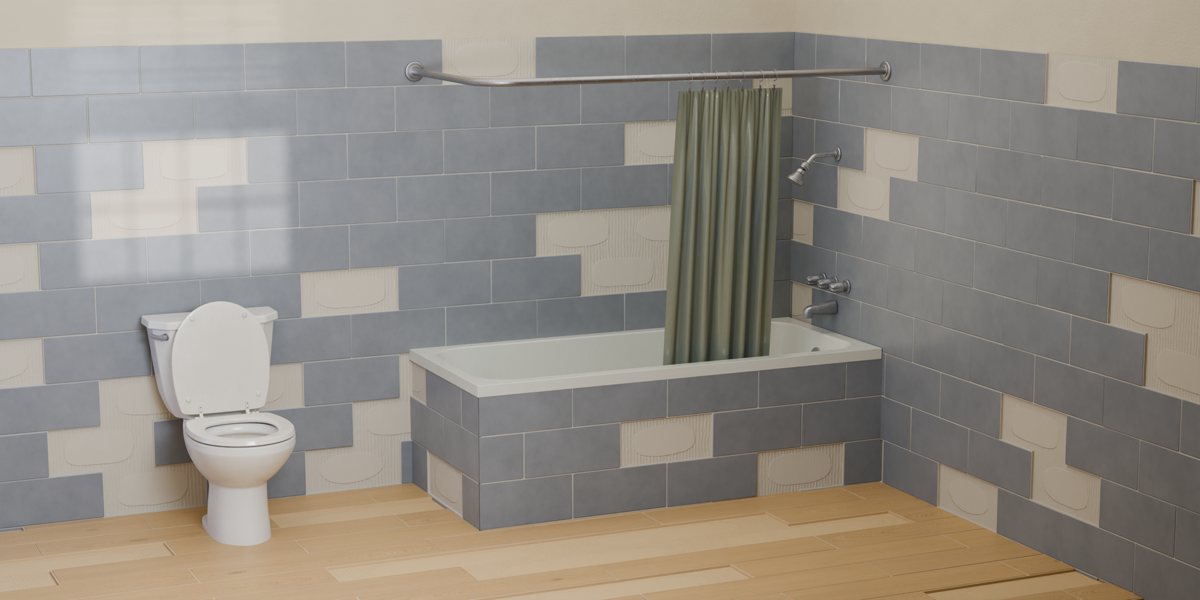
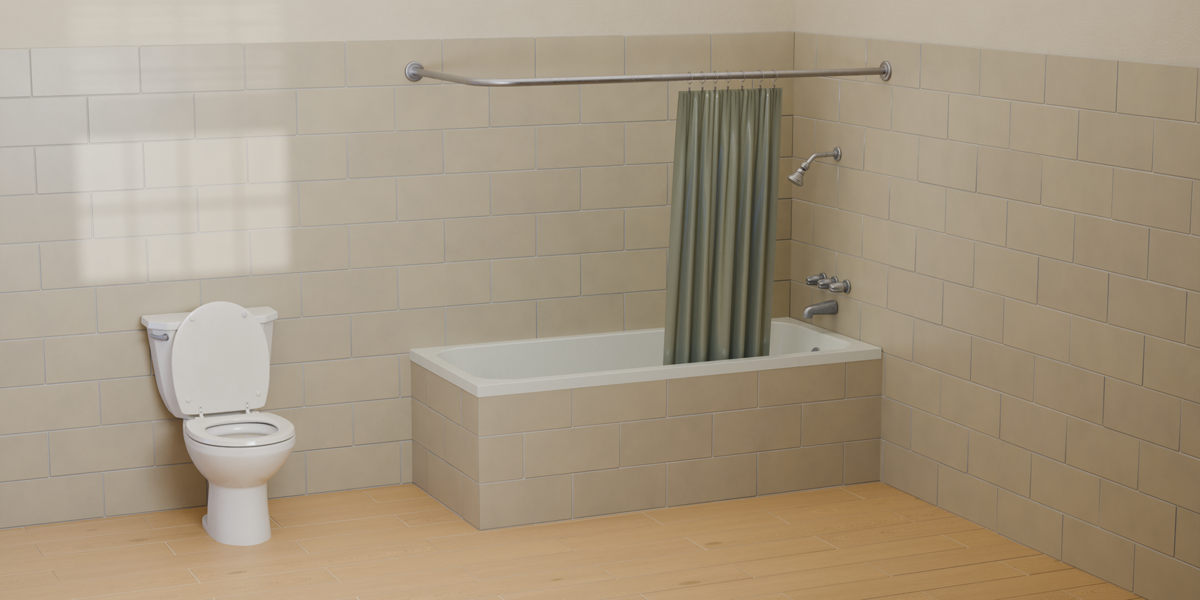
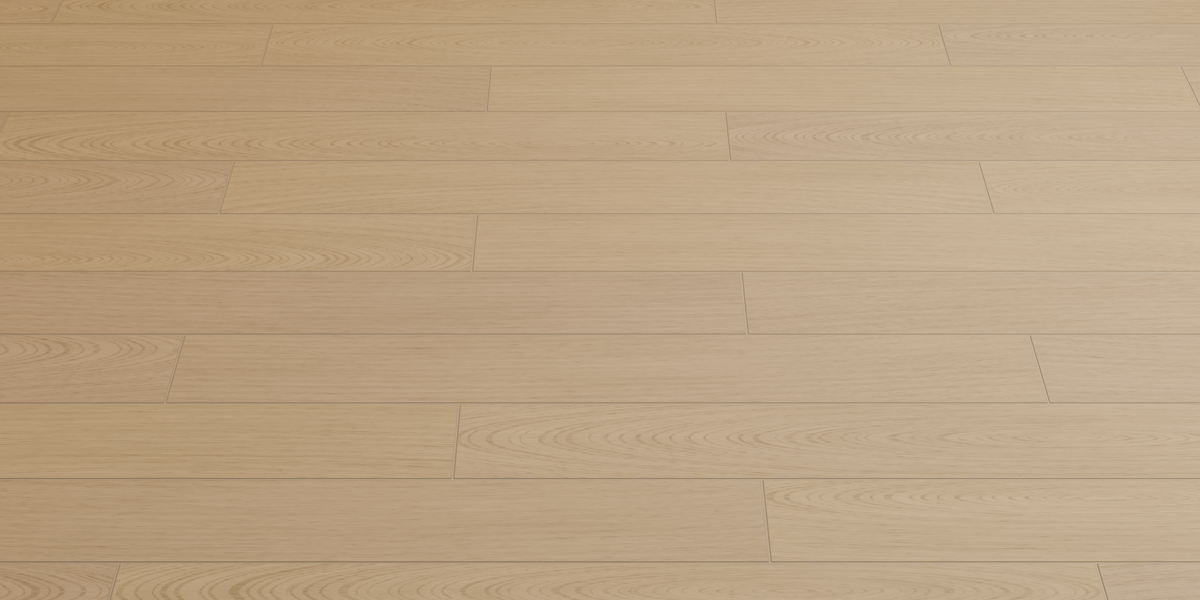
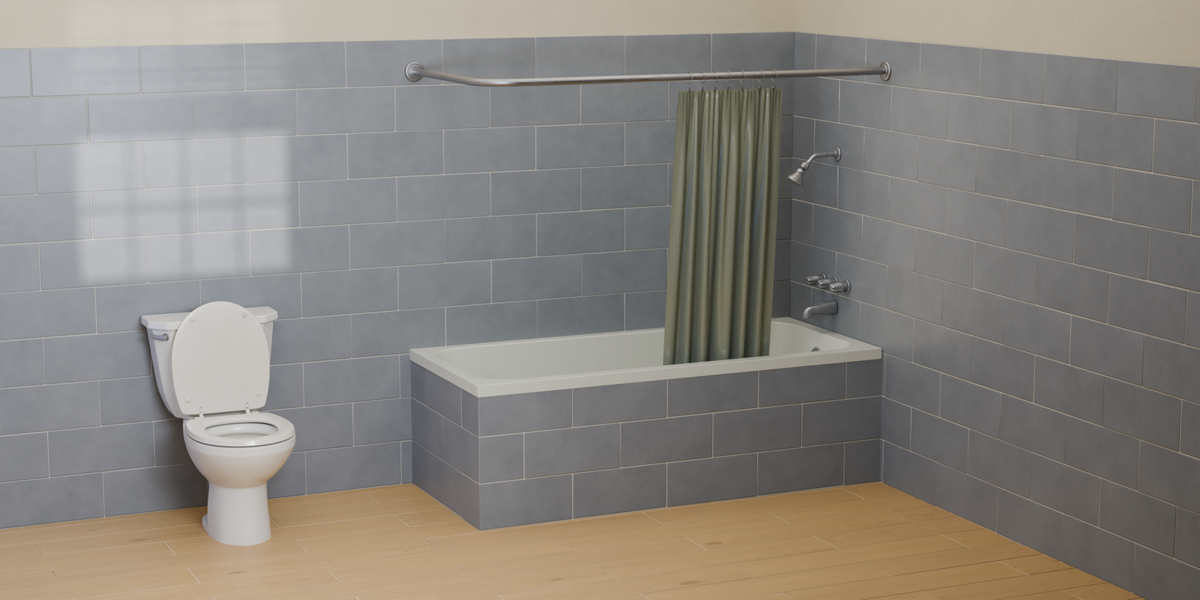

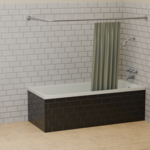
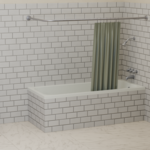
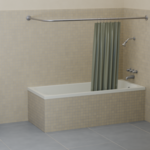
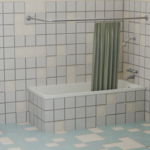
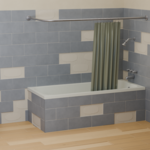
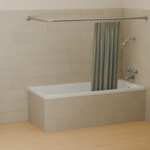
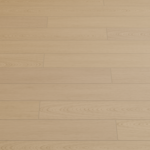
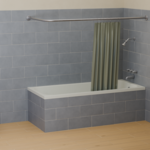
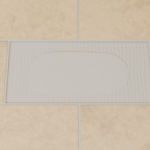
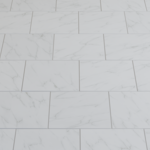
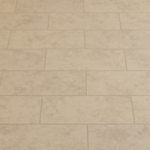
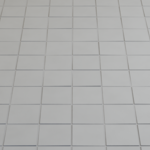
Easy Tile Generator
Documentation • Blender 4.5 to 5.2
Getting Started
- Open the supplied .blend file in Blender, or use File → Append to import a generator into your project.
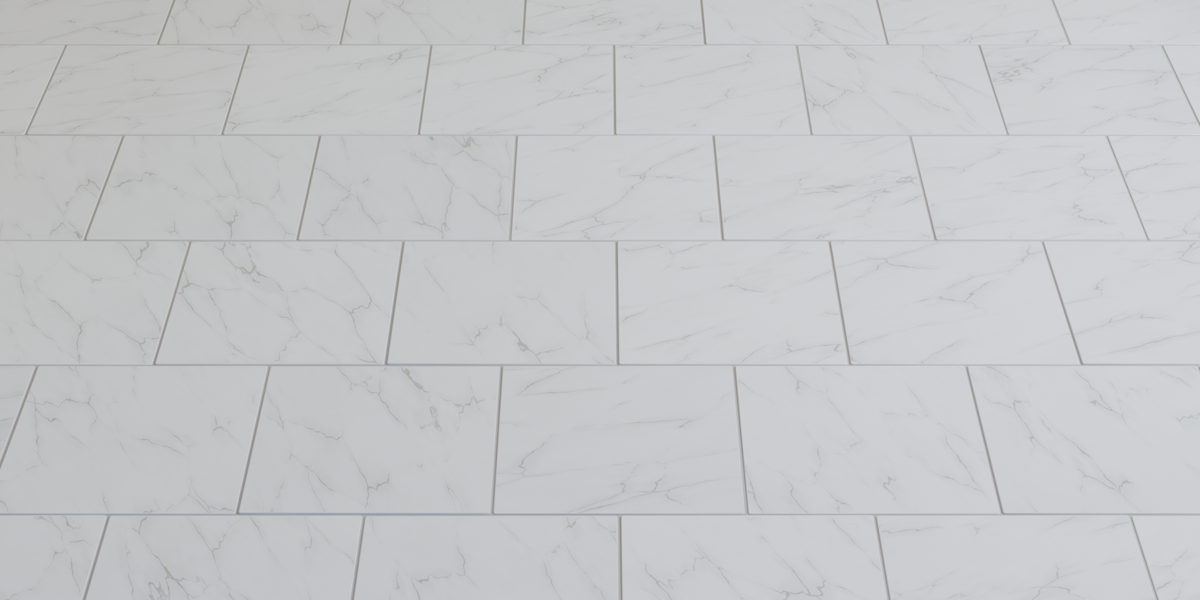
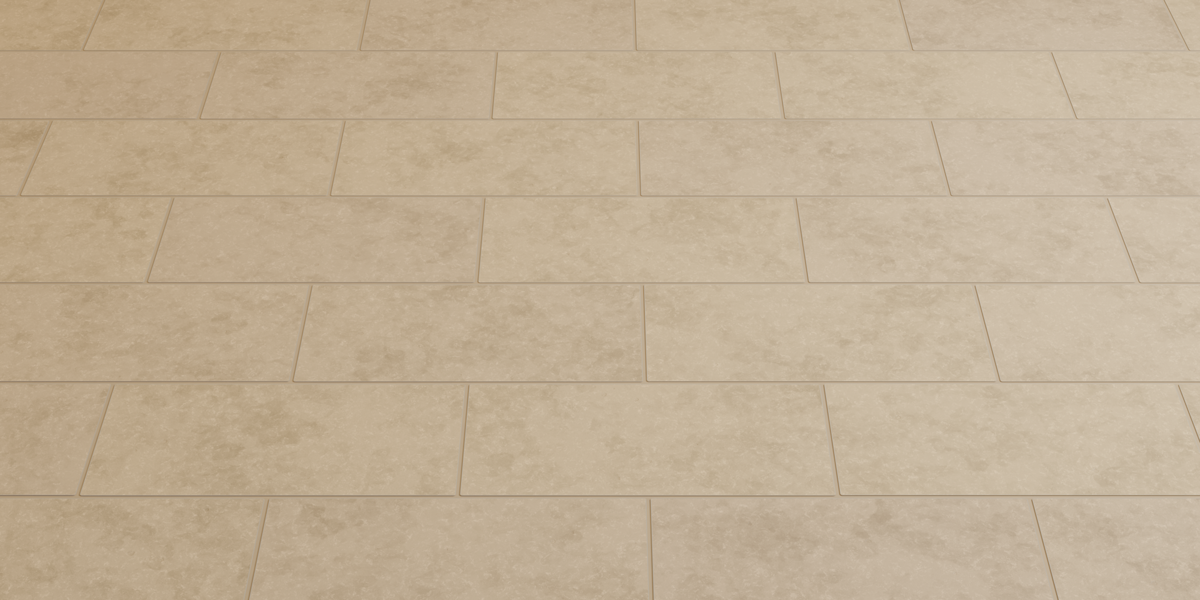
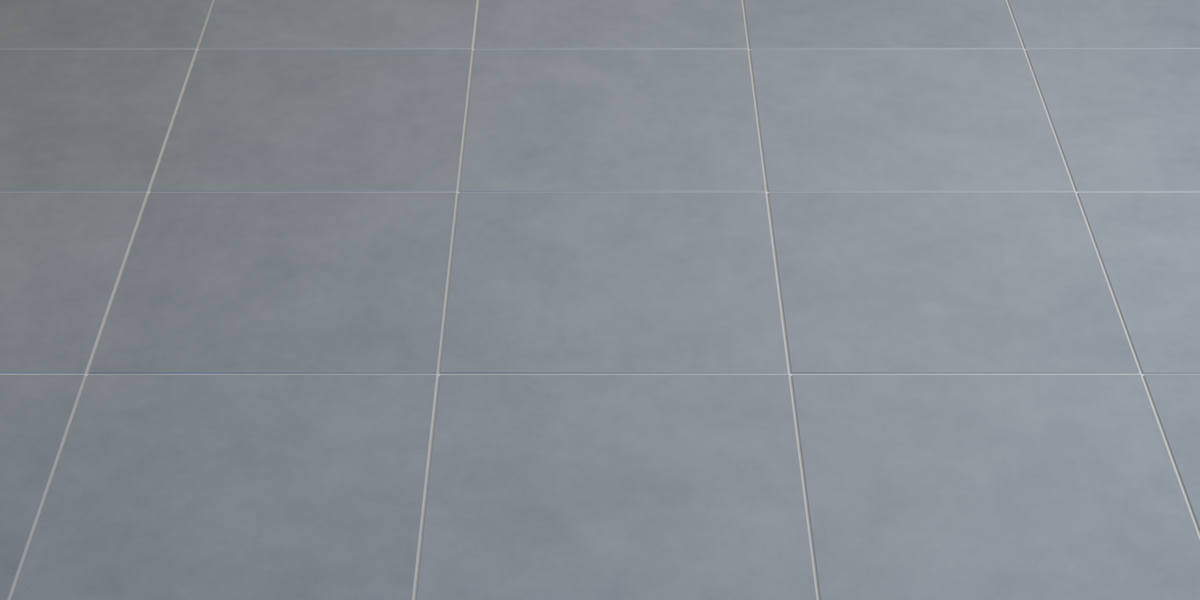
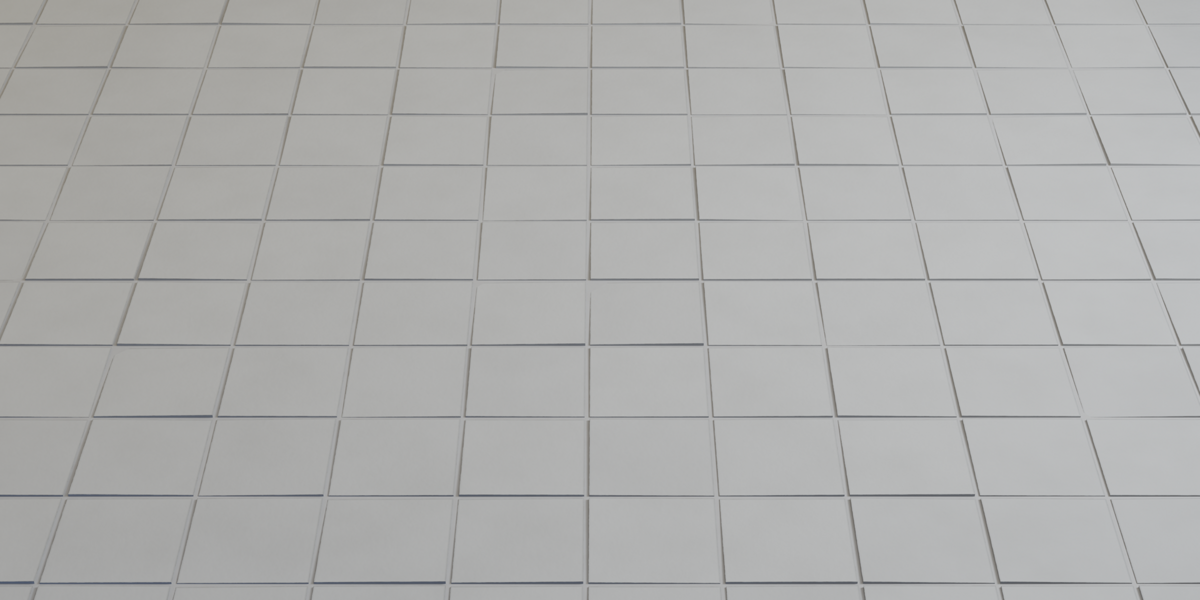
- To append: open the supplied file, enter the Object folder and select Ceramic, Modern Ceramic, Natural Stone, Veined Ceramic or Wood Effect.
- Select the imported generator object and open Modifier Properties (the wrench icon).
- Adjust the settings in its Geometry Nodes modifier. All five objects use the same generator with different materials.
Designed for Blender 4.5 to 5.2. Use Material Preview or Rendered view to see the materials. No add-on installation is required.
Basic Setup
| Control | Use |
|---|---|
| Mode | Choose Floor for horizontal surfaces, Walls for vertical surfaces or All Faces to use both orientations on a target mesh. |
| Format | Select a preset, Square or Custom. |
| Tile Size | Sets the tile dimensions when Square is selected. Dimensions are in centimeters. |
| Tile Width / Tile Length | Set these values for the Custom format. For example, 20 and 100 create a 20 × 100 cm plank. |
| Tiles X / Tiles Y | Set the tile count for a regular grid without a Surface Object. |
| Layout | Choose Straight, Half Offset, 1/3 Offset or 2/3 Offset. |
| Offset Axis | Choose the direction of the staggered layout: Long Side, X or Y. |
| Tile Thickness (mm) | Set the thickness of the generated tiles. |
| Horizontal Wall Tiles | Change the tile orientation when working on walls. |
For a simple grid, leave Surface Object empty and Cut to Surface disabled.
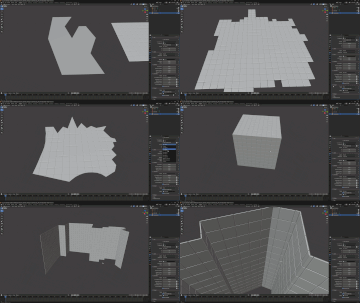
Cutting to a Surface
- Create or select the mesh that defines the area to tile.
- Select the generator and assign that mesh to Surface Object using the eyedropper.
- Choose Floor, Walls or All Faces in Mode.
- Enable Cut to Surface to trim the tiles to the target mesh boundaries.
- Adjust the tile format, layout and joint width in the modifier.
Tile Profiles
| Control | Use |
|---|---|
| Profile | Choose Original, Chamfer or Rounded. |
| Bevel Width (mm) | Adjust the width of the beveled edges. |
| Bevel Segments | Adjust the number of segments used for the bevel. |
| Corner Radius (mm) | Adjust the radius of rounded tile corners. |
| Corner Segments | Adjust the number of segments used for rounded corners. |
| Smooth Finish | Control the smooth shading of the generated tiles. |
The modifier changes the tile geometry. The Ceramic material also has separate Bevel Width and Bevel Height controls for its surface relief effect.
Tile Variations
| Control | Use |
|---|---|
| Tilt Variation | Randomly tilt the tiles. |
| Position Variation | Randomly offset the tile positions. |
| Height Variation | Vary the tile heights. |
Set these controls to 0 for a regular installation. Increase them gradually to add imperfections.
Grout & Missing Tiles
| Control | Use |
|---|---|
| Grout Material | Select the material used for the joints and exposed adhesive. |
| Joint Width | Adjust the gap between tiles. |
| Offset | Move the grout vertically relative to the tiles. Lower values lower the grout; higher values raise it. |
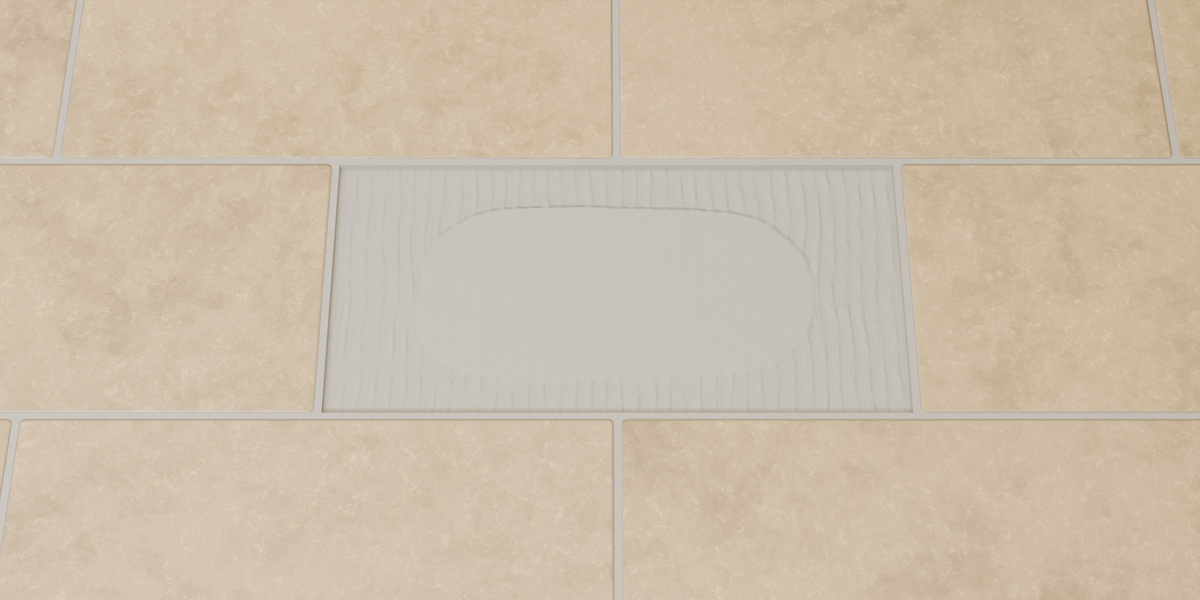
| Missing Tiles % | Set the percentage of tiles removed from the surface. |
| Missing Tile Recess (mm) | Adjust the recess depth beneath missing tiles. |
Use an included Grout material to display the adhesive detail beneath missing tiles. Its appearance is controlled in the Shader Editor.
If the grout covers the tile surface after a format or surface-mode change, lower Offset until the tiles are visible.
Using Your Own Models
- Place your tile models in a dedicated collection.
- Enable Use Collection on the generator.
- Assign your collection to Tile Collection.
- Adjust the layout, spacing and variations in the modifier.
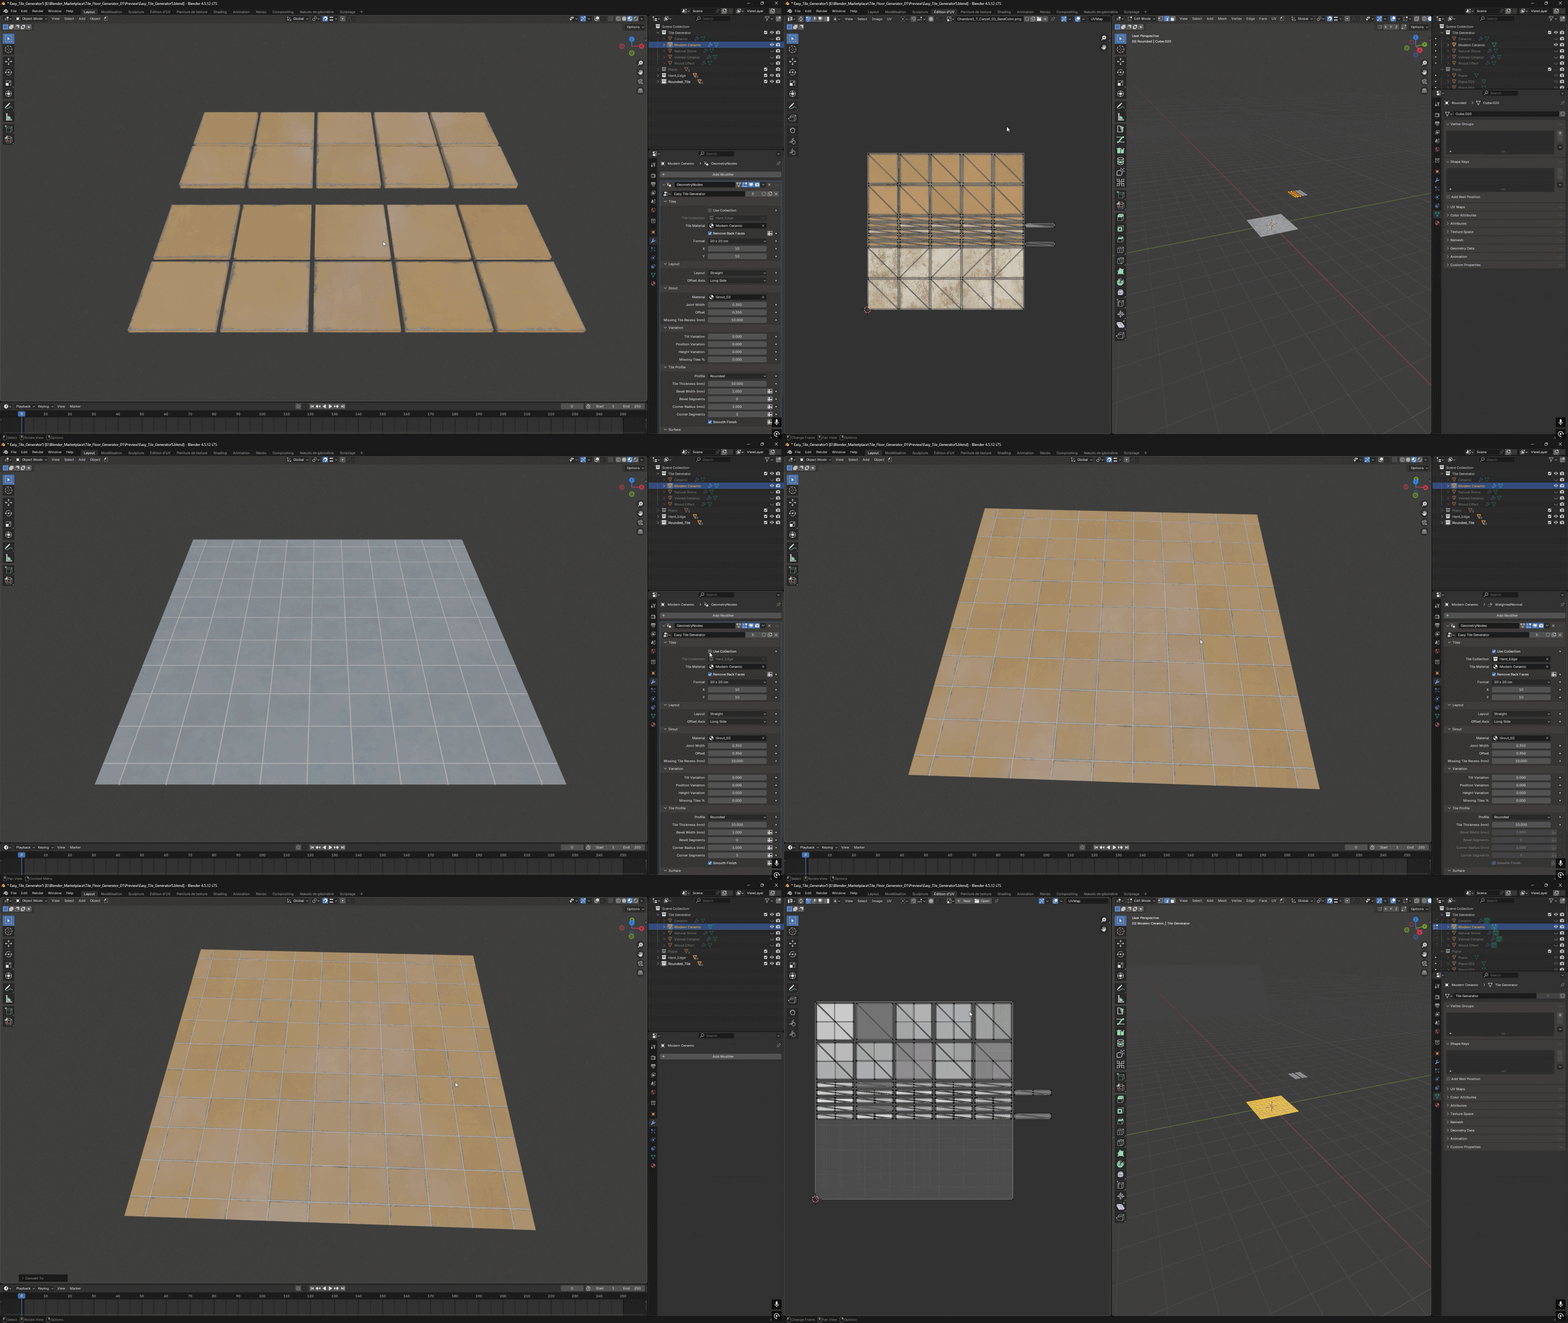
The models retain their original materials and UV maps. Their shape comes from the collection models.
Enable Remove Back Faces to remove the underside faces. Disable it when those faces need to remain visible. In the example below, the option is enabled; the top and side faces keep their original UV mapping.
Editing the Materials
- Select the generator and open the Shading workspace.
- In the Shader Editor, select the tile or grout material from the material selector.
- Edit the exposed controls on the material’s main shader group node.
Assign materials through Tile Material and Grout Material in the Geometry Nodes modifier. To create an independent material variation, duplicate the material and assign the copy.
Shared tile controls
| Control | Use |
|---|---|
| Base Color / Tile Tint Variation | Set the tile color and color variation between tiles. |
| Dirt Color / Dirt Amount / Dirt Size (cm) | Set the dirt color, intensity and size. |
| Dirt Detail / Dirt Contrast | Refine the dirt pattern. |
| Roughness | Adjust the overall surface roughness. |
| Surface Roughness Variation | Vary the roughness across the surface. |
| Surface Normal Strength / Surface Detail Size (mm) | Adjust the surface relief strength and detail size. |
| Edge Color / Edge Width (mm) / Edge Wear | Adjust the edge appearance and wear. |
| Tile Wear Variation | Vary the wear between tiles. |
| Wear Color / Wear Size / Wear Width / Wear Depth | Refine the wear color, dimensions and relief. |
Material-Specific Controls
| Material | Controls |
|---|---|
| Ceramic | Bevel Width (mm) and Bevel Height (mm): adjust the bevel relief effect. |
| Modern Ceramic | Pattern Color, Amount, Size, Detail and Contrast: adjust the pattern. Pore Amount and Pore Size (mm): adjust the pores. |
| Natural Stone | Pattern Intensity, Color Variation (%), Pattern Size (cm) and Pattern Roughness: adjust the stone pattern and variation. |
| Veined Ceramic | Vein Color, Amount, Size, Width, Distortion, Direction and Detail: adjust the veins. Vein Accent Color and Vein Accent Amount: adjust the accent. |
| Wood Effect | Pattern Intensity, Grain Color Intensity (%) and Grain Swirl Amount (%): adjust the wood pattern. |
| Grout / Adhesive | Base Color, Color Variation, Roughness, Normal Strength, Grain Size and Dirt controls adjust the joints. Adhesive Strength, Adhesive Size (mm) and Adhesive Color Variation adjust the exposed adhesive. |
Convert to Mesh & UV Maps
Pack UVs is optional and disabled by default. Leave it disabled while adjusting the generator for smoother editing.
- Finish adjusting the generator.
- Duplicate the generator if you want to keep an editable procedural version.
- Enable Pack UVs in the Geometry Nodes modifier to automatically unwrap and pack the procedural tile meshes.
- Select the object in Object Mode, then use right-click → Convert → Mesh. This is Blender’s built-in conversion command.
The converted object can be edited as a regular mesh. Its generator settings are no longer available.
Procedural tiles and grout: With Pack UVs enabled, their UV islands are arranged separately with spacing between islands. Each material uses its own full UV area. Tile and grout UVs may overlap each other because they use different materials.
Use Collection: Models keep their original UV maps, including when Pack UVs is enabled. The option only packs the grout UVs in this mode.
Have questions about this product?
Login to message
| Dev Fund Contributor | |
| Published | 1 day ago |
| Blender Version | 4.5 - 5.2 |
| Render Engine Used | Cycles, Eevee |
| License | Royalty Free |
Discover more products like this
parquet ArchViz tile generator ceramic tiling walls flooring geometry nodes stone Tiles materials procedural