 supartwi



Start here
Camera-linked environment lighting for Blender.
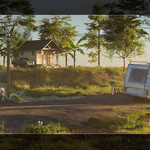
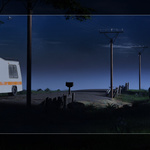
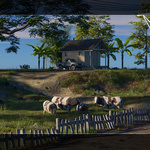
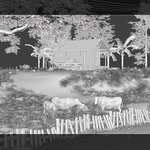
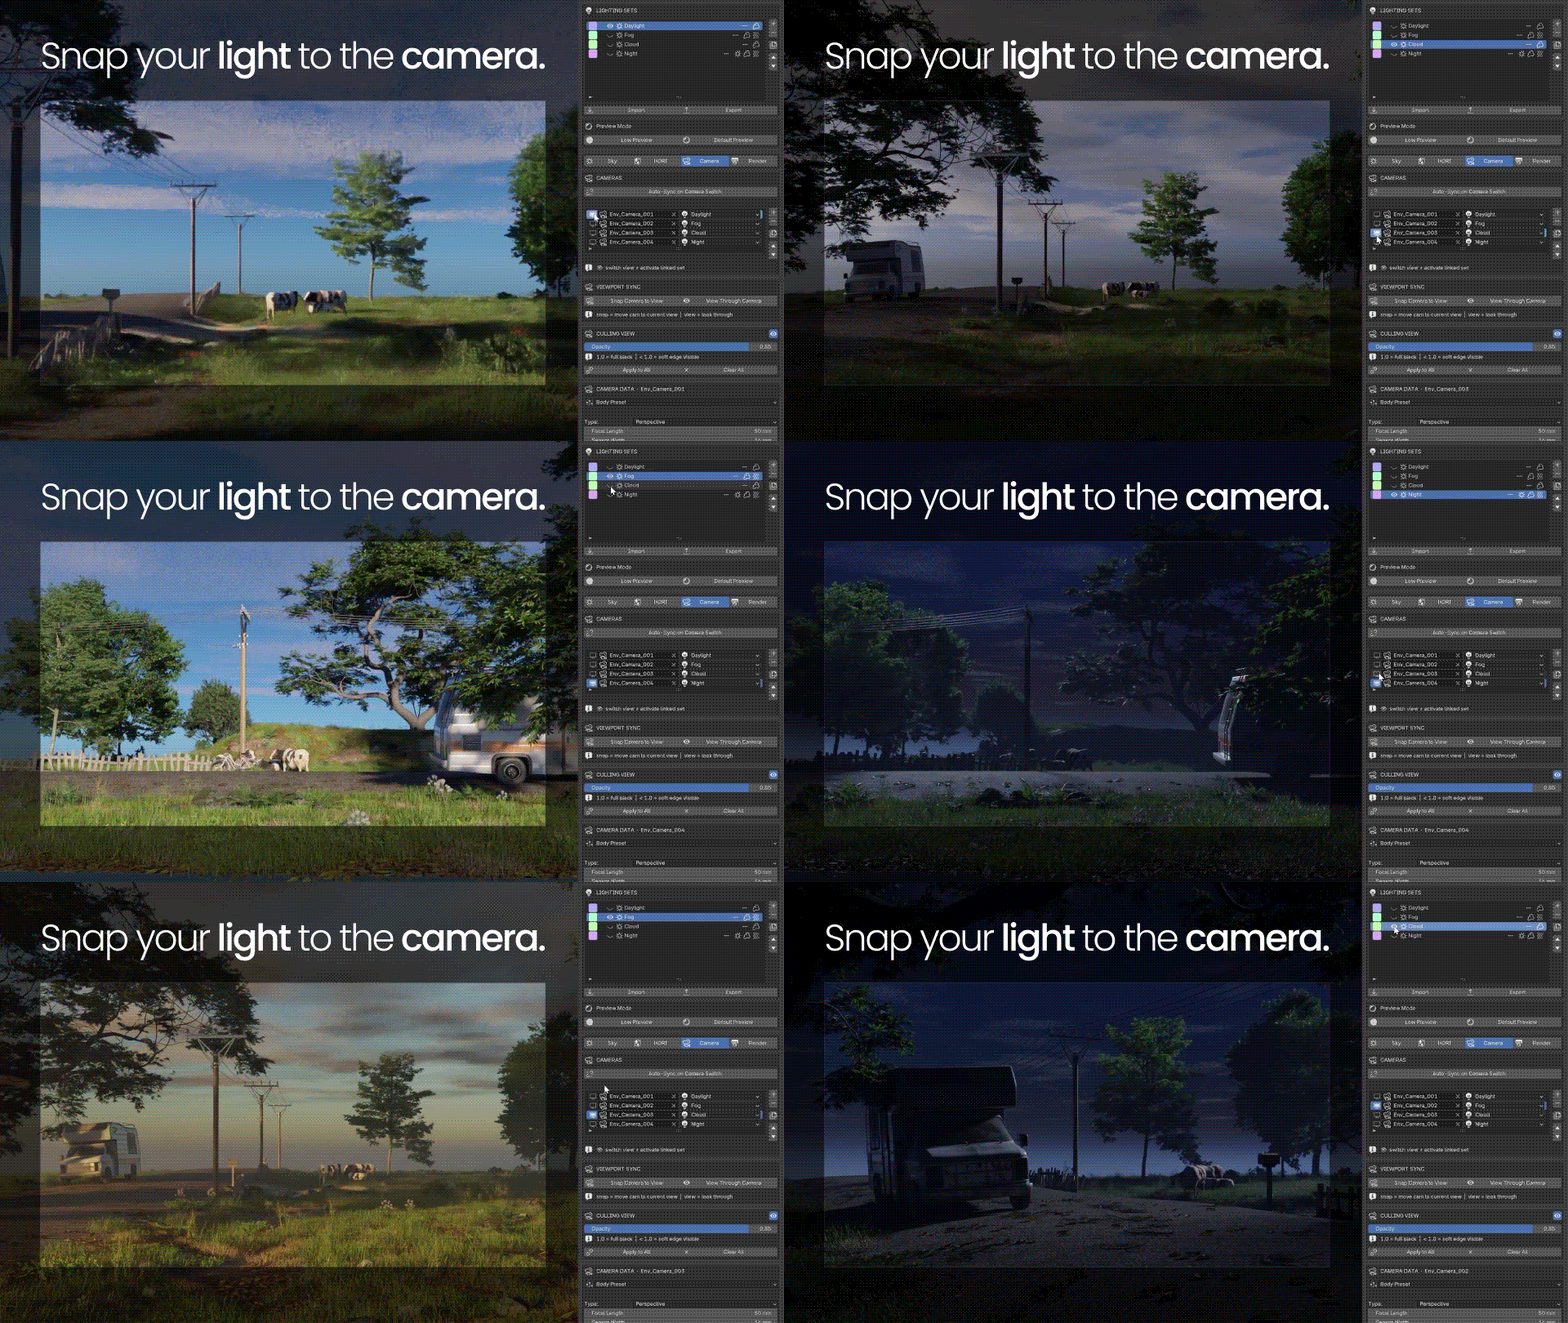
Build multiple lighting moods in one scene, assign each mood to the right camera, and let Env Lights Design prepare the intended environment before you render.
Every shot can carry its own atmosphere—a misty morning wide shot, a warm sunset close-up, an overcast product angle, or an HDRI-matched exterior—all inside the same Blender file.
Current release facts
Marketplace compatibility covers Blender 4.2 through 5.1. Recorded QA builds are 4.5.3 and 5.1.2.
Core workflow
Camera-Linked Lighting
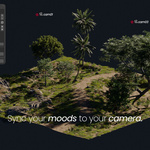
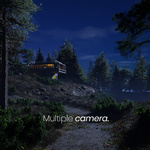
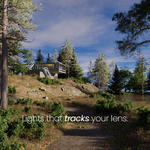
Create multiple Light Sets and assign them to cameras. When you switch cameras, the assigned lighting setup switches with it.
Each Light Set keeps its sky or HDRI, sun, atmosphere and tone together. The still render queue activates each camera and its linked Light Set before rendering.
Lighting and atmosphere
Shape the environment as one system.
Time of Day — precise, anywhere on Earth
Set coordinates, date and time. Sun angle, sky color and light intensity update together. Use season presets or dial in your own values.
HDRI Direction Matching
Connect your own HDRI, then optionally use Match Sun to align the scene's sun direction with the brightest area in the environment image.
Clouds, fog and God Rays
Rendering
Render Queue — built in
Choose Low, Mid or Hi quality, render one still, or queue several cameras for still rendering. Each queued still activates the correct camera and linked Light Set first.
Animation uses its own reliable render path and shows overall progress in the panel. Multi-camera animation batching is not part of the current 1.0.0 release.
Installation
Install the ZIP. Do not unzip it.
Recommended package: Env_Lights_Design_1_0_0.zip
Preferences
- Open Edit → Preferences → Add-ons.
- Choose Install from Disk / Install….
- Select the ZIP package and install it.
- Enable Env Lights Design.
Drag & Drop
- Drag the ZIP into the 3D Viewport.
- Confirm installation if Blender shows the dialog.
- If no install prompt appears, use the recommended Preferences method.
First launch
Open the Lights Design panel.
In any 3D Viewport, press N to open the Sidebar, then select the Lights Design tab.
Review the core workflow ↑-
$19
1 user · Full add-on, all features · Free updates · Email support
-
$39
Up to 3 users · Full add-on, all features · Free updates · Priority email support
Have questions about this product?
Login to message
| Published | 3 months ago |
| Blender Version | 4.2 - 5.1 |
| Extension Type | N/A |
| Render Engine Used | Cycles |
| License | GPL |
Discover more products like this
sky architecture ArchViz camera atmosphere environment time of day hdri fog Lighting clouds Render 3d-exterior