Explode Everything
 Steven Seidler (Blendscapes3D)
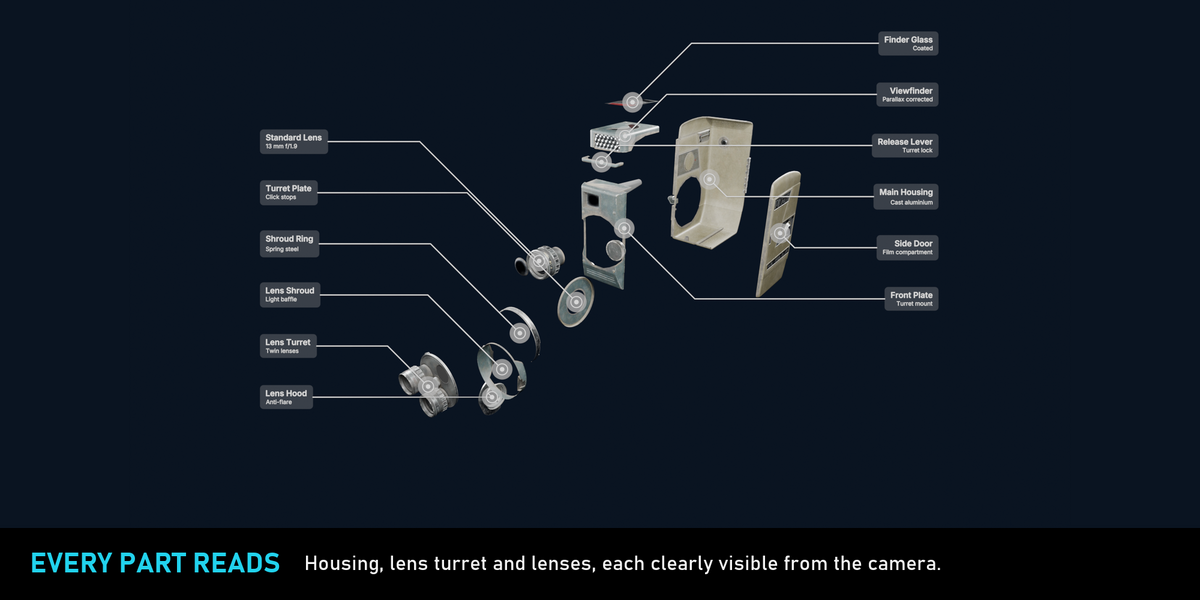
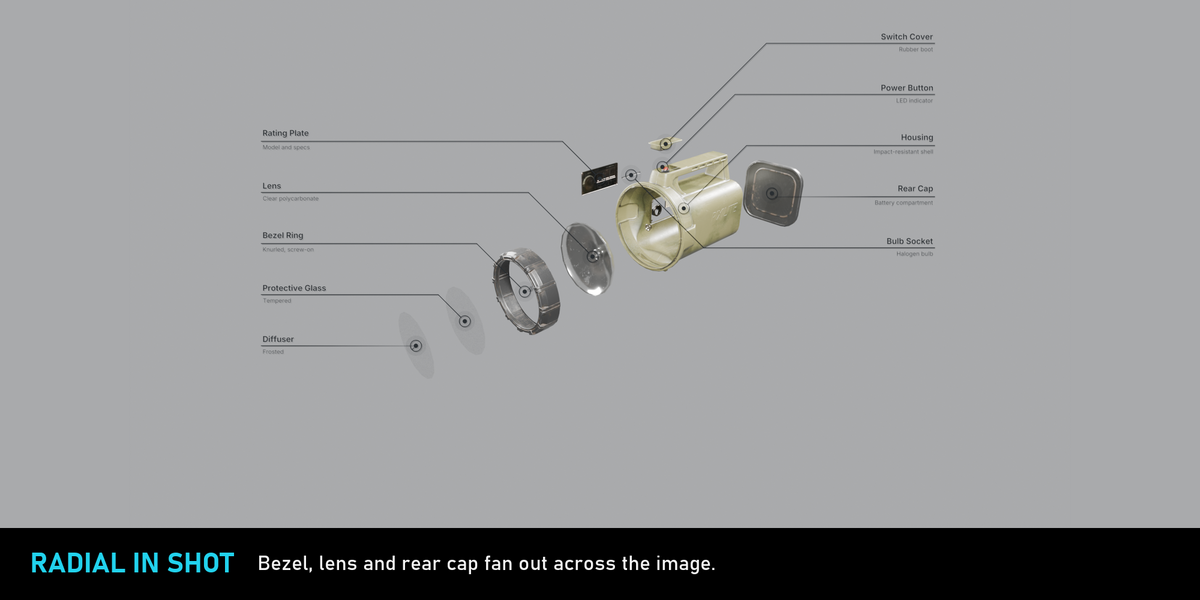
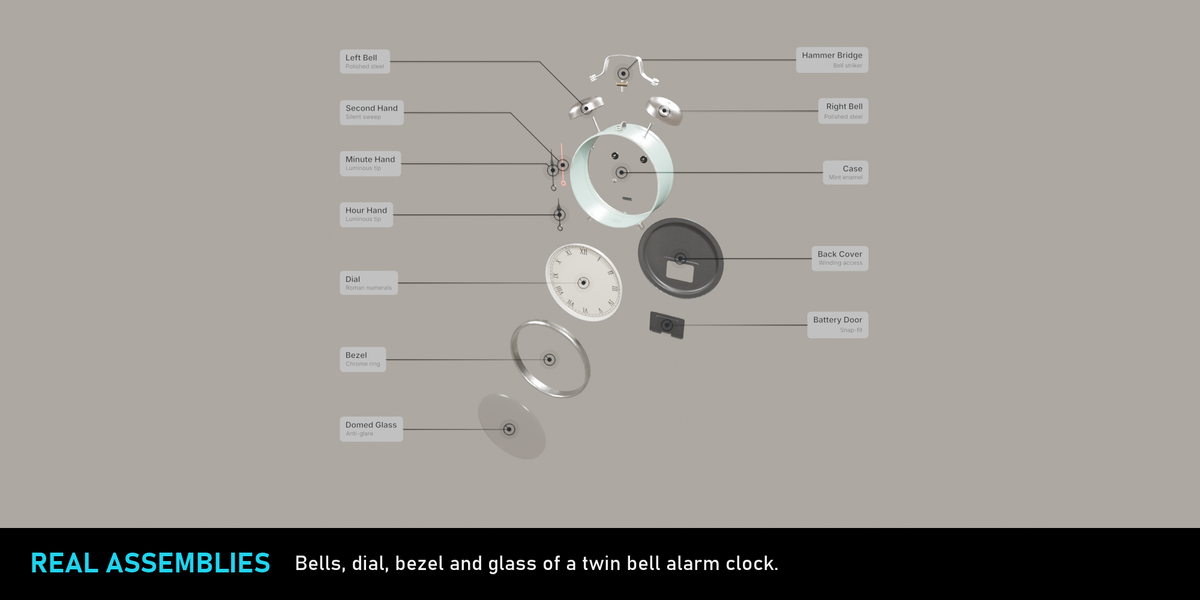
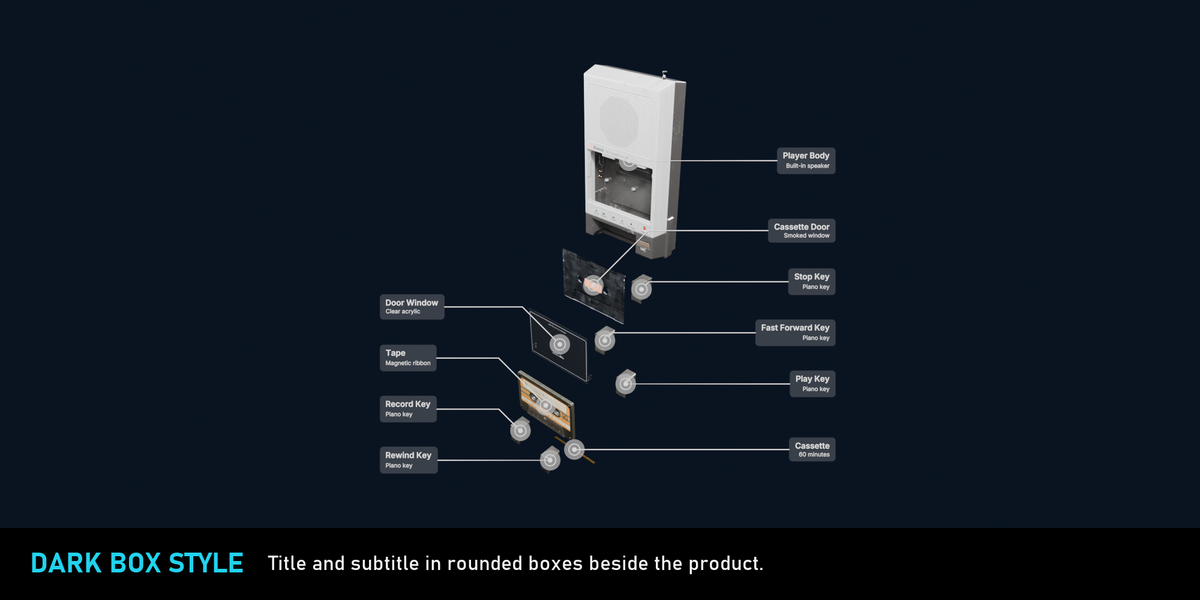
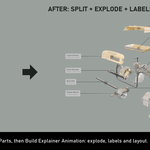
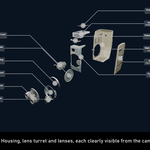
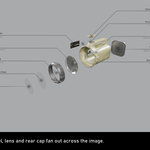
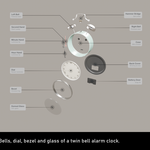
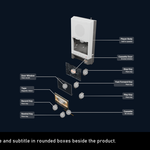
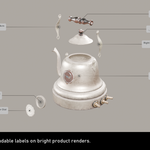
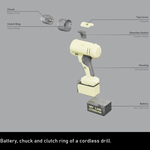
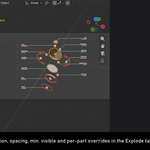
Quick start
- Install the .zip via Edit › Preferences › Get Extensions › Install from Disk. Open the Explode tab in the 3D view sidebar (N).
- Make sure your scene has an active camera.
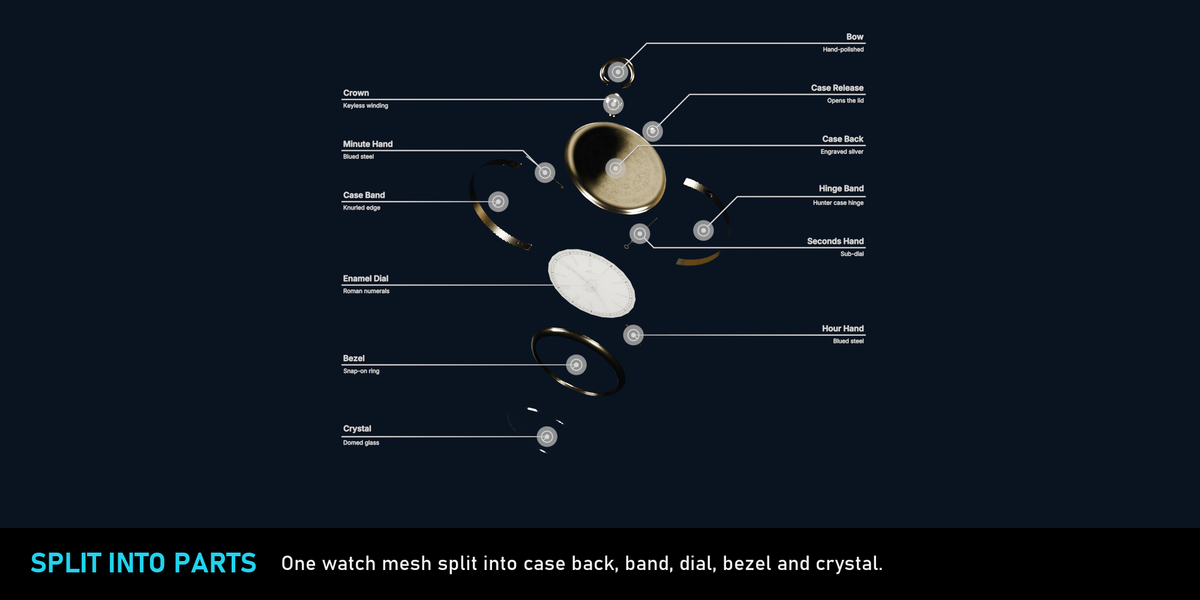
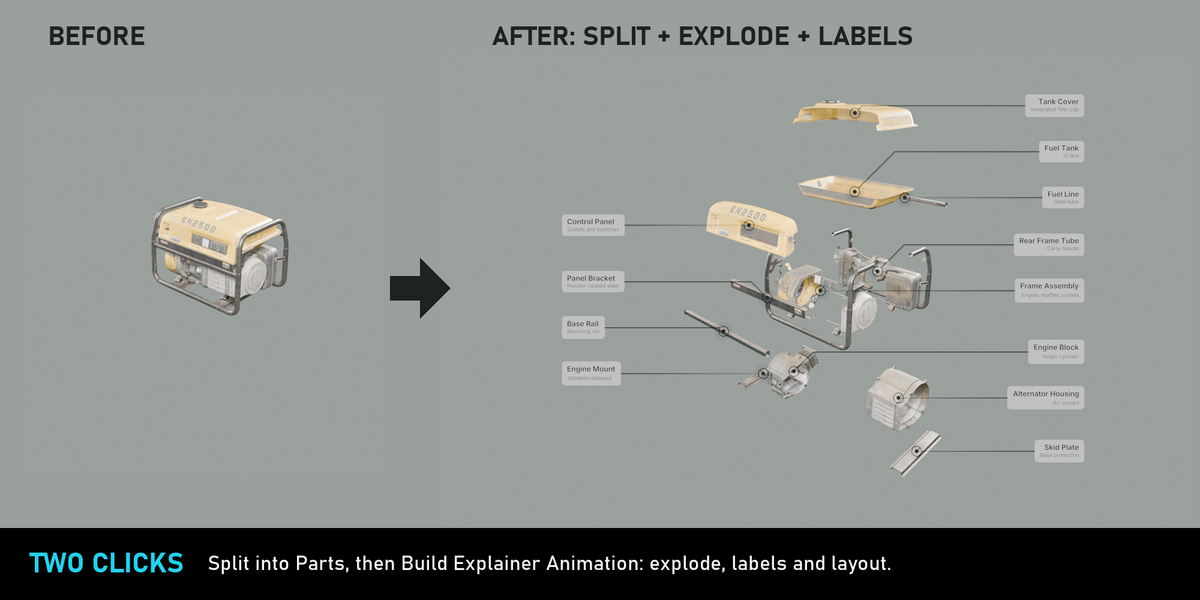
- Select your product. If it is one mesh (or a few), click Split into Parts first – adjust Min. Part Size and Max. Parts in the redo panel.
- Select all parts of your product.
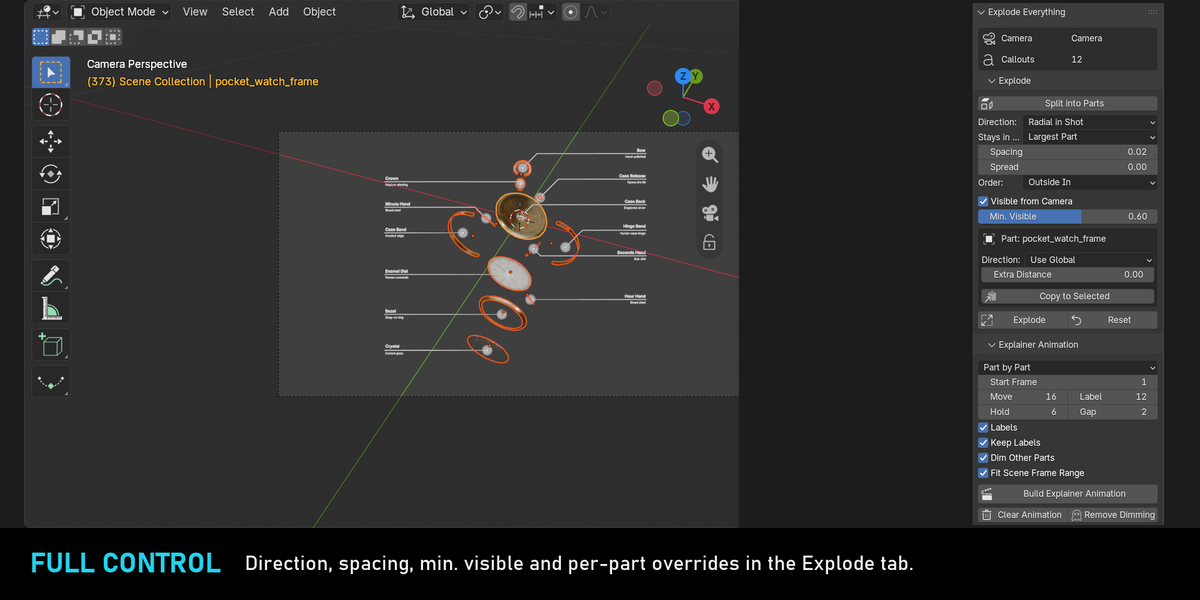
- Explode panel: pick a Direction, keep Visible from Camera on, click Explode. Reset puts everything back exactly.
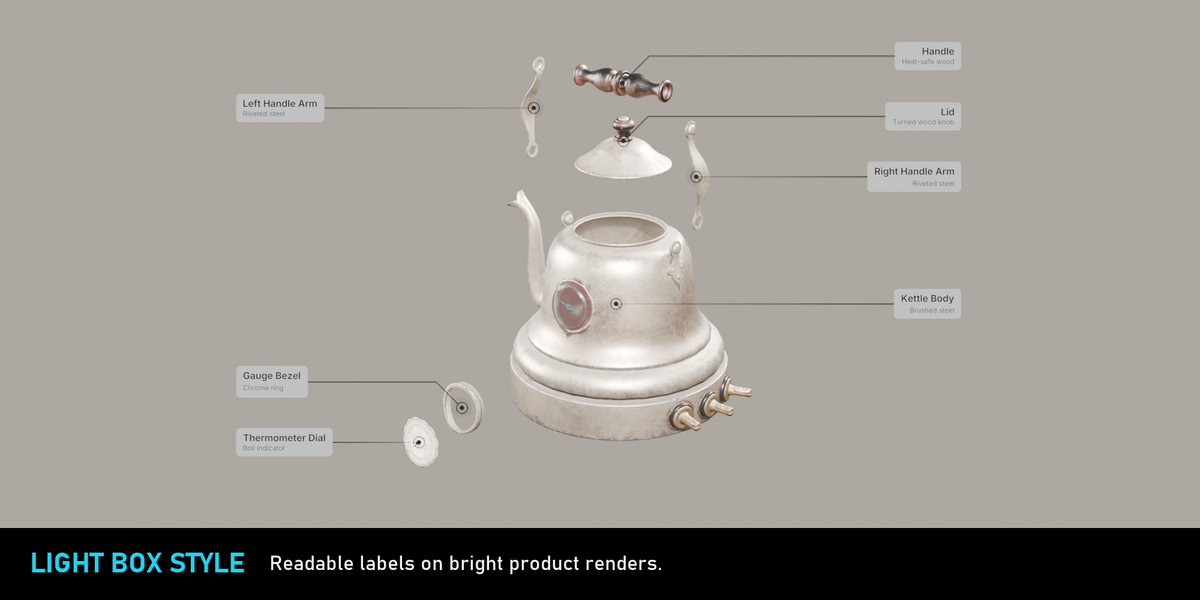
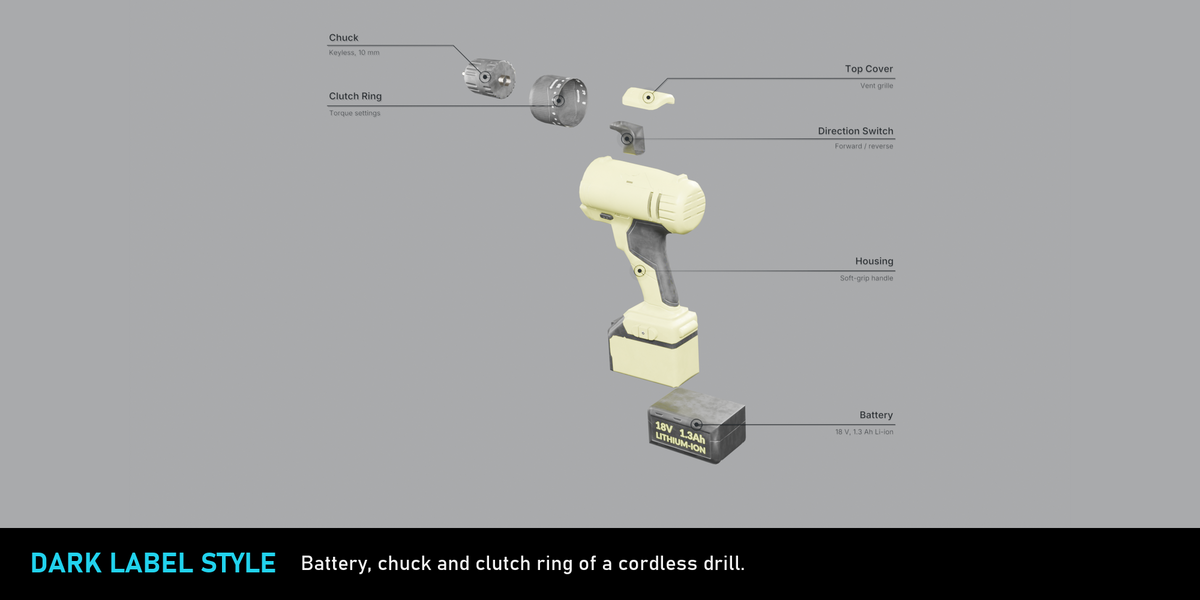
- Callouts panel: pick a style preset, click Add Callouts (one per selected part), then Arrange Labels.
- Explainer Animation panel: choose a sequence mode and timing, click Build Explainer Animation. Press play. Turn Labels off for an explode-only animation without callouts.
Explode settings
- Split into Parts – separates loose mesh pieces into objects. Min. Part Size: smaller pieces join the nearest part. Max. Parts: upper limit per object.
- Direction – Radial, Radial in Shot, X/Y/Z axis (both ways), Part Z axis.
- Stays in Place – Largest Part, Active Object or Nothing.
- Spacing – smallest clear gap between parts, as a share of the assembly size.
- Spread – extra travel for parts far from the centre.
- Visible from Camera / Min. Visible – how much of every part the camera must see. Lower = tighter explode.
- Part box (active object) – Direction override and Extra Distance; Copy to Selected.
Callouts
- Text, subtitle, style (underline, plain, box), colours, text size, line width, dot size, shadow – per callout in the Active Callout panel.
- Label Depth: Front (default) or Focus Plane when using depth of field.
- Preferences: sidebar tab name, custom label font (.ttf/.otf), label brightness for AgX/Filmic.
$14.99
Have questions about this product?
Login to message
| Blender Extension Compatible | Yes |
| Published | 1 day ago |
| Blender Version | 4.2 - 5.2 |
| Extension Type | Add-on |
| Render Engine Used | Cycles, Eevee |
| License | GPL |
Discover more products like this
annotation explainer assembly motion graphics technical illustration product render animation callouts product-visualization exploded view labels E-commerce