FigureCut - Split Models for 3D Printing With Pins & Sockets
 SculptedWorldsStudio
1. Installation
- Download FigureCut_v1.10.zip. Do not unzip it.
- In Blender open Edit → Preferences → Add-ons.
- Click the ⌄ arrow at the top right and choose Install from Disk…
- Select the zip. FigureCut installs and enables itself.
- In the 3D Viewport press N and open the FigureCut tab.
Updating: install the new zip the same way; it replaces the old version. Language: use the menu next to the panel title (Auto / English / Greek).
2. Quick start (2 minutes)
- Click your model. The panel shows a step guide (Model → Cuts → Build → Finish) and tells you what to do next.
- If the model card shows a red line, fix it with the button next to it: Use mm, Apply (scale/rotation), Real size or Make Manifold.
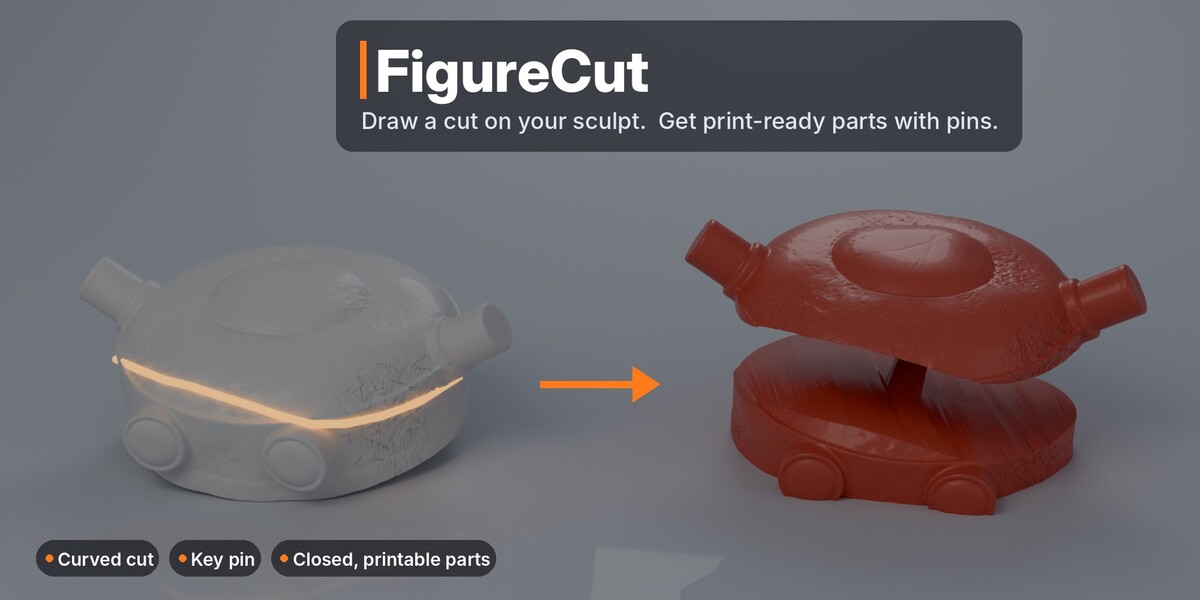
- Under Cut Tools click Around. Draw on the model around a neck, arm or leg. Hold the middle mouse button to rotate and keep drawing on the back. Press Enter.
- Adjust the pin in Selected Cut if you like (size, Fit preset, Place Pin on Model).
- Click Build Parts to preview, or switch to Apply and click Apply Cuts.
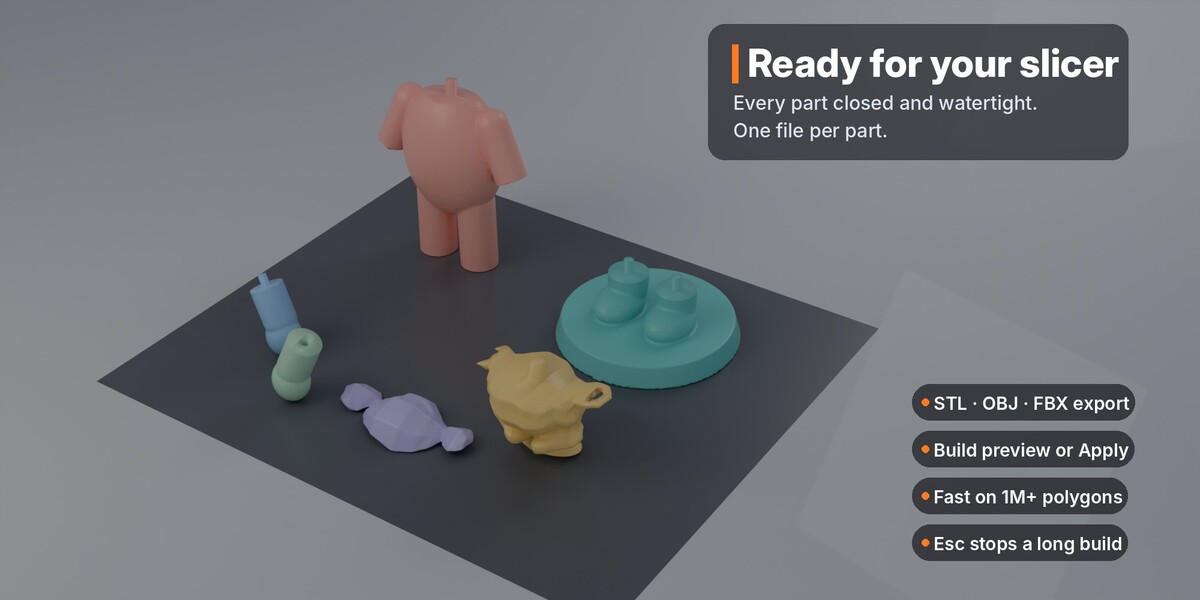
- Open Export and click Export All Parts.
3. Preparing your model
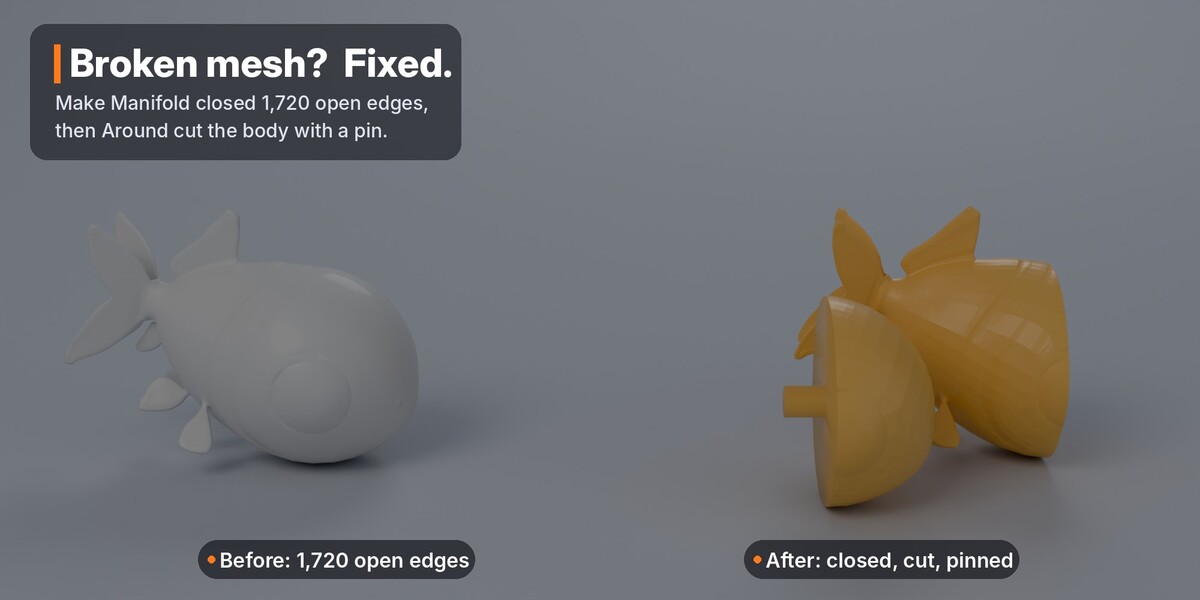
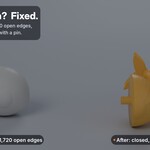
- Closed mesh. Cuts and printing need a watertight mesh. Click Check; if it reports open spots, click Make Manifold.
- Millimetres. Click Use mm once per file: 1 Blender unit = 1 mm, and all sizes in the panel are in mm.
- Real size. The card shows the model's size in mm. Models exported in metres often arrive a fraction of a millimetre tall: click Real size and type the printed height. Cuts and pins scale with it.
- Apply scale & rotation. Click Apply when the card asks for it.
4. Cut tools
| Tool | How to draw | Use it for |
|---|---|---|
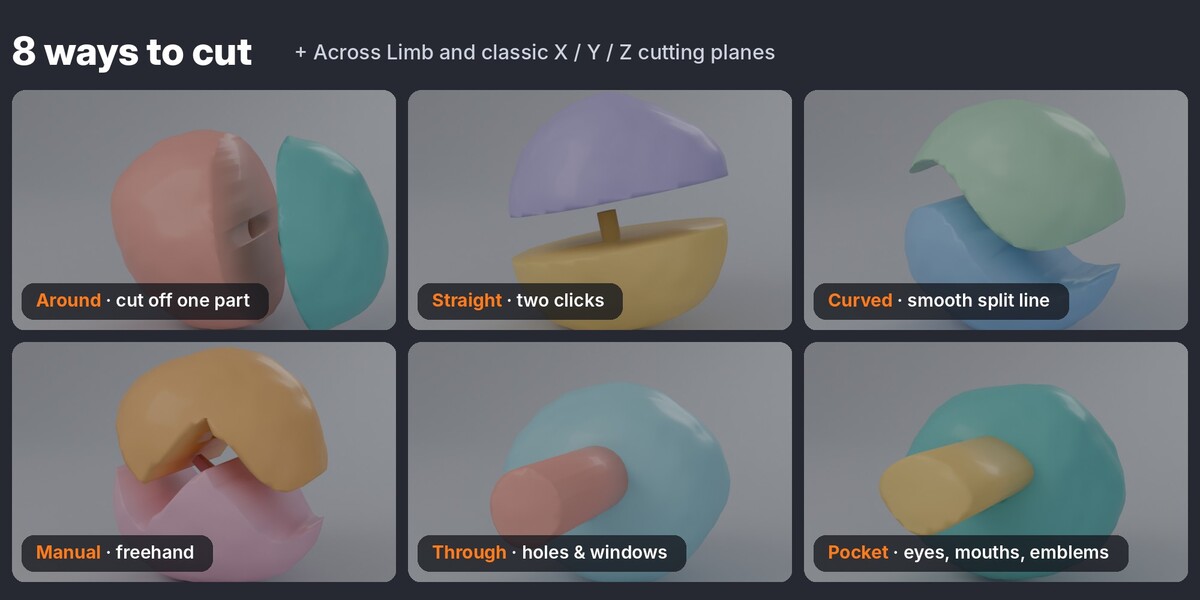
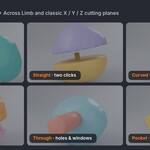
| Around | Click or drag ON the surface all the way round; rotate the view with the middle mouse; Enter closes the loop | Cutting off one part: head, arm, leg, tail |
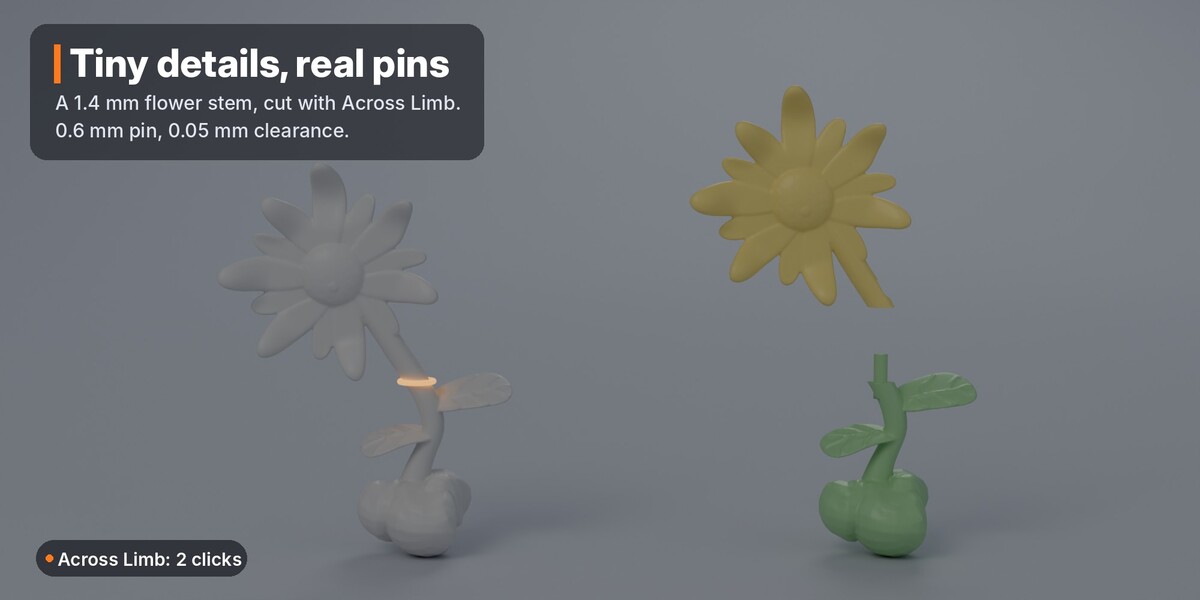
| Across Limb | Click on one side of the limb, then the other side | The fastest way to cut off an arm or leg |
| Straight | Click start and end, outside the model | A straight cut through the whole model |
| Curved | Click control points from one side to the other; Enter | A smooth curved split line |
| Manual | Click points or drag freehand; Enter | Any shape, full control |
| Through | Draw a closed shape; Enter | Holes and windows all the way through |
| Draw a closed shape on the surface; Enter | Eyes, mouths, emblems cut to a depth | |
| Cutting plane (X / Y / Z / view / 3D cursor) | Move with G, rotate with R, size with S | Classic plane cuts; separating a base |
While drawing: Backspace removes the last point or stroke, Enter or right-click finishes, Esc cancels. Shift + Alt + X opens a pie menu with all tools.
- Line cuts (Straight, Curved, Manual) cut along the view direction through the whole model. Draw from a clean front or side view and start and end outside the model.
- Around and Across Limb cut only what the loop surrounds. Cut where the limb is free, not where an arm touches the body.
- Your drawing is smoothed automatically. Smoothness sets how round the curve is, Flatten how flat the cut face is (flatter faces glue better).
- Every cut is an object: select it in the Cuts list and press Tab to move its points (G) or add points (E).
5. Pins and sockets
| Setting | What it does |
|---|---|
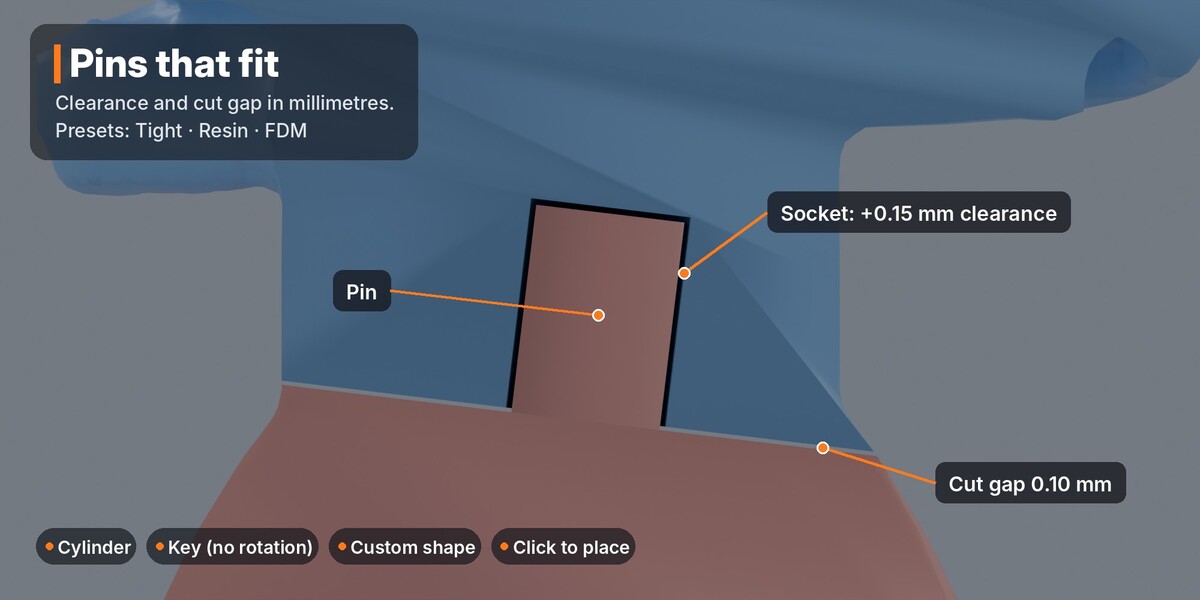
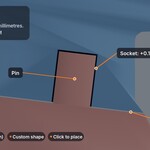
| Cylinder / Key / Custom / None | Round pin, square key that cannot rotate, your own closed mesh, or no pin |
| Width, Height | Pin size in mm (height = how far it sticks out) |
| Clearance | Gap between pin and socket wall |
| Fit: Tight / Resin / FDM | Presets: 0.05 / 0.10 / 0.25 mm clearance |
| Cut Gap | Gap between the two cut faces |
| Pin on Side A / Side B, ⇄ | Which part gets the pin |
| Place Pin on Model | Click on the model where the pin should go |
| ⟲ | Put the pin back in the middle |
| More Pin Options | Embed depth, taper, segments, rotation, offsets |
Custom pin: model a closed mesh pointing up (+Z) with its base at Z = 0; the part below Z = 0 is buried in the first piece. Print a test joint first: printers differ. If the pin is too tight, raise Clearance by 0.05 mm and rebuild.
6. Build (preview) or Apply
- Build (preview) creates the parts in a separate collection; your original and cuts are hidden, not changed. Use Explode to pull the parts apart, Return to Draft to edit cuts, Rebuild after changes, Approve to keep the parts and remove the cut history.
- Apply cuts for real: the parts replace the model in its collection, and the biggest part keeps the model's name. Select any part and cut it again. Ctrl + Z undoes it.
- Easy mode (top of the panel) builds or applies as soon as you finish drawing.
- Keep Original keeps a hidden copy named _original.
- Skip Problem Cuts skips a failing cut and builds the rest; its status shows in the Cuts list and in the viewport.
- Long builds show progress in the status bar. Esc stops and restores the model.
7. Make Manifold
Click the wrench next to the model name.
| Method | Result |
|---|---|
| Auto | Repair first; Remesh only if that is not enough |
| Repair (keep detail) | Merges doubled points, closes holes, removes loose bits, fixes normals |
| Remesh (always works) | Rebuilds one closed surface from voxels; set the detail in mm (0 = automatic) |
A hidden backup (_before_repair) is kept unless you turn it off. Advanced → Auto-repair before cutting (on by default) repairs a copy while building and leaves your model untouched.
8. Export
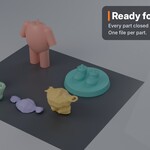
Open Export, choose STL, OBJ or FBX, set Scale if your slicer needs it, then Export All Parts or Export Selected. Each part is saved as its own file named after the part.
9. Settings (Advanced)
| Setting | Default | Meaning |
|---|---|---|
| Solver | Auto | Fast Manifold solver, Exact as a fallback |
| Ignore Fragments Below | 0.5 mm³ | Tiny loose bits are dropped |
| Origins to Parts | On | Each part's origin at its centre |
| Auto-repair before cutting | On | Repairs a copy of open meshes |
| Viewport Labels | On | Cut names in the viewport |
10. Troubleshooting
| Message or problem | Fix |
|---|---|
| Did not cut anything | The line must cross the model from outside to outside; for Around, the loop must go all the way round |
| Pin is outside the model | Make the pin smaller or move it with Place Pin on Model |
| The two sides are still one piece | The cut does not separate the part; check the loop closes all the way round, or cut where the part is free |
| Model is tiny or huge | Click Real size and type the printed height |
| Open / non-manifold spots | Click Make Manifold (Auto) |
| Build is slow | Use Blender 4.5+ (fast solver); press Esc to stop |
| A cut also nicks the body | Lower Overshoot, or cut where the limb is free |
| Pin too tight / too loose | Raise / lower Clearance by 0.05 mm and rebuild |
Have questions about this product?
Login to message
| Blender Extension Compatible | Yes |
| Published | 7 days ago |
| Blender Version | 4.2 - 5.2 |
| Extension Type | Add-on |
| Render Engine Used | Cycles, Eevee |
| License | GPL |
Discover more products like this
cut figurine manifold connector miniature Pin split print prep keyed joint resin STL 3d printing