File Size Inspector
 one99addons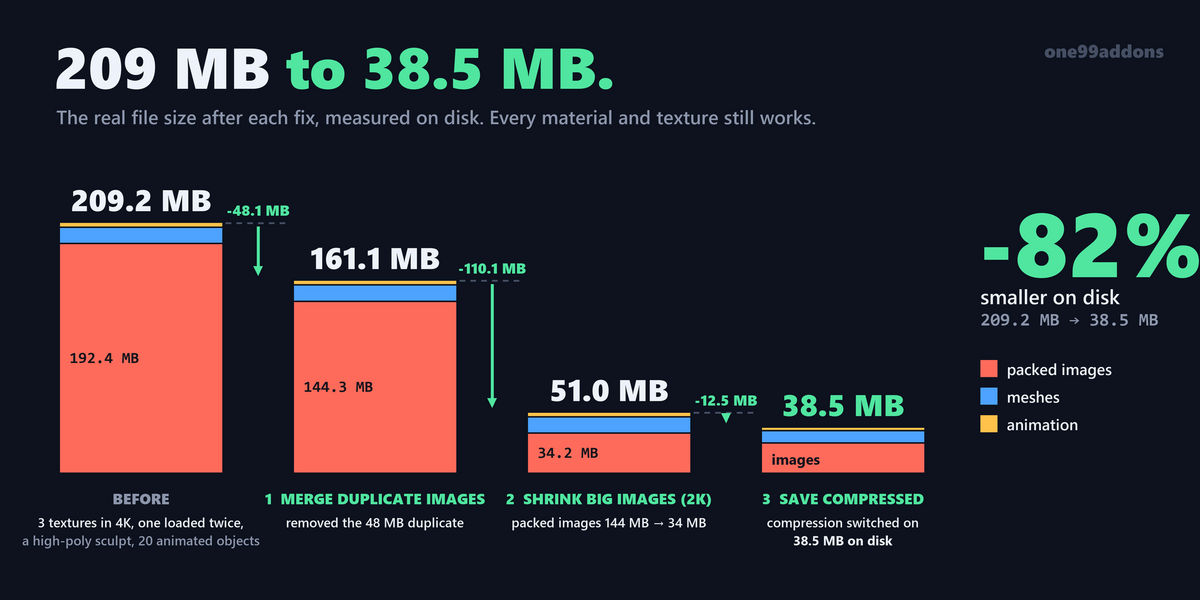
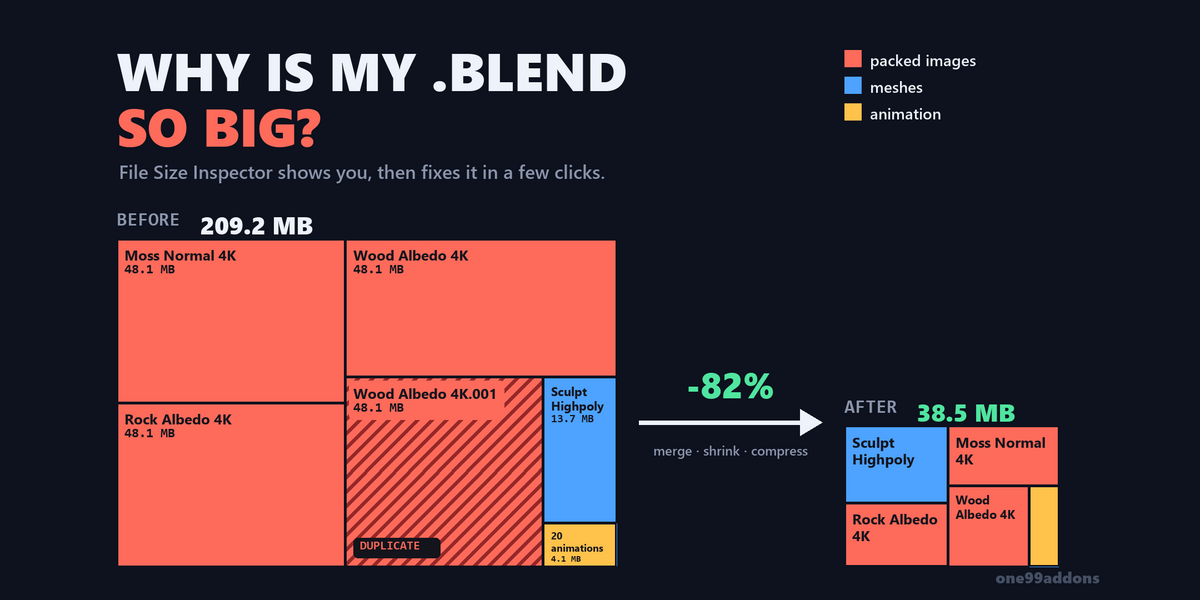

File Size Inspector - Documentation
1. Install
- Download file_size_inspector_v1.0.0.zip. Do not unzip it.
- In Blender: Edit > Preferences > Add-ons, click the drop-down arrow at the top right and choose Install from Disk...
- Pick file_size_inspector_v1.0.0.zip and tick "File Size Inspector" in the list.
- If Auto-Save Preferences is off, click Save Preferences (bottom left).
2. Where to find it
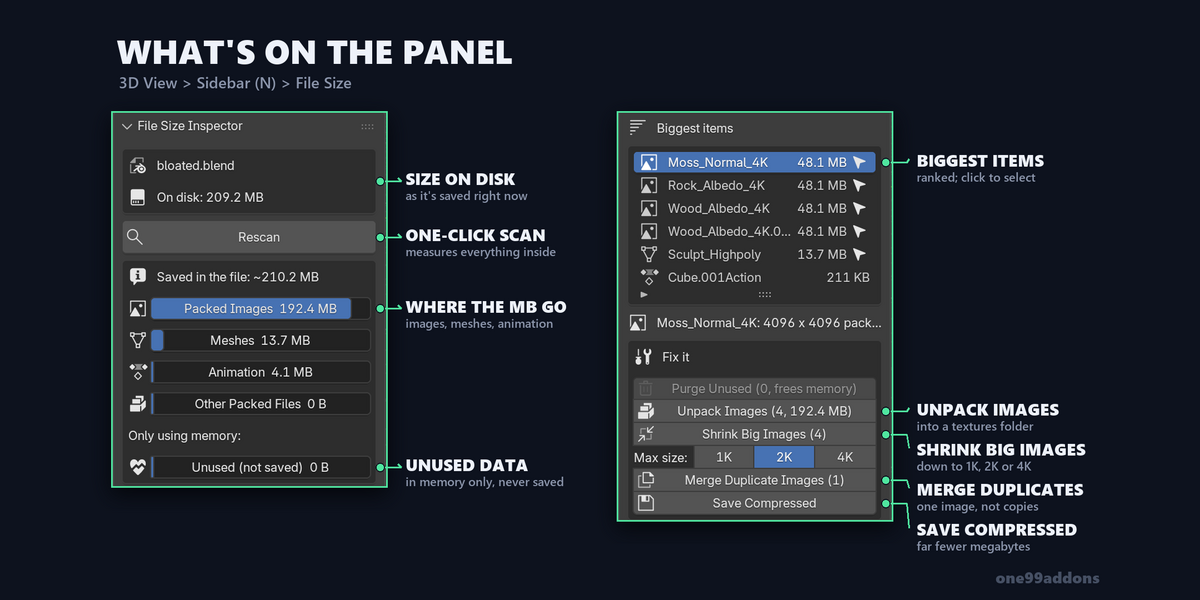
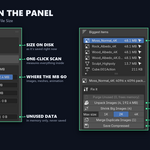
- 3D Viewport > Sidebar (press N) > File Size tab.
3. How to use it
- Save your .blend first (Unpack Images and Save Compressed need a saved file).
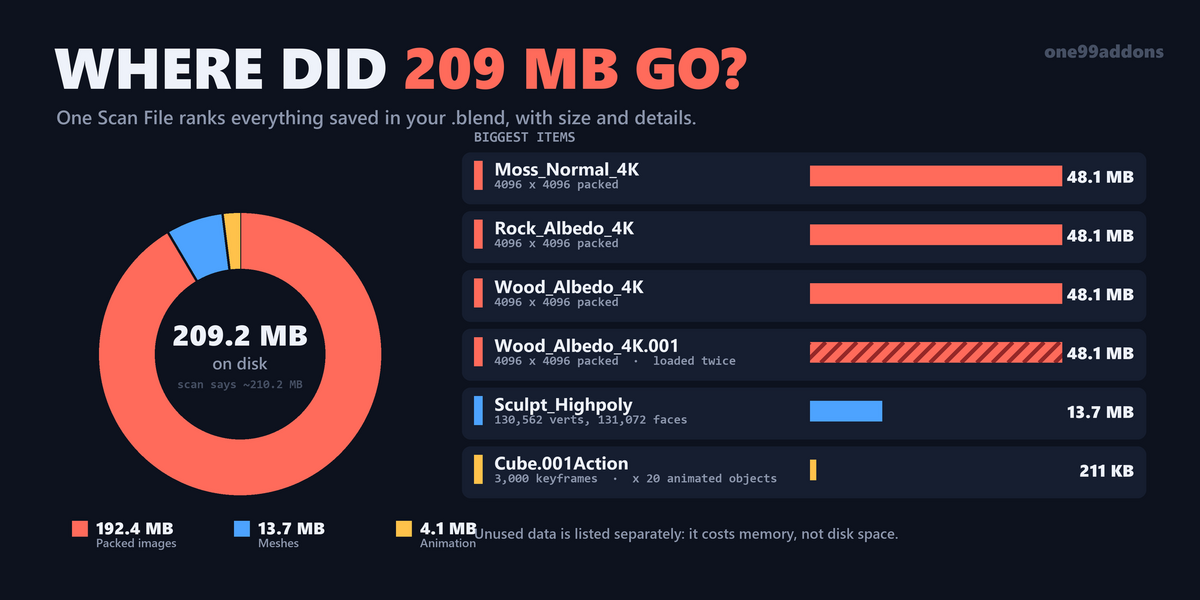
- Click Scan File. The panel shows the size on disk, a bar for each kind of data and the biggest items.
- Click an item in the list to see its details. Click the arrow next to a mesh to select the objects using it, or next to an image to show it in an open Image Editor.
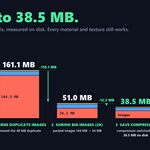
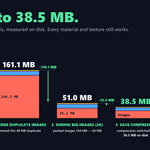
- Under Fix it, each button shows how many items it will touch. Click the ones you want.
- After each fix the panel scans again and shows what changed on the line at the bottom.
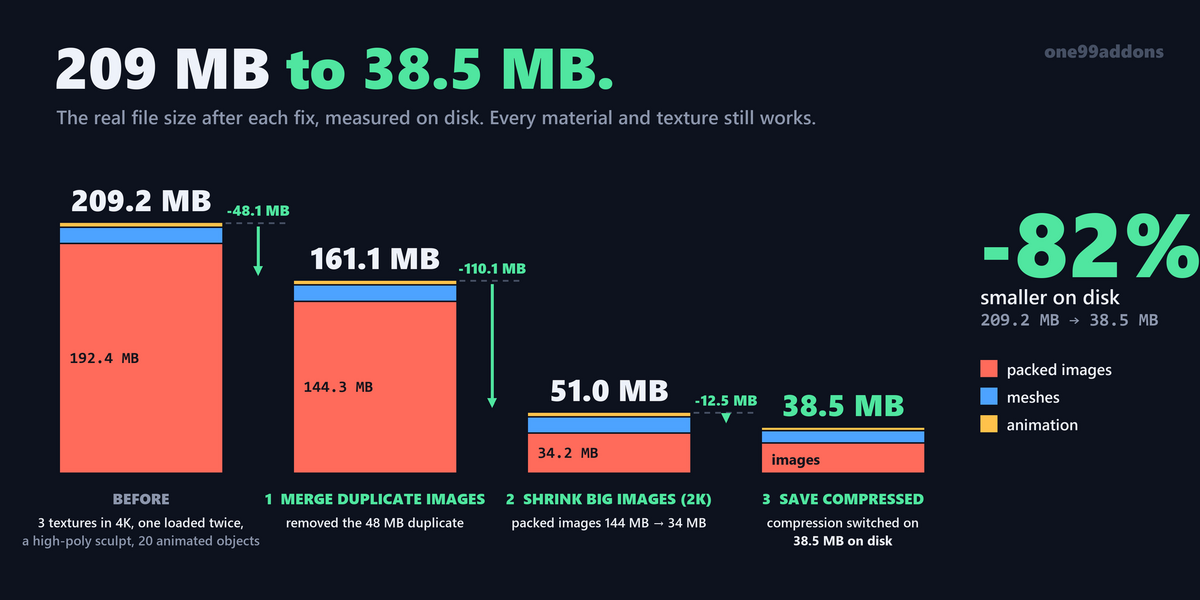
- Click Save Compressed (or save normally) to write the smaller file to disk.
4. Settings
- Max size: 1K, 2K (default) or 4K. Shrink Big Images scales images down to this, keeping proportions.
- Show: how many of the biggest items to list, 3 to 50 (default 8).
- Purge Unused: deletes data nothing uses. This frees memory; Blender never saves unused data anyway.
- Unpack Images: writes packed images into a textures folder next to the .blend.
- Shrink Big Images: packed and generated images only. Images linked from files on disk are never touched.
- Merge Duplicate Images: images that load the same file or pack the same data are merged into one.
- Save Compressed: saves the .blend with compression on (smaller, slightly slower to save and open).
5. Troubleshooting
- Unpack Images or Save Compressed is greyed out: save the .blend first.
- A fix button is greyed out: there is nothing for it to do (the number in brackets is 0).
- The file did not get smaller after a fix: fixes change the data in memory. Save the file (or click Save Compressed) to see it on disk.
- Purge Unused did not shrink the file: that's expected. Unused data is never saved, so purging only frees memory.
- "No object in this view layer uses it": the mesh is used by objects in another scene or view layer, or by nothing.
- "Open an Image Editor to view it": open an Image Editor somewhere in the window, then click the arrow again.
- Textures missing after moving the project: keep the textures folder next to the .blend after Unpack Images.
- Install error? Make sure you picked the .zip itself, not an unzipped folder, and that you are on Blender 5.2 or newer.
6. Updating
- Download the new zip from your Superhive library, uninstall the old version in Edit > Preferences > Add-ons, restart Blender, then install the new zip.
7. Uninstall
- Edit > Preferences > Add-ons, expand File Size Inspector and choose Uninstall. Fixes you already applied stay in your files.
Support
- Have a question, a bug or an idea for a new feature? Mail me at [email protected]. Please include your Blender version and operating system.
Have questions about this product?
Login to message
| Published | 3 days ago |
| Blender Version | 5.2 |
| Extension Type | N/A |
| Render Engine Used | Cycles |
| License | GPL |
Discover more products like this
packed textures cleanup unpack images reduce-file-size file size compress duplicate images purge optimize blend file size