 peterz



Quick Start
Step 1: Install Addon
1. Open Blender
2. Go to Edit > Preferences > Add-ons
3. Click the Install... button
4. Select the game_pivot_tools folder or zip file
5. Enable "GamePivotTools" in the addon list
Step 2: Open Panel
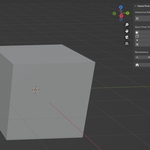
1. Press N key in the 3D viewport to open the sidebar
2. Find and click the "GamePivotTools" tab
3. The panel is ready to use!
Step 3: Select Object
- Select an object in the 3D viewport (mesh, curve, etc.)
- Make sure the object is in Object Mode
===================================================================
INTERFACE OVERVIEW
1. Interactive Edit
- Freely edit pivot point using Gizmo or keyboard shortcuts
2. Quick Pivot To
- One-click pivot point setting to common locations
3. Maintenance
- Reset and Bake functions
4. Move to Origin
- Pre-export preparation for game development
===================================================================
FEATURE DETAILS
1. Interactive Pivot Editing
Use Case: When you need precise control over pivot point position
Workflow:
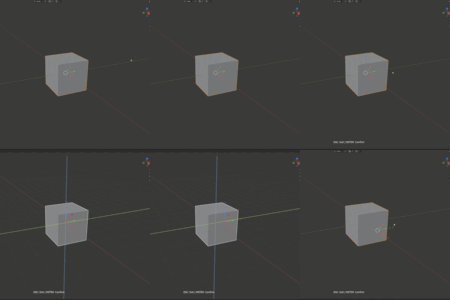
Select Object -> Click "Edit Pivot (Gizmo)" -> Edit with G/R/S -> Enter to Confirm / ESC to Cancel
Detailed Steps:
1. Enter Edit Mode
- Select an object
- Click the "Edit Pivot (Gizmo)" button
- Hint text will appear at the bottom of the screen
2. Edit Pivot Point
- G key: Move pivot point
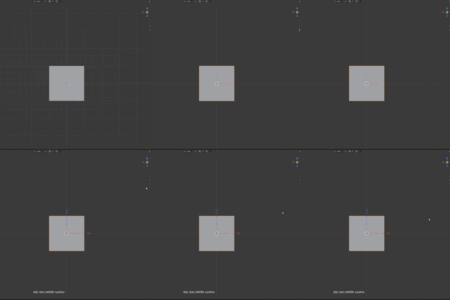
- Press X, Y, or Z to lock axis
- Hold Shift for precise movement
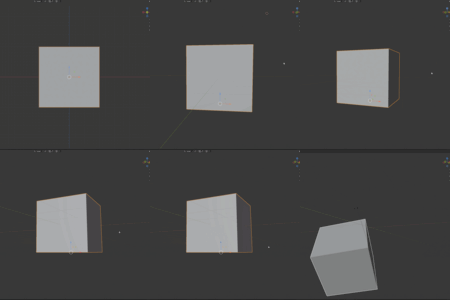
- R key: Rotate pivot point
- S key: Scale pivot point
- Mouse drag: Directly drag the Gizmo handle
3. Finish Editing
- Enter or Numpad Enter: Confirm changes
- ESC: Cancel changes and restore original state
Tips:
- You can press ESC at any time during editing to cancel
- When canceling, both pivot and geometry will restore to pre-edit state
- Supports Ctrl+Z undo operation
===================================================================
2. Quick Pivot Setting
2.1 Selected Face Center
Use Case: When you need to place the pivot point on a specific face of the model
Workflow:
Tab to Edit Mode -> Select Face(s) -> Click "Selected Face" -> Done
Example Scenarios:
- Place door handle pivot on the door panel
- Place wheel pivot at the hub center
===================================================================
2.2 Bounds Center
Use Case: When you need to place the pivot point at the geometric center of the model
Workflow:
Select Object -> Click "Bounds Center" -> Done
Example Scenarios:
- Center point for symmetrical models
- Objects that need to rotate from center
===================================================================
2.3 Bounds Bottom
Use Case: The most commonly used setting in game development
Workflow:
Select Object -> Click "Bounds Bottom" -> Done
Example Scenarios:
- Character Models: Pivot at feet for easy ground placement
- Prop Models: Pivot at bottom for easy scene placement
- Building Models: Pivot at ground level for easy alignment
Game Development Best Practice:
1. Complete model creation
2. Click "Bounds Bottom" to set pivot point
3. Click "Move to Origin" to move to world origin
4. Export to game engine
===================================================================
2.4 3D Cursor
Use Case: When you need to place the pivot point at any precise location
Workflow:
Position 3D Cursor -> Select Object -> Click "3D Cursor" -> Done
Methods to Position 3D Cursor:
- Method 1: Left-click in the 3D viewport
- Method 2: Use Shift+S menu
- Cursor to Selected: Cursor to selection
- Cursor to World Origin: Cursor to world origin
- Cursor to Active: Cursor to active object
Example Scenarios:
- Need to precisely align pivot points of multiple objects
- Place pivot point on specific geometric features
===================================================================
3. Reset Pivot
Use Case: Restore pivot point to geometry center
Workflow:
Select Object -> Click "Reset" -> Done
Important Notes:
- This operation will change the object's position in world space
- Calculation is based on vertex median position
===================================================================
4. Bake Pivot
Use Case: Clean transform data before export
Workflow:
Select Object -> Click "Bake (Rot/Scale)" -> Done
Function Description:
- Apply rotation and scale transformations to mesh data
- Keep pivot point position unchanged
- Clean transform data for export
IMPORTANT WARNING:
- This operation is irreversible, save your file first
- Only applies rotation and scale, not location
- After baking, object's rotation and scale values reset to defaults
When to Use:
- Before exporting to game engines
- When you need to clean transform data
- When preparing models for exchange with other software
===================================================================
5. Move to Origin
Use Case: Game export workflow
Workflow:
Set Pivot Point -> Click "Move to Origin" -> Export
Function Description:
- Move object's pivot point to world origin (0, 0, 0)
- Object geometry will move accordingly
- Rotation and scale remain unchanged
Complete Game Export Workflow:
1. Complete model creation and optimization
2. Use "Bounds Bottom" or other method to set pivot point
3. Click "Move to Origin" to move to world origin
4. (Optional) Click "Bake (Rot/Scale)" to clean transform data
5. Export model to game engine (FBX, OBJ, etc.)
Supported Engines:
- Unreal Engine
- Unity
- Godot
- Other mainstream game engines
===================================================================
USE CASES
Use Case 1: Character Model Export
Goal: Set character model's pivot point at feet for easy placement in game
Steps:
1. Select character model
2. Click "Bounds Bottom" to set pivot at bottom
3. Click "Move to Origin" to move to world origin
4. Export as FBX file
5. Import in game engine, pivot will automatically be at feet
===================================================================
Use Case 2: Prop Model Preparation
Goal: Prepare a crate model with pivot at bottom center
Steps:
1. Select crate model
2. Click "Bounds Bottom" to set pivot point
3. (Optional) Click "Bake (Rot/Scale)" to clean data
4. Click "Move to Origin" to move to origin
5. Export model
===================================================================
Use Case 3: Precise Alignment of Multiple Objects
Goal: Align pivot points of multiple objects to the same position
Steps:
1. Select first object
2. Use "3D Cursor" or other method to set pivot point
3. Press Shift+S -> Cursor to Active to move cursor to that pivot point
4. Select other objects
5. Click "3D Cursor" to align all objects' pivot points
===================================================================
Use Case 4: Fix Incorrect Pivot Point
Goal: Restore pivot point from wrong position to correct position
Steps:
1. Select object
2. Use "Reset" to restore to geometry center
3. Or use "Bounds Bottom" to set to bottom
4. Or use interactive editing for precise adjustment
Have questions about this product?
Login to message
| Blender Extension Compatible | Yes |
| Published | 9 months ago |
| Blender Version | 3.6 - 5.0 |
| Extension Type | Add-on |
| Render Engine Used | Cycles |
| License | GPL |
Discover more products like this
axis point Modeling tools pivot point origin editing transform tools pivot editor blender addon Model Preparation Blender Plugin gizmo tools pivot-tools