 Frenkel Design





01 About
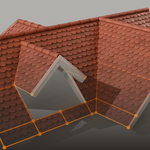
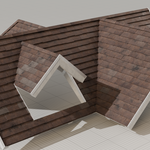
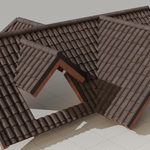
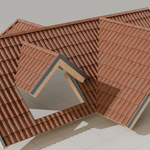
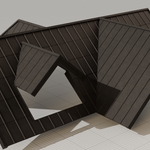
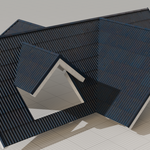
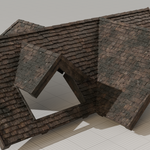
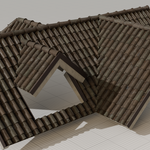
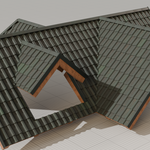
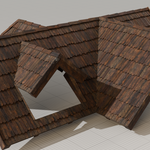
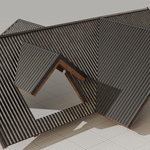
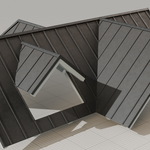
This product contains a collection of modifiers, that will convert a simple blockout-mesh to a complex roof. This happens without secondary instanced objects that clutter your outliner. Everything lives inside the node group as long as you don't want to use your own roof tiles for the process. It is great for getting fast and dynamic results for an otherwise tedious task. Get started by following the instructions on the documentation subsite.
Input Mesh + Roof Generation
02 Latest release
The long awaited update is there. It will require Blender 4.5 and work up to version 5.1.
Round Surfaces
The generator now works on round surfaces as long as the input shape is only curved along the upside/downside vector of the roof (through horizontal edge loops). A curve on the XY-plane will not work.
Increased stability and performance
The generation is more stable, faster and the tolerance towards imperfect input shapes increased. Here the roof sustains random knife cuts:
Metal Sheet Roofs
A new type of roofs that subdivides the input mesh, instead of instancing tiles on top of it. This method is mainly used for sheet roofing.
Shader Attributes
The geometry modifier will output handy greyscale maps as attributes that can be used in shaders. The default materials already use them, but they are open to be implemented in custom shaders, too. Just add an attribute node and enter one of the following match names:
- DIRT_Y
- DIRT_Z
- TILE_RND_01
- TILE_RND_02
- TILE_RND_03
- TILE_NOISE_01
- TILE_NOISE_02
- TILE_NOISE_03
Roof Verge Trims
New component that generates trim plates on angled roof borders.
03 Installation
- Download the roof generator *.blend file. It functions as a library that should be stored in its own designated folder, not in your current project folder. You don't have to open the file itself. Just enable it as an asset library in your preferences.
- To do this go to Edit / Preferences / File Paths.
- Create a new item under "Asset Libraries" and link the Roof Generator file. You can give your library an individual name. Close the preferences panel afterwards
- Now open the asset browser in Blender by creating a new panel or changing an existing one. By hovering a panel and pressing "SHIFT+F1" twice, you can reveal it.
- In the asset browser use the previously defined library instead of "Current File".
- If you want full access to all settings, or plan to create your own profiles, make sure you have "Append" as your import behaviour selected. This can be changed with the button at the top border of the asset browser panel.
04 Input shape
Prepare a simple roof mesh for your modifier. Keep in mind that you can always update this shape in edit mode afterwards. Here are some things you should consider before adding the modifier:
- Apply object rotation and scale (Object / Apply / All Transforms). The generator has to know the real dimension and orientation of your shape, which it won't, if those transforms are not "baked" into the mesh.
- Work roughly in real scale at first. Since the size of a tile determines how many of them are needed to cover an area, you should not confront the node tree with surfaces that are 10 or 100 times bigger. This can lead to crashes. Later you can scale it up with or without also scaling the tiles by either scaling in edit mode or in object mode.
- Make sure your normals are pointing outwards/upwards correctly.
- The generation process got a lot more tolerant when it comes to imperfections on the input shape. Still, try to stay as clean as possible to not provoke any quirks.
Workflow tips
These tips might improve your modeling experience. The timecode in brackets refers to the video below, in which the points are visualized.
- Disable the modifier in Edit Mode. This is a button on the top right corner of the modifier. If enabled, it live-updates the generation, while in Edit Mode, which is not very performant. Disabling it will only force an update, when switching back to Object Mode.[0:10]
- Use the shear operation to create roof corners.[0:22]
- A combination of inserting an edge loop, beveling a created border vertex and extruding the resulting face creates new roof parts that can be extruded afterwards.[0:57]
05 Create your own roof styles
If you want to create your own roof style you have to dig into the node tree itself. The good news: You barely need any previous knowledge on geometry nodes. Everything is controllable through a single node that you just have to fill with your own parameters.
- Open the asset browser and drag the blank "RG_Custom"-profile onto your mesh.
- Make sure you make every change on a duplication of the original modifier to not overwrite it. Therefor click the "Duplicate active node group" button in the modifier tab.
- Open a geometry node editor panel and make sure you have the modifier selected. Only the biggest node "RG_ROOF_COMPONENTS" and its inputs are relevant and should be adjusted. More information can be found in the documentation tab.
