 ZEG
ZEG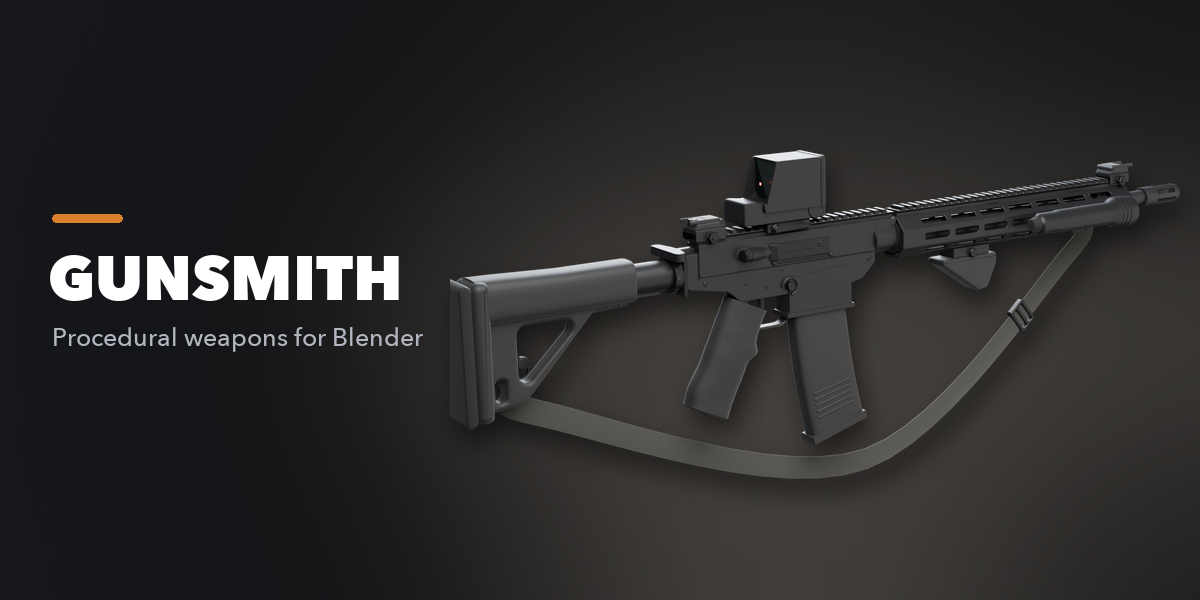
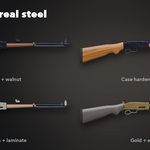
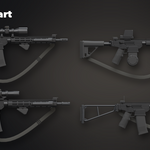
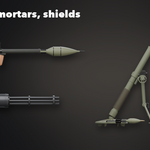
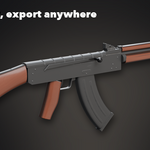
Installation
In Blender open Edit, Preferences, Get Extensions, then use Install from Disk and pick the weapon_generator zip.
Usage
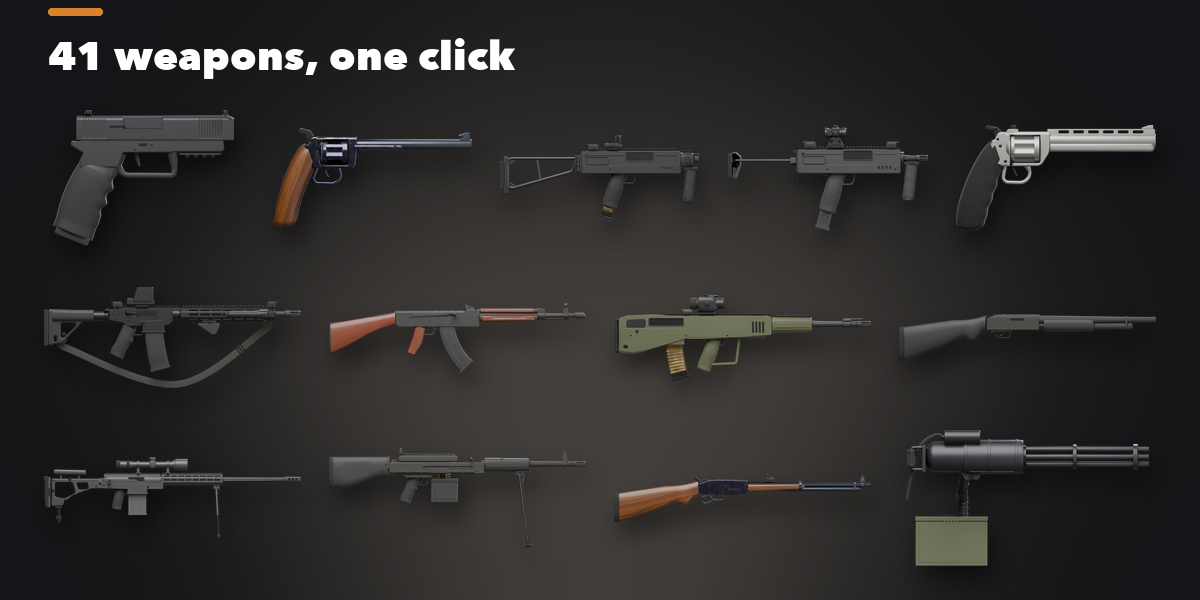
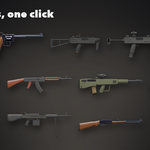
- In Object Mode press Shift+A and choose Mesh, Weapon, then pick a preset. You can also use the Weapon tab in the 3D viewport sidebar (N).
- Change the preset, press Random Weapon for a variation of the same type, or Wild Mix to cross archetypes. Random Finish picks new colors and finishes.
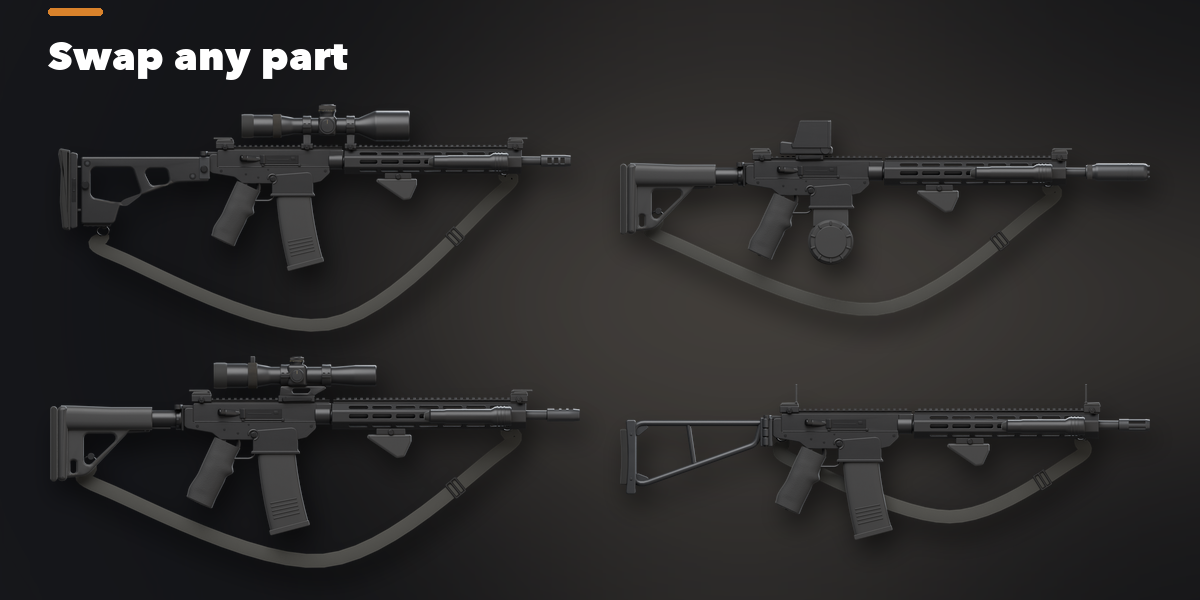
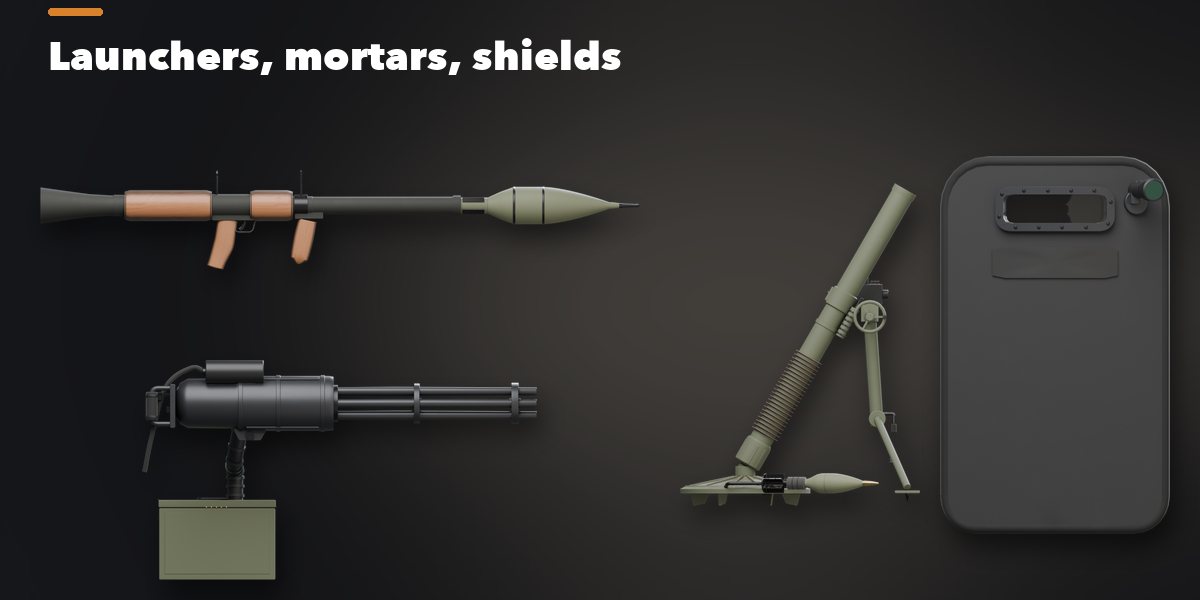
- Open the component panels (Receiver, Barrel, Muzzle Device, Handguard, Stock, Grip, Magazine, Sights and Optics, Accessories, or the Launcher, Mortar, Shield and Rotary panels) to choose and size every part.
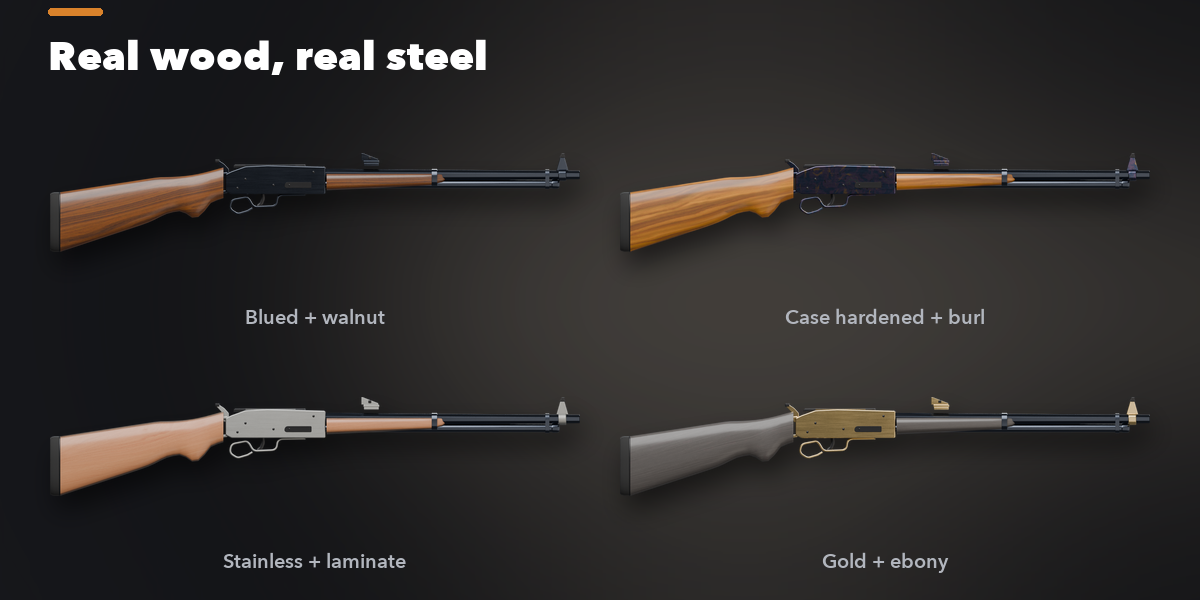
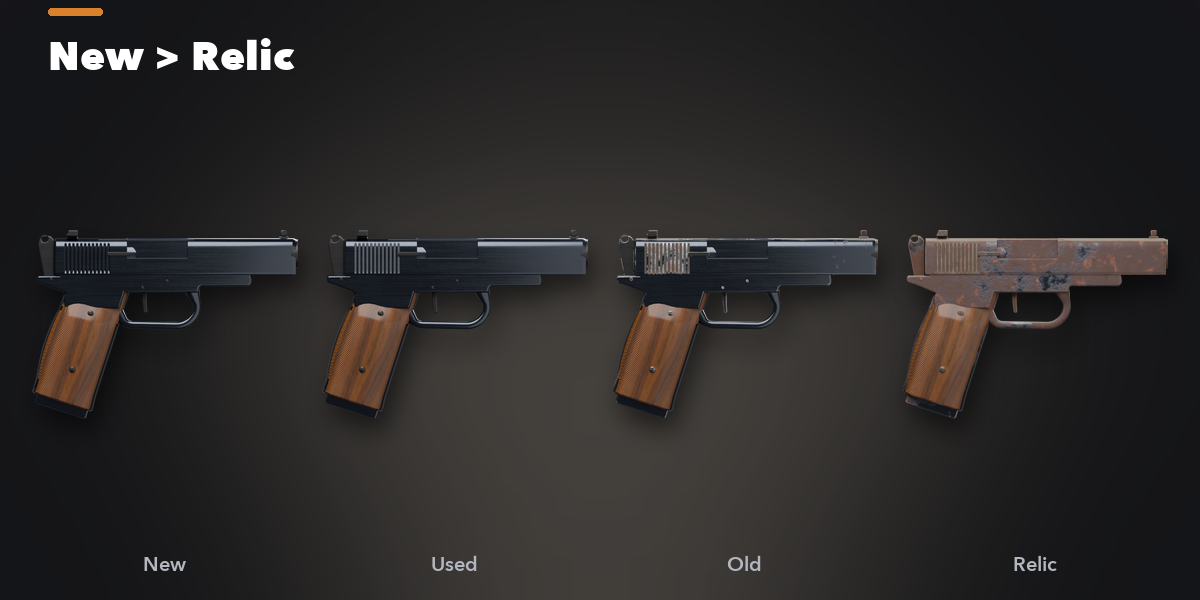
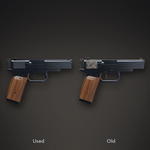
- Under Finish and Colors pick the metal finish, colors, wood and camo. Under Condition and Wear choose New, Standard, Well Used, Old, Battle-Worn or Relic, or fine-tune each wear effect.
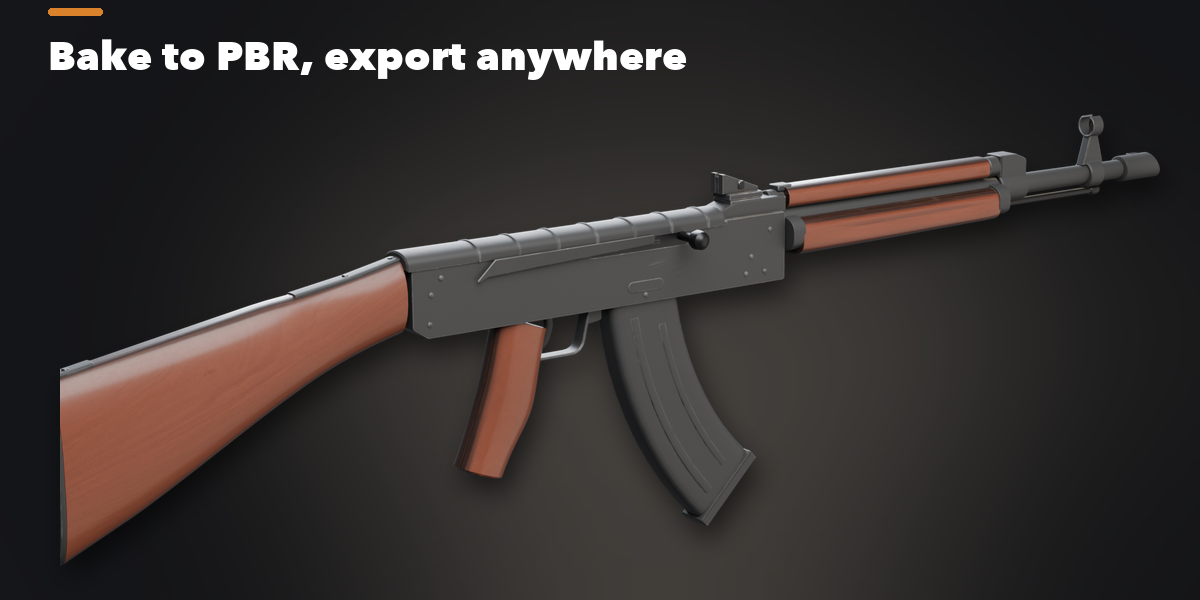
- Under Bake PBR Textures choose the maps, resolution and folder, then press Bake. A game-ready copy with the baked textures is created.
- Click a part in the Parts list to select it, use Apply as Mesh to turn the weapon into one plain mesh, or Delete Weapon to remove it with its materials.
Switch the viewport to Material Preview or Rendered to see the materials. Edge wear looks best in Cycles.
$5
Have questions about this product?
Login to message
| Blender Extension Compatible | Yes |
| Published | 2 days ago |
| Blender Version | 4.2 - 5.2 |
| Extension Type | Add-on |
| Render Engine Used | Cycles, Eevee |
| License | GPL |

Discover more products like this
Gun firearm baking Generator procedural pistol props hard surface Game asset rifle weapon PBR