 alastorv
What is Halation?
In film photography, halation is a warm glow that spreads around bright highlights. Halation Pro 2.0 brings that character to Blender, together with camera tools, film looks and lens effects for building a complete shot.
Shape the camera move. Choose your film look. Finish the image with animated grain, halation, sunlight flares, Black Mist diffusion and selective lens dirt — inside Blender.
Pro 2.0 at a glance: 20 film-stock models + 20 camera-look adaptations, 11 lens profiles, 15 camera formats, 13 camera moves and 3 procedural flare profiles plus Legacy mode.
From clean render to finished shot
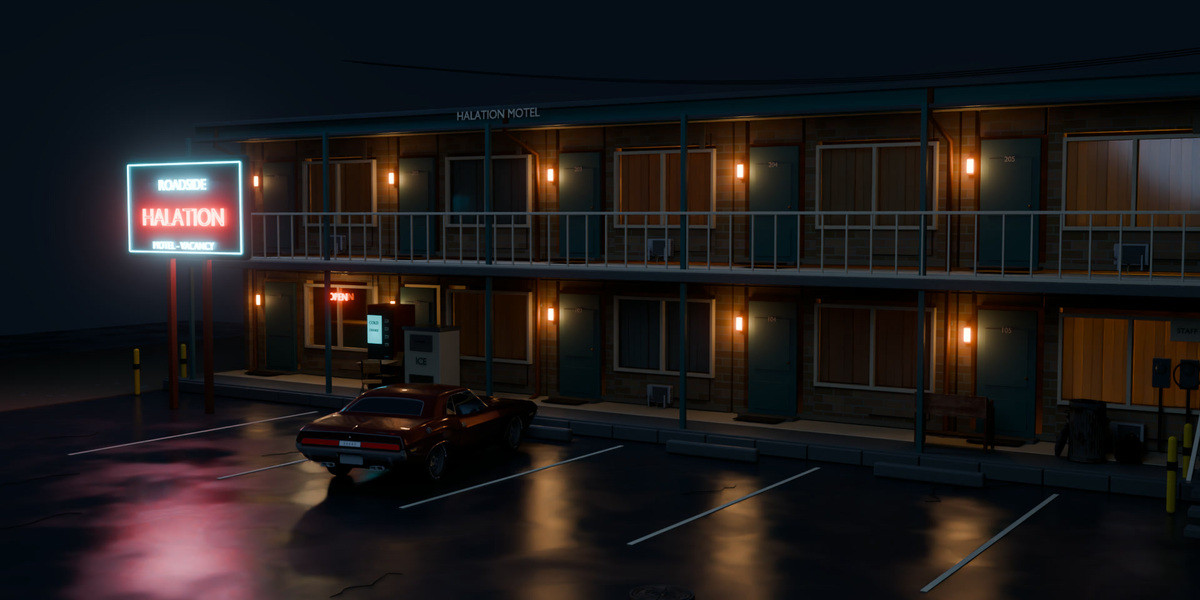
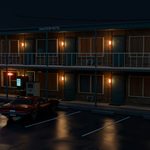
A neon motel at night. Sunlight through a classroom window. A slow move through a daylight room. Watch the new demo above, then explore the same scenes with Halation off and on below.
Set the shot. Build the move. Finish the image.
- Set the shot: Choose a camera format and frame your scene.
- Build the move: Create a dolly, push or vertigo move and direct attention with rack focus.
- Finish the image: Choose a film simulation or import a custom LUT. Refine grain, halation, flare, diffusion and lens dirt for your scene.
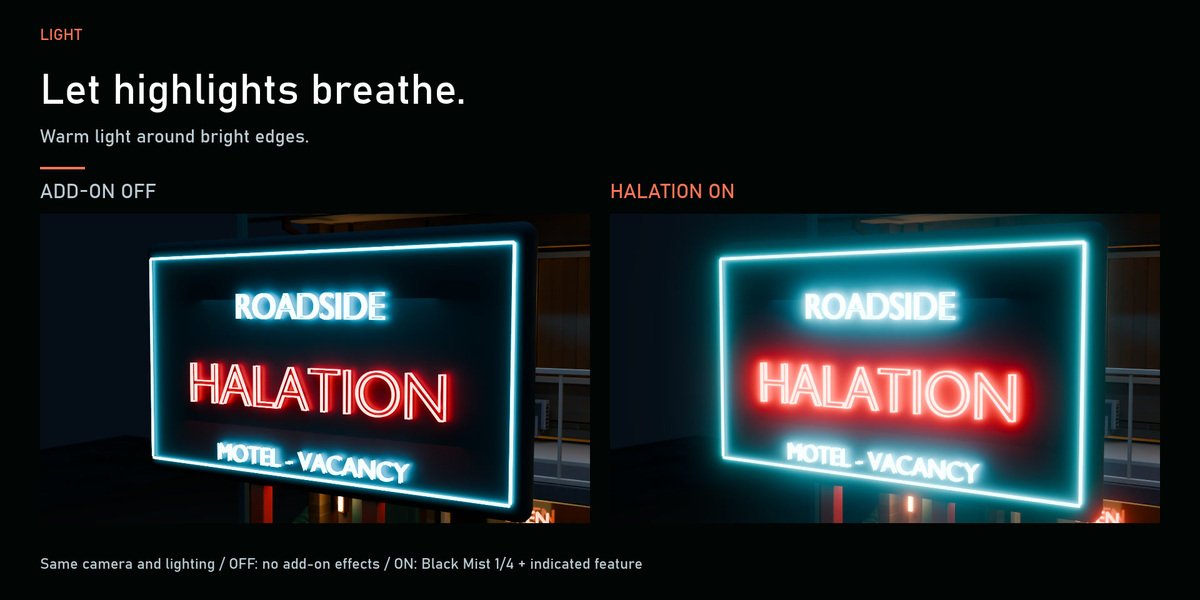
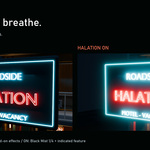
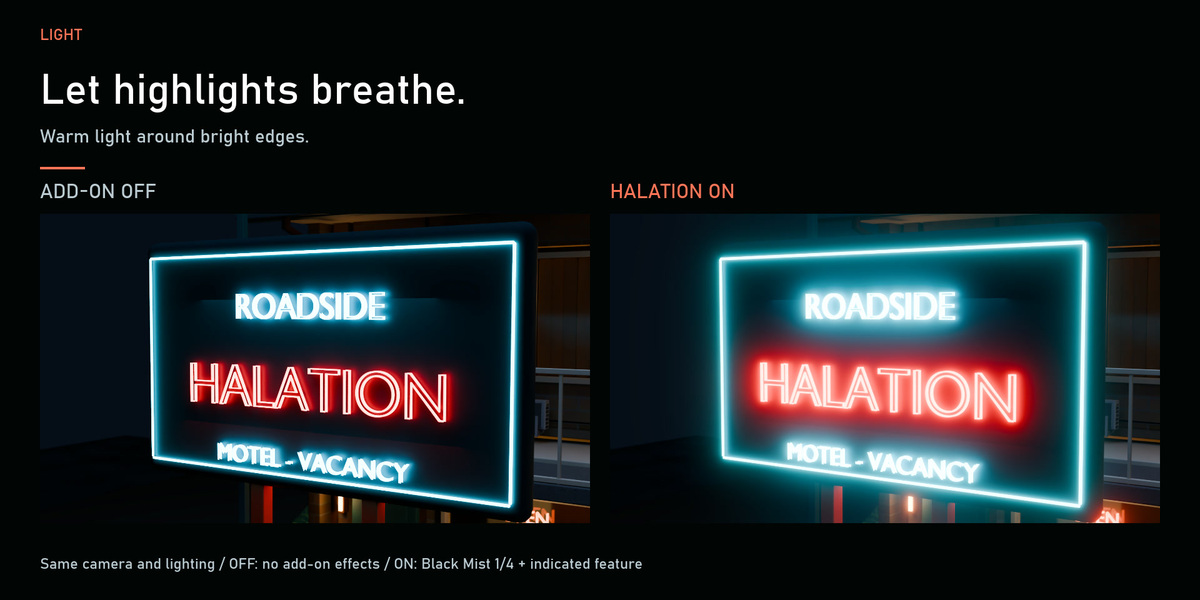
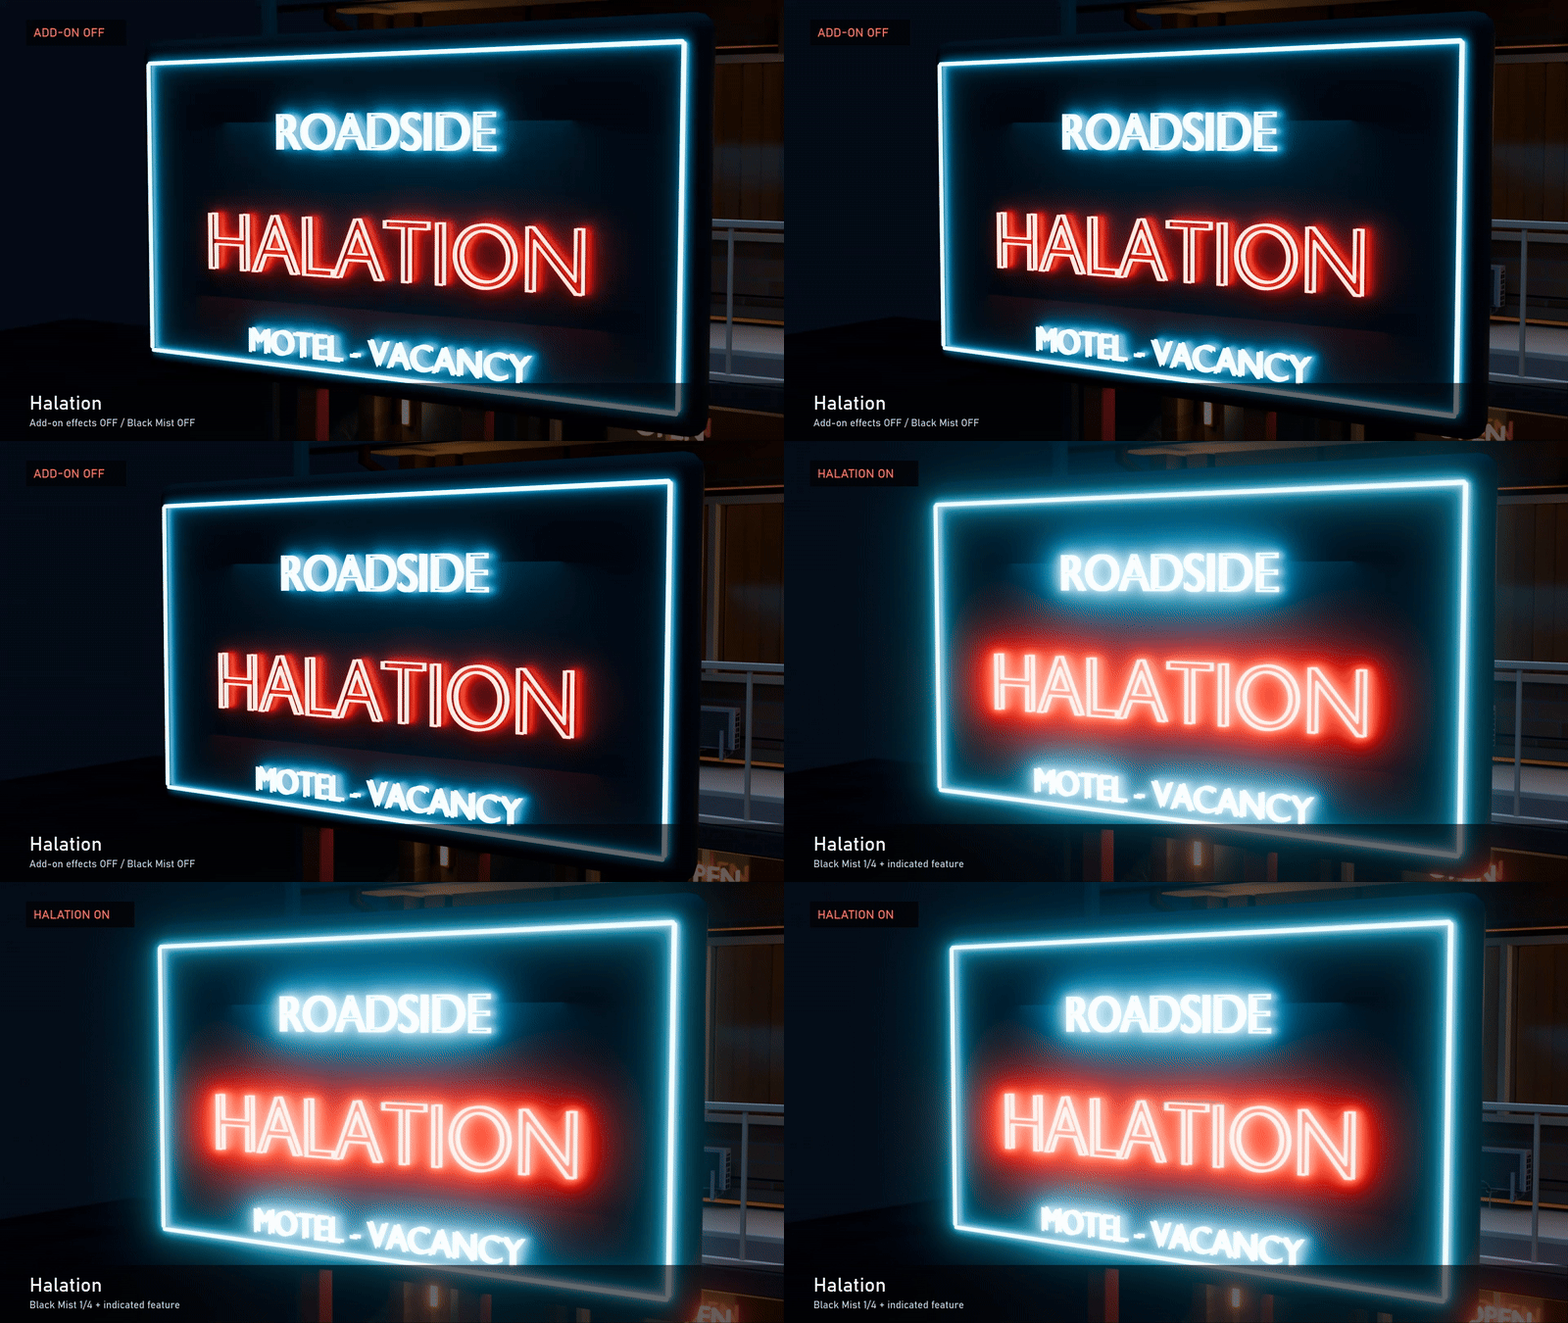
Let highlights breathe
Give neon and bright practical lights a warm halation edge. See the clean render become a finished night shot.
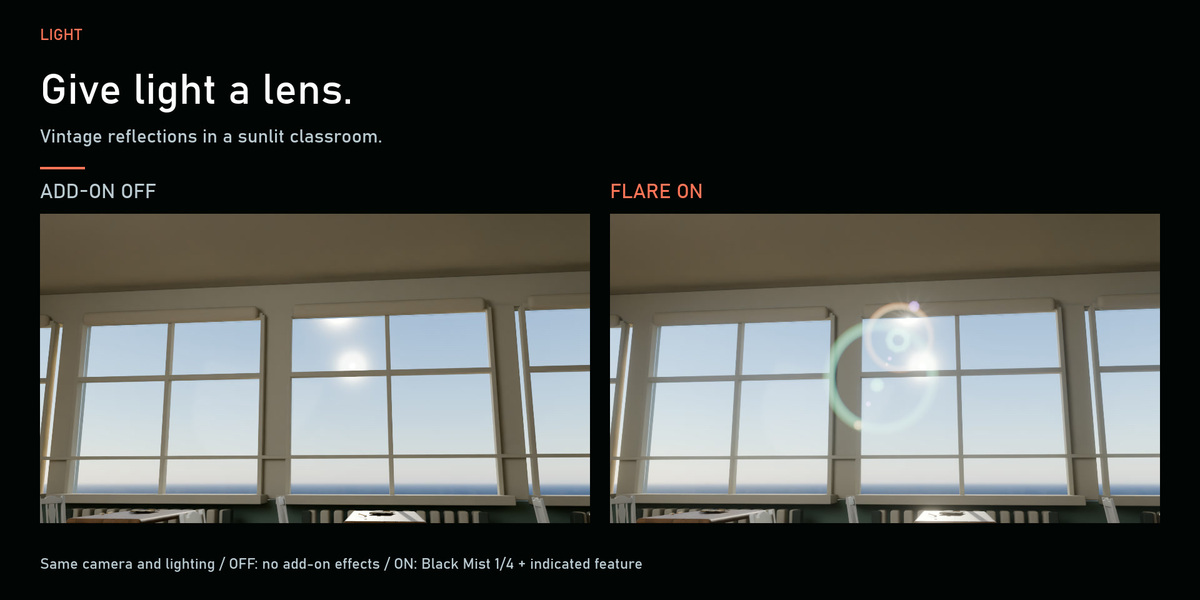
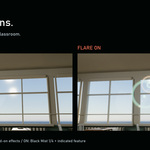
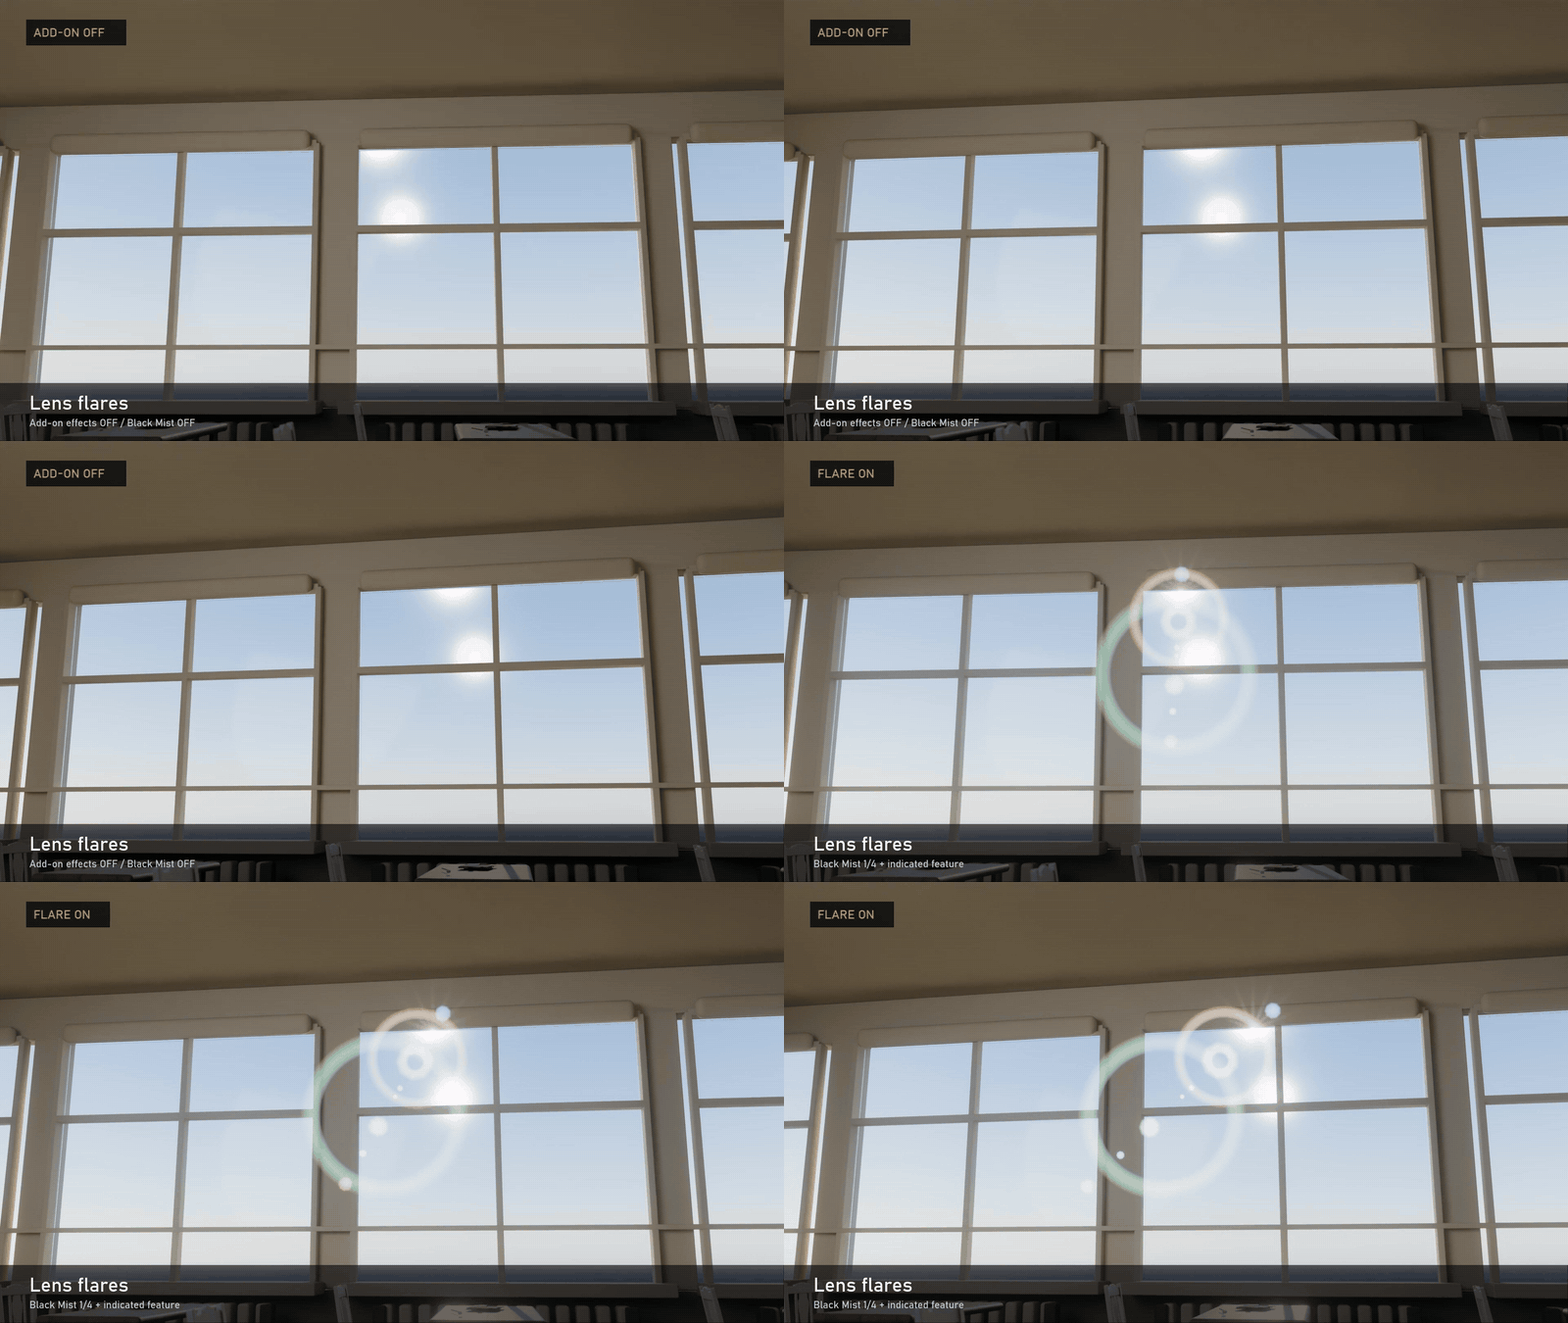
Give light a lens
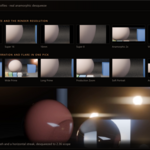
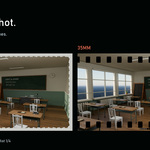
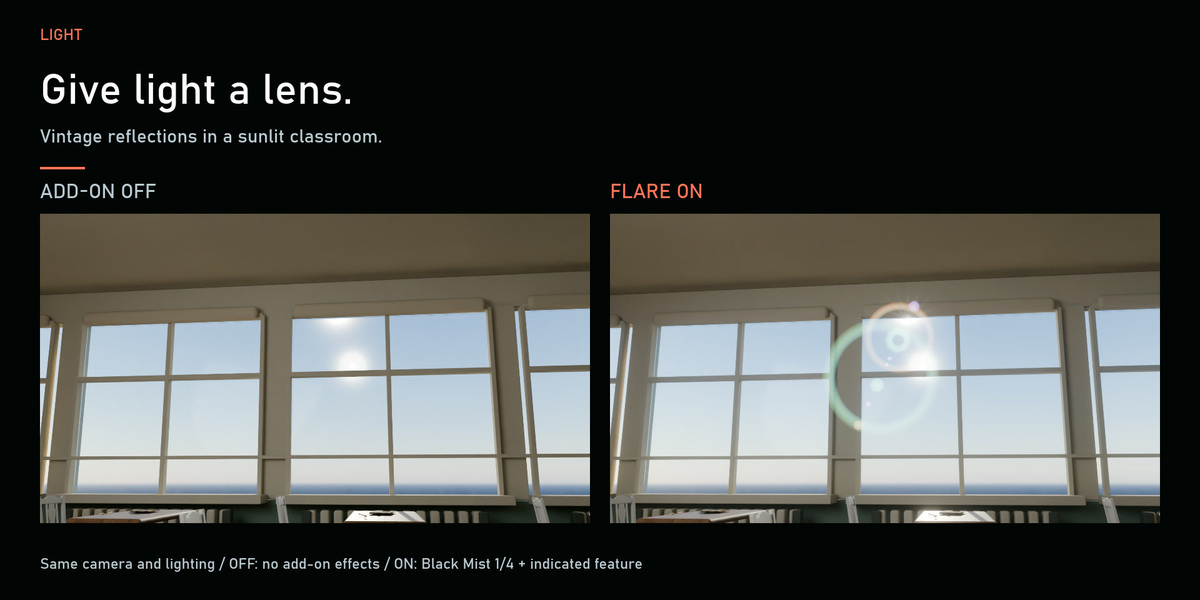
Shape sunlight with lens flares as the camera moves past a classroom window.
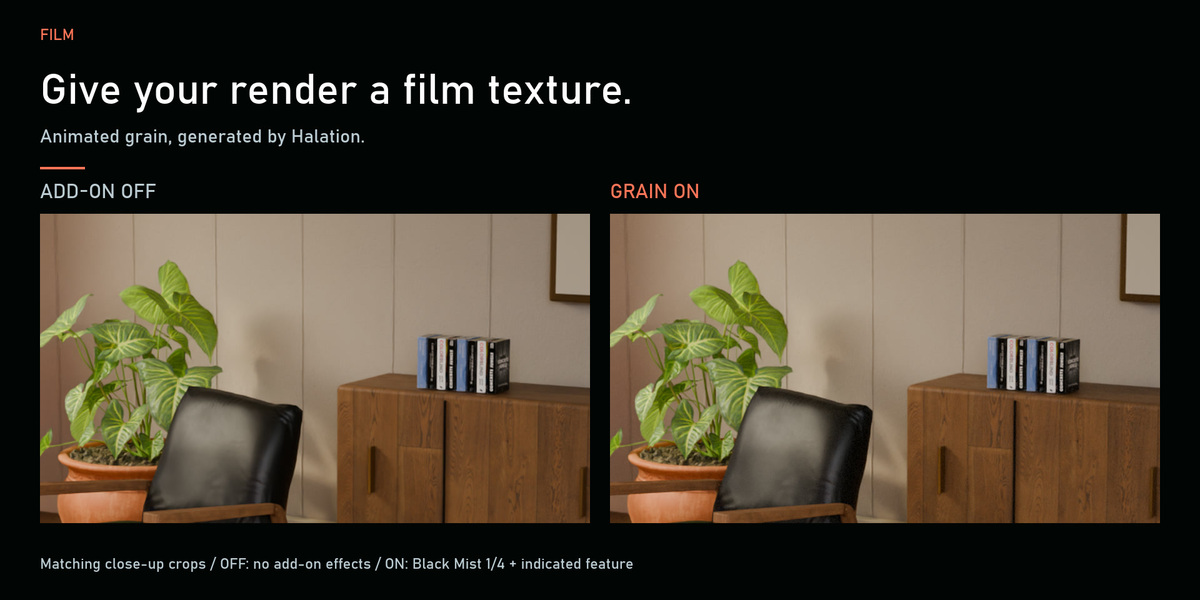
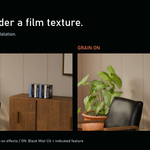
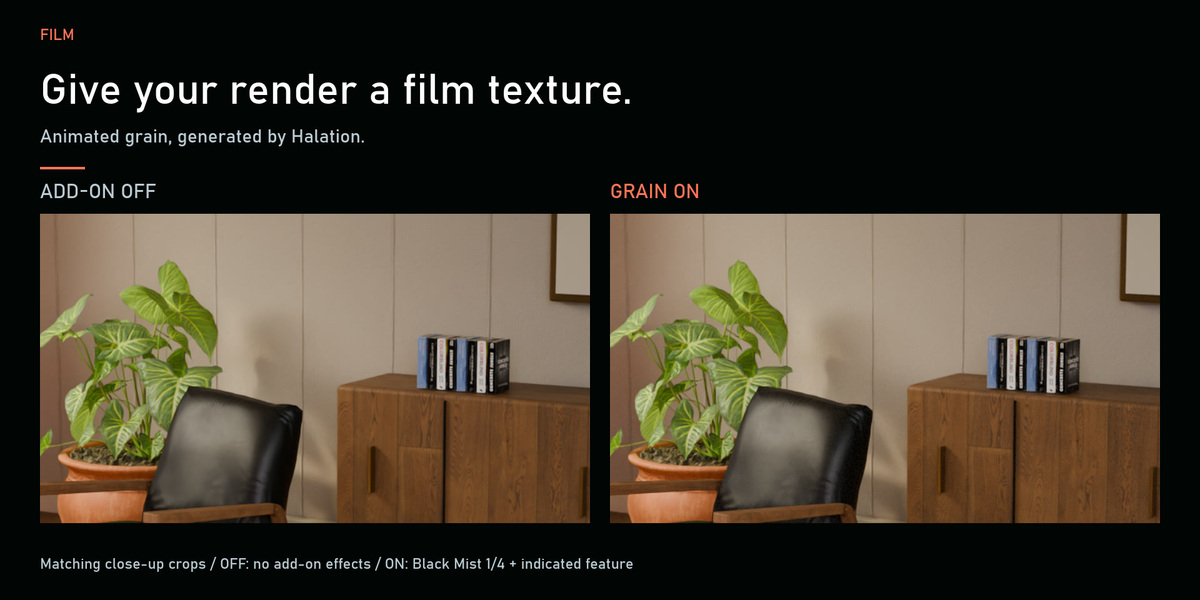
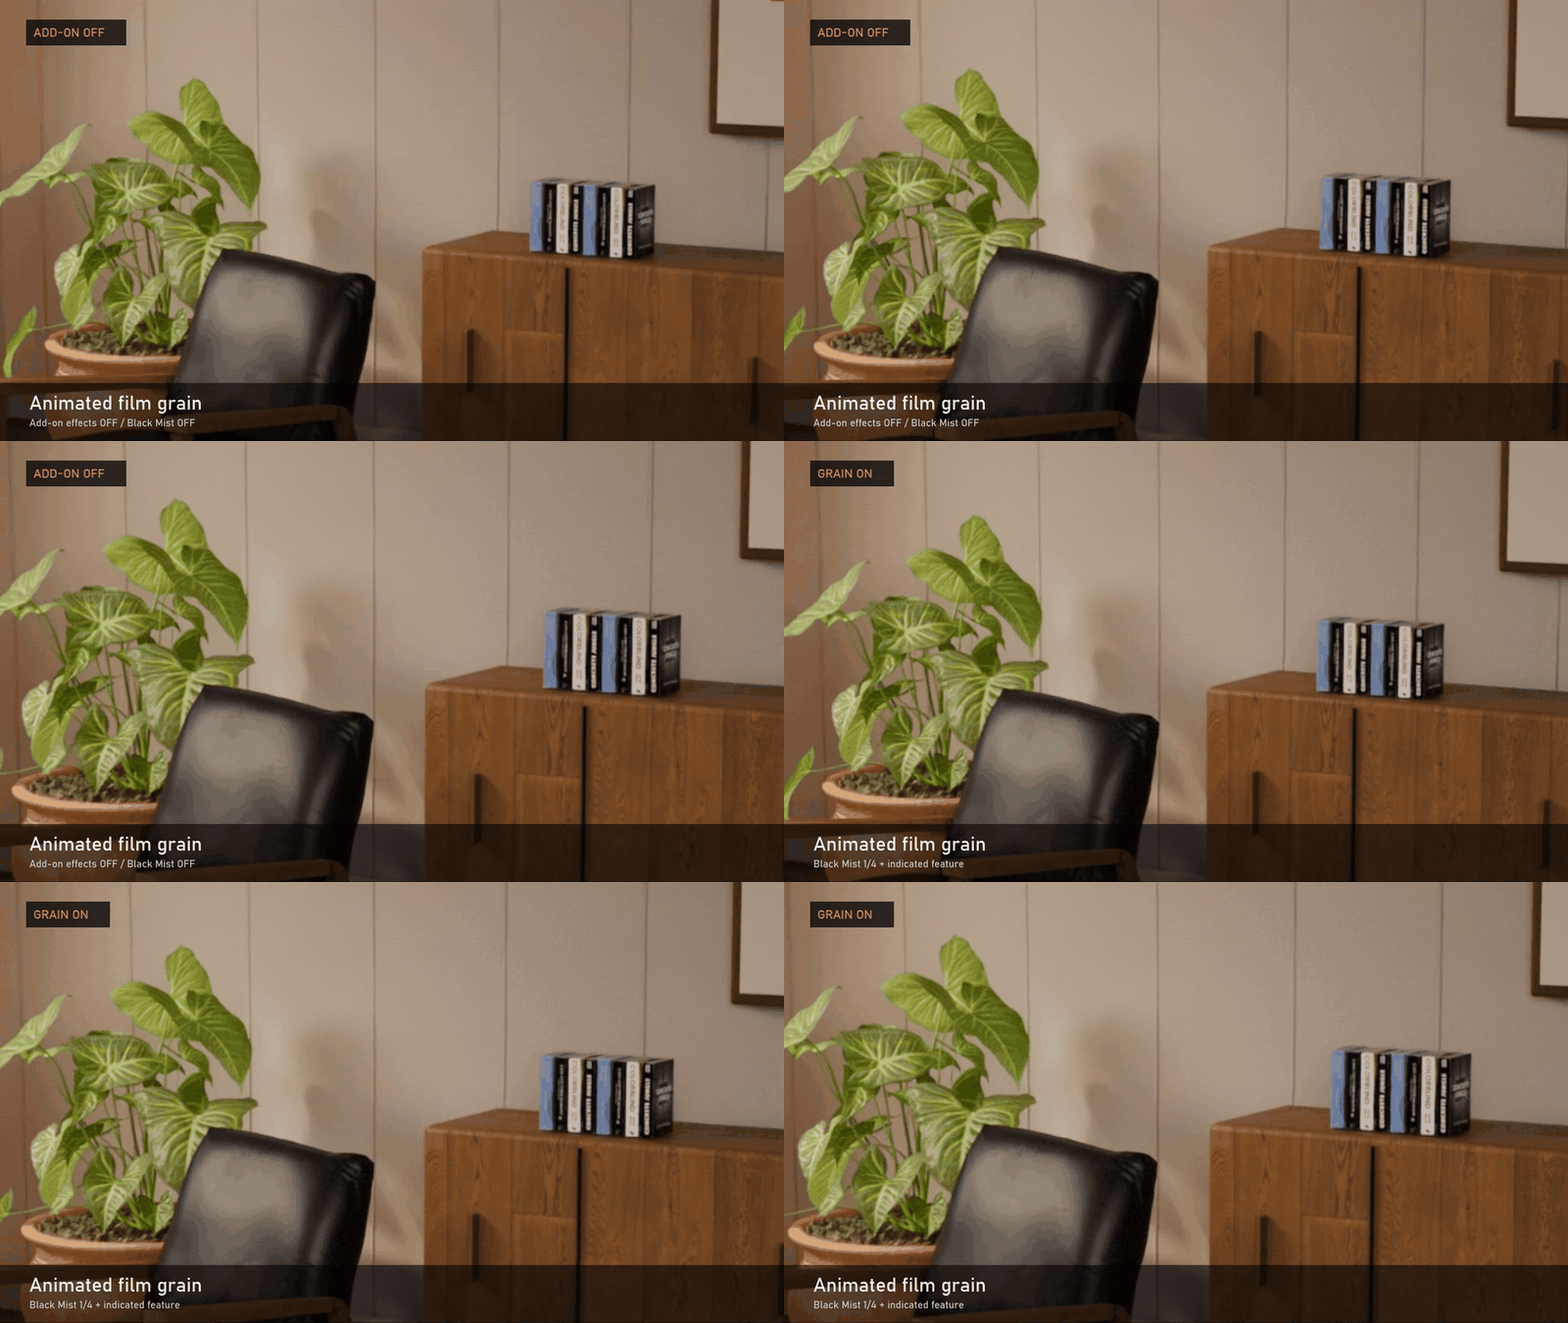
Give your render a film texture
Add animated film grain. Judge the texture in shadows, midtones and highlights in the moving daylight scene.
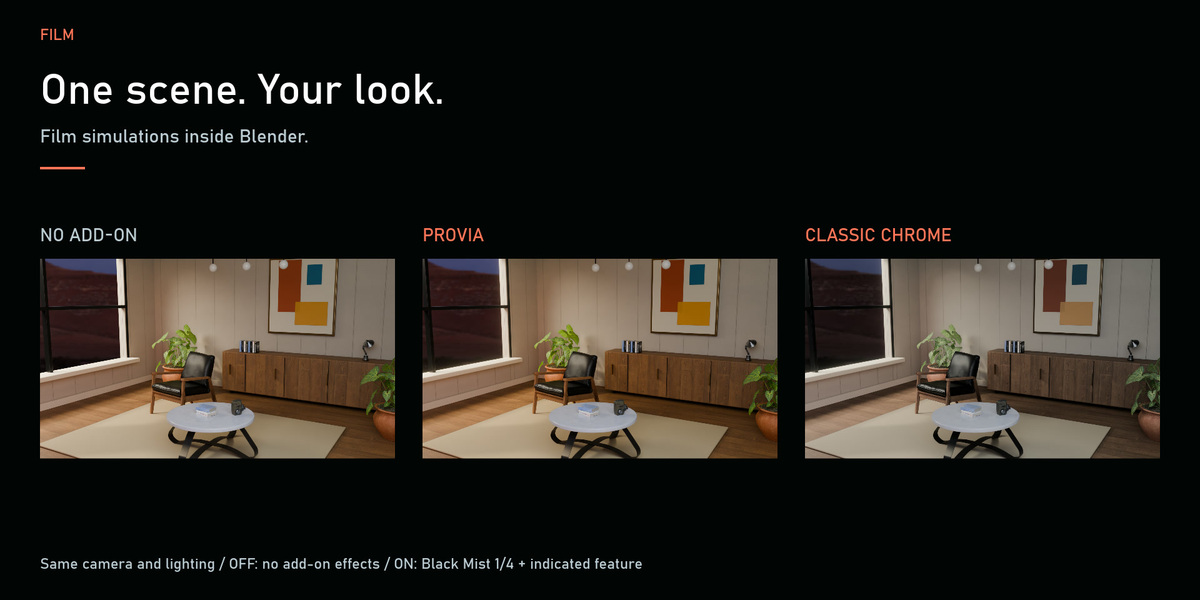
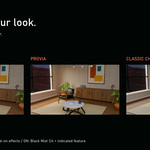
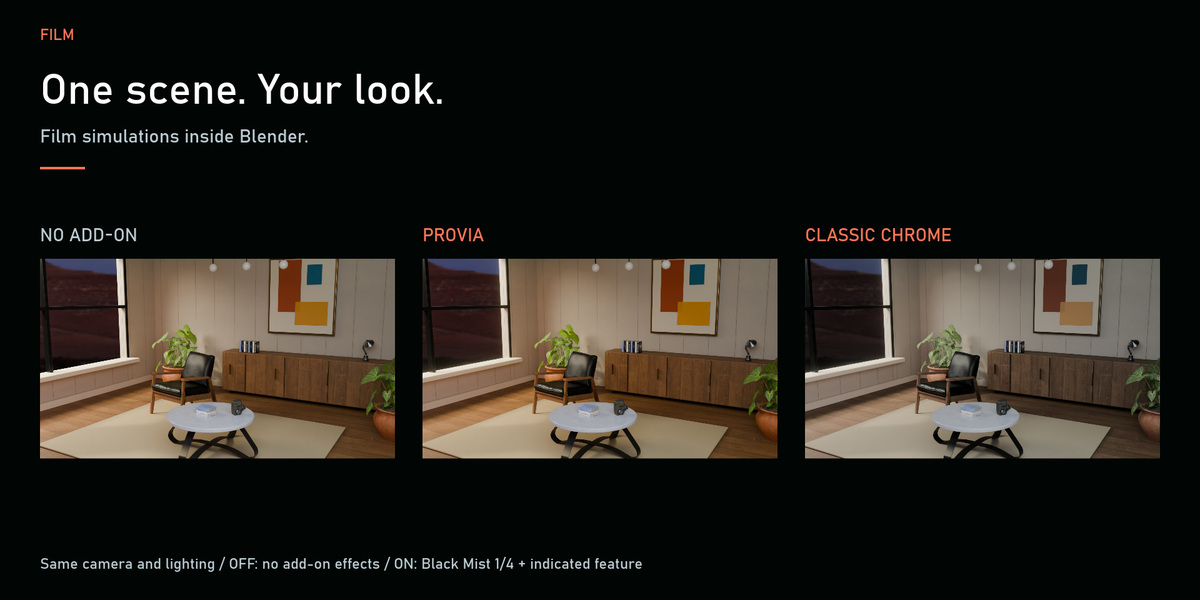
One scene. Your look.
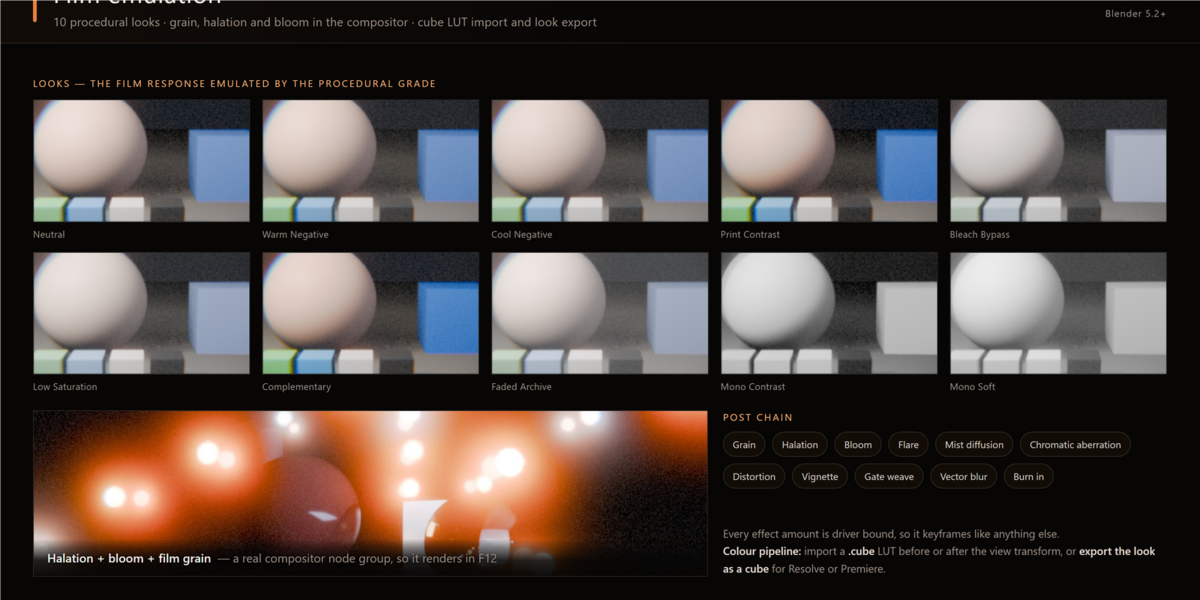
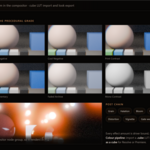
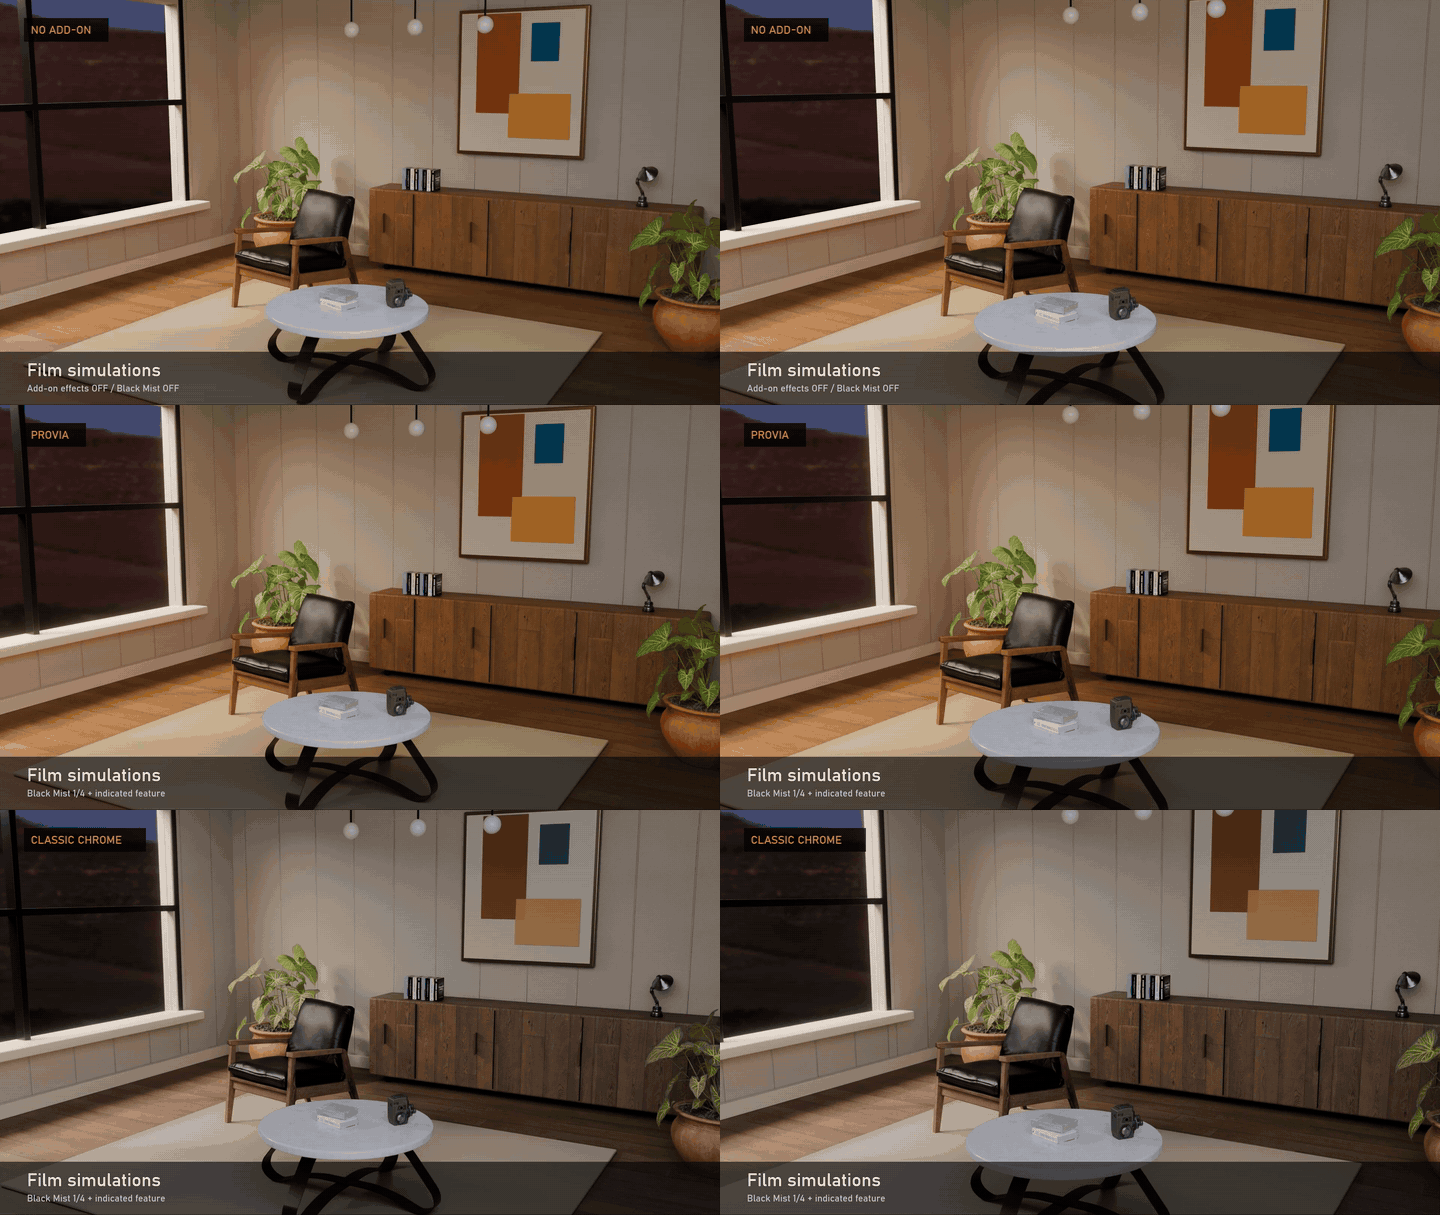
Explore film simulations, including the Provia and Classic Chrome looks shown in the demo. These are creative look adaptations.
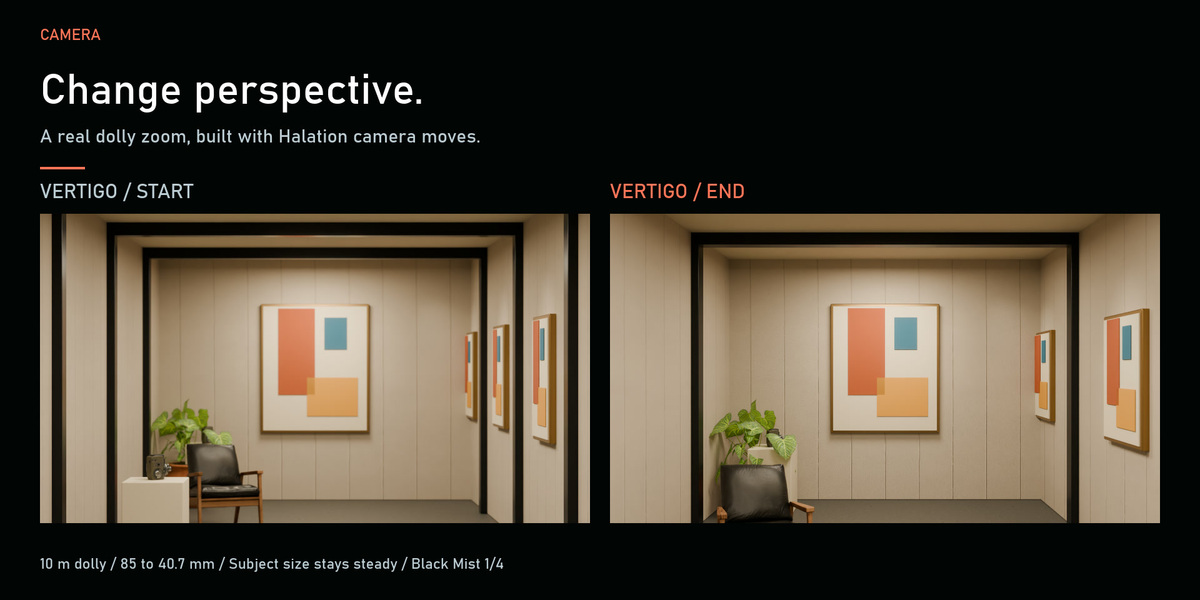
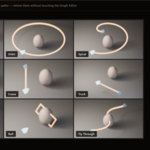
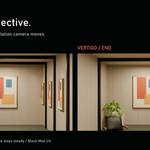
Build the camera move
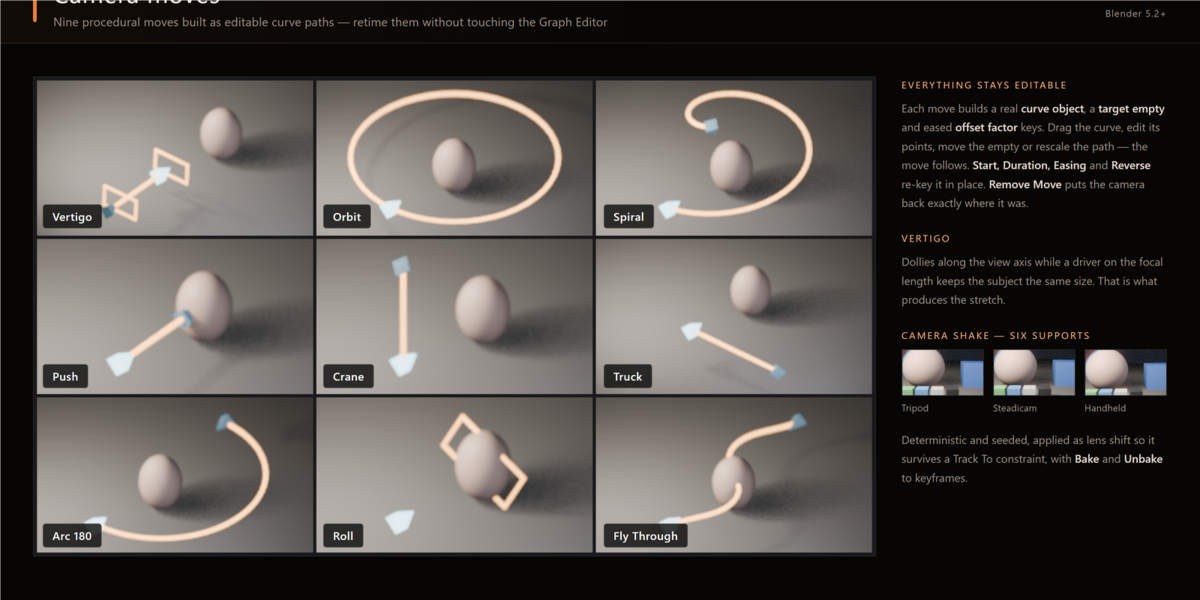
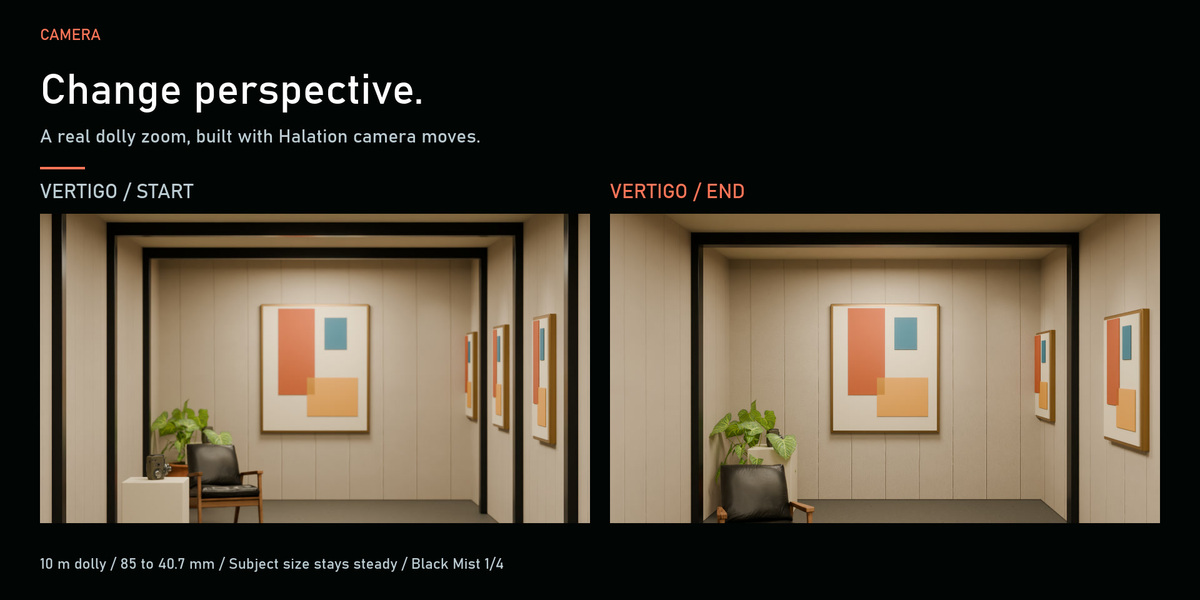
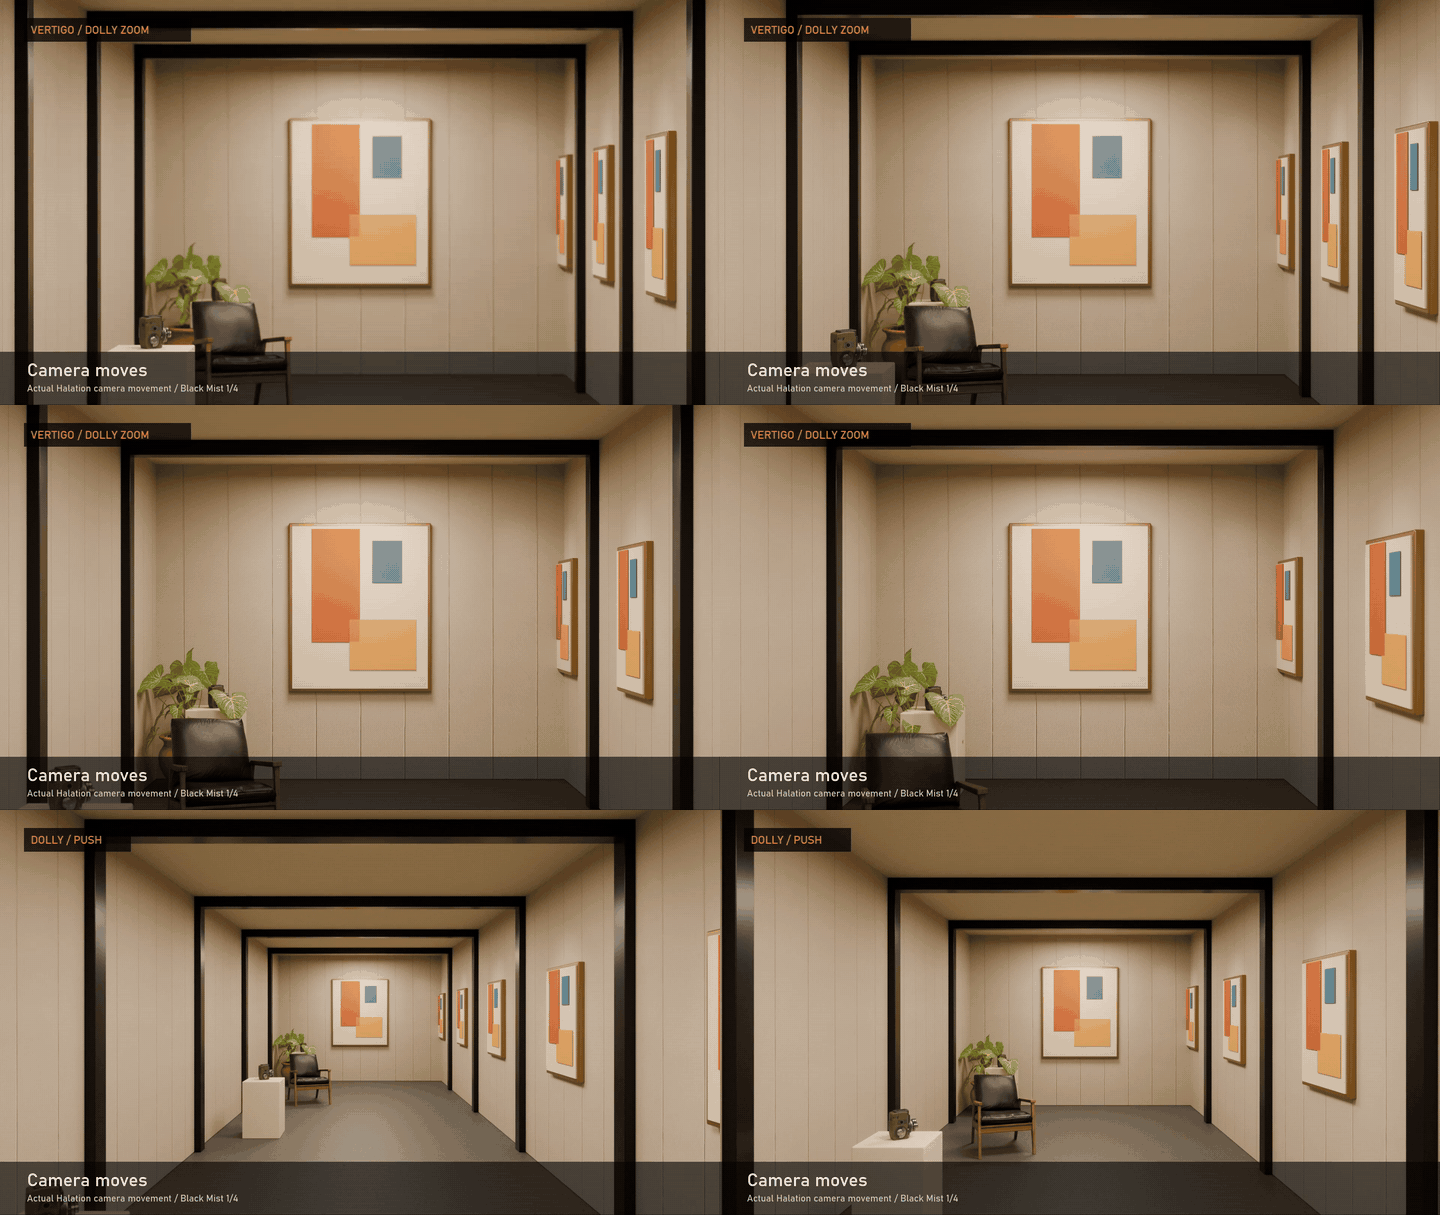
Create a push, dolly or vertigo move. The corridor example combines a real camera move with a changing lens perspective.
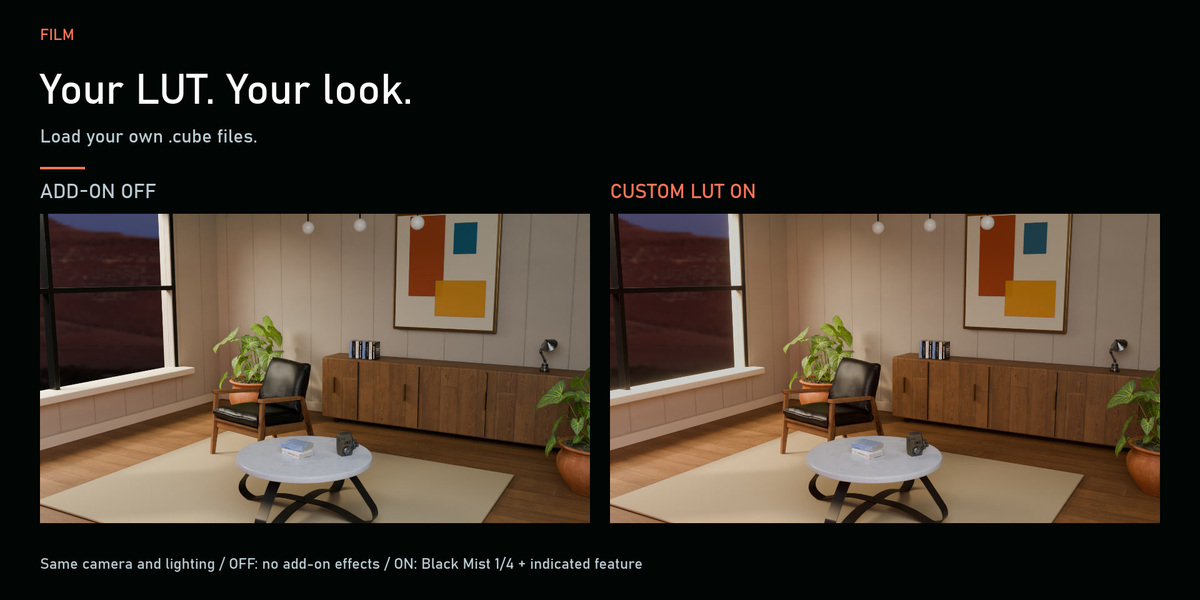
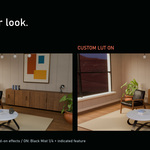
Bring your own LUT
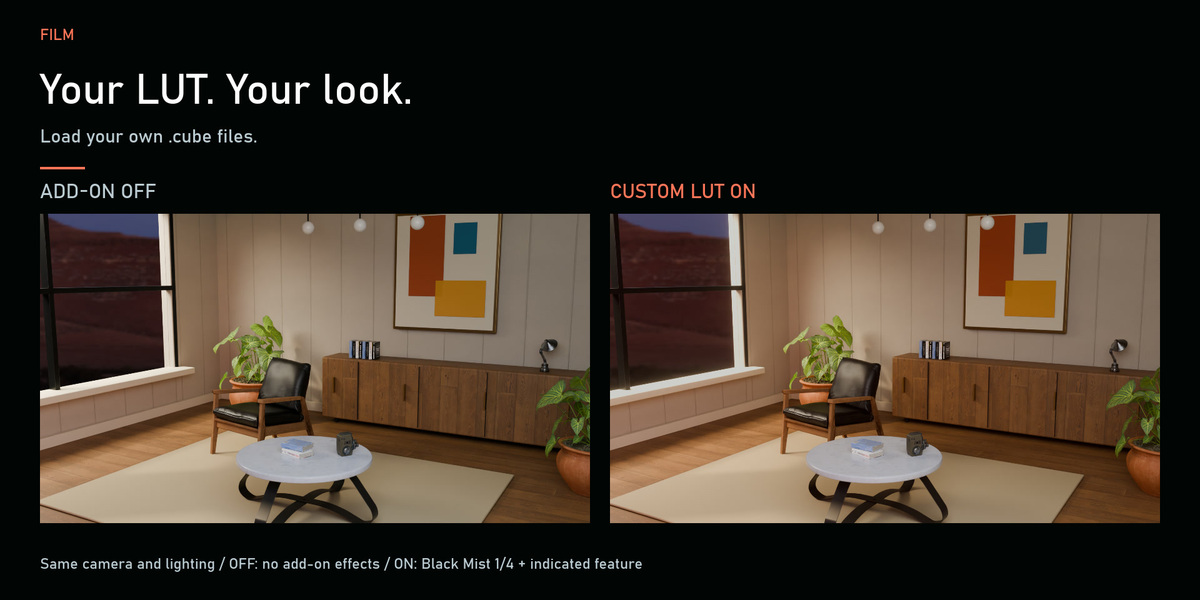
Import your own .cube LUT and bring your preferred grade into the same shot workflow.
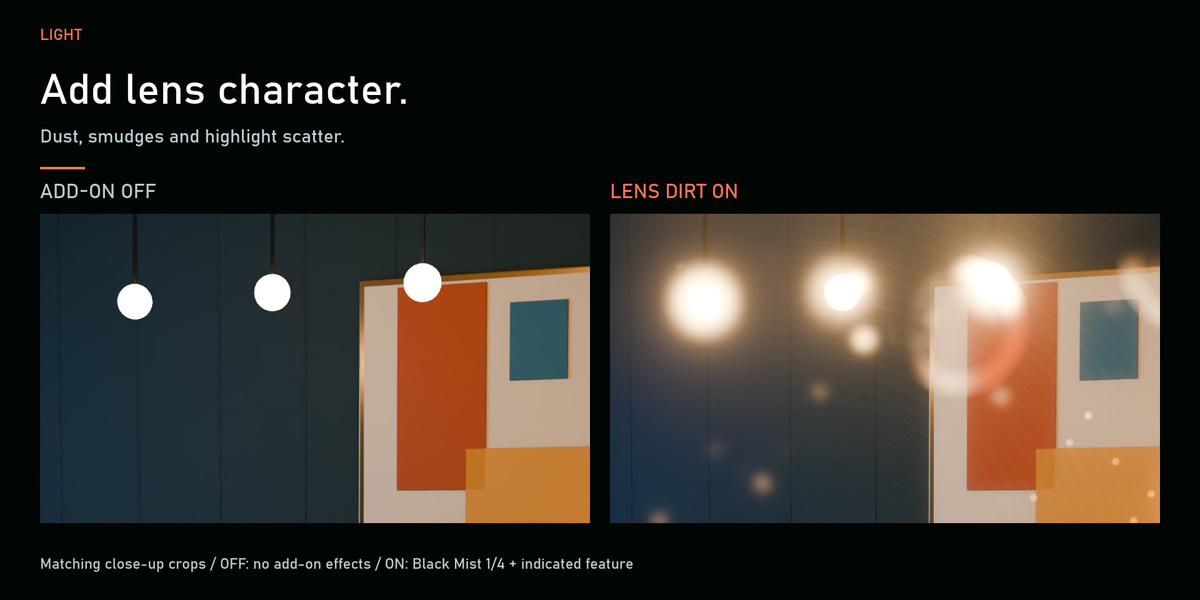
Add lens character where it belongs
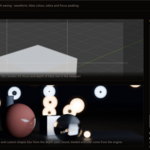
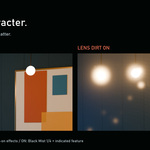
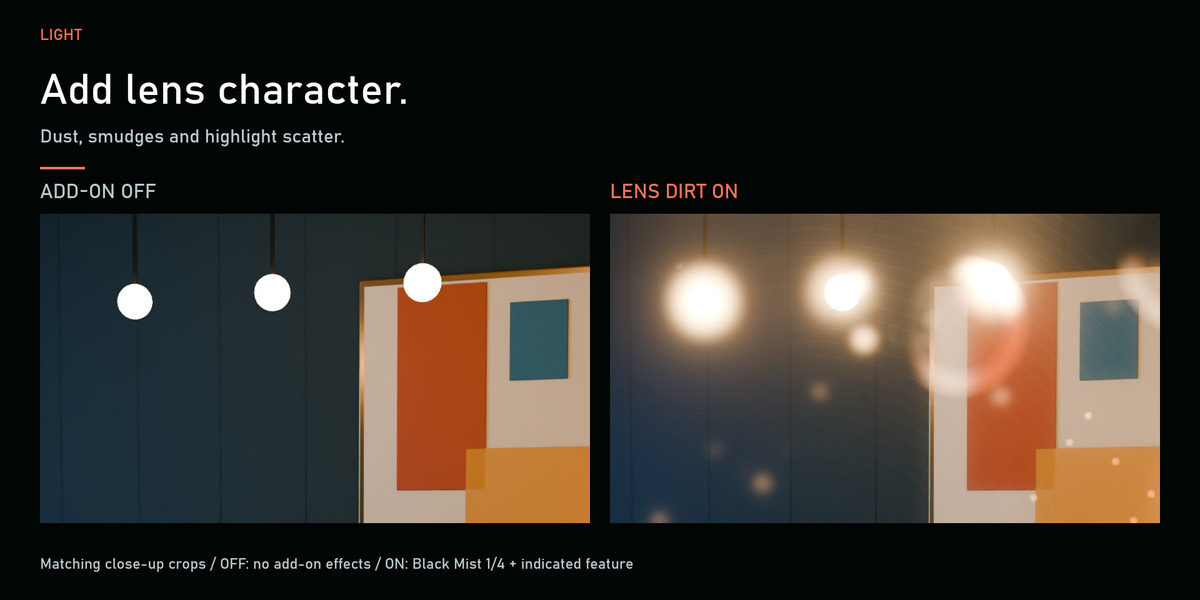
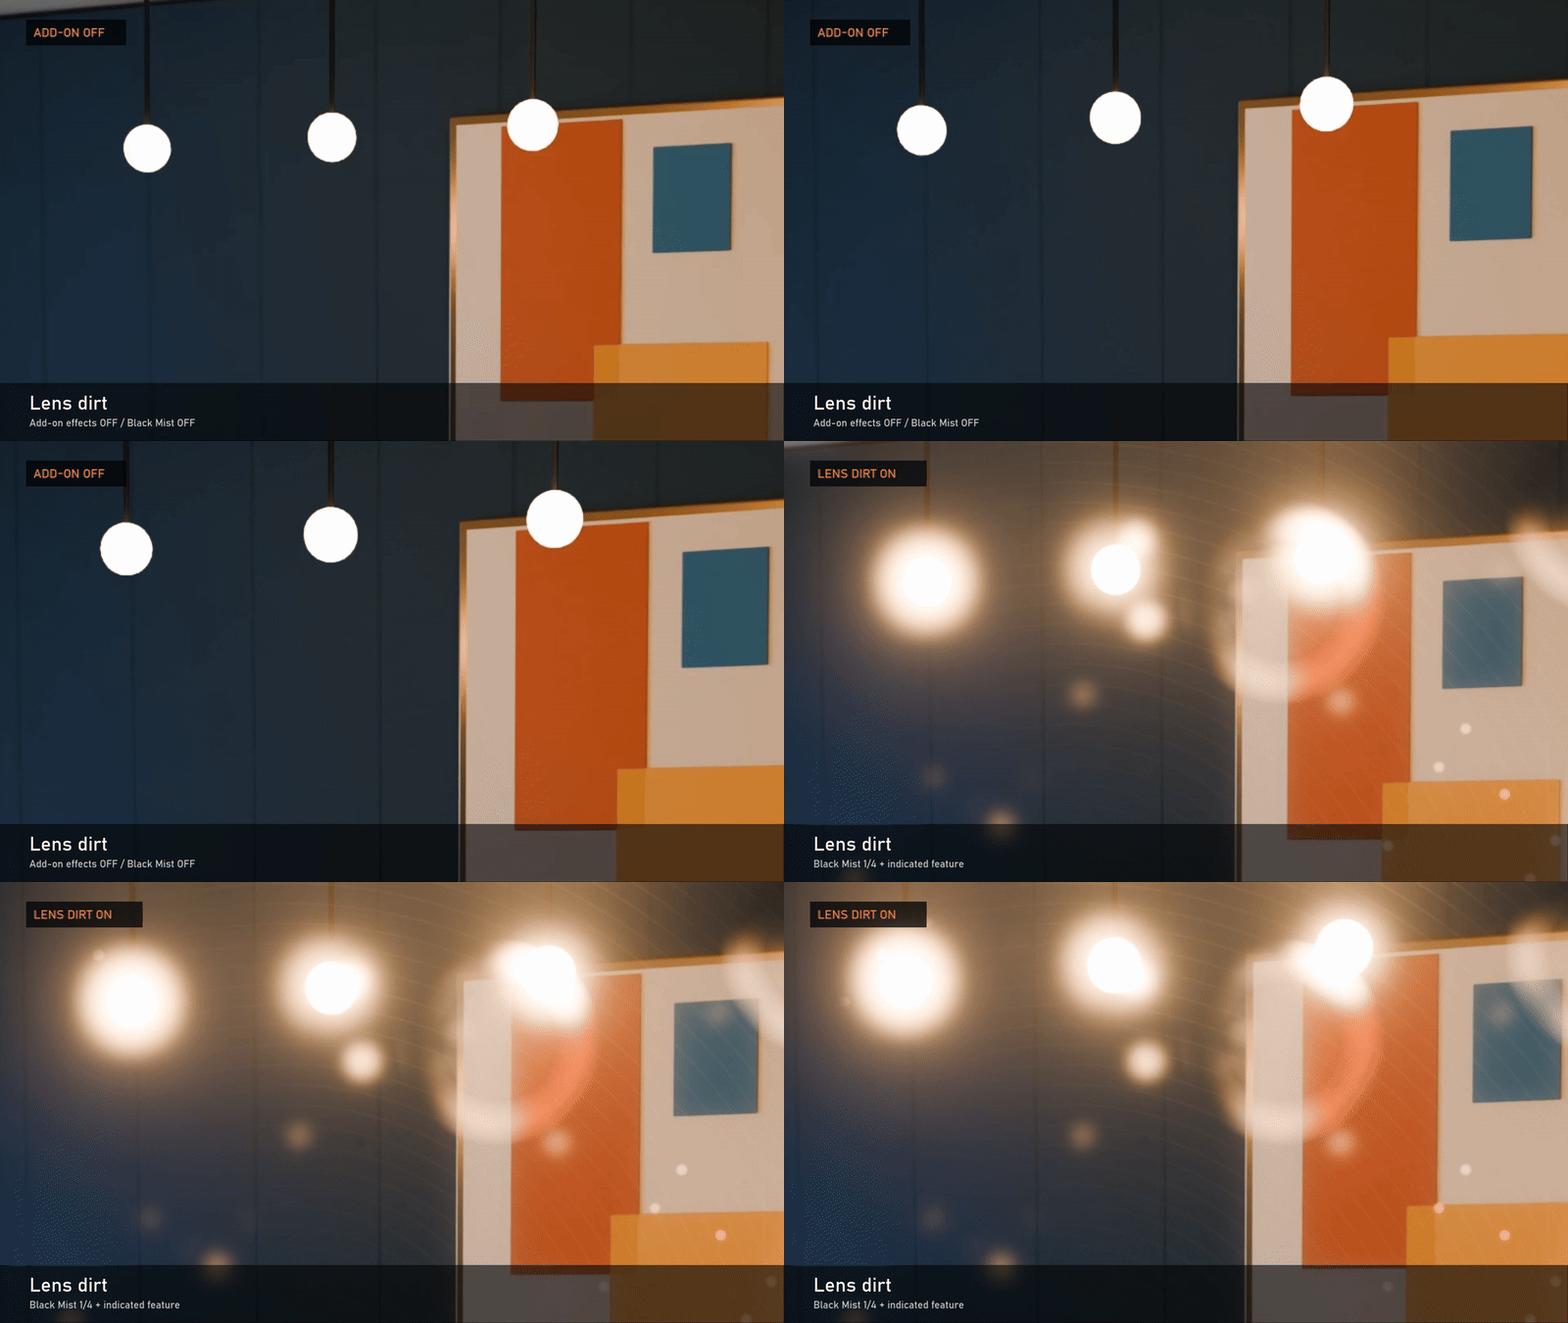
Use Black Mist diffusion for a softer image finish. Add lens dirt selectively around bright lights; this dedicated night example shows larger, stronger dirt.
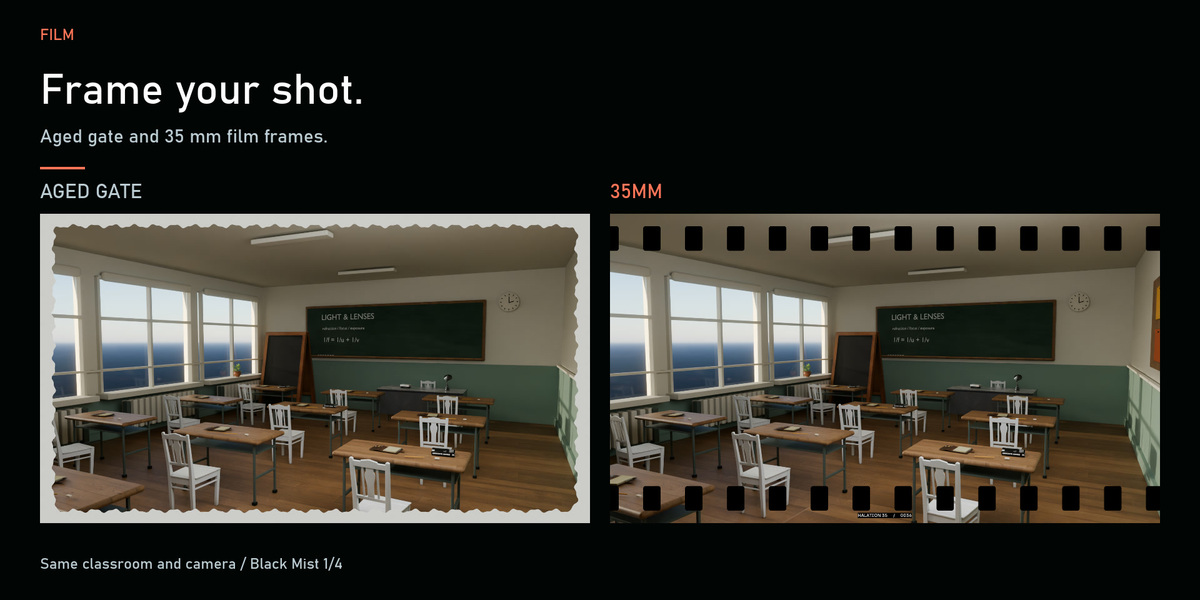
Choose the frame
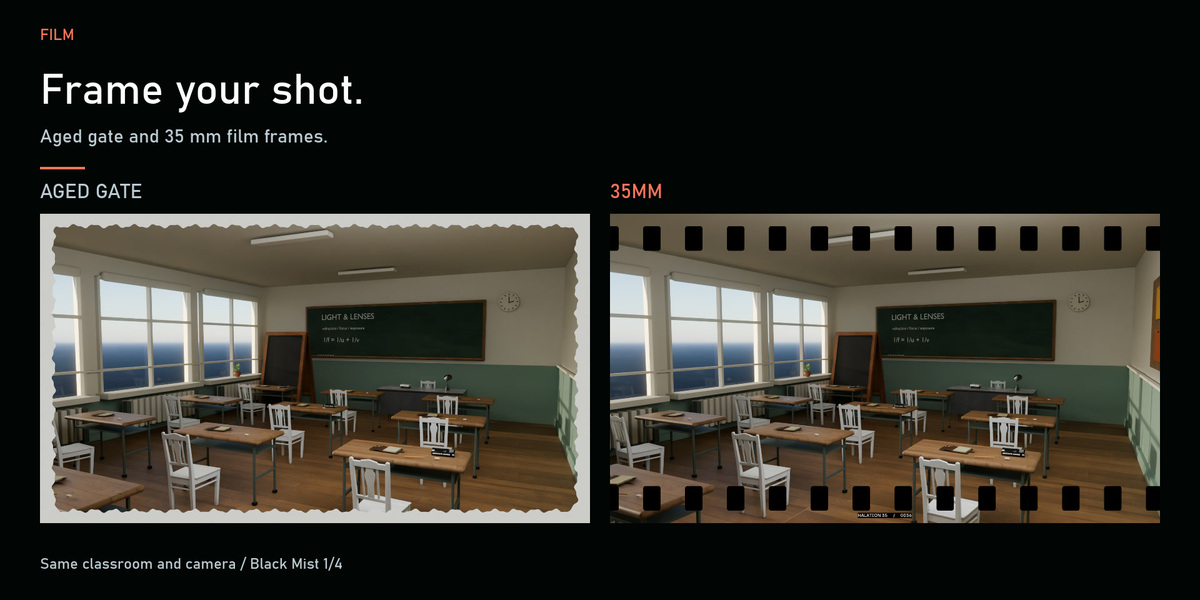
Frame the shot with film borders and presentation formats.
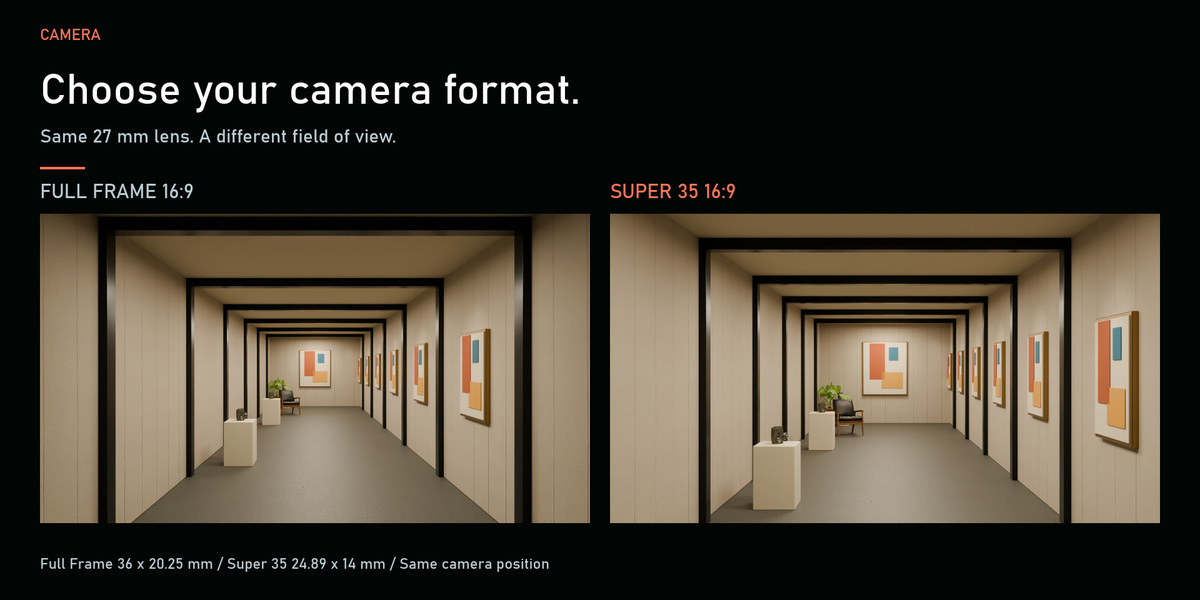
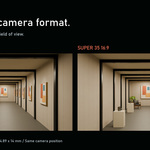
Choose the camera format
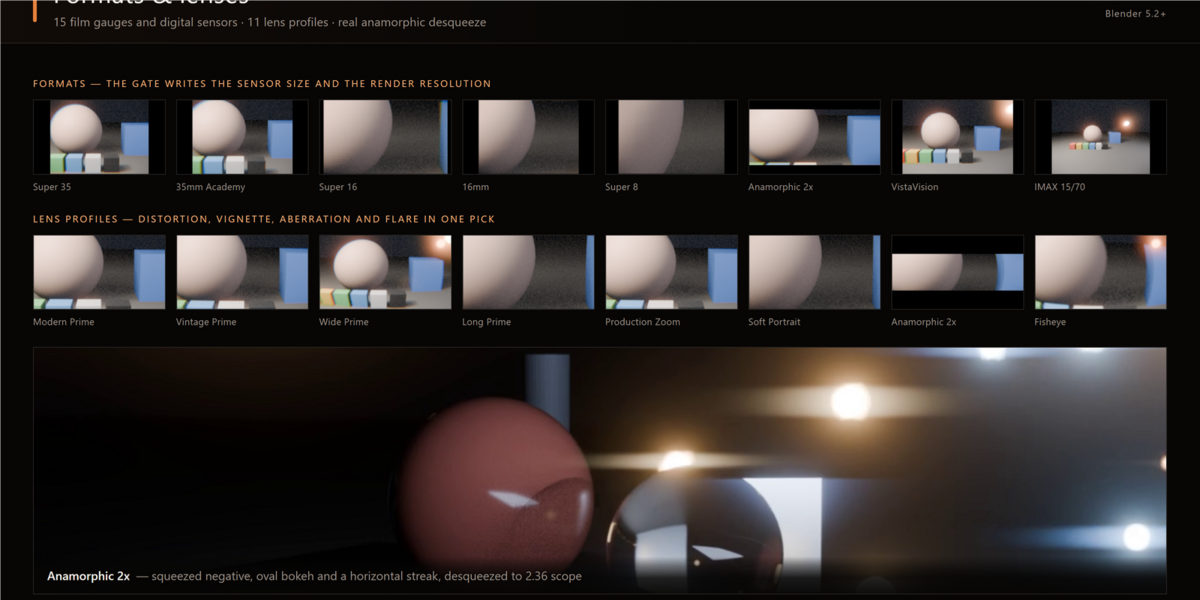
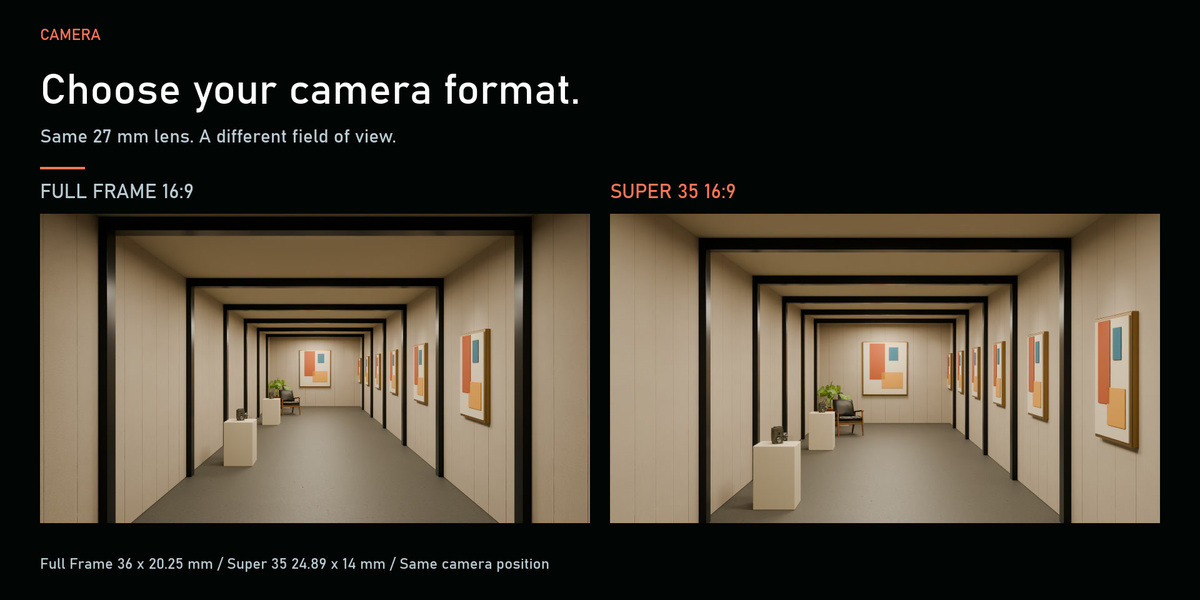
Compare camera sensor formats to shape the view and perspective of your scene.
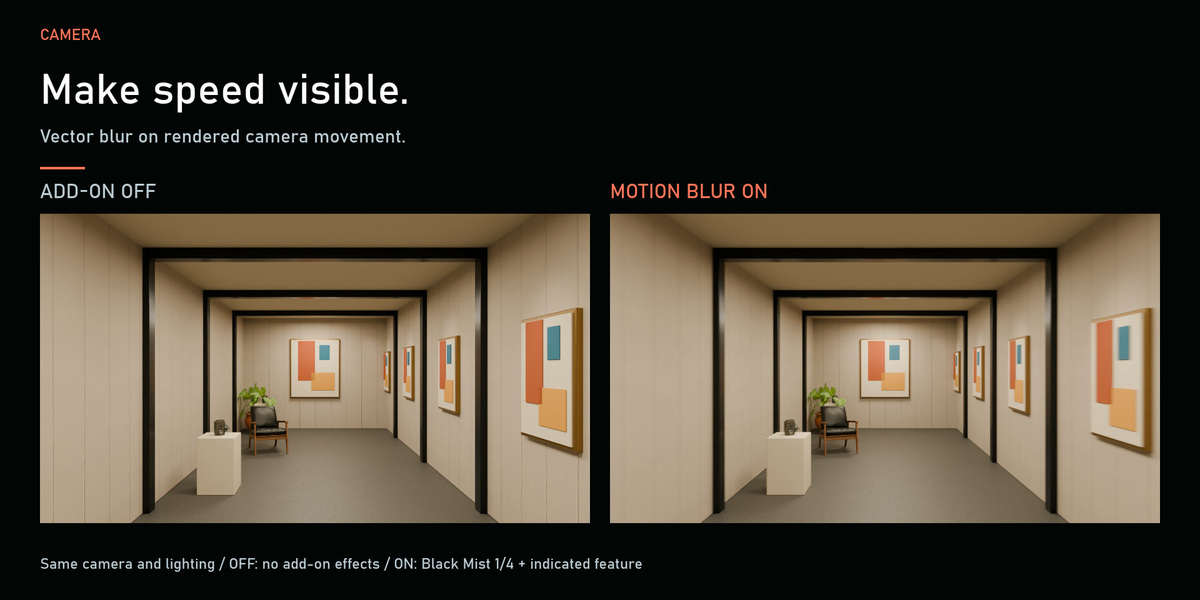
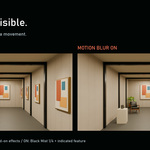
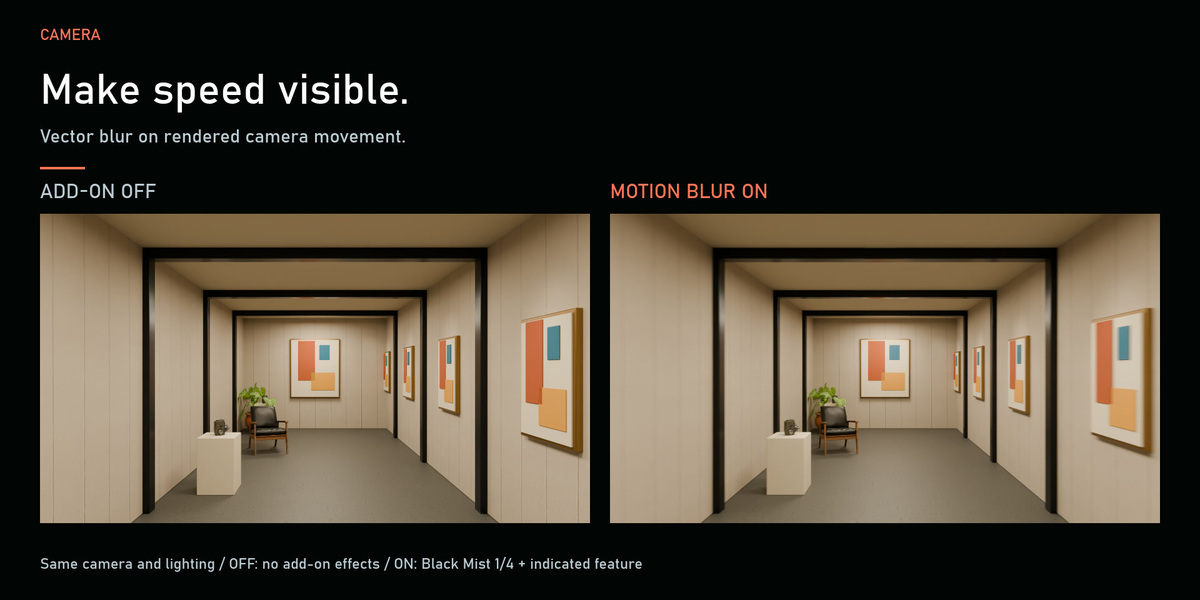
Make speed visible
Refine motion blur for moving cameras and subjects.
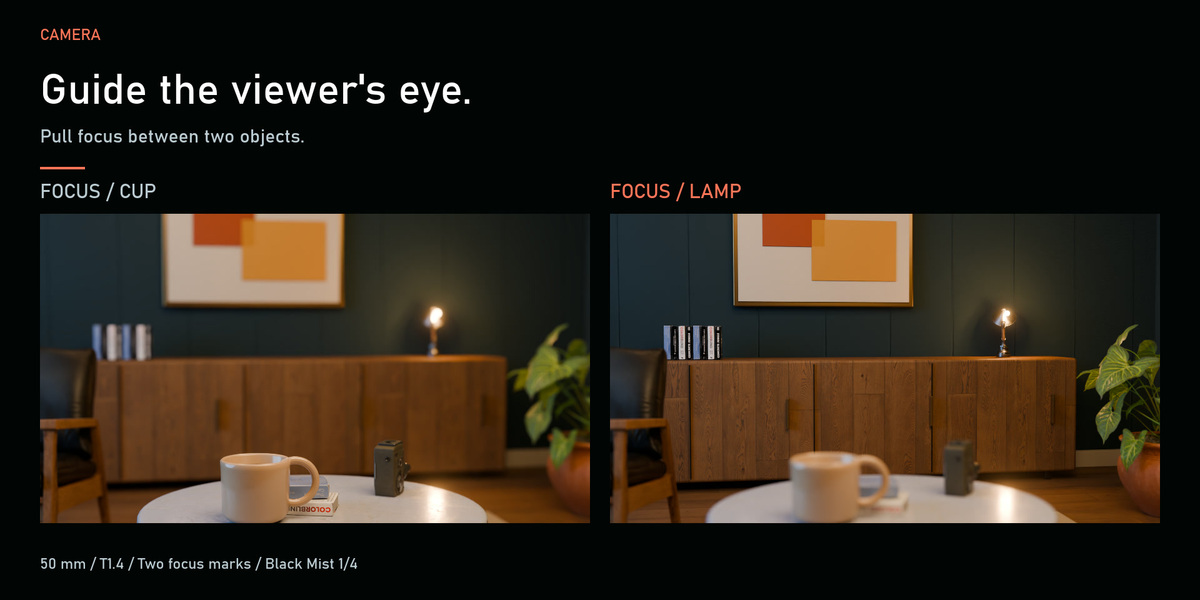
Guide the eye with focus
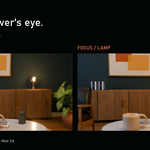
Shift attention between subjects. The rack-focus example moves from the foreground cup to the background lamp.
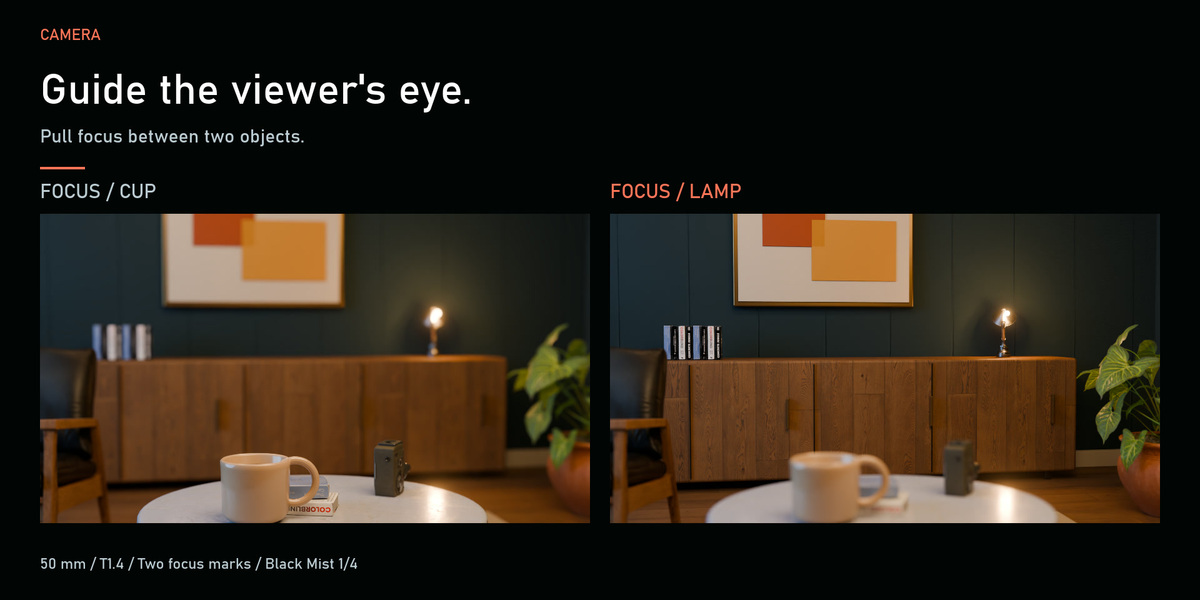
Direct attention with focus
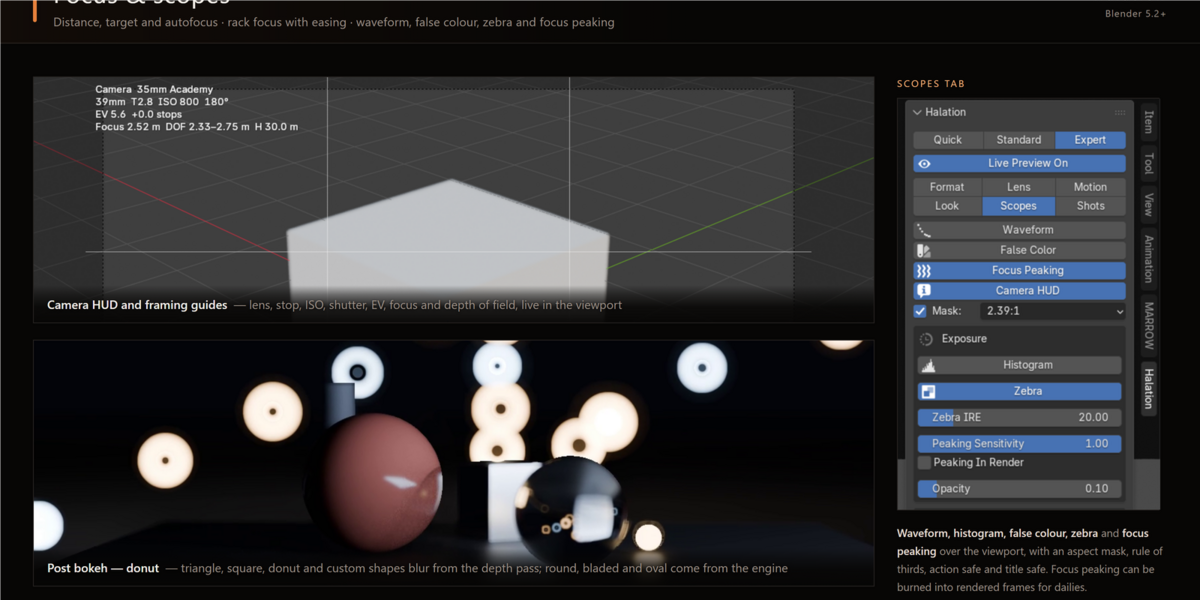
3 focus modes let you choose how each shot stays sharp:
- Distance: Set the focus distance manually for a composed shot or keyed focus pull.
- Target: Pick an object and track focus as the subject or camera moves.
- Autofocus: Choose the AF point and let the camera follow scene depth. Use Point or Zone sampling.
Build a rack-focus transition between subjects, store A/B/C focus marks, and adjust Focus Time for tracking response. Advanced autofocus includes near/far limits, speed and acceleration, Target Lock with an occlusion hold, and optional focus hunting. Bake autofocus to keyframes for rendering.
Focus peaking outlines sharp edges in the viewport to help you judge the focus plane. It can also be included in rendered focus-check frames. Add optional focus-breathing character as the focus changes; the Unified FOV treatment is an approximation.
What you get in Pro 2.0
40 creative film and camera-look options: 20 film-stock models plus 20 camera-look adaptations, including the monochrome filter variants.
- 20 film-stock models: VISION3 500T / ECN-2, Portra 400 / C-41, Gold 200 / C-41, Ektar 100 / C-41, CineStill 800T / C-41, Ektachrome E100 / E-6, HP5 Plus 400, Tri-X 400 / T-MAX, Portra 160 / C-41, Portra 800 / C-41, VISION3 250D / ECN-2, VISION3 50D / ECN-2, Velvia 50 / E-6, Provia 100F / E-6, LomoChrome Purple / C-41, LomoChrome Metropolis / C-41, VISION3 200T 5213/7213 / ECN-2, Double-X 5222/7222 / D-96, Tri-X Reversal 7266 / B&W Reversal, Ektachrome 100D 5294/7294 / E-6
- 20 camera-look adaptations: PROVIA / STANDARD, Velvia / VIVID, ASTIA / SOFT, CLASSIC CHROME, REALA ACE, PRO Neg. Hi, PRO Neg. Std, CLASSIC Neg., NOSTALGIC Neg., ETERNA / CINEMA, ETERNA BLEACH BYPASS, ACROS, ACROS + YE, ACROS + R, ACROS + G, MONOCHROME, MONOCHROME + YE, MONOCHROME + R, MONOCHROME + G, SEPIA
- 11 lens-character profiles: Modern Prime, Vintage Prime, Wide Prime, Long Prime, Production Zoom, Soft Portrait, Anamorphic 1.33x, Anamorphic 1.5x, Anamorphic 2x, Macro, Fisheye
- 15 camera formats: 8mm, Super 8, 16mm, Super 16, 35mm Academy, Super 35, Super 35 16:9, Anamorphic 2x, VistaVision, 65mm, IMAX 15/70, Full Frame, Full Frame 16:9, APS-C, Micro Four Thirds
- 13 camera moves: Vertigo, Orbit, Spiral, Push, Crane, Truck, Arc 180, Roll, Fly Through, Pan, Tilt, Pedestal, Whip Pan
- 3 procedural flare profiles + Legacy mode: Clean Multi-coated, Vintage Spherical, Anamorphic; Legacy retained for existing projects.
- 3 flare source modes: Highlights, Emission Pass, Manual / Offscreen
- 7 bokeh shapes: Round, Bladed, Oval, Triangle, Square, Donut, Custom
- 2 diffusion filters × 5 strengths: Black Mist, White Mist; grades 1/16, 1/8, 1/4, 1/2, 1
- 3 focus modes: Distance, Target, Autofocus
Custom .cube LUT import, animated film grain, motion blur, lens dirt and wipe marks, focus breathing, and procedural print borders, aged gates and film perforations are also included. Film and camera looks are creative adaptations; they are not exact spectral reconstructions or measured camera-firmware matches. Some stock profiles are approximate.
About the demo
Created with Halation Pro 2.0 in Blender 5.2, using actual Cycles renders and baked Blender camera animation. The before/after examples compare the complete treatment: OFF has no add-on processing or Black Mist; ON uses Black Mist 1/4 plus the shown effect. Lens dirt appears only in its dedicated night example.
Quick questions
Can I use my own LUT?
Yes. Import your own .cube LUT through Halation Pro.
Are the cameras moving?
Yes. The moving examples use baked Blender camera animation. The sensor-format and motion-blur comparisons also include static frames.
Do I have to enable every effect?
Choose the treatment for each scene. The demo keeps lens dirt confined to its dedicated example.
Which version was tested?
Halation Pro 2.0 in Blender 5.2. Check the listing compatibility details for other versions.
Install and start
Download Halation-Pro-2.0.zip from your purchased files. In Blender, open Edit → Preferences → Get Extensions, use Install from Disk, select the ZIP and enable Halation Pro. Start with a camera and a scene, then build the shot and adjust its image treatment.
The Pro 2.0 feature tour describes the paid Pro edition. Example scenes shown in the promo are demonstration assets.
License: GPL-3.0-or-later. You can use your rendered images and videos commercially. Product updates remain available for the life of the product.