Hang Loop Adder
 Sonneblom Digitaal
Install
Extension zip (hang_loop_adder-1.0.1.zip, Blender 4.2 and newer): Edit > Preferences > Get Extensions > the arrow menu at the top right > Install from Disk, pick the zip (or drag the zip into Blender). It is enabled straight away.
Legacy zip (hang_loop_adder-1.0.1-legacy.zip): Edit > Preferences > Add-ons > the arrow menu > Install from Disk, pick the zip, then tick "Hang Loop Adder". Use one of the two, not both.
Where it is
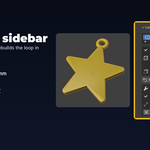
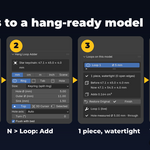
3D Viewport > Sidebar (press N) > Loop tab. The "Hang Loop Adder" panel holds the settings for a new loop and the Add button; "Loops on this model" appears once the selected model has a loop.
Step by step
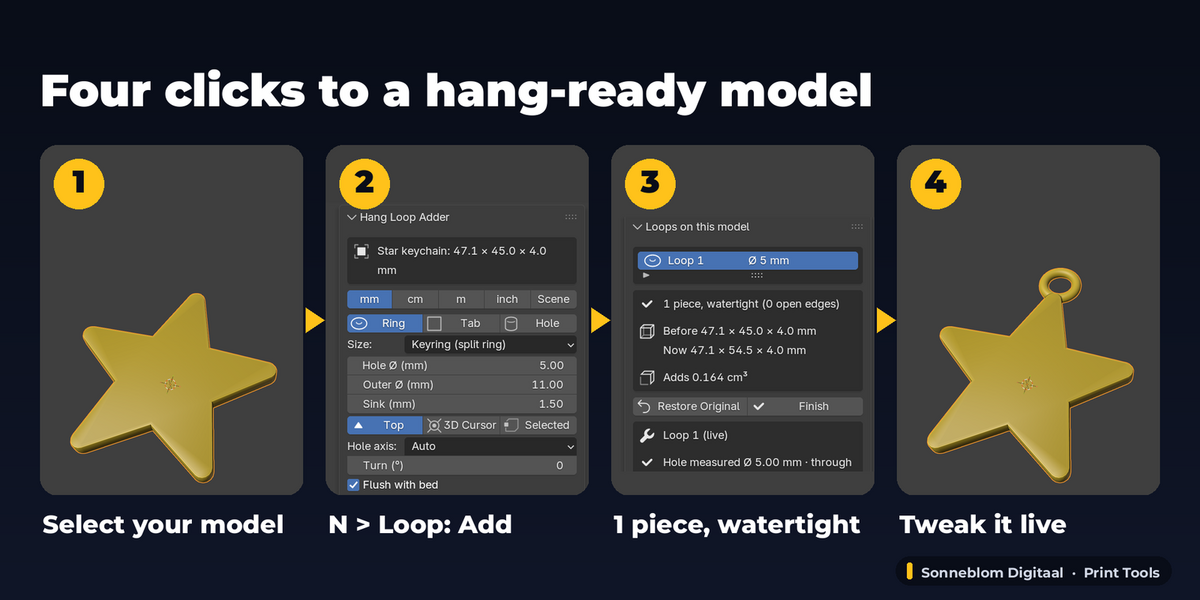
- Import or open your model and select it. The panel shows its size in mm. If the size looks wrong (a 40 mm keychain shown as 0.04 mm) set "1 unit =" to the units of your file; the panel warns you when the model is smaller than the loop or bigger than 5 m.
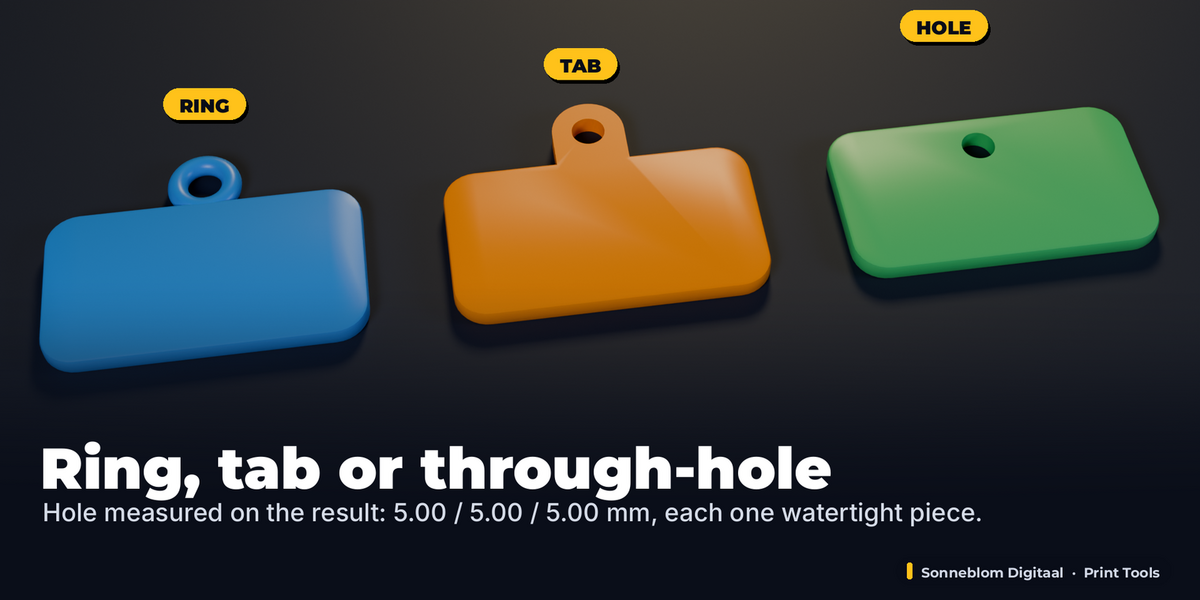
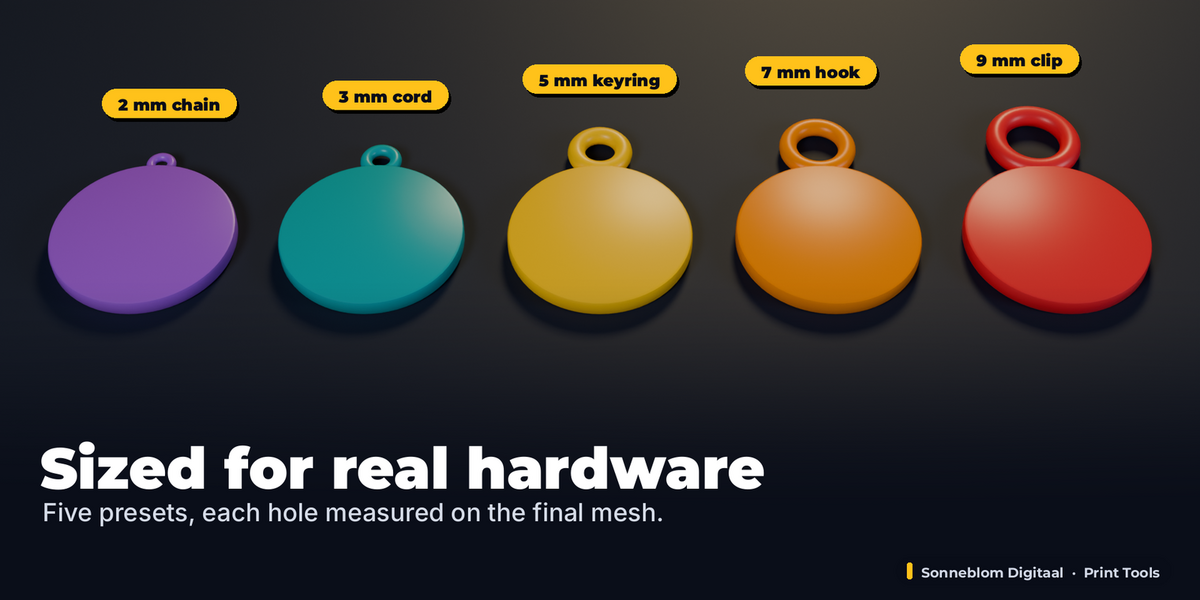
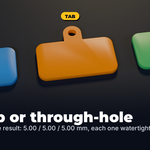
- Choose Ring, Tab or Hole and a Size preset, or type the hole and outer diameter in mm. The box under the settings shows the hole, wall and how far the loop will stick out.
- Choose where: Top (default), 3D Cursor (Shift + right-click on the model to place the cursor) or Selected (select vertices or faces in Edit Mode, then click Add there).
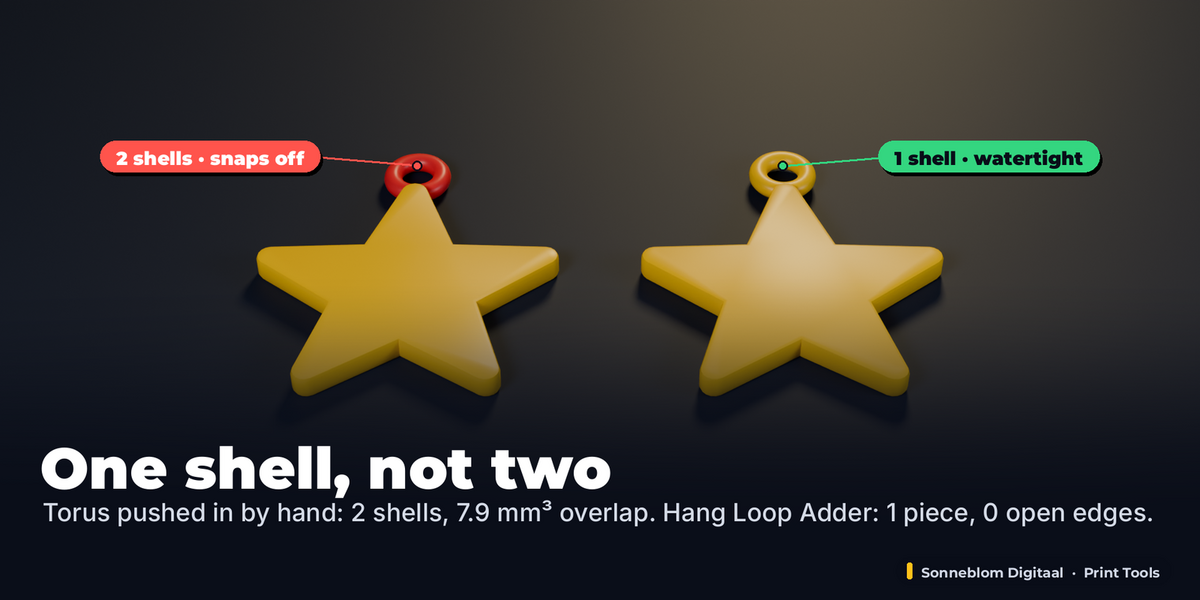
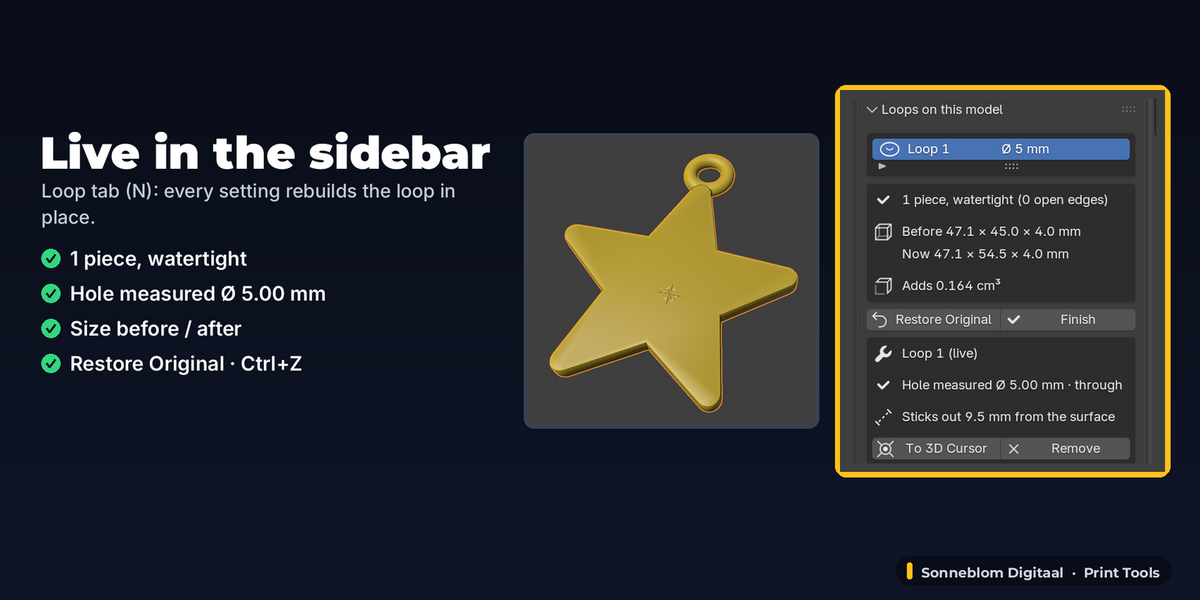
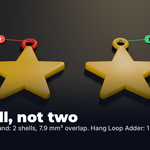
- Click Add Ring Loop / Add Tab / Punch Hole. The loop is fused into the model. The result box shows the pieces and open edges ("1 piece, watertight (0 open edges)"), the size before and after and the volume added; the loop box shows the hole diameter measured on the final mesh and whether a cord passes straight through.
- Change anything in "Loops on this model": type, preset, sizes, sink, hole axis, turn, flush, keep hole clear, smoothness. The model is rebuilt from the original each time. To 3D Cursor moves the loop to a new spot; F9 right after clicking Add also works.
- Want two loops (an earring with two holes)? Open "Settings for another loop" and click Add again. Remove deletes the selected loop, Restore Original removes all of them and gives back the untouched model.
- Export (File > Export > STL) as usual: the loop is part of the model. Click Finish before you edit the mesh by hand; it turns the result into a normal mesh.
Settings
| Setting | Default | What it does |
|---|---|---|
| 1 unit = | mm | What one Blender unit means: mm, cm, m, inch or Scene (Scene > Units > Unit Scale). All sizes in the panel are millimetres. |
| Type | Ring | Ring (torus loop), Tab (flat tab with a hole) or Hole (through-hole). |
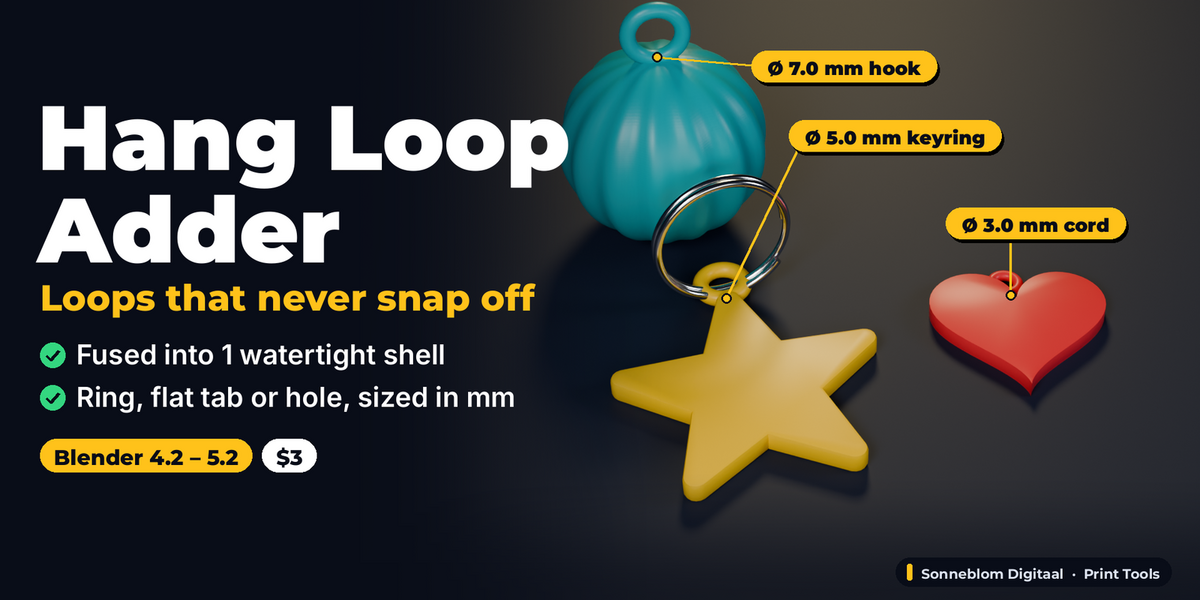
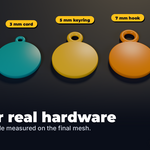
| Size preset | Keyring (split ring) | Keyring: hole 5 mm, outer 11 mm, tab 3 mm; Cord / ribbon: hole 3 mm, outer 7 mm, tab 2.5 mm; Necklace chain: hole 2 mm, outer 5 mm, tab 2 mm; Wall hook / nail: hole 7 mm, outer 13 mm, tab 3.5 mm; Lanyard clip: hole 9 mm, outer 16 mm, tab 4 mm. Changing a size switches to Custom. |
| Hole Ø (mm) | 5.00 | Clear hole diameter. The polygon is built around this circle, so the printed hole is never smaller. |
| Outer Ø (mm) | 11.00 | Outer diameter of the loop (hole + wall both sides). For a Hole: hole + the wall left to the model's edge. |
| Tab thickness (mm) | 3.00 | Thickness of the flat tab (Tab only). |
| Sink (mm) | 1.50 | How far the loop goes into the model so both fuse. A ring's sink is kept below its wire so the hole stays open. |
| Place at | Top | Top of the model as it hangs, 3D Cursor (nearest surface point) or Selected vertices (Edit Mode). |
| Hole axis | Auto | Auto (through the thinnest side), X, Y, Z or View (faces you when you click Add). |
| Turn (°) | 0 | Rotates the loop around the surface normal. |
| Flush with bed | on | A loop lying flat moves down onto the bed with the model (no supports). |
| Keep hole clear | on | If the model reaches into the hole (notch, heart cleft), the loop moves out until the hole is free. A Hole near a narrow tip moves inward until its full wall fits. |
| Smoothness | 48 | Segments around the hole (12-256). |
Tips
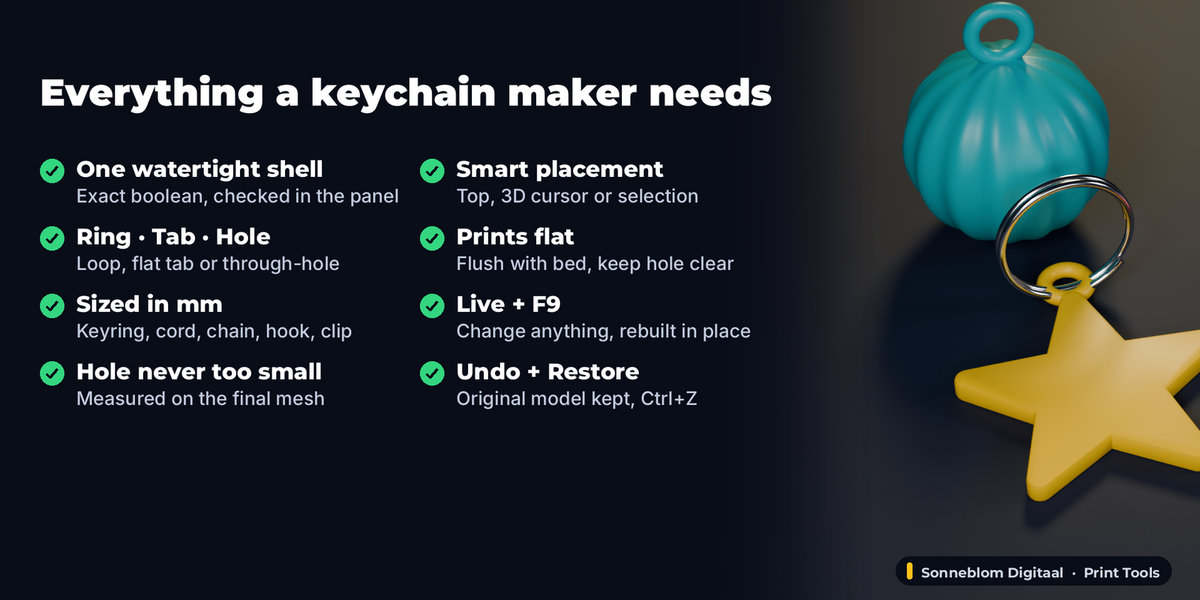
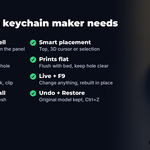
- Flat keychains: use Tab (prints flat, strongest) or Ring with Flush with bed on. Auto puts the hole through the plate.
- Ornaments and figures: Ring at the Top; Auto points the hole to the front. Use Turn or Hole axis to face it another way.
- Holes: at the Top they run through the plate beside the edge; to drill one anywhere on a flat face, Shift + right-click there and use Place at 3D Cursor.
- Thin parts: the panel warns when a hole breaks out of the model, cuts a piece off or something blocks it; pick a smaller preset or another spot.
- One loop per spot: a second Add at the same place is refused; edit the existing loop, or use 3D Cursor / Selected for another spot.
- Stronger joint: raise Sink. Smoother print: raise Smoothness.
Limits
- The model must be a mesh; convert text or curves first (Object > Convert > Mesh). A mesh shared by several objects (linked duplicate) or with shape keys must be made single / have the keys applied first; the add-on says so.
- A model that is not watertight stays not watertight; the add-on reports it.
- Very dense models take longer per change because each change runs an exact boolean on the whole model.
- Modifiers on your model (for example Mirror) apply on top of the loop.
Licence
GPL-3.0-or-later, Copyright (C) 2026 Sonneblom Digitaal. The full licence text is in the LICENSE file inside the zip.
Have questions about this product?
Login to message
| Blender Extension Compatible | Yes |
| Published | about 20 hours ago |
| Blender Version | 4.2 - 5.2 |
| Extension Type | Add-on |
| License | GPL |