Panelforge Sci-Fi Bundle: Blender Add-Ons & Assets
 Tristan Muzzu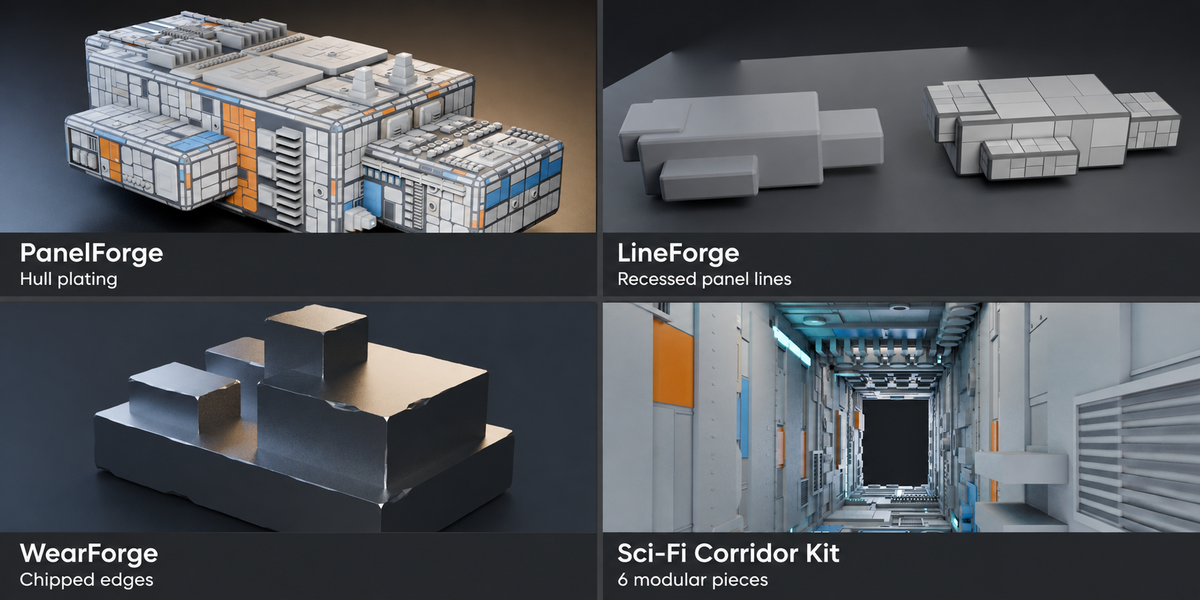
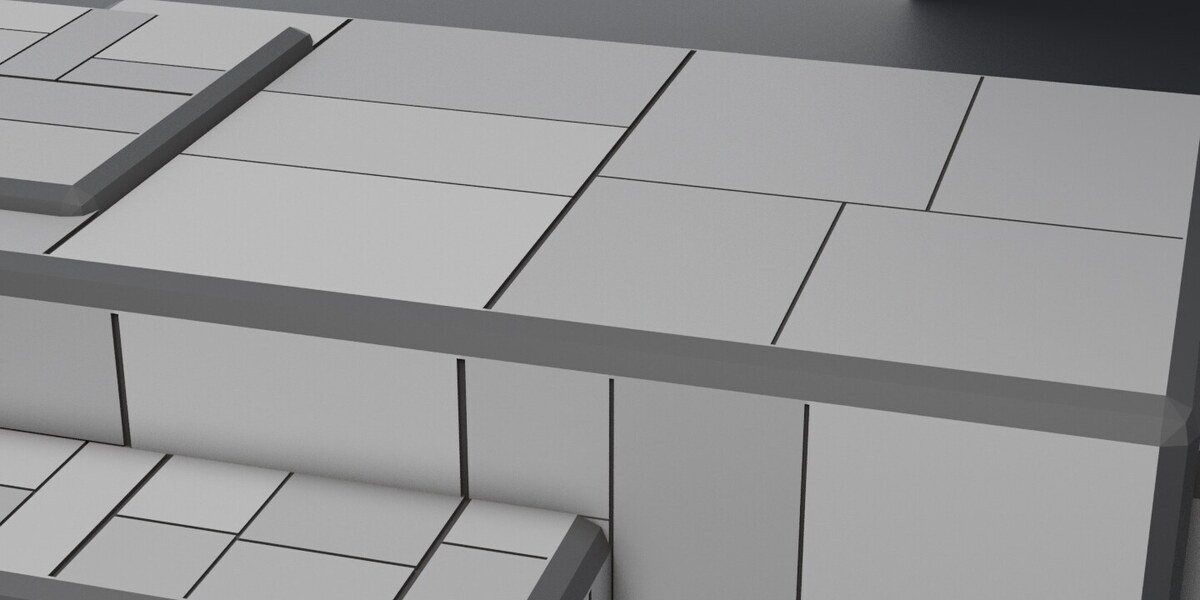
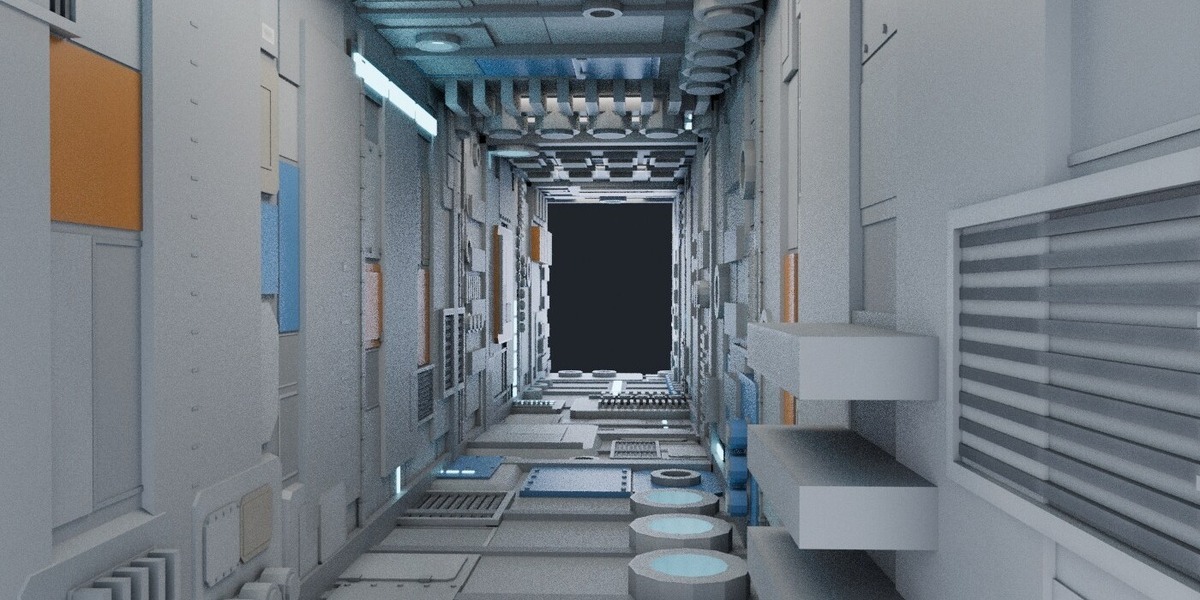
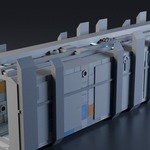
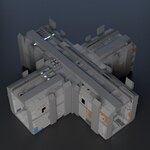
Bundle quick start
The bundle contains three separate add-ons and the Sci-Fi Corridor Kit. Install only the add-ons you want; none depends on the others. Extract the kit separately to use its model files.
- Download each add-on ZIP from your purchase. Do not extract it before installing.
- In Blender 3.6: Edit > Preferences > Add-ons > Install. In Blender 4.2+: choose Install from Disk in the top-right menu. Select a ZIP, enable the add-on and repeat for the others.
- In the 3D Viewport, press N to find each add-on's named tab.
- Start with a simple mesh in Object Mode. Duplicate it with Shift+D, then apply scale with Ctrl+A > Scale. Keep your original as a backup.
Choose a first task
- PanelForge: select a box-shaped hull and press Generate Plating. Smaller Detail Size creates more geometry. Undo before generating a different result.
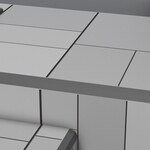
- LineForge: start with a mesh with broad flat faces, open the LineForge tab and cut panel seams. Set seam width and depth to suit the model's scale.
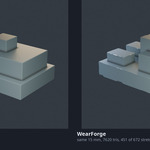
- WearForge: start with a hard-edged object and inspect the result close up. A smooth sphere may have no suitable edges to wear.
If something looks wrong
- No sidebar tab: enable the add-on in Preferences and press N with the pointer over the 3D Viewport.
- No visible detail: apply object scale, try a simple cube and read Blender's status-bar message.
- Too much geometry: undo and reduce detail. Test each tool separately before combining results.
- Materials: use Material Preview or Rendered mode. Some PanelForge material edge-wear shading needs Cycles; Eevee still displays the geometry.
Using the Corridor Kit
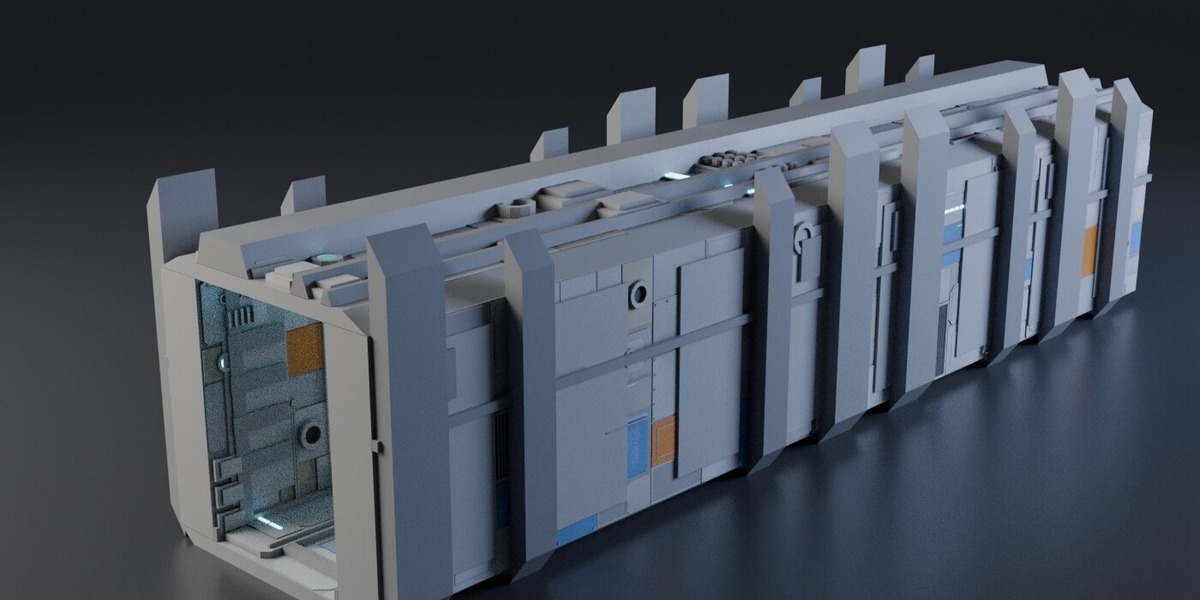
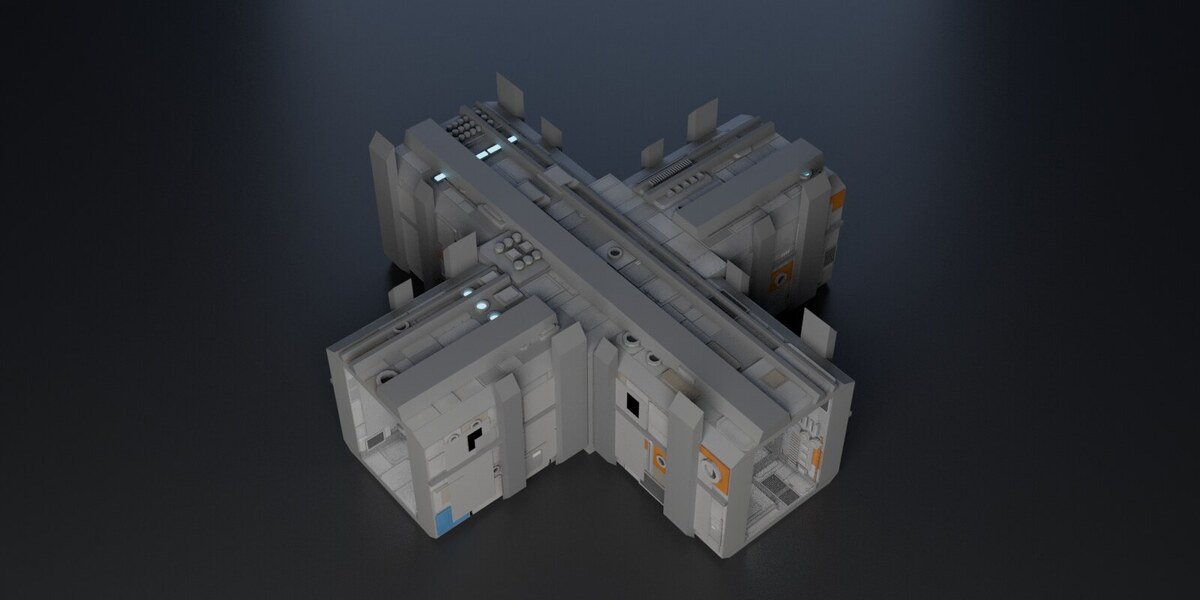
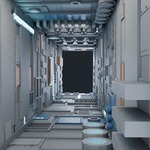
Extract scifi-corridor-kit-2.0.0.zip. The blend folder contains six Blender files; the gltf folder has the same pieces as .glb files. Open a .blend directly, or use File > Append to bring its object into your scene. You can also import a .glb through File > Import > glTF 2.0.
Place module centres on a 4 metre grid and rotate in 90 degree steps. Choose from straight, corner, junction, cross, doorway and end_cap pieces. The openings are 2.2 metres wide with 3 metres of headroom. The kit is for floor plans; it does not include vertical stacking, stairs, curves, LODs or collision meshes.
DOCS.md explains the generator and file contents. The included LICENSE separates the royalty-free commercial model licence from the GPL scripts. You can use the models in personal and commercial projects, but cannot redistribute them as a standalone asset pack.
Manuals and support
PanelForge includes DOCS.md; LineForge and WearForge include README.md. Extract a separate copy of the ZIP to read those files, keeping the original ZIP for reinstalling.
For help, message the creator through Superhive with your Blender version, add-on version, steps to reproduce the problem and exact error. A screenshot or small non-confidential example mesh helps.
Current bundle files
PanelForge 3.2.0, LineForge 0.5.0, WearForge 0.4.0 and Sci-Fi Corridor Kit 2.0.0. Download the newest published bundle version. Each ZIP contains its manual; the original release remains available in version history.
PanelForge 3.2 manual
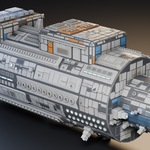
This manual covers PanelForge 3.2. The example measurements use the 270-face hull shown in the gallery, seed 3, on Blender 5.0.1. Curved-surface measurements use Blender 4.5.13. Counts and timings will vary with your mesh and settings.
What it does
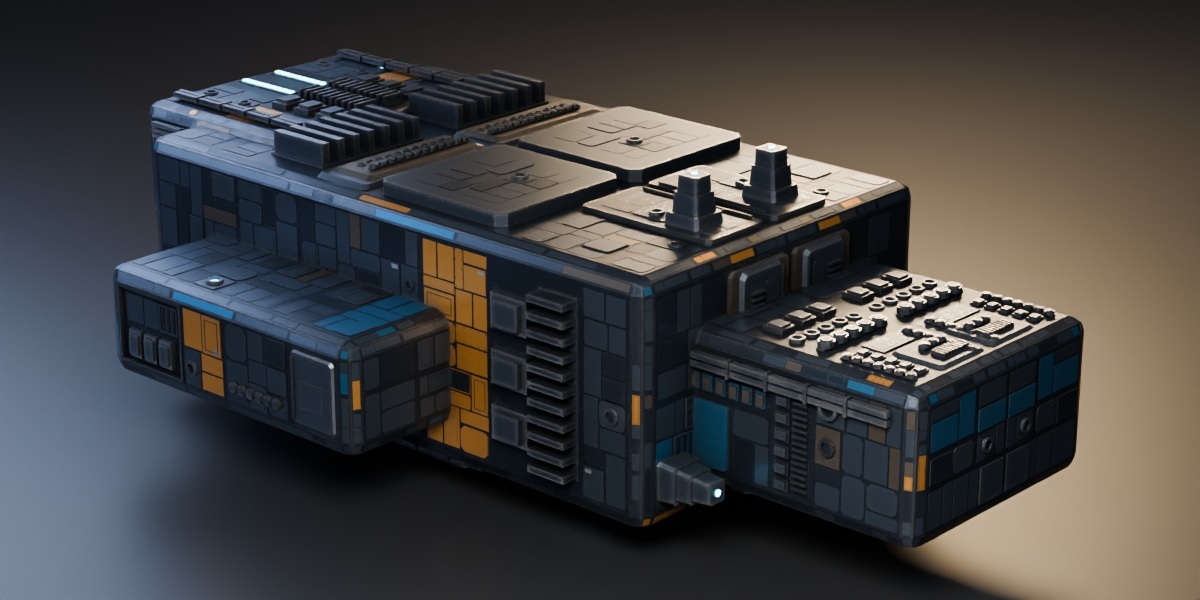
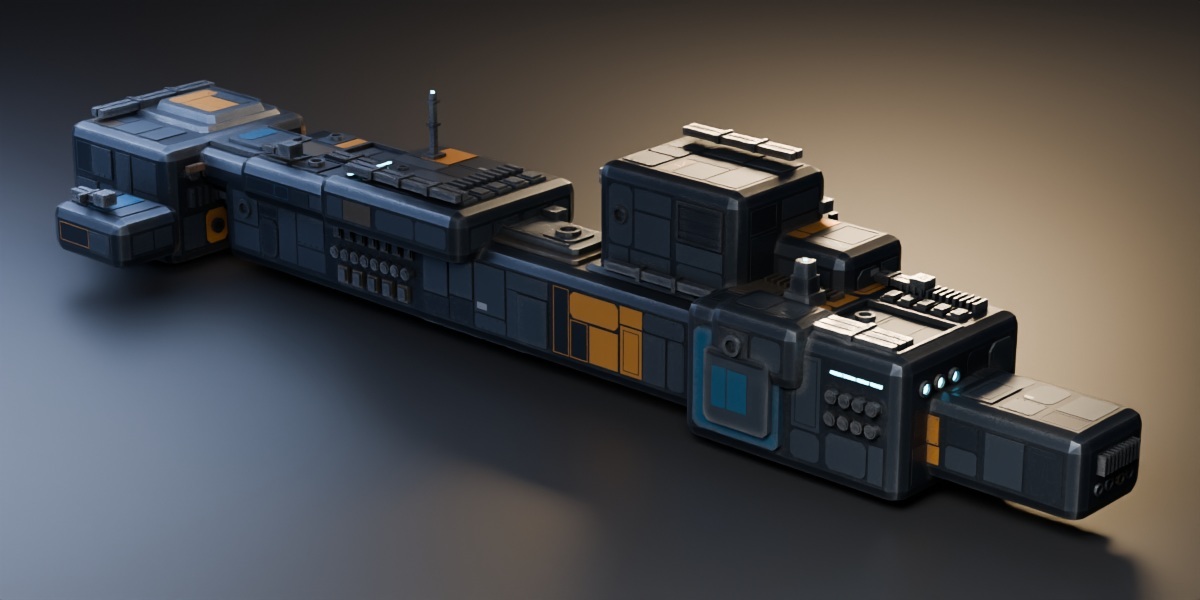
Point it at a hard-surface mesh, press one button, and it builds hull plating over the whole thing. Each flat face is cut into structural bays. A bay is plated, or machined down through the hull with machinery on its floor, or raised into a stepped deck. Rows of one part repeat at a fixed pitch: ribs, drums, stepped blocks, ports, grilles, light bars. Conduit runs along edges and down recesses in bundles with clamps. The big faces of the object may carry a tower, a pair of tanks or a mast. A painted band crosses each face in one of two liveries, hatches get hinges and hazard stripes, and pale placards land on some plates. Eight material slots arrive with their shading built.
On the hull blockout that comes out as 1,687 plates in 613 bays, 4 of them recessed, 62 module rows, 35 decks and landmarks, and 118,792 triangles, in about 0.7 seconds. A plain 2 m cube gives 2,545 plates and 229,468 triangles, because a cube's faces are all its longest axis and get plated densely.
If the mesh is mirrored across X or Y, the plating is mirrored with it.
Before you start
Requires Blender 3.6 or newer. No other add-ons, account or internet connection are needed.
Installing it
If you've never installed a Blender add-on before, use the first method. It works on every version.
From Preferences, any Blender from 3.6 up
- Download the
panelforge-3.2.0.zipfrom the product page. Don't unzip it. Blender wants the zip. - Open Blender. Go to Edit, then Preferences, then Add-ons.
- Press Install, or on 4.2 and newer, the dropdown in the top right corner and then Install from Disk.
- Pick the zip file you downloaded and confirm.
- A row called PanelForge appears. Tick the checkbox next to it.
- Close Preferences. You're done, and Blender remembers it next time.
By dropping the file in, Blender 4.2 and newer only
The zip carries an extension manifest, so newer Blender recognises it on sight. Drag the zip from your file manager into the Blender window and confirm the dialog that appears. Same result, two fewer menus. If you're on 3.6 or 4.1 this does nothing, because extensions didn't exist yet, so use the method above.
Where the controls are
In the 3D viewport, press N to open the sidebar, then pick the PanelForge tab. If you can't see the tab, the add-on isn't enabled: go back to Preferences and check the tick.
Your first plating
- Add a cube. Scale it into something oblong so there's a shape to read.
- Apply the scale with Ctrl+A, then Scale. Plating is built in real units, so an unapplied scale of 8 makes panels eight times the size you meant.
- With the object selected, press Generate Plating.
- Undo the result, change Seed, then press Generate Plating again.
Undo works normally. If you don't like a result, Ctrl+Z and change something.
Every setting
Sixteen settings, a Seed, and an Advanced fold with seven more. They are grouped the way you use them: the layout first, then the structures on it, then what the plates carry, then the surface.
Seed
Any whole number. The same seed on the same mesh with the same settings gives exactly the same result, so a file you reopen next month is the file you left. Seed 3 on the hull is 118,792 triangles twice in one session and seed 4 is 124,632.
Each face is planned from its own position and size, so a face's plating does not change when you change a face on the other side of the object.
Layout
| Setting | Default | What it does |
|---|---|---|
| Detail Size | 0.035 m | The smallest plate edge, and the unit every other length is built from. With Fit To Object on it is read relative to the object's longest axis against the 4.57 m hull the defaults were tuned on, so the number means the same thing on a prop and on a station. 0.035 gives 118,792 triangles on the hull, 0.05 gives 45,872, 0.1 gives 15,516, 0.4 gives 2,444. This is the dial if the triangle count worries you |
| Relief | 1.0 | Multiplies every height: plate steps, bay depth, deck steps, module height. Layout and counts stay put: 0.15, 1.0 and 2.4 all give 1,687 plates |
| Structural Bays | 4 | The floor on how many large bays a face is cut into. Big faces get more on their own, up to four times this, so a deck gets more masses rather than four giant ones. 1 gives 282 bays and 87,280 triangles on the hull, 8 gives 793 and 134,140 |
| Plate Density | 5 | How small the plates inside a bay get cut. 1 gives 1,154 plates and 97,712 triangles, 6 gives 2,179 and 150,516 |
| Selected Faces Only | off | Plates only the flat areas you have selected in edit mode and leaves the rest of the mesh alone. The decision is per flat area rather than per face: an area is plated when more than half its surface is selected, so a bevel strip caught half in and half out follows the plate it belongs to instead of splitting down the middle. Select nothing and nothing is plated |
| Mirror Symmetry | on | If every vertex has a mirror partner across X=0 or Y=0, the plating is mirrored across the same plane. Off, each face is planned on its own |
| Fit To Object | on | Reads Detail Size and every built-in length relative to the object. Off keeps them as fixed metres, which is what you want when matching a kit already modelled to real scale |
Structure
| Setting | Default | What it does |
|---|---|---|
| Recessed Bays | 0.30 | Chance a bay is cut down through the hull, 4.5 to 8 percent of its short side deep, with a ledge round the rim and machinery or plating on the floor. This is the interior shadow, and it is the one thing here that changes your mesh's own faces: the bay is a real hole with walls and a floor built inside it |
| Decks and Landmarks | 0.45 | Chance a bay is raised into a stepped deck of one to three tiers, each with a rail and plating or machinery on top. On faces that are big for this object, also the chance of a tall thing: a three-tier tower with a beacon, a pair or trio of tanks with bands, or a mast. At most two per face |
| Repeated Modules | 0.55 | Rows of one part at a fixed pitch, three or more: ribs on a base bar, drums with caps, stepped blocks, ports, grilles, segmented light bars. They fill recess floors and decks and run down strips of big faces. Repetition is what reads as built rather than decorated |
| Conduit | 0.45 | Bundles of one to three pipes with clamps at a fixed pitch, along one edge of a face or down a recess. About half of them turn one corner, with a block at the knee |
Plates
| Setting | Default | What it does |
|---|---|---|
| Plate Detail | 0.55 | How often a plate carries a fitting. At 0.0 a plate is plain unless it is large; at 1.0 nearly every plate carries something. 0.0 gives 102,684 triangles on the hull, 1.0 gives 167,044 |
| Quiet Plates | 0.26 | Share of plates cut at the lowest step with nothing on them, so the eye has somewhere to rest |
| Ports | 0.30 | How much a plate favours a collar with an open bore, sometimes lit |
| Grilles | 0.20 | How much a plate favours a surround with dark slats standing inside it |
| Fasteners | 0.35 | How much a plate favours bolt heads along its long edges |
| Lights | 0.05 | Lit port floors, light bars on plates and in module rows, and beacons on towers and masts, on the PF_Emit slot. Capped at 0.5 on purpose: a few read as powered and many read as a toy |
The other fittings, a stepped inset or thin frame, a hatch with hinges and sometimes hazard stripes, and a placard, have fixed shares and follow Plate Detail. A plate too small for a fitting stays plain, so on a dense object the sliders do less than on a blockout.
Surface
| Setting | Default | What it does |
|---|---|---|
| Paint | 0.90 | Chance a face carries one painted band across it, 10 to 22 percent of its width. Every plate, deck, recess ledge and pipe inside the band takes the paint, so a band is a stripe and not a scatter of coloured squares. 0 is an unpainted hull |
| Second Colour | 0.45 | Share of bands that take PF_AccentB, blue by default, instead of PF_Accent, orange |
| Markings | 0.30 | Placards on plates and hazard stripes across hatches, on the pale PF_Marking slot. The only paint on the object lighter than the plate under it, which is why it reads from across a frame |
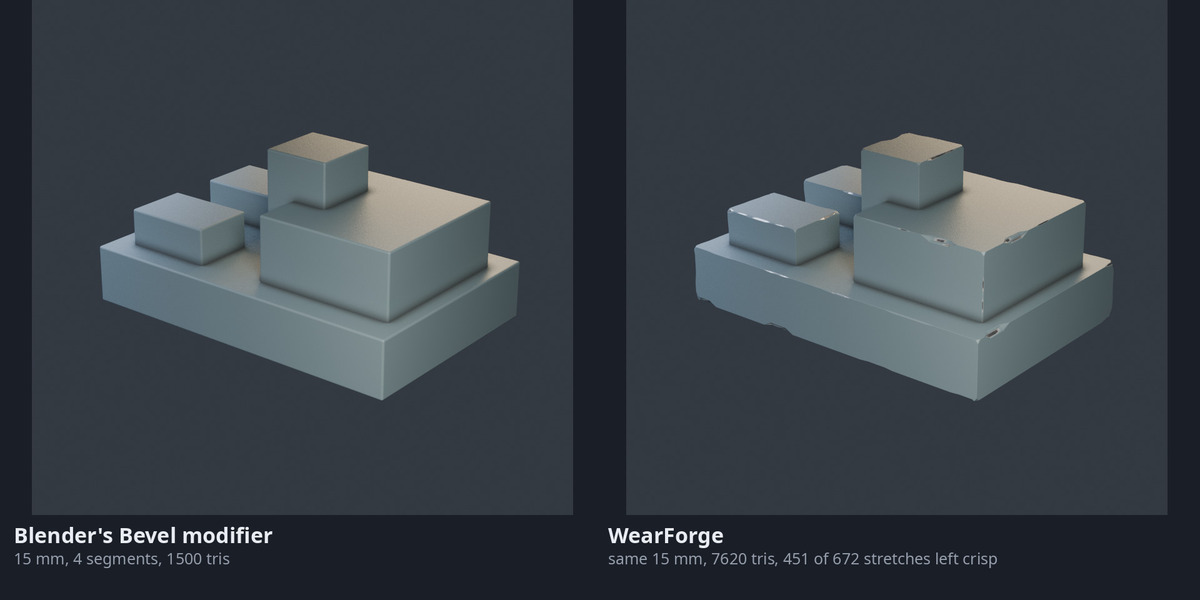
| Bevel Edges | on | Adds a Bevel modifier called PanelForge Edges, angle-limited, 0.15 percent of the object's longest axis wide, so every plate edge catches light. It is a modifier, so remove it to undo, and it is left alone if you change it |
| Add Materials | on | Creates the eight PF_ slots on first run and builds their shading. See below for what happens when it is off |
Advanced
| Setting | Default | What it does |
|---|---|---|
| Seam Gap | 0.006 m | The widest gap left round a plate. A plate's own gap is 4.5 percent of its short side, capped here, so small plates get thin lines and big plates never get a courtyard |
| Angled Corners | 0.30 | Chance a plate corner is chamfered rather than square |
| Sloped Walls | 0.35 | Chance a deck tier or a tower tier has sloped sides |
| Alt Tone | 0.18 | Share of plates on the darker PF_PlateAlt slot |
| Worn Tone | 0.06 | Share of plates on the warm PF_PlateWorn slot |
| UV Metres | 1.0 | Metres of surface per UV unit for the plating's projection. Doubling it quarters the UV area, measured at a ratio of 4.000000 |
| Reproject Base Mesh | off | Also project your own mesh's faces in the same metres, overwriting their UV map. On when the mesh carries leftover per-primitive UVs from a blockout |
Settings from 2.x that no longer exist: Risers, Fins, Recesses, Greebles, Clustering, Axial Bias, Stacking, Stack Levels, Tapered Walls as a separate group, Hull Masses, Edge Overhang and Colour Blocking. A script that still passes them to PanelParams gets them ignored rather than an error.
What it does to your mesh
Plates, modules, decks, pipes and landmarks are separate closed shells built on top of your faces. Nothing of yours moves: every input vertex comes out where it went in.
Recessed bays are the exception, and it is deliberate. A recessed bay cuts a rectangular hole through the face it sits in, then builds four walls and a floor inside it as new geometry. The face is split along the four edges of the hole, so the pieces around it are still your face, with your material and your UVs interpolated across the cut. The hole edge is where the mesh stops being manifold, in the same way every plate standing on the hull already is. If you need the hull untouched, set Recessed Bays to 0.
Every face PanelForge made carries a face attribute called PanelForge, value 1. Your own faces carry 0, including the pieces a hole cut them into. Select by attribute in edit mode and delete, and you have your hull back with its holes; undo is simpler if you are still in the session.
Eight material slots get created and assigned: PF_Hull, PF_Plate, PF_Accent, PF_PlateAlt, PF_PlateWorn, PF_Emit, PF_AccentB and PF_Marking. They come with shading built. It is all procedural, no image textures: painted plate with cavity dirt driven off an ambient occlusion node, paint worn back off the exposed corners, dust on the up-facing surfaces and slow tonal drift over the whole object. The texture frequency is scaled off the object's longest axis, so a 20 cm part and a 20 m hull both come out at a sensible grain.
If your mesh already carries materials of its own, those come first and the eight PF_ slots are appended after them. The generator finds its block by name, so the plating lands in PanelForge's slots and your faces keep your materials. Between the plates you still see your own hull, which is the point. If you want PanelForge's hull tone there instead, select those faces and assign PF_Hull yourself.
Replace any PF_ material and PanelForge leaves your version alone from then on. It only writes into a slot it created itself. When you upgrade the add-on and re-plate, a PF_ material that PanelForge built gets its shading rewritten to the new version's; clear the panelforge_build custom property off a material to pin the look you have.
The edge wear is the one part that needs Cycles. It reads geometry through a bevel shader node, which EEVEE passes straight through as a flat normal, so in EEVEE the material degrades to cavity dirt and dust with the corner wear missing. Everything else is identical in both.
UVs. The plating is projected in world metres: a plate's caps take their own plane coordinates, its walls take a strip of distance-around by height, all divided by UV Metres, so one tiling texture lands at one size on every plate, wall and bay floor. Islands overlap. That is what a tiling material wants and not what a lightmap bake wants; Blender's Pack Islands turns one into the other. Your own mesh's map is left alone unless the mesh arrives with none, in which case its faces are box-projected in the same metres.
Running it a second time on an already plated mesh plates the plating: 118,792 triangles becomes 475,444. Occasionally an interesting look, usually a mistake, so undo first.
FAQ
I pressed the button and nothing happened.
Look at the status bar. If every face on your mesh is smaller than Detail Size, there's nowhere to put a plate, and it says so with your current value, the size of your largest face, and a specific number to try instead. This is the most common thing to hit on a dense or subdivided mesh.
It works on my cube but not on my sculpt.
Same cause. A high-poly mesh is thousands of tiny faces, and there's no room for a plate on a 2 mm triangle. Faces that sit flat against each other get grouped first, so a subdivided box still panels fine: a 1,536-face subdivided cube gives 3,753 plates and 224,190 triangles. A dense organic surface with curvature everywhere has nothing flat to group, and no setting fixes that. Retopologise, or plate the blockout before you subdivide.
My object came out enormous, or the panels are microscopic.
Apply your scale. Ctrl+A, then Scale. Detail Size is in metres and it means metres, so an object scaled to 0.1 has faces ten times smaller than they look.
Can I get more detail without more triangles?
More geometric detail adds triangles. Use Detail Size to control the count: 0.035 gives 118,792 triangles on the hull, 0.05 gives 45,872 and 0.1 gives 15,516. Plate Density moves it the same way, 97,712 at 1 against 150,516 at 6. For a background prop, Detail Size 0.1 is roughly where 15,000 triangles lands.
Is it slow?
It runs on one object at a time. The hull takes about 0.7 seconds on 5.0.1 with the machine loaded; a bare 2 m cube takes about 5 seconds because it is plated denser. Most of that is the hole cutting for recessed bays and the per-element checks that keep plating inside irregular faces. 2.x was about five times faster and produced a different product.
What if I turn Add Materials off?
The generator still writes material indices 0 to 7. It checks how many PF_ slots the mesh actually has: with fewer than six, lit fittings fall back to the accent slot; with fewer than seven, the second paint falls back to the first; with fewer than eight, markings fall back to plate. Blender does not raise on an out-of-range material index, it quietly draws with another slot, so the fallbacks exist to keep a missing slot from lighting something up by accident.
Why is the plating on the other side of my ship identical?
Because your ship is mirrored and Mirror Symmetry is on. Turn it off if you want each side planned on its own.
What happens on a curved surface.
Two different answers since 3.2, and which one you get depends on the shape.
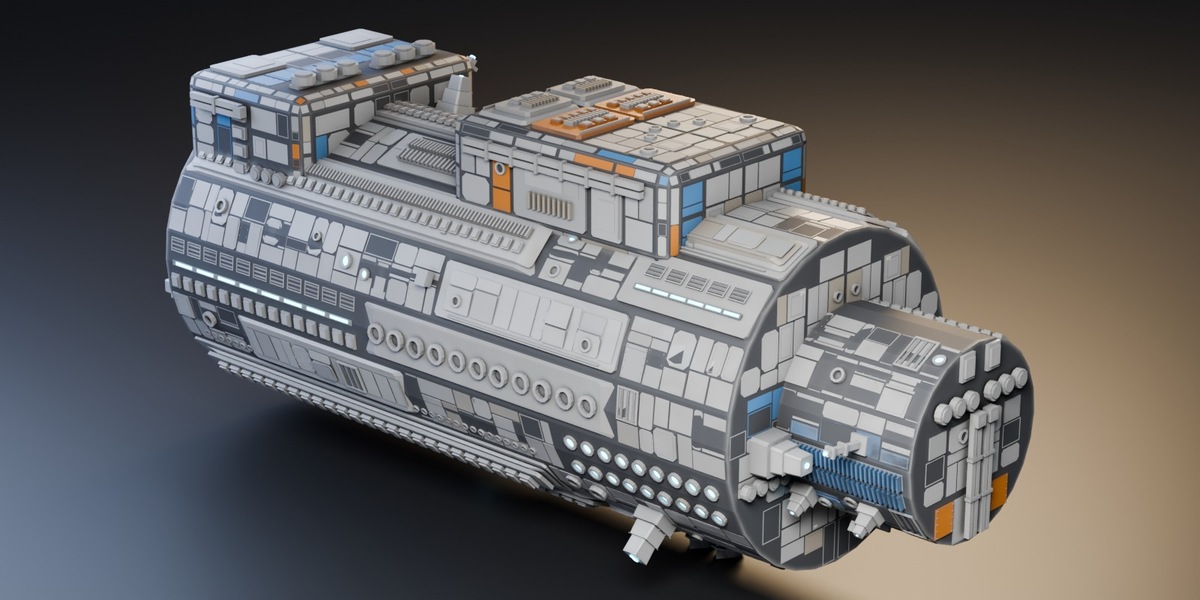
A surface that wraps in one direction, a drum, a pipe, a hull swept along a profile, anything extruded, is unrolled into one flat frame and planned as a single surface. Your 32-sided drum arrives in Blender as sixteen strips and comes back plated as one hull: the plating, the paint stripes and the fittings cross the facets instead of stopping at them. Every piece is put back on the facet it lands on, with that facet's own normal, so nothing sinks into the hull or floats off it. On the drum below the frame is 4.5166 m round against a true circumference of 4.5239 m; laying the facets flat costs 0.16%.
A surface that does not wrap that way, a cone, a sphere, a branching shell, is plated the way 3.1 did it: flat, in each face group's own plane, faces within 12 degrees grouped together. A 64x32 sphere still comes out as a few hundred small flat plates. It panels a station hull. It will not panel a character.
What that costs, in numbers
Measured at the shipped defaults, seed 3, on two subjects of the same length: a 3.4 m cube and a 32-sided drum 3.4 m long and 1.44 m across.
| cube | drum | |
|---|---|---|
| plates per square metre of hull | 36.7 | 34.8 |
| face groups the planner sees | 6 | 18 |
| median group short side | 3.400 m | 0.281 m |
| frames the planner draws on | 6 | 3, one of them 4.5166 m by 3.400 m |
| decks, towers, tanks and masts | on any big face | on the ends and the side |
In 3.1 that drum came back at 25.3 plates per square metre, a third lighter than the box. It is now within 5% of it, because the plan is no longer boxed into a 0.281 m strip. What is left of the gap is the two flat end caps, which are planned on their own and always were.
Dropping Detail Size still buys density on top of that: 0.035 gives 34.8 plates per square metre, 0.025 gives 85.1, and 0.018 gives 171.3, at 79k, 129k and 223k triangles. A recessed bay is four plane cuts and there is no way to make them on a wrapped surface, so the round parts of a hull get stepped decks where a flat face would have got a machined bay.
What it won't do
- It will not plate a cone or a sphere smoothly. Those come back as small flat plates. A surface that wraps one way is planned whole; see above.
- It will not give you clean topology on the hull face round a recessed bay. The face is split along the hole's edges and the pieces are n-gons.
- It will not weld anything. Every element is its own closed shell standing on the hull, so a boolean union afterwards is your job if you need one mesh.
- It will not bake anything. The materials are procedural node trees; use Blender's bake if you need textures for an engine.
- It will not write text into the placards. They are blank shapes.
Support
Use the contact link on the store page. Include your Blender version, add-on version, settings and steps to reproduce the problem. A small example .blend file can help.
Have questions about this product?
Login to message
| Blender Extension Compatible | Yes |
| Published | 4 days ago |
| Blender Version | 3.6 - 5.2 |
| Extension Type | Add-on |
| Render Engine Used | Cycles, Eevee |
| License | GPL |

Discover more products like this
edge wear hull plating bundle greebles sci fi procedural hard surface panel lines