 CreateVisions



Hide & Seek 2.0
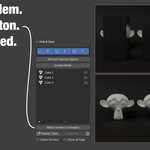
Hide & Seek 2.0 has been rebuilt from the ground up to give you unparalleled control over your scene's visibility.
The new version introduces a powerful filtering system and a more intuitive workflow.
- Granular Filtering: Separately filter for objects hidden with the Eye, Monitor, or Render icons.
- WYSIWYG Rendering: Sync your final render to your viewport with the "Match Render" button.
- Standalone Collections (Unlink & Relink): Create a collection from the list, then use "Unlink All" to make it completely independent.
- Smart Toggles with 'Show All Flags': The list stays clean by showing only the relevant hide icon by default. Activate 'Show All Flags' for full control.
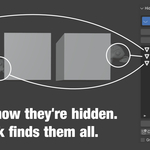
You probably know the situation: some objects in your scene are hidden, and you've lost track of which ones. While the Outliner can help, it quickly becomes confusing in scenes with many objects. All that searching interrupts your workflow and costs you valuable time.
Hide & Seek changes that. It handles the entire process of finding and managing hidden objects. Just press Refresh, see everything in a clear list, and take control — no more digging through the Outliner, no manual cleanup, no hassle.
Key Features
- Find all hidden objects with a single click
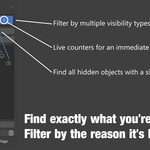
- Filter objects by Viewport Visibility, Viewport Disabling, and Render Visibility
- Temporarily preview hidden objects without changing their state
- Isolate any object to work on it in a clean environment
- Group filtered objects into a collection, then temporarily isolate it with Unlink/Relink
- Get WYSIWYG results with the one-click 'Match Render to Viewport' function (fully reversible)
- See all visibility toggles at once with the 'Show All Flags' option
- Optional green highlight to instantly spot selected objects
- Live counters for an immediate overview of your scene's status
Forget the guesswork. Your path to finding hidden objects is now simple and intuitive. Press the "Refresh Filtered Objects" button, and all hidden objects that match your filters will appear in a clean list. Click an object's name to temporarily unhide it for inspection; click it again to hide it. This lets you quickly cycle through objects without permanently changing their status. To make an object permanently visible, just click its visibility icon (e.g., the eye) in the list.
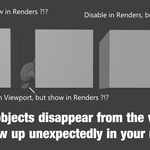
In , "hidden" can mean several things. Hide & Seek 2.0 gives you full control over all of them. You can filter for and individually toggle: Hide in Viewport: The standard visibility toggle. Disable in Viewport: Objects that are also excluded from simulations. Disable in Renders: Objects that are visible in the viewport but won't appear in the final render.
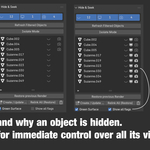
New: The "Show All Flags" Option: By default, the list stays clean by showing only the icon causing an object to be hidden. For full control, activate 'Show All Flags' to instantly see and edit every visibility state for any object in the list.
With Isolate Mode, you can temporarily view any object from the list by itself, hiding everything else in the scene. This is a huge time-saver for complex models, allowing you to focus entirely on a single part without distractions. When you're done, simply exit Isolate Mode to restore your scene's previous visibility state.
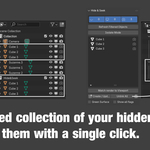
Step 1: Group Your Objects. The "Create / Update Collection" button creates a "Hide & Seek" collection that contains all the objects currently in the list. By default, these objects remain linked to their original collections.
Step 2: Isolate the Group. This is where the magic happens. Click the "Unlink All" button to temporarily remove the objects from their original collections. Now, they exist *only* in your clean "Hide & Seek" collection, giving you a perfectly organized Outliner with zero distractions. Click "Relink All" to restore all the original links instantly.
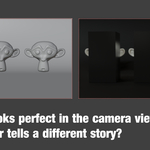
The Problem: You set up the perfect shot, but when you render, surprise objects appear. This often happens when an object is "Disabled in Viewports" (the Monitor icon), making it invisible to you but still active for the render.
The One-Click Solution: The "Match render to Viewport" button solves this instantly. It intelligently syncs the render visibility of every object to its true viewport status. If an object is invisible in the viewport—whether it's hidden with the Eye icon or disabled with the Monitor icon—it will now also be hidden in the final render. What you see is finally what you get.
Completely Reversible: After clicking, the button becomes "Restore previous Render". One more click is all it takes to undo the sync and return all settings to their original state.
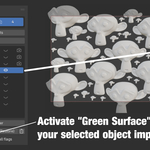
When you're working with models that have many small, detailed parts, it can still be hard to spot the object you've just unhidden. Activate the "Green Surface" checkbox, and any object you select from the list will be highlighted with a bright green material in the viewport, making it impossible to miss.