Horizontal Tabs
 Trestle Trotter


Horizontal Tabs
User guide and reference documentation for the Horizontal Tabs Blender add-on.
Overview
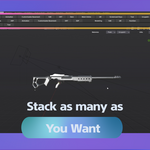
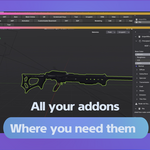
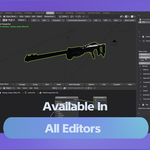
Horizontal Tabs is a Blender add-on that lets you place organized tab-based controls directly in editor headers. Instead of depending only on the default sidebar, also known as the N-panel, you can open tools from compact header tabs and popovers.
This approach helps keep more of the viewport visible while still giving you quick access to commonly used tools. It is especially useful for artists and technical users who want a cleaner workspace, faster access to panels, and different interface layouts for different tasks.
Presets
Presets are named collections of tabs assigned to specific editor types. You can create different presets for modeling, rigging, shading, animation, or any other workflow, then switch between them when your workspace changes.
Dynamic Tabs
Tabs can contain panels, operators, labels, and separators. This gives you a flexible way to build a header layout that matches the tools you use most often, without forcing everything into a single long sidebar.
Custom Strips
Custom strips allow you to create dedicated interface rows by splitting Blender areas. This is helpful when you want always-visible tool access without giving up too much room in the main editor.
Installation Guide
Important note for users upgrading from an older version
Horizontal Tabs 2.0 and later are not backward compatible with earlier releases. If you already have an older version installed, remove it first before installing the new version. This helps prevent registration conflicts, outdated settings, and other avoidable issues.
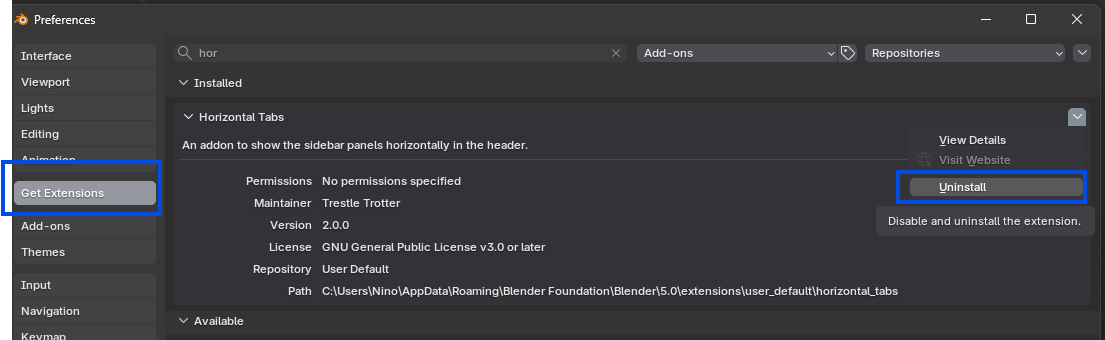
Clean installation steps
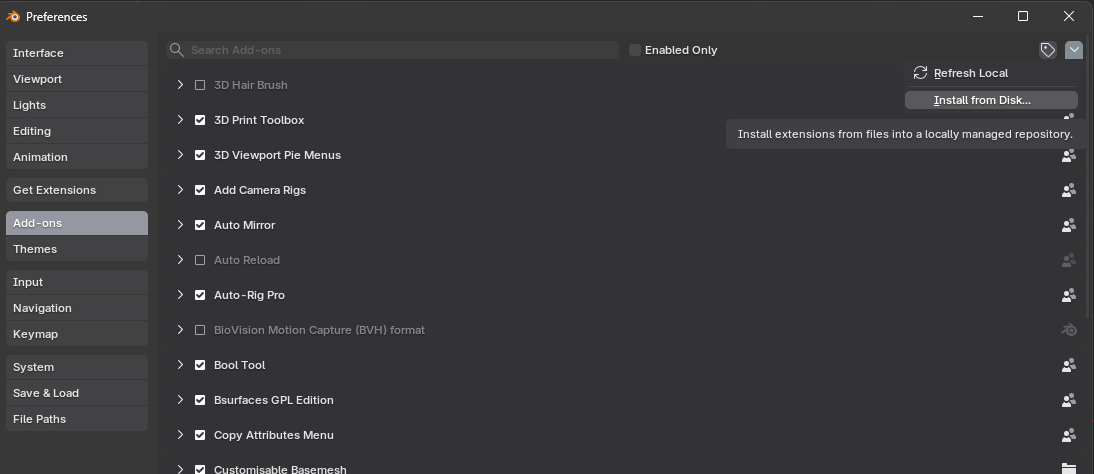
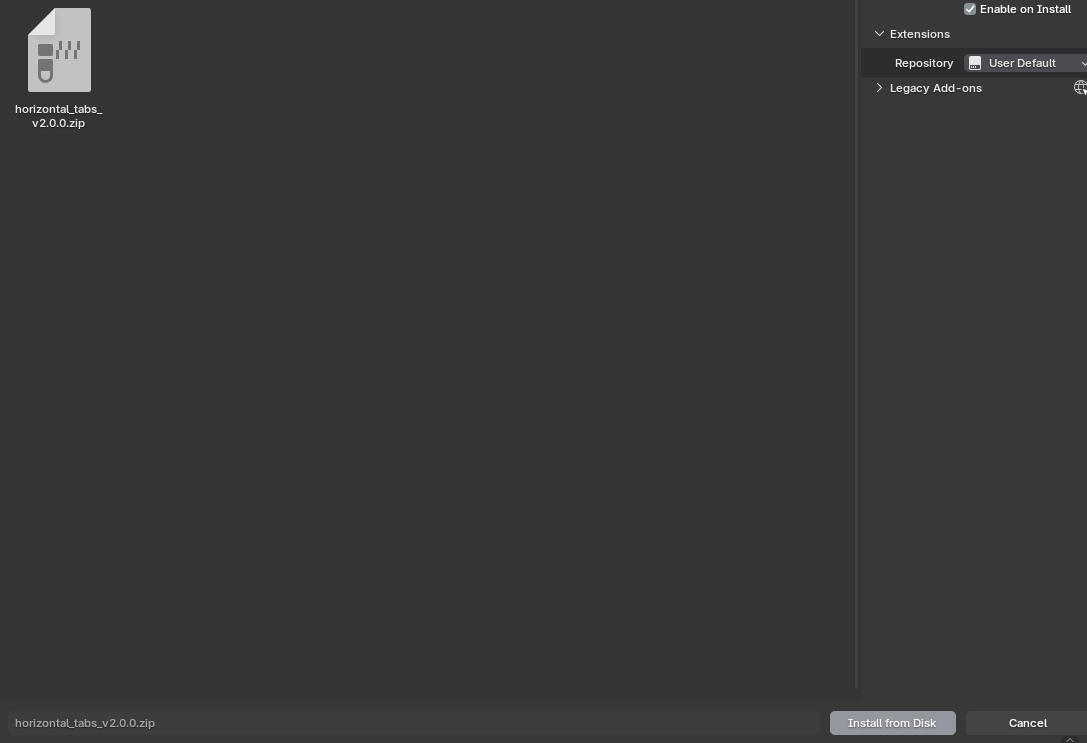
Open Edit -> Preferences -> Add-ons, then open the options menu and choose Install from Disk.... Select the downloaded ZIP file for Horizontal Tabs and confirm the installation. Once Blender finishes installing the add-on, enable it in the add-ons list.
If the add-on does not appear immediately, use the search field in the Add-ons tab and search for Horizontal Tabs. After enabling it, the preferences panel for the add-on will become available so you can start creating presets.
Setting Up Docks
Preset management
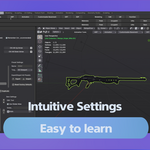
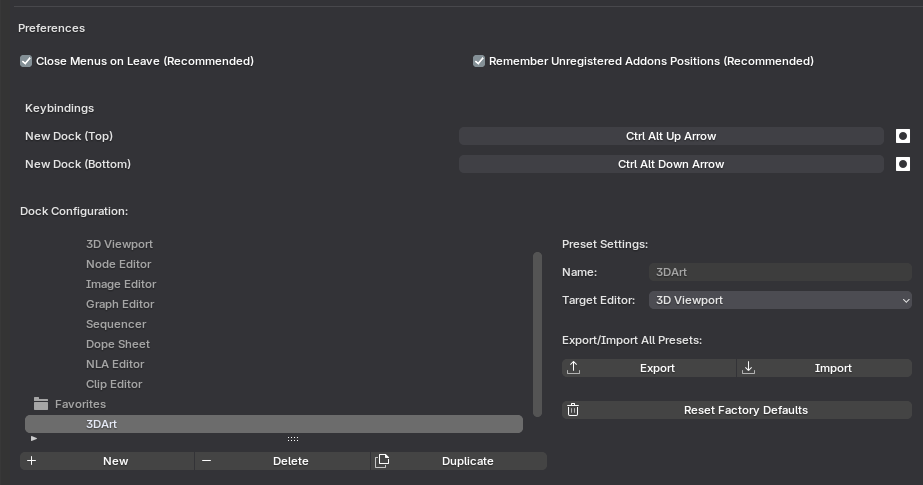
Create and manage presets in Preferences -> Add-ons -> Horizontal Tabs. From this panel, you can add new preset collections, duplicate existing setups, rename items, and control which tabs appear in each editor type.
This is the main control center for organizing your interface. A good workflow is to start with one base preset, duplicate it, and then tailor each copy for a specific task so you do not have to rebuild your layout from scratch every time.
Dock item customization
Each dock item can be adjusted to fit the way you work. You can rename items, choose how they behave, and fine-tune how much space their content uses when opened in a popover.
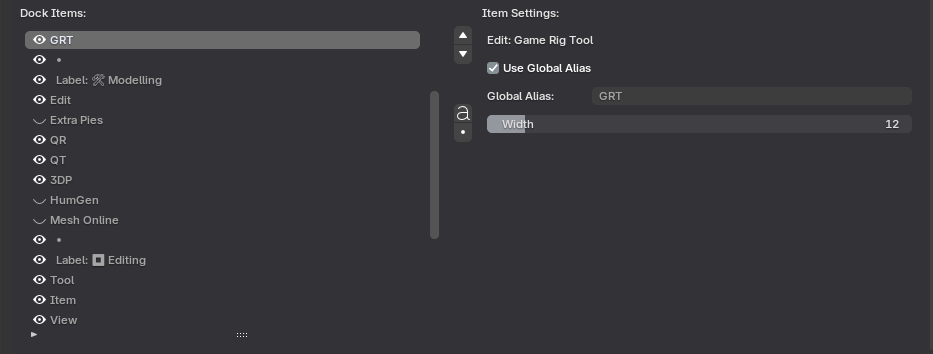
Global Alias: Use this when you want the same panel name to stay synchronized across all presets. Disable it if you want the same tool to have a different label in one specific preset.
Width: Adjust the popover width for panels that need more horizontal space. The default value works for most cases, but some add-ons and custom tools are easier to read when given a wider layout.
Additional widgets
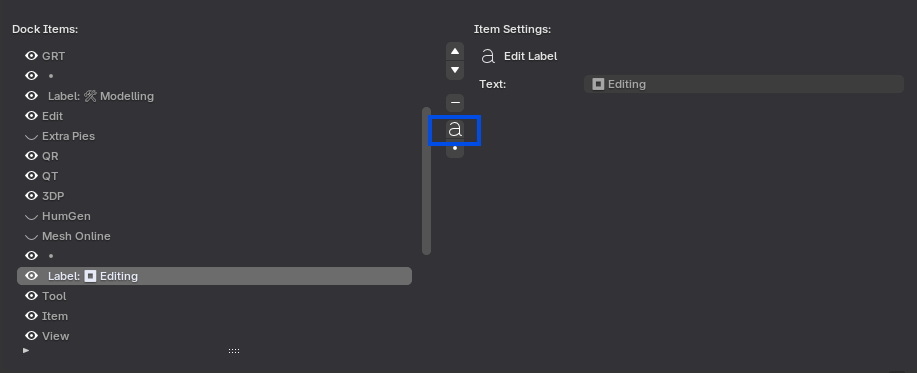
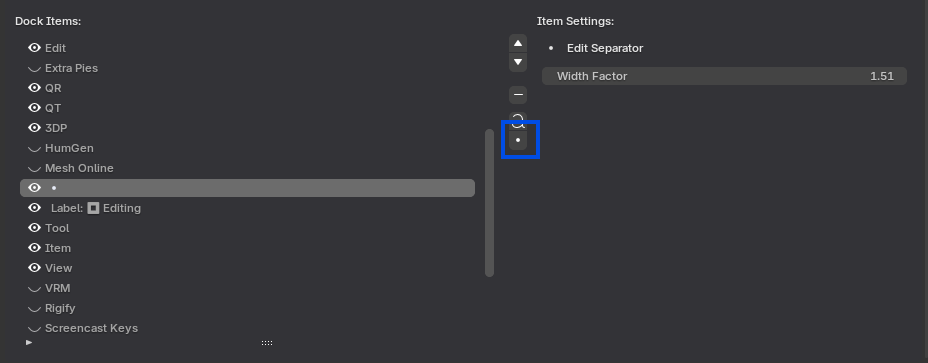
Labels and separators help you structure large tab groups so they remain readable. Labels are useful for marking sections or tool categories, while separators add controlled spacing between related items.
These small elements are especially valuable in larger presets, because they make the interface easier to scan and reduce the feeling of clutter when many tools are shown in the same header.
Quick Shortcuts
Ctrl+Alt+Up Attach a new dock to the top of the current area. This is useful when you want quick access to a custom strip without changing your main editor layout too much.
Ctrl+Alt+Down Attach a new dock to the bottom of the current area. This option works well when the top header is already busy and you want a separate strip for supporting tools.
Manual Editor Selection
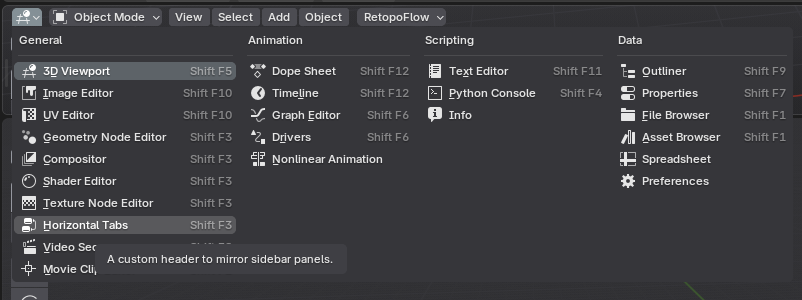
You can also convert a Blender area into a Horizontal Tabs header manually through the native Editor Type menu. Open the editor selector for the area and choose Horizontal Tabs from the available editor types.
This method is helpful when you want direct control over where the add-on appears, or when you are building a custom workspace layout and want to assign Horizontal Tabs to a specific area by hand.
Workflow and Workspace
Workspace persistence
Horizontal Tabs remembers the selected preset for each workspace. This means you can keep one layout for modeling, another for animation, and another for look development without manually rebuilding your tool arrangement every time you switch contexts.
You can switch presets from the hamburger menu in native headers or from the dropdown menu in custom strips. This makes it easy to test different layouts until you find the arrangement that best supports your workflow.
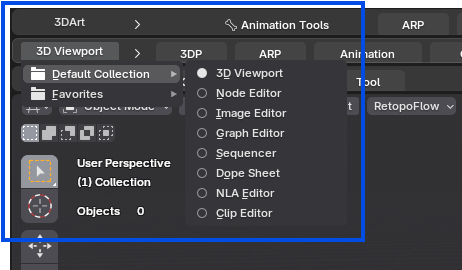
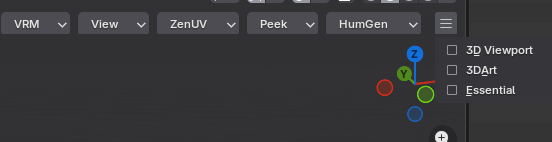
Note: In native tool headers, the old eye icon has been replaced with a reveal arrow. The new control is clearer and better matches the way hidden header content is accessed.
Multi-tier stacking
For more advanced production setups, you can stack multiple custom headers and assign a different preset to each one. This allows you to separate tool groups by purpose and keep complex workspaces easier to navigate.
This setup is especially useful when a single header is not enough for the number of tools you need available at once. Instead of creating one crowded strip, you can divide tools into cleaner layers such as modeling, scene management, and utility actions.


-
$11.40 $19
The full flow editor edition upgrade. Free for users that have Smart Pie Menus 2 and Horizontal Tabs. This edition provides additional features: - Docks and Actions editor. - Enables combined workflows between docks and pie menus.
-
$5.40 $9
Have questions about this product?
Login to message

Discover more products like this
panels workspace n-panel tabs Blender node editor manager 3d workspace