 one99addons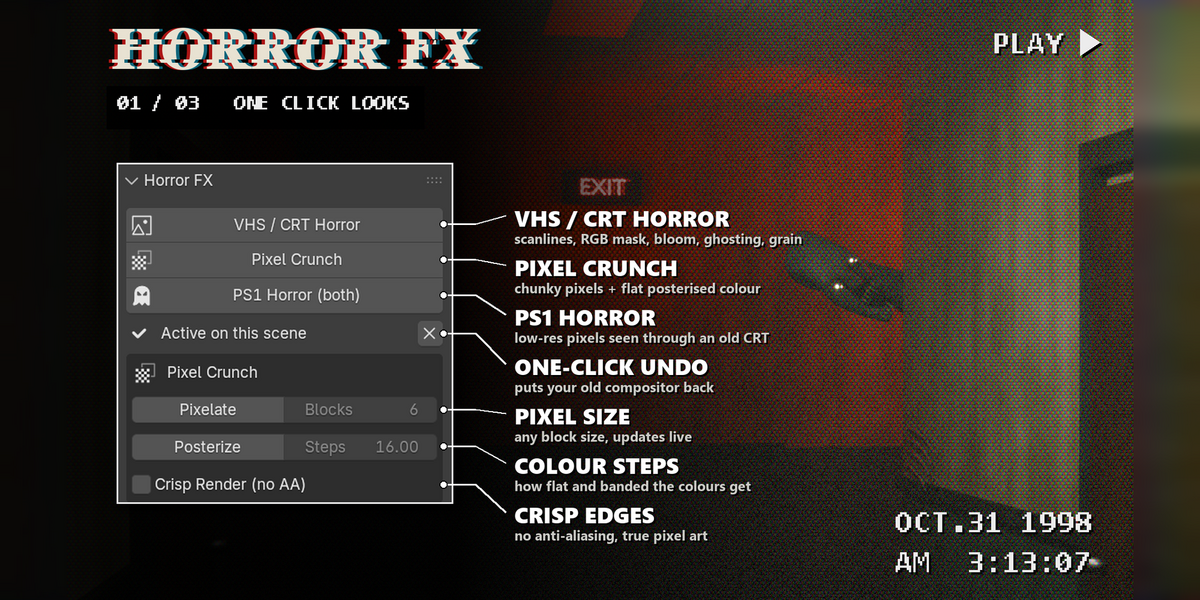
📼 Horror FX
Turn any Blender render into found footage in one click.
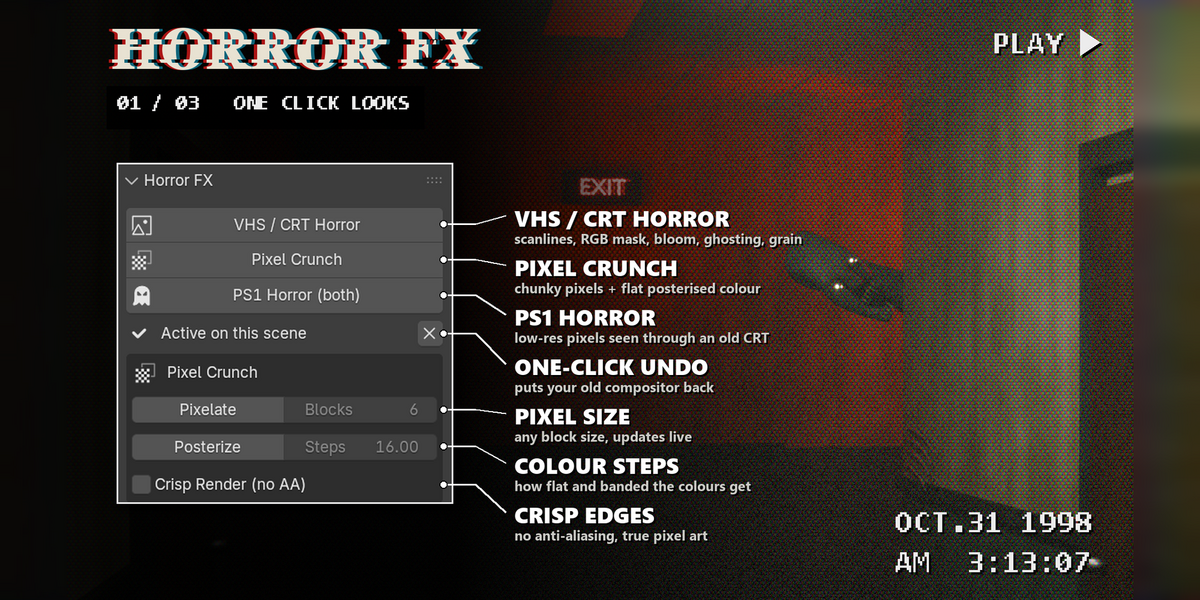
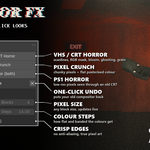
Pick VHS / CRT Horror, Pixel Crunch or PS1 Horror. Horror FX builds the whole look out of normal compositor nodes, switches your scene to it and gives you a live slider for every part of the effect.
The problem
A believable tape or CRT look takes dozens of compositor nodes: scanlines, a phosphor mask, bloom, lens bulge, colour fringing, grain and a vignette. Building it by hand takes hours, and quick versions usually just make the image darker or look like cloth.
What it does
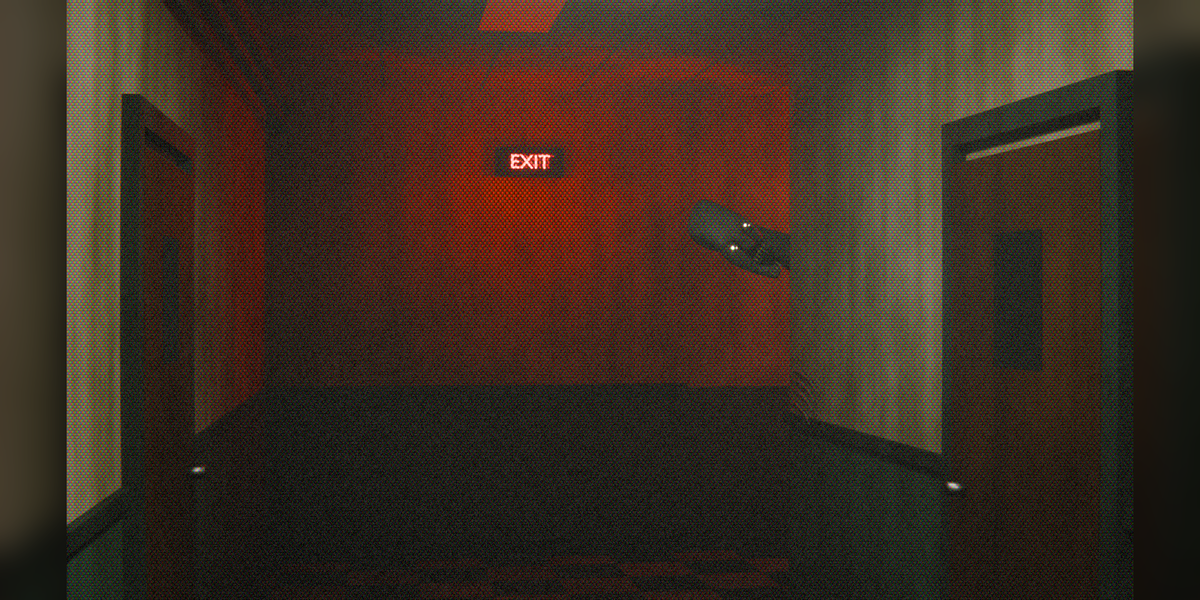
- Three one-click looks. VHS / CRT Horror (scanlines, RGB phosphor mask, bloom, barrel glass, colour fringing, tape ghost, grain, vignette), Pixel Crunch (8 px blocks, 16 flat colour steps) and PS1 Horror (5 px blocks and 32 steps, the console's 5 bits per channel, seen through a CRT).
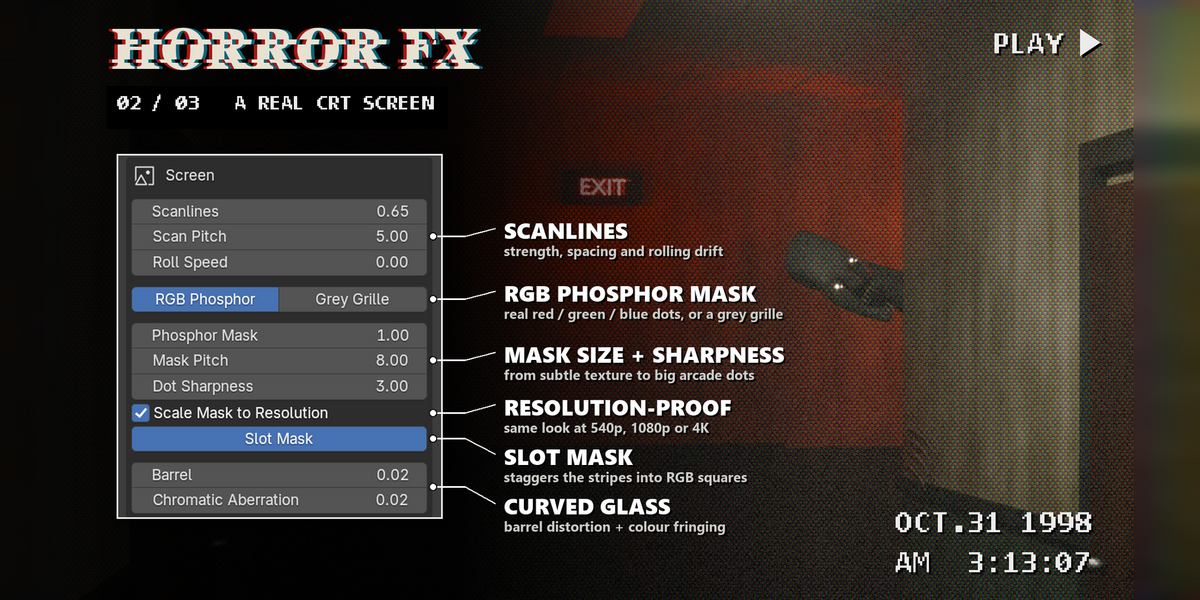
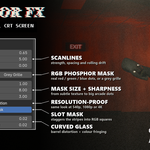
- A real RGB phosphor mask. Up close you see red, green and blue dots. Slot Mask staggers every other row into little squares. The mask is normalised, so raising it tints the screen instead of darkening it.
- Same size at any resolution. Pitches are set in 1080p pixels and scaled by your render height, so the mask looks the same at 540p, 1080p or 4K.
- Live sliders. Over 30 settings go straight into the nodes. Drag one and the image updates, no rebuild.
- Easy to undo. The X button puts your previous compositor back. The Horror FX node group is kept, so applying it again is instant.
Settings
The panel is in Properties > Render > Horror FX and in 3D Viewport > Sidebar (N) > Horror FX tab. The sliders appear once the effect is active on the scene.
- Pixel Crunch: Pixelate + Blocks, Posterize + Steps (2 to 64), Crisp Render (no AA) for hard pixel edges.
- Screen: Scanlines, Scan Pitch, Roll Speed, Mask Type (RGB Phosphor or Grey Grille), Phosphor Mask, Mask Pitch, Dot Sharpness, Scale Mask to Resolution, Slot Mask, Barrel, Chromatic Aberration.
- Tape: Soft X / Soft Y, Tape Ghost + Ghost Offset, Grain, Grain Size, Animate Grain.
- Grade: Saturation, Contrast, Brightness, Hue Shift, Tint + colour, Bloom (Threshold, Size), Vignette (Size, Feather).
Good to know
- Made only from Blender's own compositor nodes, so it works with Cycles and EEVEE, for stills and animation.
- The presets were tuned on a dark, low-key scene. Measured there, VHS and PS1 keep about 80% of the clean image's brightness (mostly the vignette) and Pixel Crunch about 93%.
- Posterize works in sRGB and rounds to the nearest step, so shadows don't collapse into hard bands.
- Roll Speed and Animate Grain change every frame for video. Set them to 0 / off for a still.
- Everything is saved in your .blend. Open the Compositing workspace to see the "Horror FX" node group.
Tips
- Mask looks like fabric? Raise Mask Pitch. Under about 5 it is finer than the eye can see. 8 reads as a screen, 10 to 14 is a big arcade monitor.
- For real pixel art, tick Crisp Render (no AA). It matters more than the block size.
- One hard light and deep shadows in the scene sell the horror look more than any post effect.
Requirements and install
Blender 5.2 or newer (tested on 5.2, Windows). No internet, no external libraries.
- Download horror_fx_v1.3.0.zip (do not unzip it).
- In Blender: Edit > Preferences > Add-ons, open the drop-down arrow at the top right, choose Install from Disk... and pick the zip.
- Tick Horror FX - VHS/CRT + Pixel Crunch. That's it.
Limits
It is a post effect: it changes the final image, not your lights or materials. A .blend has one "Horror FX" node group, so every scene that uses it shares the same look (the last one you adjusted wins). Applying a preset rebuilds the group, so hand edits to its nodes are lost. To see it in the viewport, use Rendered shading through the camera. At full Phosphor Mask, the AgX view transform tints neutral greys very slightly; lower the mask or use Grey Grille if that bothers you.
Made by one99addons.