Horror FX
 one99addons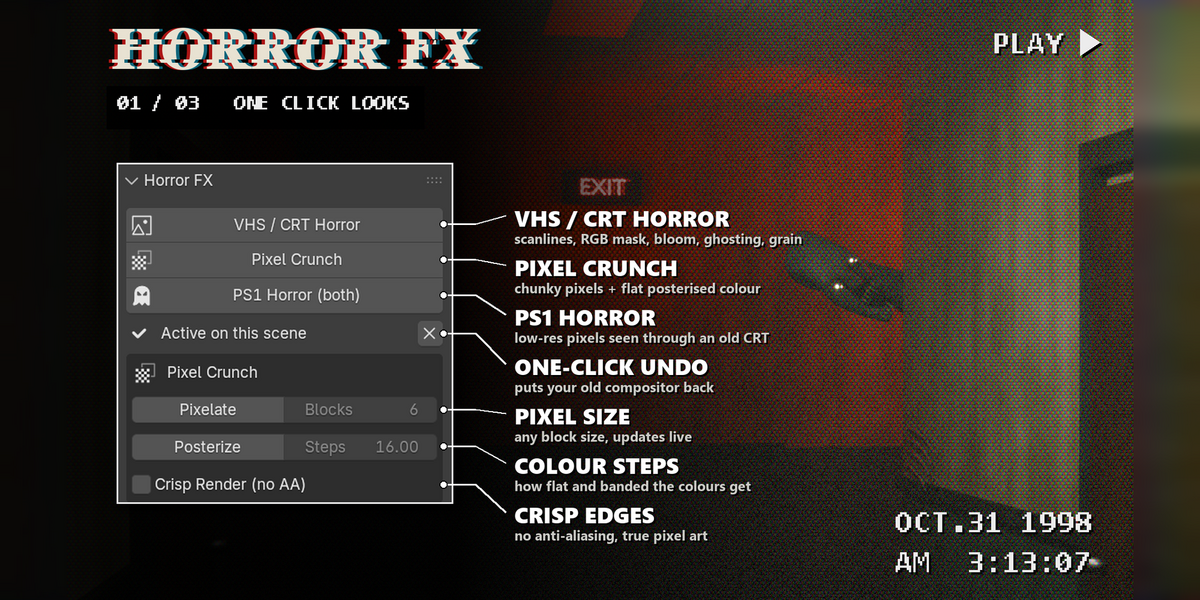
Horror FX - Documentation
1. Install
- Download horror_fx_v1.3.0.zip. Do not unzip it.
- In Blender: Edit > Preferences > Add-ons, click the drop-down arrow at the top right and choose Install from Disk...
- Pick horror_fx_v1.3.0.zip and tick "Horror FX - VHS/CRT + Pixel Crunch" in the list.
- If Auto-Save Preferences is off, click Save Preferences (bottom left).
2. Where to find it
- Properties editor > Render tab > Horror FX (the panel starts closed, click its header).
- 3D Viewport > Sidebar (press N) > Horror FX tab. It is the same panel, use whichever you like.
3. How to use it
- Make sure your scene has a camera.
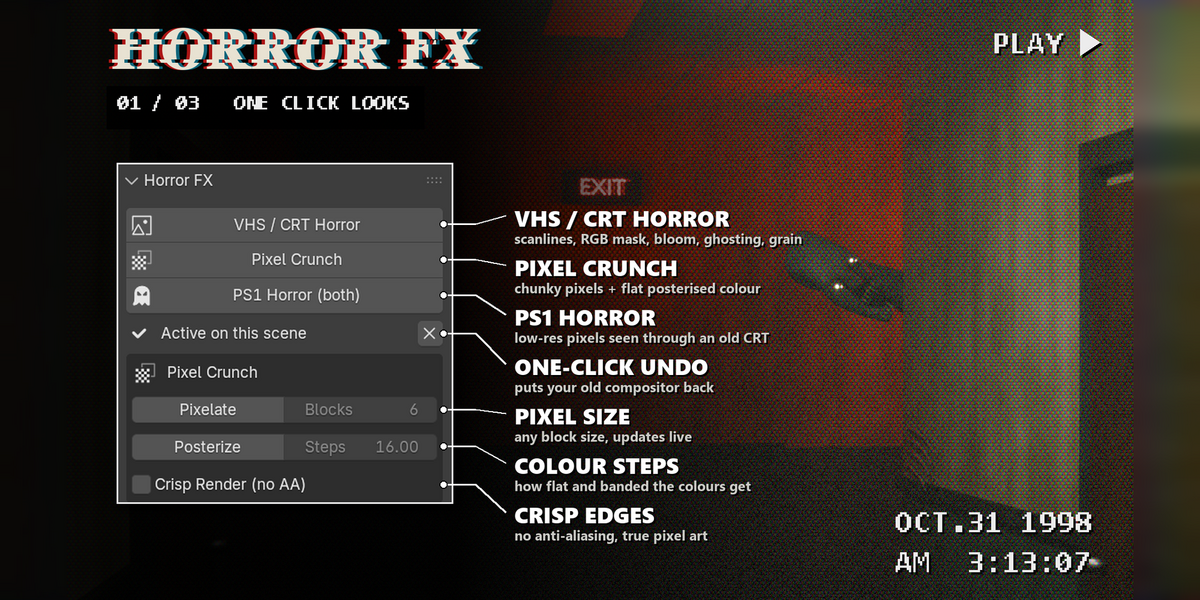
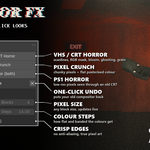
- Click VHS / CRT Horror, Pixel Crunch or PS1 Horror (both). The effect is built in the compositor and the panel says "Active on this scene".
- To see it while you work: set the 3D Viewport to Rendered shading and look through the camera (Numpad 0). Applying already sets the viewport compositor to Camera.
- Move the sliders. Every change shows up right away.
- Render as usual (F12 for a still, Ctrl+F12 for an animation). The effect is in the final image or video.
- Click the X next to "Active on this scene" to remove it: your previous compositor comes back. When it is not active, the refresh button applies it again with the current slider values.
4. Settings
Pixel Crunch
- Pixelate / Blocks: crush the image into square blocks, size in render pixels.
- Posterize / Steps: flat colour levels per channel (2 to 64).
- Crisp Render (no AA): sets the render filter to 0.01 px for hard, jagged edges. Untick to go back to 1.5 px.
Screen
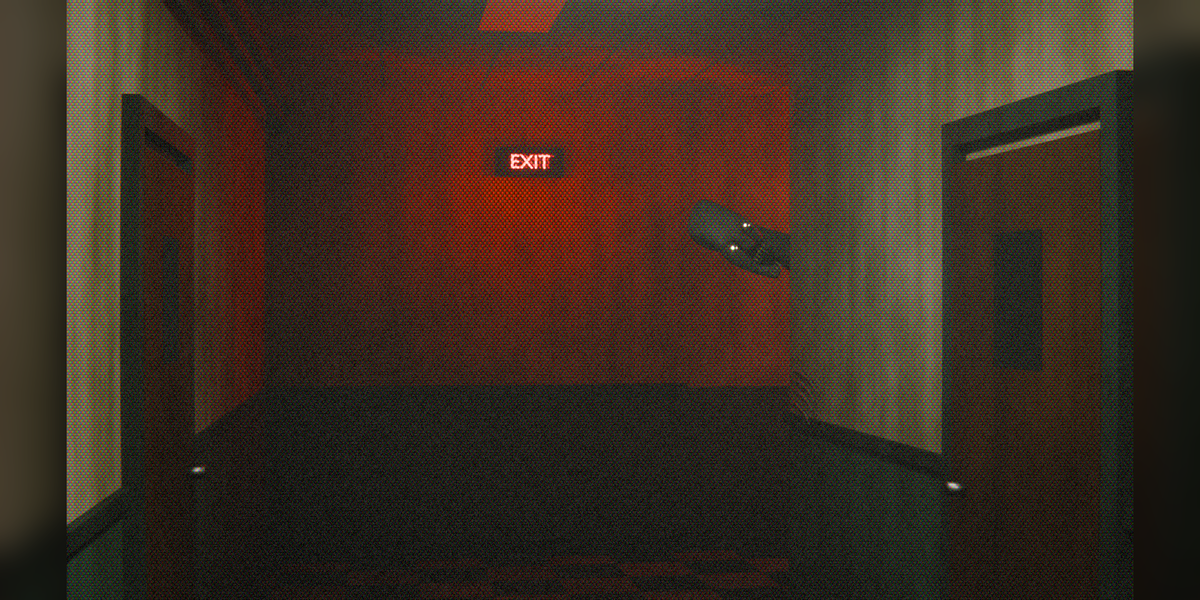
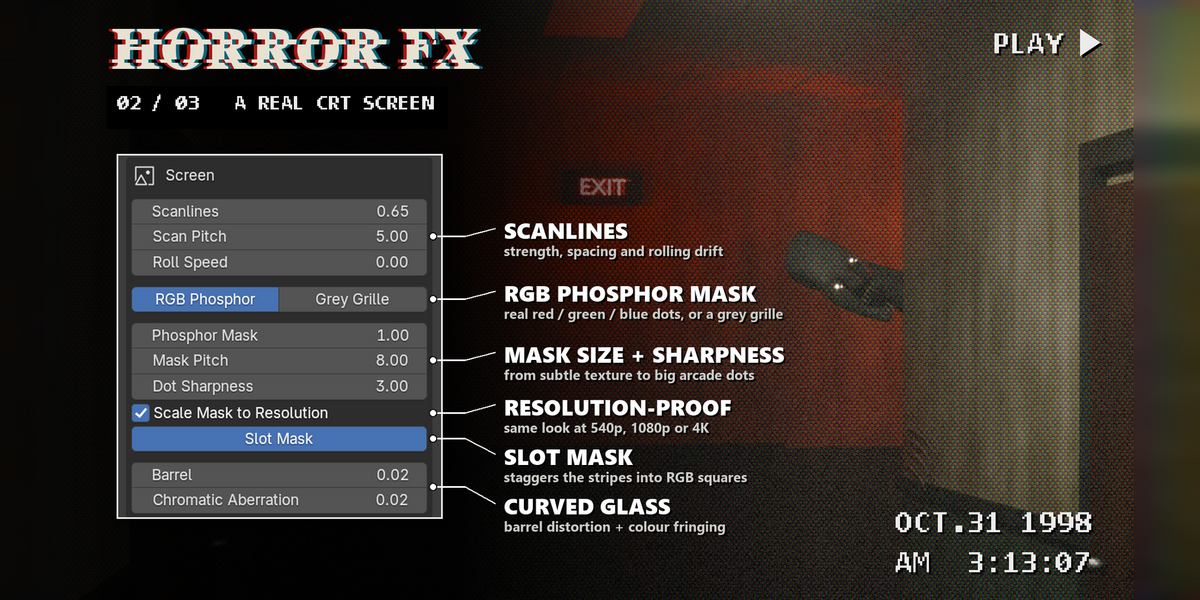
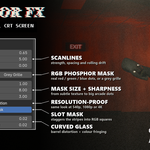
- Scanlines / Scan Pitch / Roll Speed: strength of the lines, distance between them, and how fast they drift per frame.
- Mask Type: RGB Phosphor (red, green and blue dots) or Grey Grille (plain dark stripes).
- Phosphor Mask / Mask Pitch: strength of the mask and width of one R-G-B triad.
- Dot Sharpness: 1 = soft stripes, 2 to 4 = tight bright dots with dark gaps.
- Scale Mask to Resolution: pitches count in 1080p pixels and follow your render height (on by default).
- Slot Mask: staggers every other scanline row so the stripes break into squares (RGB mode).
- Barrel / Chromatic Aberration: CRT glass bulge and colour fringing.
Tape
- Soft X / Soft Y: blur, usually wider than tall for a tape look.
- Tape Ghost / Ghost Offset: an offset echo of the image. A negative offset ghosts to the left.
- Grain / Grain Size / Animate Grain: noise strength, block size (1 = fine, 4 to 8 = chunky) and a new pattern every frame.
Grade
- Saturation, Contrast, Brightness, Hue Shift.
- Tint + colour: multiplies the image by a colour.
- Bloom / Threshold / Size: glow around bright areas.
- Vignette / Vignette Size / Feather: dark edges, where they start and how soft they are.
5. Troubleshooting
- Nothing changes in the viewport: use Rendered shading and look through the camera (Numpad 0). In the viewport Shading drop-down, check that Compositor is set to Camera.
- The final render looks clean: check that the panel says "Active on this scene" and that Output Properties > Post Processing > Compositing is ticked.
- The image is too dark: lower Vignette and Scanlines first, then Contrast.
- The mask looks like cloth or disappears: raise Mask Pitch to 8 or more and keep Scale Mask to Resolution on.
- Greys look slightly tinted at full Phosphor Mask: that comes from the AgX view transform. Lower Phosphor Mask or switch Mask Type to Grey Grille.
- Two scenes show the same look: they share the one "Horror FX" node group. Apply the look you want in the scene you are about to render.
- My hand edits to the node group are gone: applying a preset or the refresh button rebuilds the group from the sliders.
- Install error? Make sure you picked the .zip itself, not an unzipped folder, and that you are on Blender 5.2 or newer.
6. Updating
- Download the new zip from your Superhive library, uninstall the old version in Edit > Preferences > Add-ons, restart Blender, then install the new zip.
7. Uninstall
- Click the X in every scene that uses Horror FX, so your previous compositor comes back. Then go to Edit > Preferences > Add-ons, expand Horror FX and choose Uninstall. The "Horror FX" node group stays in files you saved with it. It is made of normal nodes and keeps working without the add-on.
Support
- Have a question, a bug or an idea for a new feature? Mail me at [email protected]. Please include your Blender version and operating system.
Have questions about this product?
Login to message
| Published | 3 days ago |
| Blender Version | 5.2 |
| Extension Type | N/A |
| Render Engine Used | Cycles, Eevee |
| License | GPL |
Discover more products like this
retro scanlines compositor ps1 CRT found footage Post-Processing horror vhs pixel art