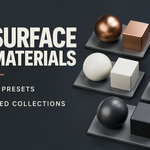
Hard Surface Design Materials — 279 Material Presets For Blender
 StormScourge Games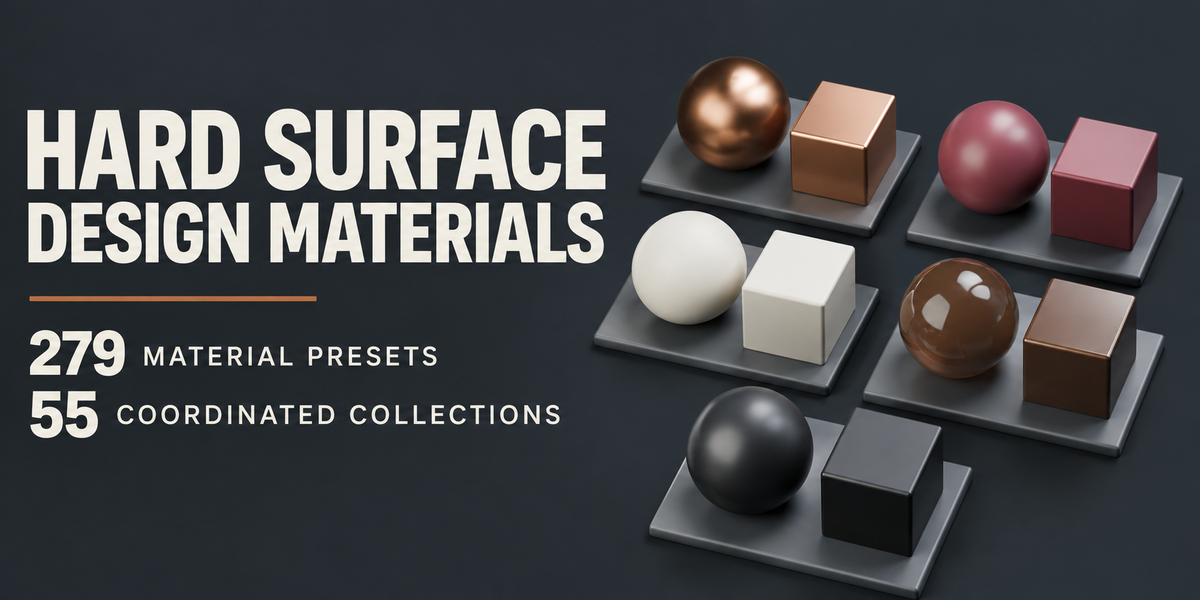
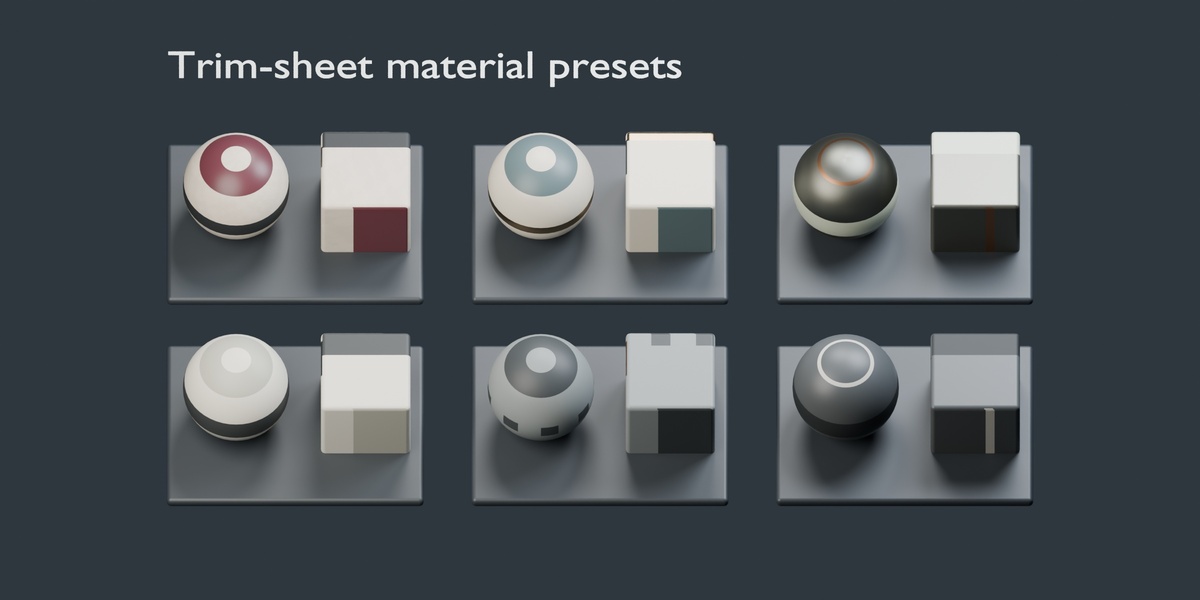
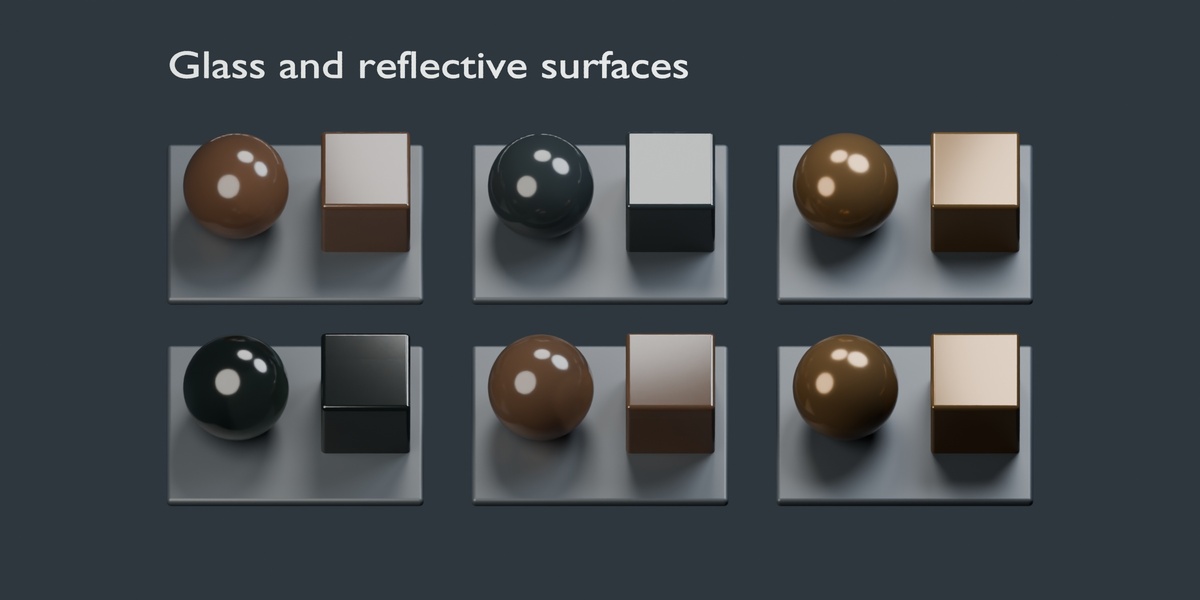
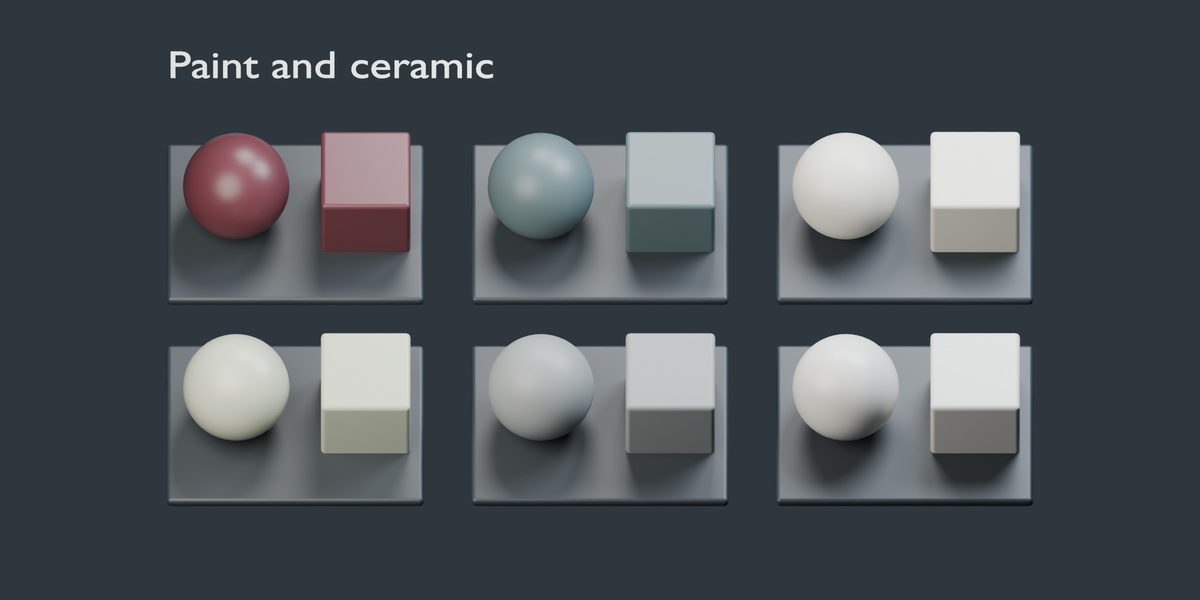
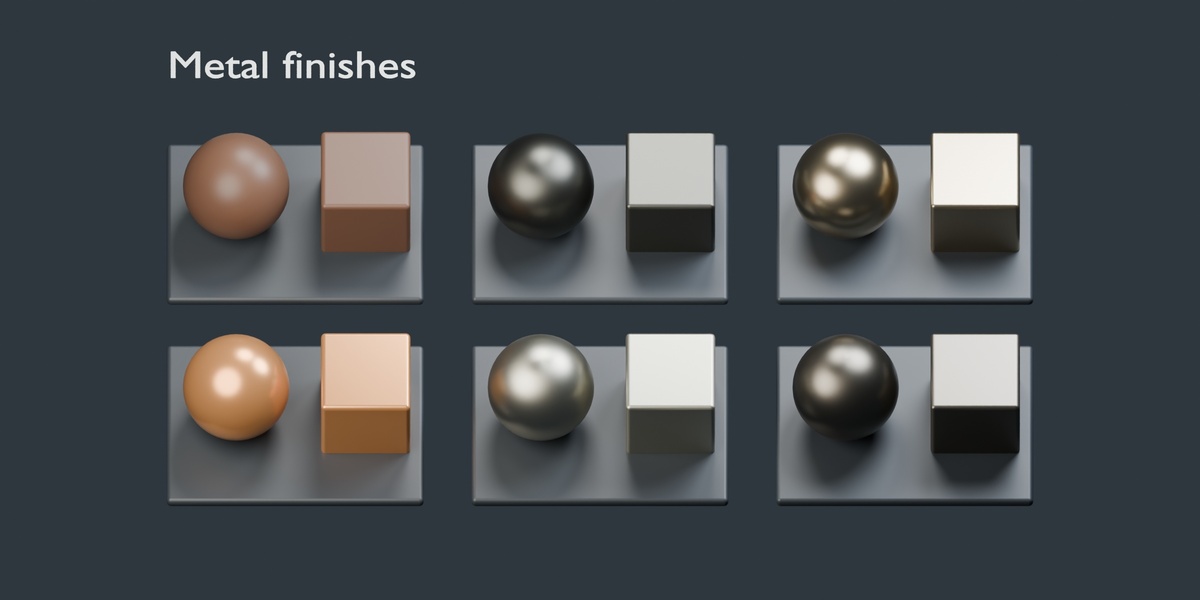
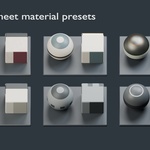
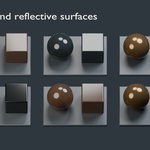
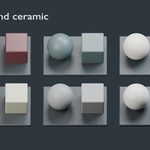
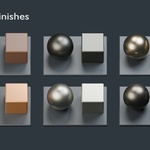
Hard Surface Design Materials — installation and use
Requirements and files
Designed for Blender 5.0+ with Cycles. The supplied file was saved, reopened and render-tested in Blender 5.0.1. No add-on is required.
Keep these two files together in a permanent folder:
- `HARD_SURFACE_Materials_5.0.blend` — materials, packed textures and showrooms
- `blender_assets.cats.txt` — Asset Browser catalog organization
`MATERIAL_CATALOG.json` lists the collections and materials. The library file is approximately 840 MB; allow time and available memory for its packed textures to load.
Install as an Asset Library
1. If you received a ZIP, extract it completely. Do not use the library from inside the archive.
2. Move the library folder to a permanent location on your computer.
3. Open Blender and choose **Edit > Preferences > File Paths**.
4. Under **Asset Libraries**, click **+** and select the folder containing the .blend file and catalog file. Select the folder, not the .blend file itself.
5. Name the library **Hard Surface Design Materials**. Save Preferences if automatic saving is disabled.
6. In your project, change an editor area to **Asset Browser** using its Editor Type selector.
7. Select **Hard Surface Design Materials** from the Asset Library dropdown. Choose a catalog to browse a collection, or search for a material name.
Keep the folder in its registered location. If you move it later, update the path in Preferences. If the library does not appear, reopen the Asset Browser or restart Blender.
Apply your first material
1. Open your own project and select a mesh object.
2. Prepare a UV map if the chosen material uses image textures. See the UV section below for presets that use a named physical-scale map.
3. In the Asset Browser, use **Append (Reuse Data)** as the import method for an editable local material that can be reused in the project.
4. Drag the material thumbnail onto the target mesh in the 3D Viewport.
5. Switch the viewport to **Material Preview**, or use **Rendered** mode with Cycles, to inspect the result.
6. For an object with multiple material slots, check **Material Properties** to confirm the intended slot has the material. To assign selected faces, enter Edit Mode, select the faces, choose the material slot and click **Assign**.
7. Save your project under its own filename.
Alternative: append without registering a library
Choose **File > Append**, open `HARD_SURFACE_Materials_5.0.blend`, enter its **Material** folder and append the desired material. Select your object and choose that material from the material dropdown in Material Properties. This imports the material without importing showroom objects.
Explore the included showrooms
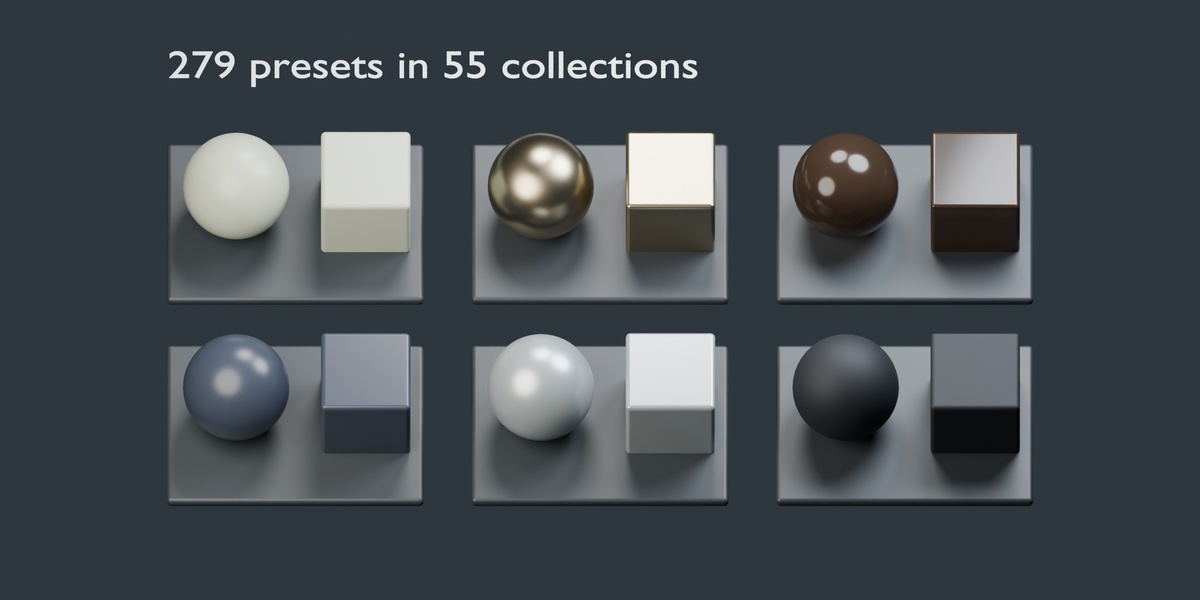
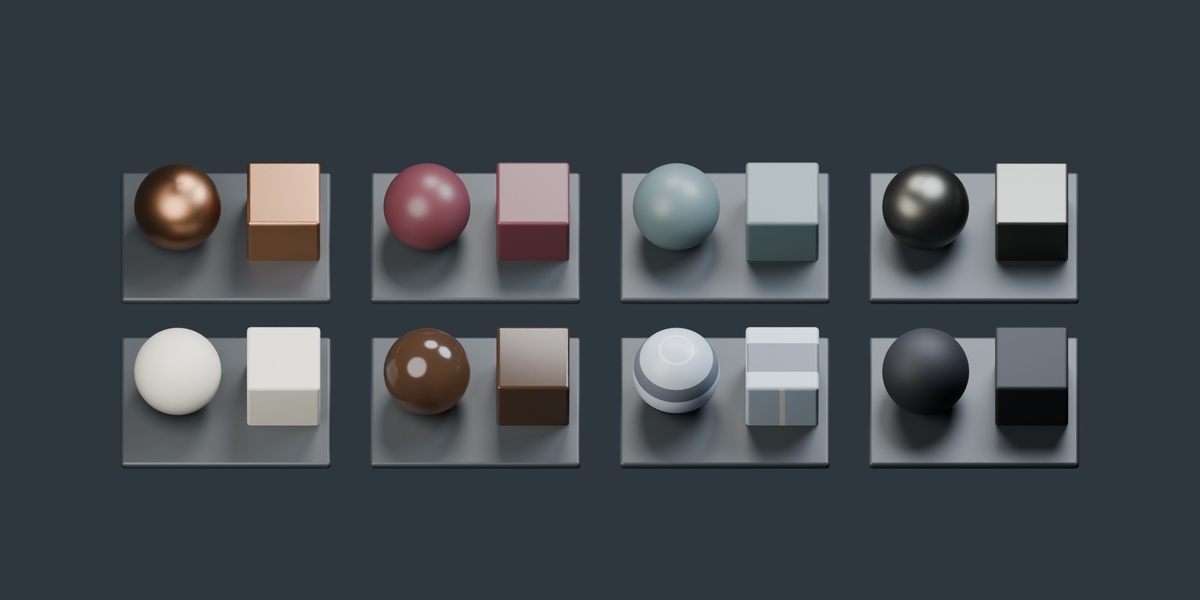
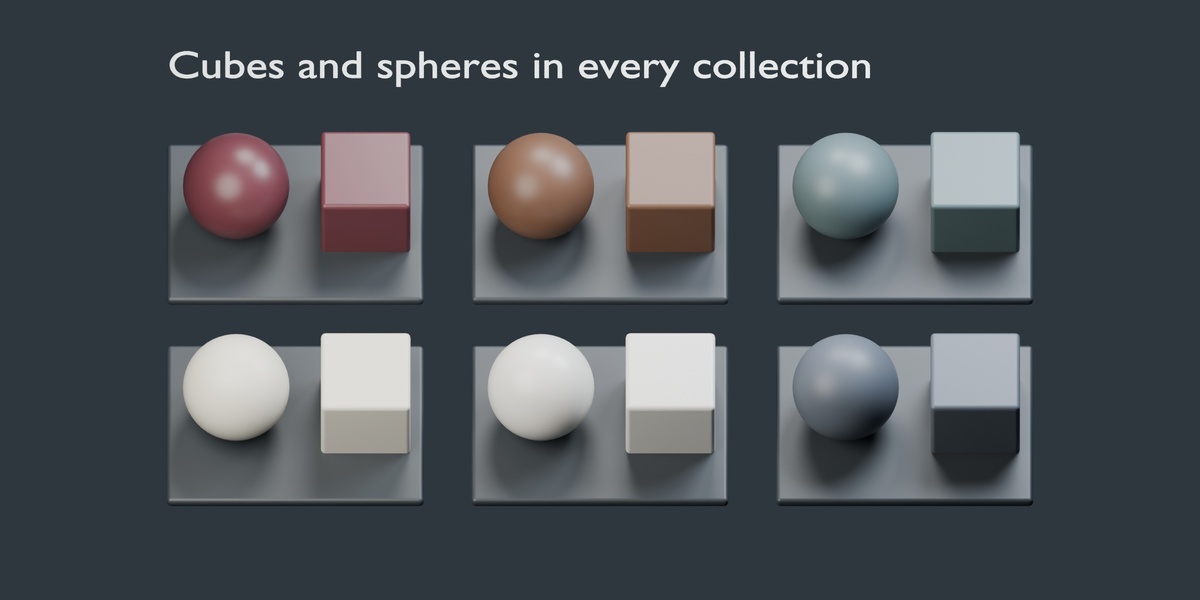
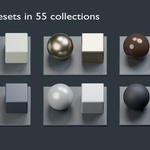
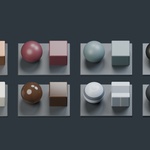
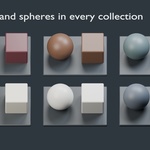
Open the supplied .blend file directly. Use the Scene selector to switch from the overview to an individual collection. Each collection presents finishes on cubes and spheres. Scenes beginning with **PROMO** contain additional studio arrangements.
Use Material Preview for browsing or Cycles for rendering. An individual collection is easier to inspect than the full overview. Save a separate working copy before changing the library’s sample scenes.
Adjust a finish
Select an object with the material and open the **Shader Editor**. Edit the existing nodes for the chosen finish. Controls differ between presets; texture-based colors may be driven by images rather than a single color input.
If multiple objects share a material, editing it affects all those users. Click the material’s user-count button to create a single-user copy before making an independent variation. Give the copy a descriptive name.
UVs and physical texture scale
Inspect the material’s UV Map, Texture Coordinate and Mapping nodes before changing its scale.
Some rebuilt presets expect a UV layer named **PhysicalScaleUV**. For these presets, UV distances represent meters before the shader applies its tile-size conversion. A 0.25-meter surface therefore uses a 0.25-unit UV span in the corresponding direction. A normal 0–1 unwrap alone does not establish this physical scale.
For those presets, create or duplicate a UV map in Object Data Properties, name it **PhysicalScaleUV**, unwrap the mesh, and scale its UV islands to match that convention. Alternatively, adapt the shader’s coordinate and scale setup to your preferred UV workflow. Do not apply the same scale conversion twice.
Simpler presets may use regular normalized UVs. Brushed finishes may also reference a named UV map in a Tangent node; ensure that map exists and its orientation matches the desired brushing direction.
Use trim-sheet materials
A trim sheet places multiple surface bands in one texture. In the UV Editor, position and scale each relevant island over the desired band. These materials do not automatically choose panels or assign different bands to different parts of a mesh. The showroom samples can cross several bands to demonstrate the available detail.
Troubleshooting
**The Asset Browser is empty:** Confirm the selected library path contains the .blend file, clear search/filter settings, and select the material library. Restart Blender if needed.
**Catalog folders are missing:** Keep `blender_assets.cats.txt` beside the .blend file. Register that containing folder as the library.
**The object looks gray:** Switch from Solid shading to Material Preview or Rendered mode and confirm a material is assigned.
**The object looks pink:** Check Image Texture nodes for missing images. The supplied library has packed images; try appending the material from a fresh copy of the release. Do not unpack its images unless you intend to manage external texture paths.
**The texture is stretched or the wrong size:** Check the UV unwrap, selected UV-map name and shader scale settings. For PhysicalScaleUV presets, follow the physical-scale convention above.
**Brushed highlights run in the wrong direction:** Check UV orientation and any named map in the Tangent node.
**Glass is too dark:** Test in Cycles with an illuminated environment or objects behind the glass. Check surface normals and object thickness. Compare with the included showroom before changing shader values.
**The material is not editable:** If imported using Link, append a local copy instead. Use Append or Append (Reuse Data) for normal local editing.
**The file loads slowly:** Allow the packed images to load and work in an individual collection scene. The library is not benchmarked as a low-memory product.
Support
Contact StormScourgeGames with the material name, Blender version, render engine, screenshot and reproduction steps.
Have questions about this product?
Login to message
| Published | about 13 hours ago |
| Blender Version | 5.0 - 5.2 |
| Render Engine Used | Blender-Internal, Blender-Game-Engine, Cycles |
| Misc Data | Normal-Mapped, Textured |
| License | Royalty Free |
Discover more products like this
shaders sci fi Painted Metal materials product-visualization Cycles ceramic hard surface metal Glass Trim Sheet surface finishes