 Illusio Labs
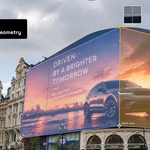
Illusio for Blender
An anamorphic authoring tool for Blender.
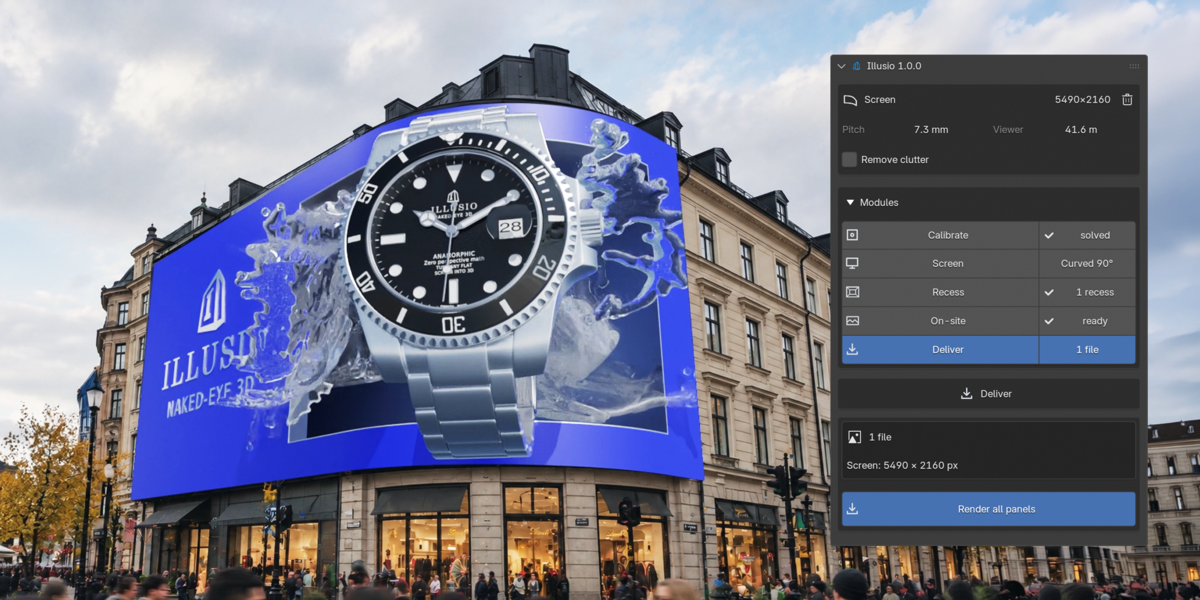
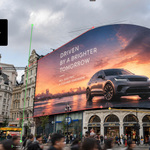
You have a photo of the screen, its spec sheet and a deadline. Illusio for Blender takes you from that photo to the files the screen will play, without leaving Blender. Mark the screen's corners on the photo, build and animate your scene the way you always do, and render one file per display at its exact pixels. From where people stand, your scene looks like it continues through the glass. This is the effect also called naked-eye 3D, or a 3D billboard.
Why use it
- The illusion lines up on the real building. One photo gives the camera, the lens and the spot where people stand. You stop guessing the viewpoint and rendering test after test.
- The client sees it before it airs. Your scene plays over the site photo, live in the viewport, and renders as a still or a video mockup.
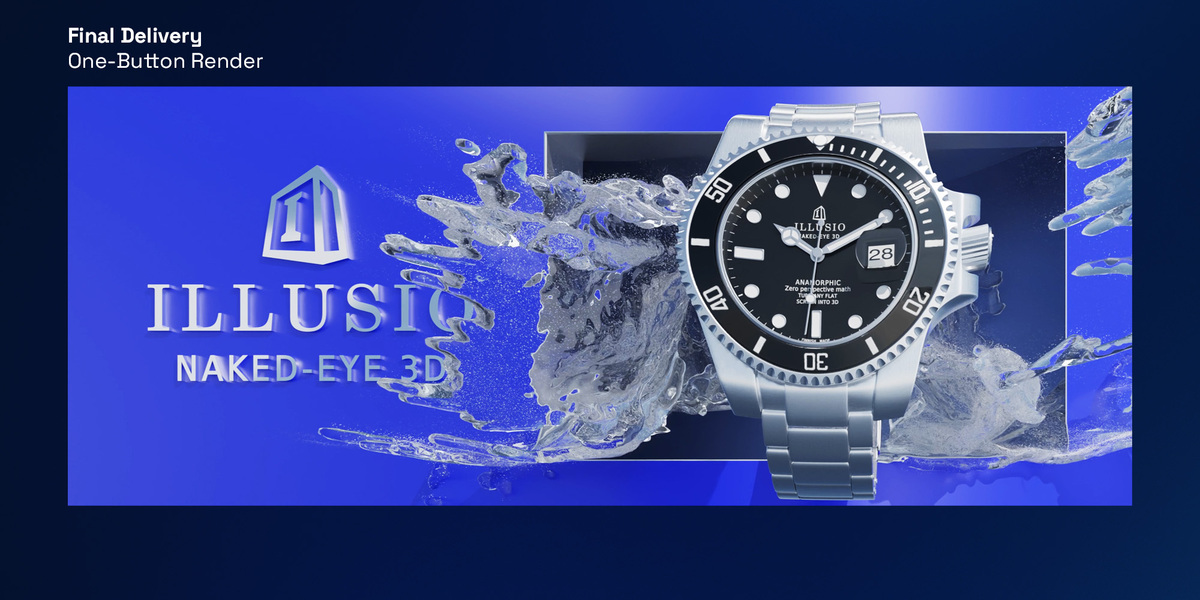
- The operator gets files they can play. Each file has the display's exact pixels and is named by its position, with a README and a contact sheet that plays everything in place.
- You stay in plain Blender. Models, lights, materials, animation and simulations work as usual. Saved files open without the add-on.
Who it is for
3D artists, motion designers and studios who make 3D billboards and other naked-eye 3D content for outdoor and indoor screens, and who want the whole job in Blender, from the site photo to the delivered files.
Why I built it
I'm Santeri Salmi, a 3D artist who has made naked-eye 3D campaigns for years. I built Illusio for Blender because I needed it for my own frequent naked-eye 3D work, and Blender is my primary tool.
How it works
One Illusio tab in the 3D Viewport sidebar holds five modules, in the order the work goes. Each step has one button for the thing to do next.
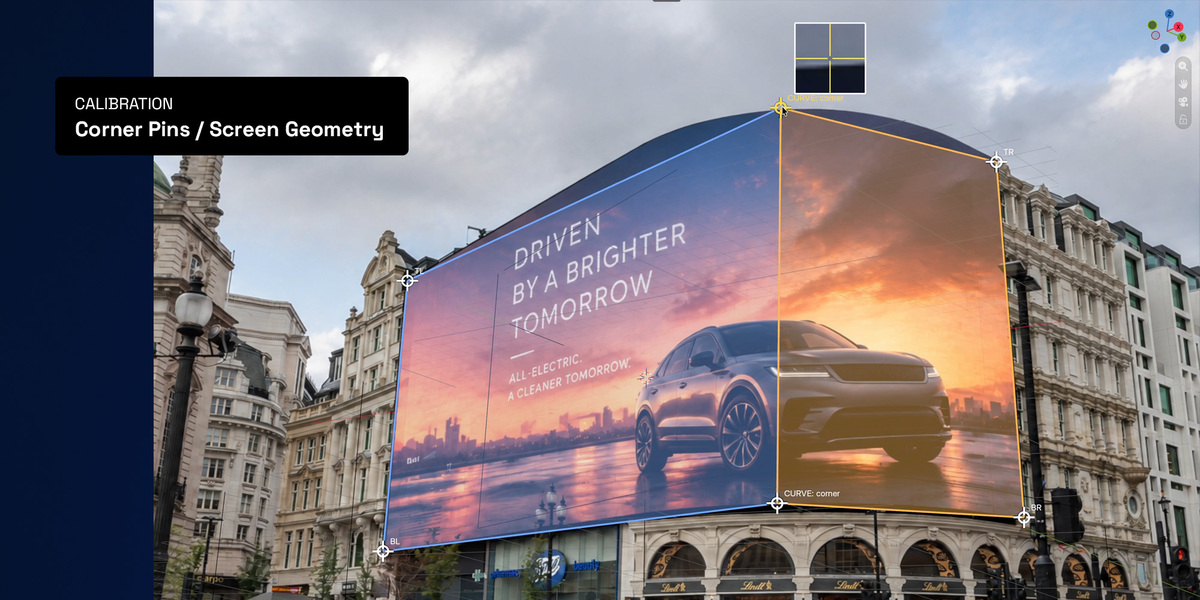
- Calibrate. Mark the screen's corners on a photo and press Enter.
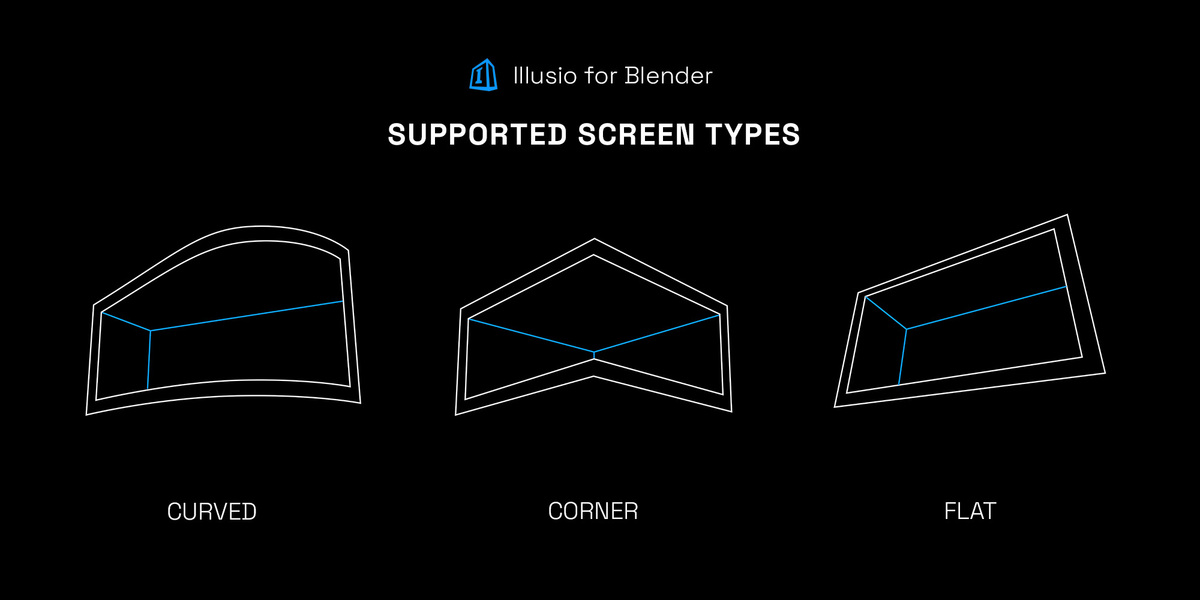
- Screen. Choose flat, corner or curved, and type its pixels and its long side in metres from the spec sheet.
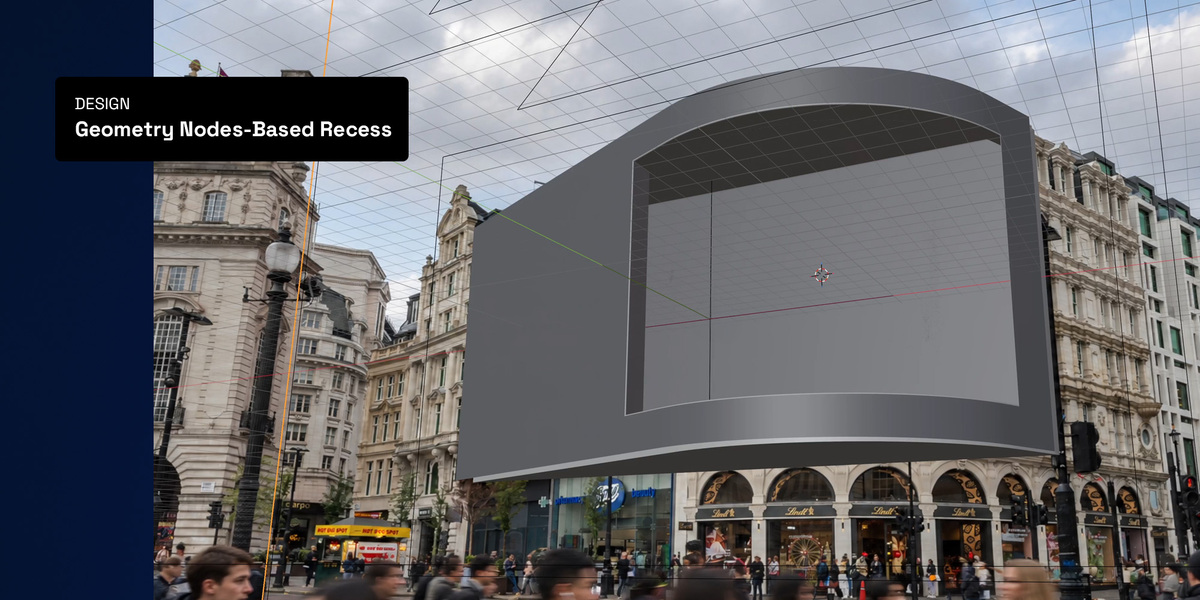
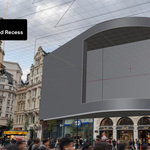
- Recess. Add the box sunk into the screen that many 3D billboards are built around, and tune it.
- On-site. Look through the photo and watch your scene play on the real building.
- Deliver. Render the files for every display in one go.
Calibrate from one photo
Get the camera right once and every render after it lines up with the real screen.
- Four marks for a flat screen, six for a corner or a curved one.
- A loupe while you drag, arrow keys to nudge and Tab for the next corner.
- Enter places the camera, finds the lens and puts the viewer where the photo was taken.
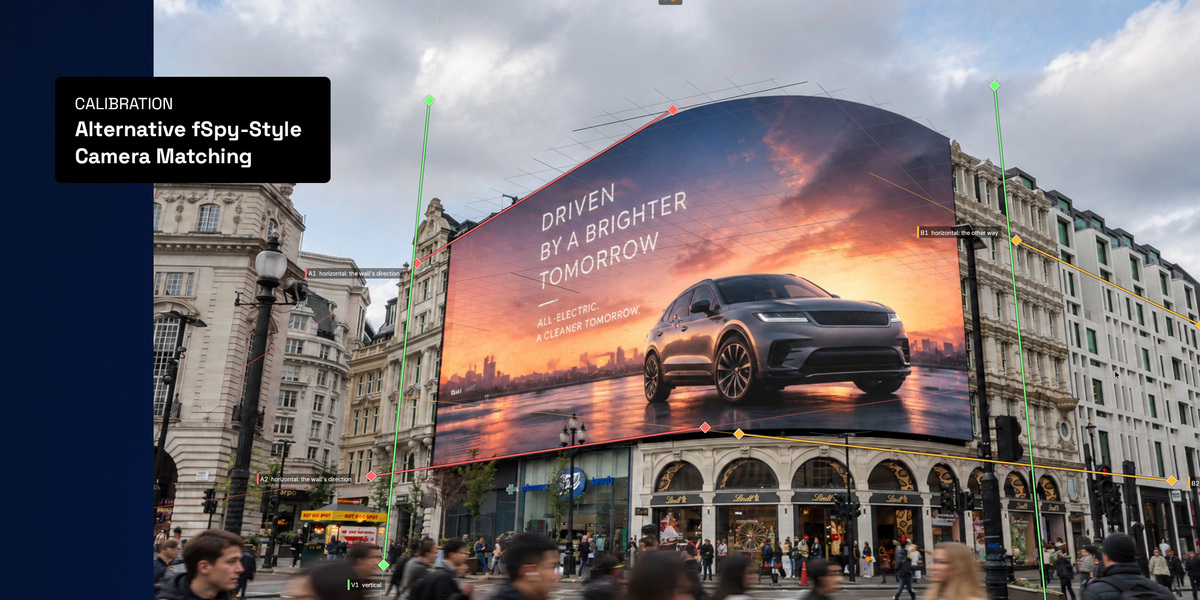
- Perspective lines, as in fSpy, pin the lens when the photo was taken nearly face on.
- Got a retouched or bigger version of the same photo? Swap it in and the calibration stays.
- No photo yet? Make the screen from its specs and place the viewer by hand.
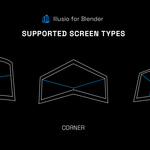
Flat, corner and curved screens
Type the screen's pixels and its long side in metres. Width, height and pitch follow, so the file always fits the screen.
- Flat: billboards, LED walls and any rectangular display.
- Corner: two panels folded 90 degrees, on an outside or an inside corner. Each panel is its own file, and the seam between them lines up.
- Curved: one LED strip bent round a corner, delivered as one file. Render it exactly with a Cycles custom camera (each pixel is one LED), or by projection in any engine on any GPU, Macs included.
- Scene scale: working with assets modelled at another scale? Scale the whole setup instead of the assets. The files stay the same.
A recess you can tune
Start every piece from a ready recess and shape it with a few settings. It's a Geometry Nodes group, labelled step by step, so you can open it and see how it works.
- Border, one width or each side its own, with a rounded lip.
- Depth, four material slots and box-mapped UVs.
- Overlay mode: the border becomes a frame in front of a full-size room.
- Corner recess: a box cut out of the building's corner.
- Occluder: the wall around the screen hides your scene where the real wall would.
See it on the building before it airs
Show the client the piece in place, from the spot where people will stand.
- Look through the photo and your scene plays over it, live in Solid, Material Preview or Rendered view.
- The screen mask cuts everything outside the screen's edge, as on site.
- Render the mockup at full quality, as a still or a video.
- Resolve to flat: the picture lifts off the building and settles face on, so the client sees both views.
One file per display
Hand over files nobody can mix up.
- Each file is named by its position, with its pixels in the name.
- PNG with transparency, or video in the format set in Output Properties (MP4, or ProRes 4444 to keep transparency).
- A README says which file goes on which display, and an
index.htmlcontact sheet plays every file in its place. - Simulations such as FLIP Fluids move in every frame of the files and the mockup.
- Progress, time left and Cancel while it renders. Nothing half-made is left in the folder.
- Quick tests below 100 % render size are marked as tests in their names, so they are never mistaken for the final files.
Requirements
- Blender 4.2 or newer. Tested on 4.2, 4.5, 5.0, 5.1 and 5.2.
- Curved screens need Blender 4.5 or newer. The exact method renders in Cycles on the CPU or an NVIDIA GPU (OptiX). The projection method uses your project's engine on any GPU.
- Flat and corner screens render with any engine.
- With a dark world and only lights, turn on EEVEE's Raytracing (one button in the Illusio tab) or use Cycles, so light bounces inside the recess.
