Illusio for Blender
 Illusio Labs
Install
- Download the zip from your Superhive downloads. Don't unzip it.
- In Blender, open Edit > Preferences > Get Extensions, click the arrow at the top right and choose Install from Disk.
- Pick the zip. The add-on turns on by itself.
- In the 3D Viewport, press N and open the Illusio tab.
Needs Blender 4.2 or newer. Tested on 4.2, 4.5, 5.0, 5.1 and 5.2. Curved screens need 4.5 or newer.
The Illusio tab
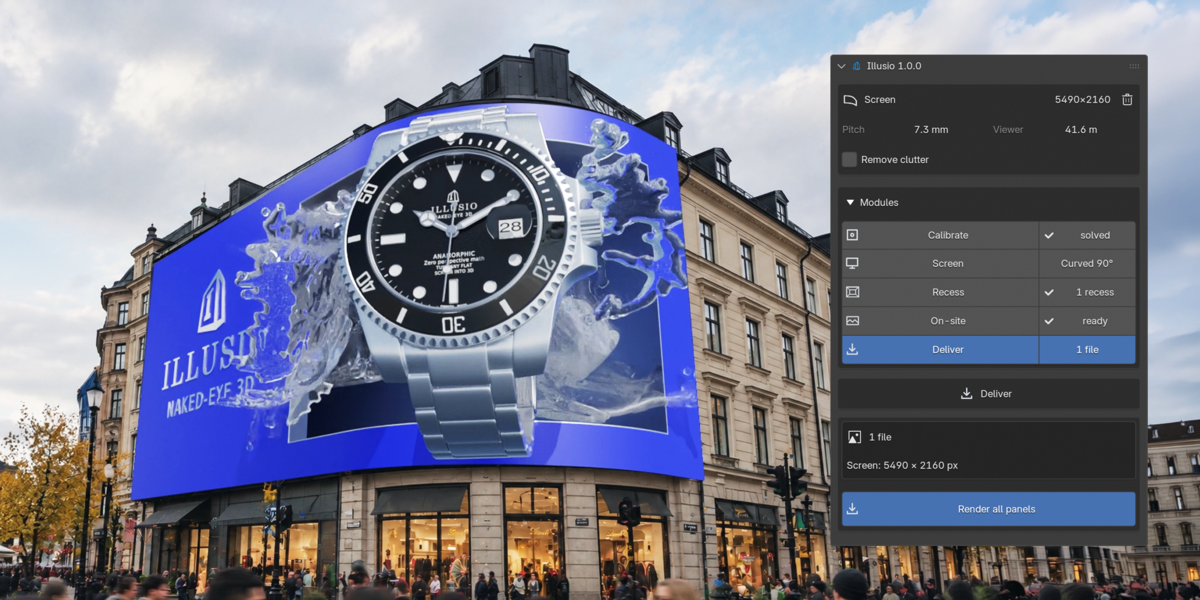
The tab reads from top to bottom, in the order the work goes.
- The screen: one screen per file. The top box shows its name, pixels, pitch and how far away the viewer stands, with Delete beside it.
- Remove clutter: turns off the 3D view's overlays (grid, axes, outlines and so on) so the photo and the screen stand out. Turn it off and the views go back as they were.
- Modules: Calibrate, Screen, Recess, On-site and Deliver. Each shows where it stands and gets a tick when it's done.
- Steps: the chosen module's steps as tabs along the top. Each step has one blue button for the thing to do next. Settings you seldom need are folded away, with their value showing.
- A running render appears at the top with its progress bar, the time left and Cancel.
Your first piece in five steps
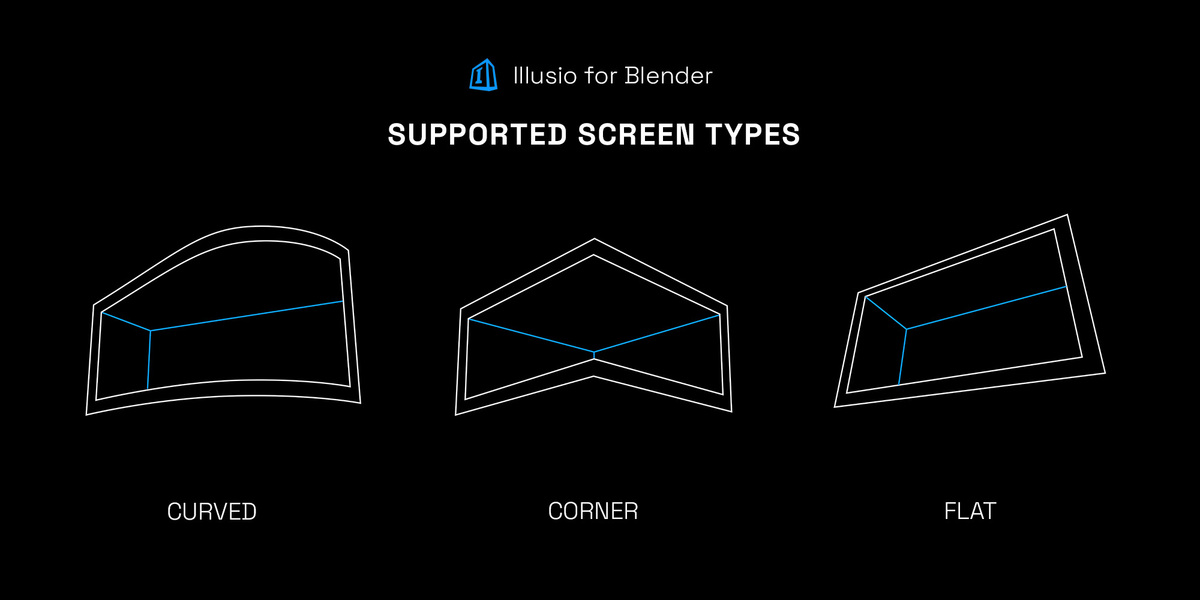
- Start from a photo. Choose the shape (flat, corner or curved), type the screen's pixels and its long side in metres from the spec sheet, and pick a photo of the real screen taken from where people will stand.
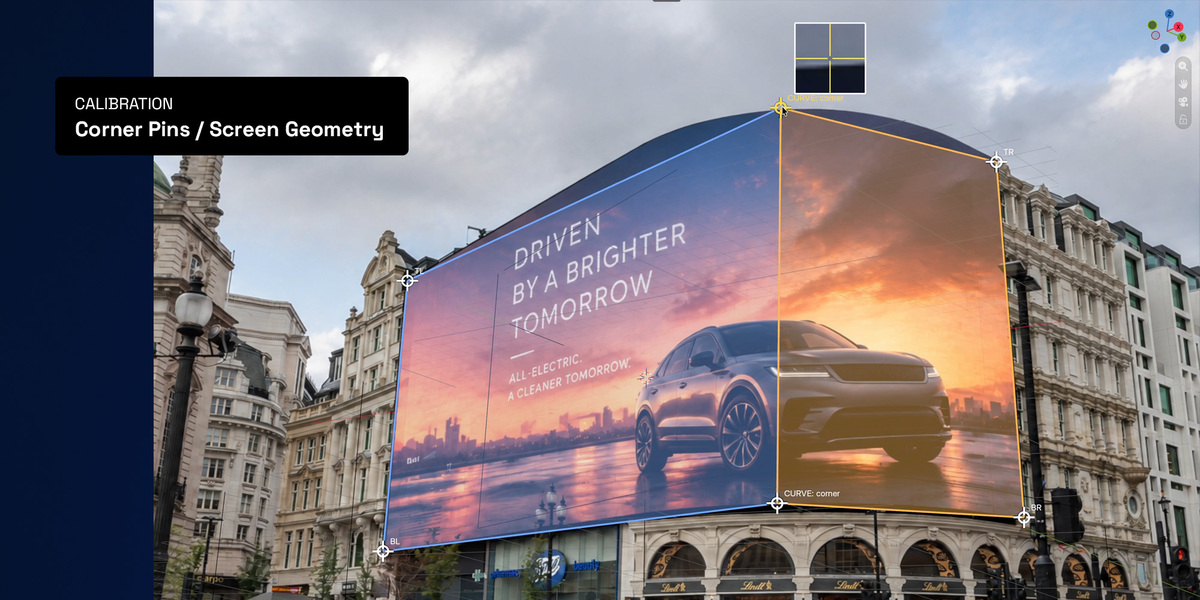
- Mark the corners. Drag the crosshairs onto the screen's corners and press Enter. The add-on finds the camera, the lens and where the viewer stood.
- Add a recess. In Recess, add one and set its depth and border.
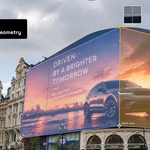
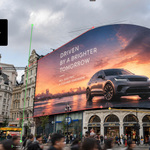
- Build your scene. Model, light and animate as usual. Click Look through the photo to see it on the real building, live.
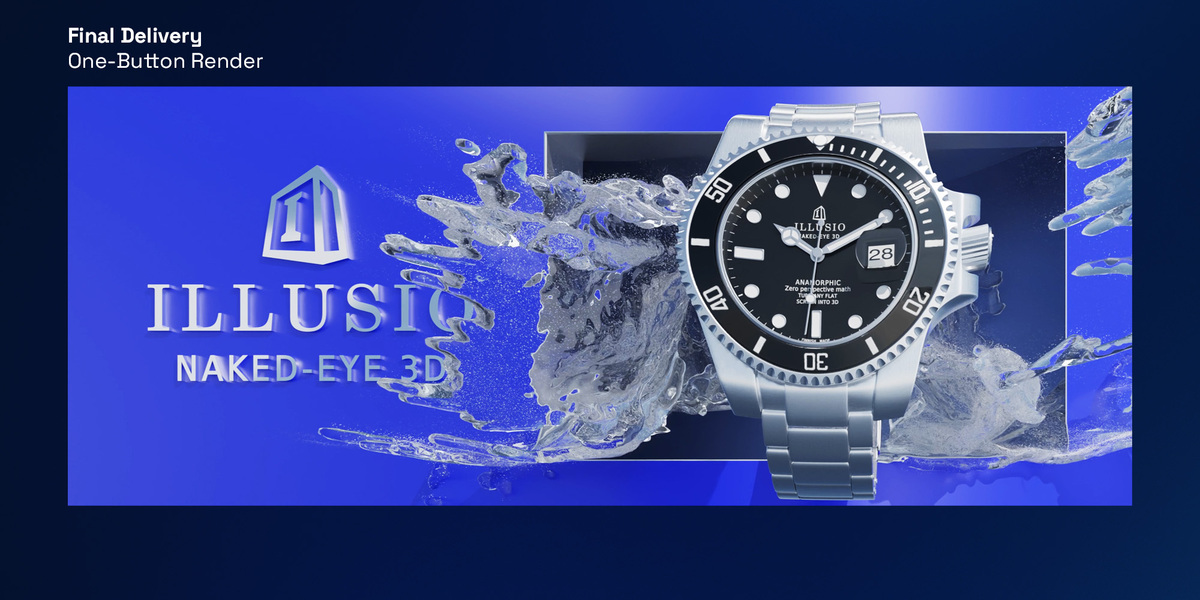
- Deliver. In Deliver, click Render all panels. You get one file per display.
Your objects can sit in any collection of the main scene. Everything there reaches every panel, the curved screen's file and the view through the photo.
Calibrate
Marking the corners
- Flat screen: four marks, one on each corner.
- Corner screen: six marks. TL and BL on the first panel, EDGE twice on the shared edge, then TR and BR on the second panel's far edge.
- Curved screen: six marks. TL and BL at the left end, CURVE twice at the middle of the curve, TR and BR at the right end.
Put the EDGE and CURVE marks on the screen's own top and bottom edge, exactly where the building's corner is.
While you mark:
- A loupe magnifies the photo while you drag.
- Arrow keys nudge the active mark (Shift for 10 times, Alt for a tenth).
- Tab goes to the next corner, L hides the labels and the help strip.
- The lens and the viewer's distance update as you go, or the tool says what is wrong.
- Enter solves, Esc puts everything back.
When the lens is unsure
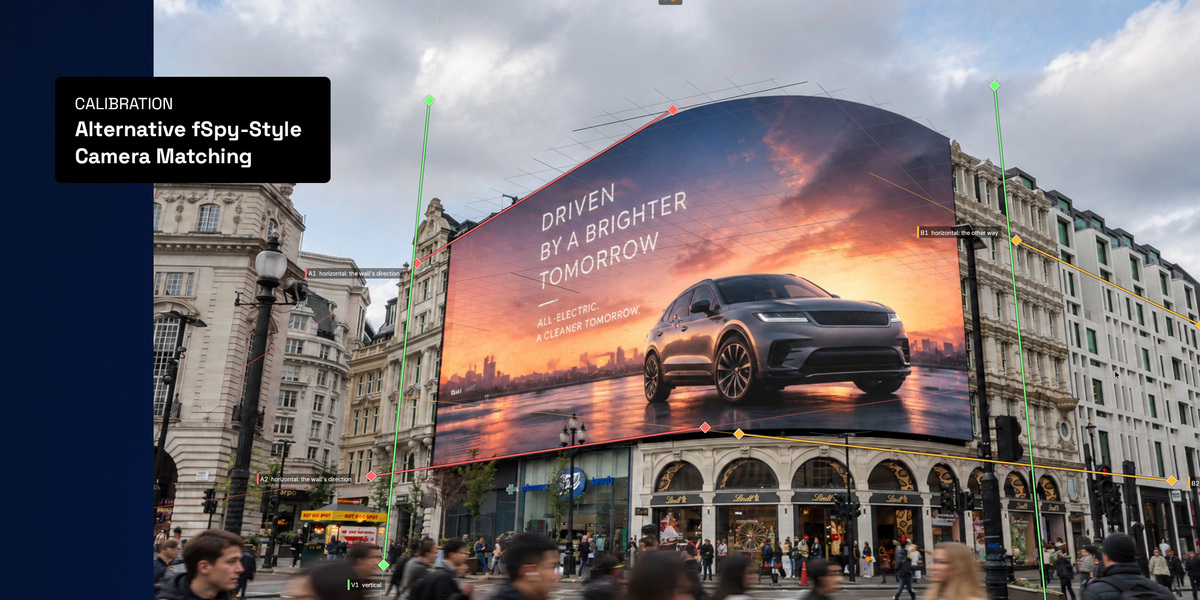
A photo taken nearly face on says little about its lens, and the solve shows a range such as "Unsure: anywhere 20-27 mm". Fix it in one of two ways:
- Type the lens in Calibrate > Photo, from the camera or the photo's details.
- Draw perspective lines (Calibrate > Mark > Draw perspective lines), as in fSpy. Drag the lines onto the building's edges: A1 and A2 along the wall the screen is on, B1 and B2 along a side wall or the street, V1 and V2 on vertical edges. A line counts once you have moved it. Four lines in two directions find the lens, and two in each of the three directions is best.
Manual calibration
For a photo where the corners can't be marked, use Calibrate > Photo > How to calibrate > Manual:
- Draw the perspective lines. They give the lens and the camera's turn.
- Build the screen by hand in Screen, from its specs.
- Click Place the camera, then adjust it (Across, Up, Out, Tilt, Pan, Roll), or move it with the mouse (G), until the screen lands on the real one.
No photo
Use New screen, no photo and place the viewer in Screen > Viewer, in one of three ways:
- Type its numbers.
- Use Move the viewer to pick it up with the mouse.
- Walk the 3D view to where a person would stand and click From this view.
The photo
- Change the photo starts a new calibration on a different photo.
- New version, same shot swaps in a retouched, regraded or bigger version of the same photo and keeps the calibration. It can be another size but must have the same shape.
- Photo opacity draws the photo fainter so you can see the scene through it.
- File > External Data > Pack Resources packs still photos into the .blend. A video background can't be packed, so keep its file with the project.
Screen
Every screen is its pixels and its long side in metres. The pitch, width and height follow from those two. If you change the pixels, the long side stays and the short side follows.
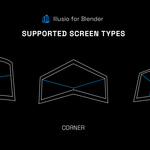
- Flat: any rectangular display.
- Corner: a second panel folded 90 degrees, on an outside or an inside corner. The second panel is the same LED product, so it shares the first panel's pitch and height and only its pixels across are its own.
- Curved: one LED strip bent along a curve, delivered as one file. The pixels across are the whole strip. Curve and Last flat are percentages of it, and the first flat is the rest. Outside bends round a building's corner, Inside round a room's corner. The angle comes from the photo, and an angle you type by hand stays.
Changing the shape remakes the recesses in the new shape's kind and keeps their depth, borders, bevel and materials.
Placing the screen in your scene
- Move the screen shows move arrows on the screen. Drag one to move the screen with everything that belongs to it, and press R to turn it.
- Scene scale (Screen > Size > In the scene) is for scenes modelled at another scale. The screen, recess, viewer and cameras scale together, and the files stay the same. Scale the setup instead of imported objects that hold simulations or rigid bodies, since those don't survive scaling.
Recess
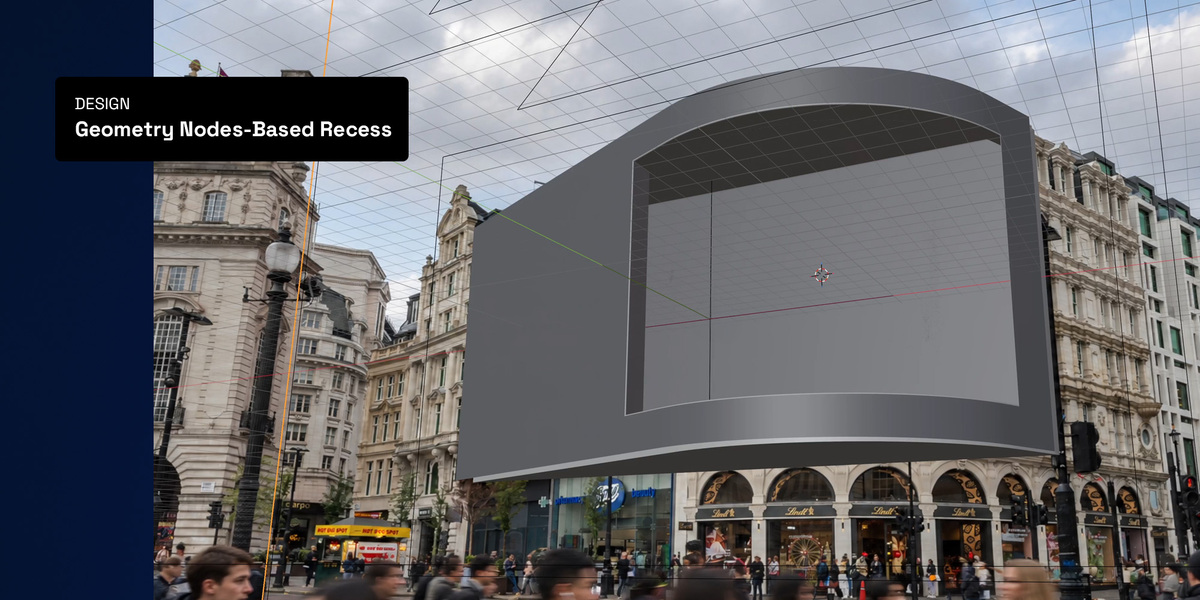
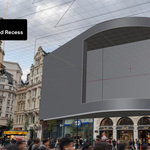
A recess is the box sunk into the screen that many 3D billboards are built around. Settings:
- Depth and Bevel (the rounded lip).
- Border, one width or each side its own.
- Fit to the screen, or its own width and height.
- Frames the opening or Only borders. With Only borders, the border is a frame of its own thickness in front of a full-size room.
- Four material slots and box-mapped UVs.
The occluder is the wall around the screen, rendered as a holdout. Through the photo camera, whatever the real wall would hide shows the photo.
On a corner screen the recess is a corner recess, which fills both panels. On an outside corner it is the building's corner cut away, and on an inside corner it is a room carved behind both walls. On a curved screen the recess follows the curve and has one flat back wall. It works for curves of up to 180 degrees.
Every recess is a Geometry Nodes group (Illusio Recess, Illusio Corner Recess, Illusio Curved Recess). Open one in the Geometry Node Editor and each step is a labelled frame, with a note that explains the whole group.
On-site
- Look through the photo shows your scene over the photo from the solved camera, live in Solid, Material Preview or Rendered view. Animations play.
- While you look through the photo, the timeline, Output and Render Properties you see belong to the on-site scene. What you set there is used by the renders.
- The screen mask (On-site > View) cuts everything outside the screen's edge, as on site. It needs Cycles or EEVEE, and Solid view doesn't draw it.
- Render the on-site mockup renders the same view at full quality, as a still or a video.
-
Resolve to flat makes the picture lift off the building and settle face on, eased in and out. Its file name ends in
_rtf.
Deliver
Render all panels renders one file per display into illusio_out, beside your .blend (or in your home folder if the file isn't saved yet). It also writes a README.txt that says which file goes on which display, and an index.html contact sheet that plays every file in its place.
- Each file is named by its position, with its pixels in the name.
- Stills are PNGs with transparency.
- Videos use the format in Output Properties > Output > File Format. Choose FFmpeg Video (MPEG-4 / H.264, or ProRes 4444 to keep transparency) for a video file. Blender's default is PNG, which gives an image sequence.
- Quick tests: set the render percentage (Output Properties > Format) below 100 %. Every render becomes smaller, and the files are named as tests so they can't be mistaken for finals.
- The tab shows the progress, the time left and Cancel, which stops after the frame being rendered. Nothing half-made is left in the folder.
Curved screens: two methods
Choose in Render all panels > Advanced settings. The on-site mockup uses the same method.
- Exact: Cycles custom camera (the default). Every LED renders its own ray from the viewer. It always renders in Cycles, on the CPU or an NVIDIA GPU with OptiX. On a Mac or an AMD card it renders on the CPU.
- Projection: any engine, any GPU. An ordinary camera renders the view from the viewer in your project's engine, and each LED takes its colour from that picture. It works with EEVEE and on any GPU, Macs included. It is slightly softer than Exact, and video frames are 8-bit.
Lighting a recess
With a lit world (a grey or an environment), a recess renders fine in EEVEE. With a dark world and only lights, EEVEE without Raytracing has no bounced light, so the inside of the recess goes black. The Illusio tab warns you and has a button that turns Raytracing on. Cycles follows every bounce and is brighter still. Material Preview lights everything evenly, so the viewport always looks brighter than the render.
On a Mac
macOS asks for permission before Blender can open Documents, Desktop or Downloads. If a photo can't be opened or a render can't be written, allow Blender in System Settings > Privacy & Security > Files and Folders, then try again. The add-on tells you when this happens.
Saved files
A saved .blend opens and renders without the add-on. The camera's lens and shift are drivers, which Blender runs by itself, so you can send files to a render farm or a colleague. Everything in your scene is plain Blender.
Limits
- Calibration assumes the lens's centre is the middle of the photo and, for a corner screen, a 90 degree corner.
- A curved recess works for curves of up to 180 degrees.
- The inside-corner recess has not yet been used on a real installation.
- The marking tool's loupe shows a video's first frame.
Have questions about this product?
Login to message
| Blender Extension Compatible | Yes |
| Published | about 5 hours ago |
| Blender Version | 4.2 - 5.2 |
| Extension Type | Add-on |
| Render Engine Used | Cycles, Eevee |
| License | GPL |
