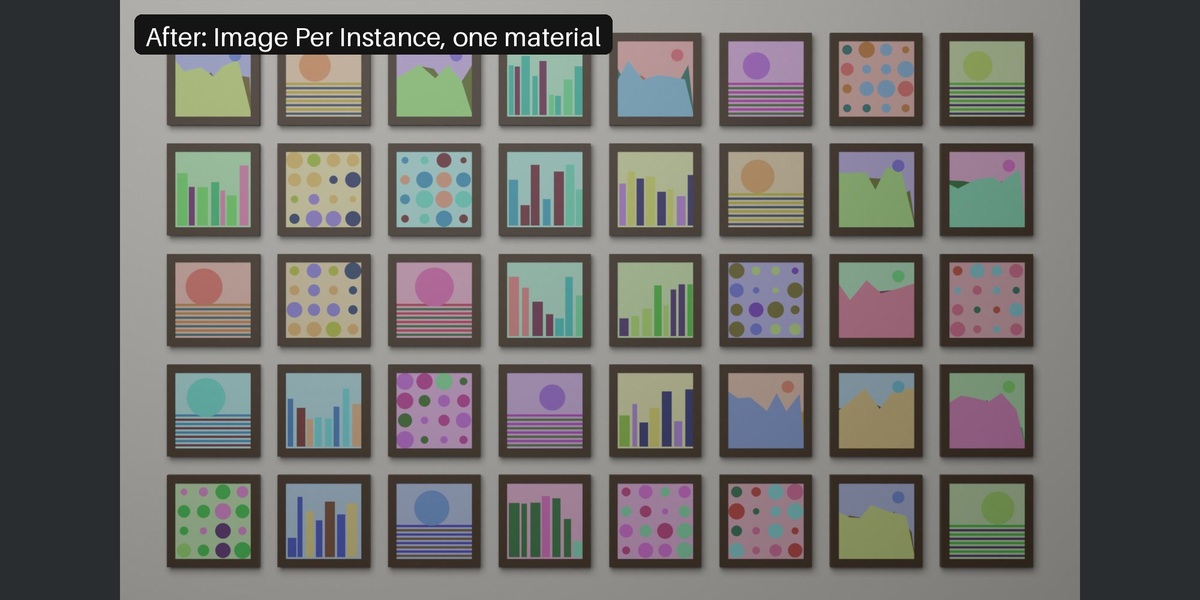
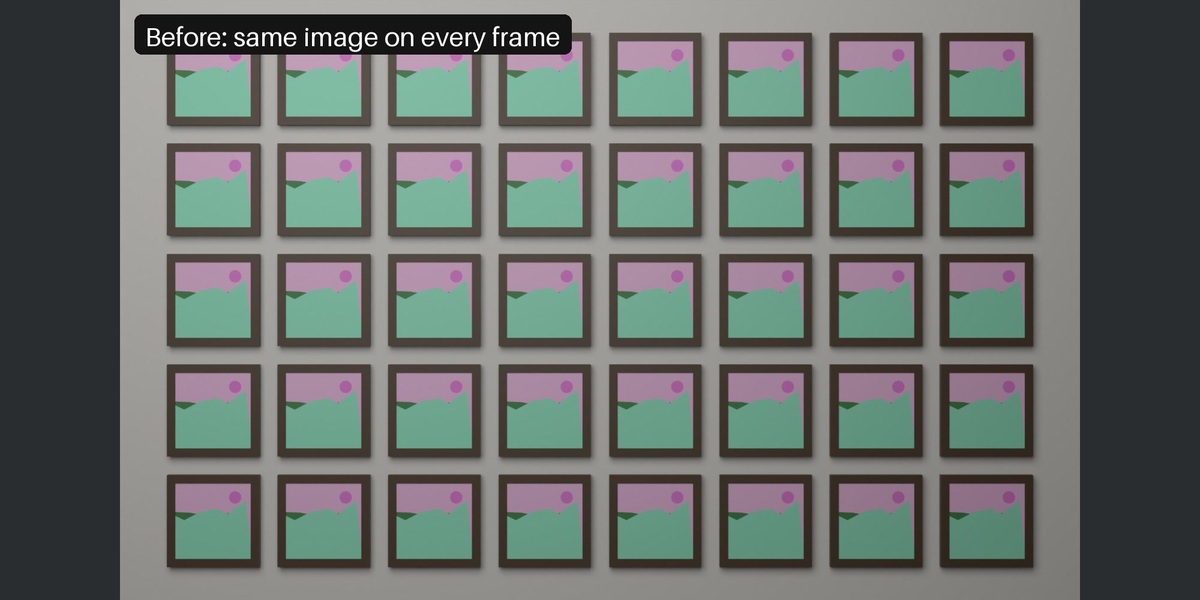
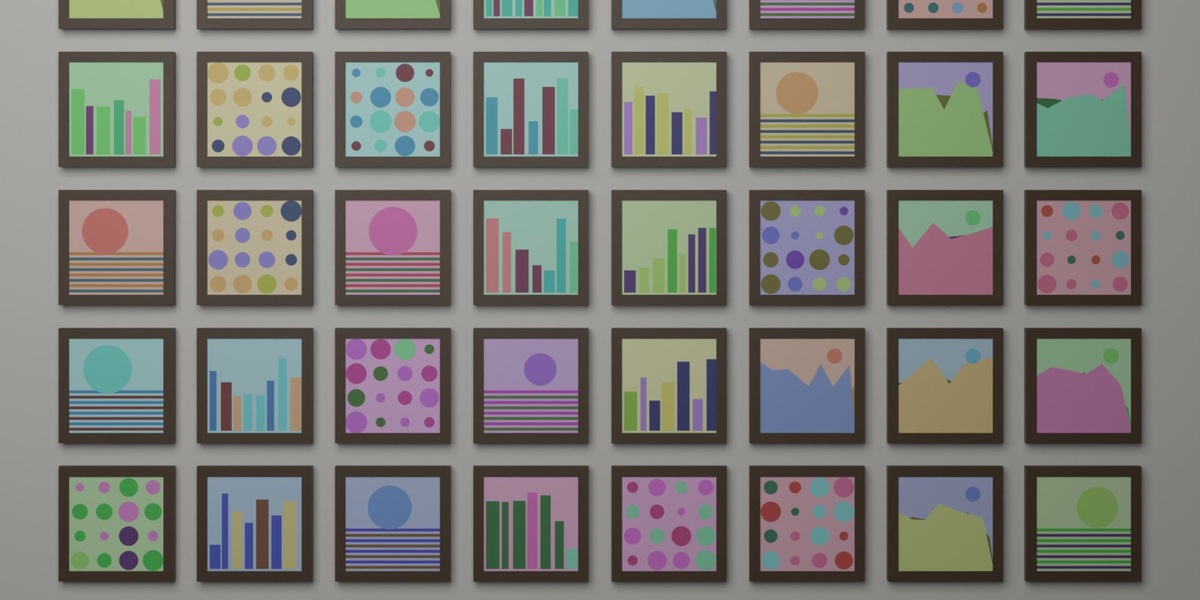
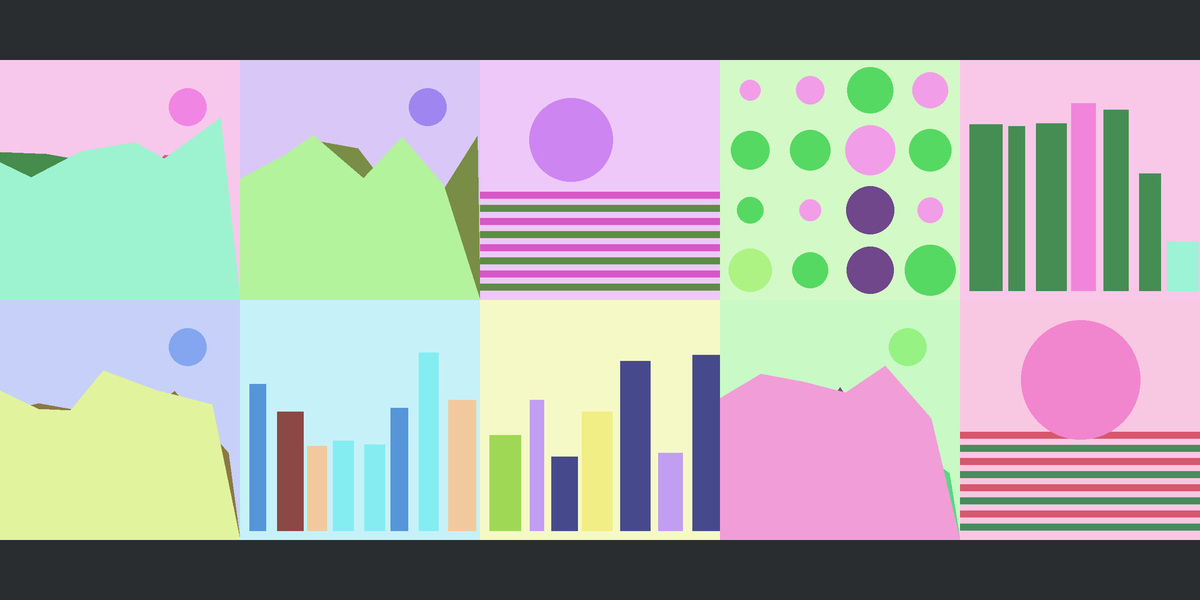
Image Per Instance: Different Texture on Every Object
 QuadFix Tools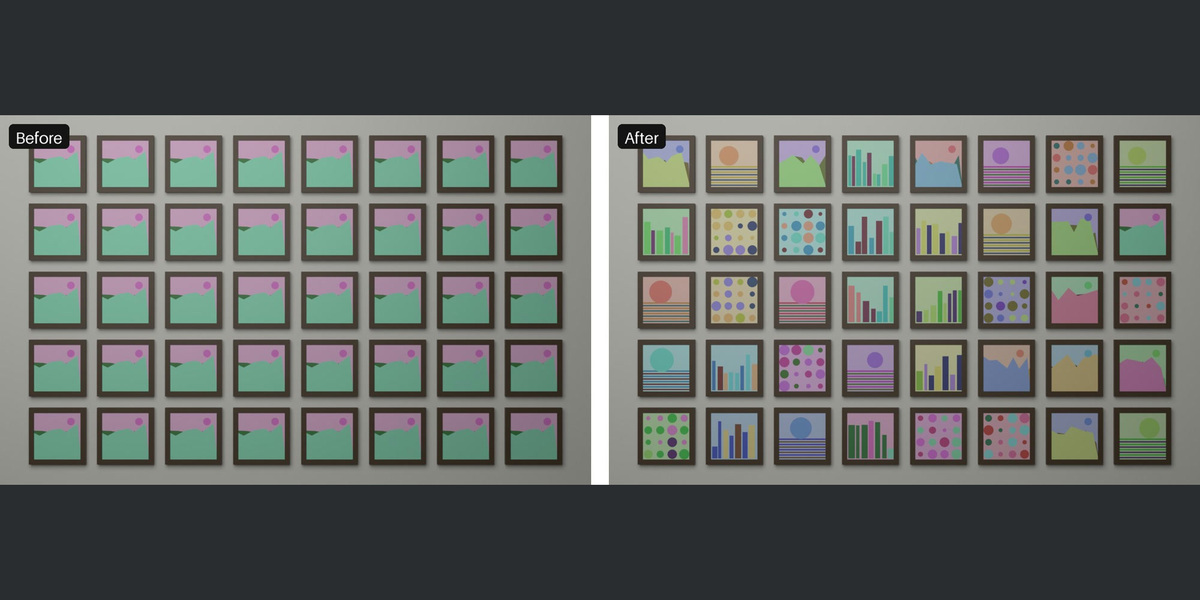
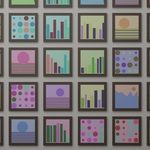

Install
- Download the zip (do not unzip it).
- Edit → Preferences → Get Extensions → small arrow menu at the top right → Install from Disk → pick the zip.
- Press N in the 3D viewport and open the Image Per Instance tab.
Quick start
- Choose your Image Folder, pick a Tile Size and Padding, and set Order (By file name or Shuffle). Press Build Atlas.
- Separate objects: select the meshes and press Apply To Selected Objects. Every object gets its own image through one shared material.
- Geometry Nodes instances or arrays: make the object that carries the Instance on Points / Array modifier the active object and press Add To Instances (Geometry Nodes). The add-on finds the instanced source objects, gives them the shared material and adds a small modifier that stores an image index per instance.
- Shuffle: set Order to Shuffle and a Seed. Change the Seed and press the apply button again for a different arrangement.
Notes
- Your objects need UVs that fill the 0-1 square. A plane or an unwrapped cover works.
- All images are packed to square tiles of the chosen size. The atlas is stored inside the .blend; there are no external files.
- Only material slot 1 of the source object is replaced.
- Building the atlas again replaces the old one. Ctrl+Z (Cmd+Z on Mac) undoes any step.
- The folder must contain image files (png, jpg, ...). An empty folder gives a clear error message.
$8
Have questions about this product?
Login to message
| Blender Extension Compatible | Yes |
| Published | 1 day ago |
| Blender Version | 4.2 - 5.2 |
| Extension Type | Add-on |
| Render Engine Used | Cycles |
| License | GPL |

Discover more products like this
instances Atlas texture image per object random image posters shuffle Array modifier geometry nodes book covers Material Unique texture