 JESUS
JESUS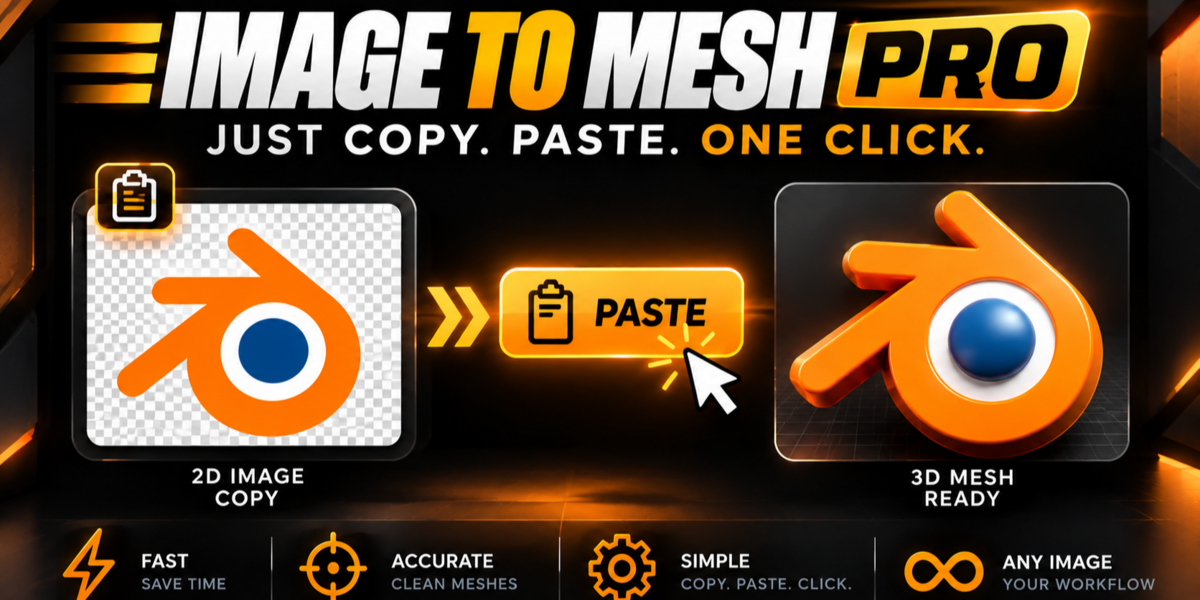
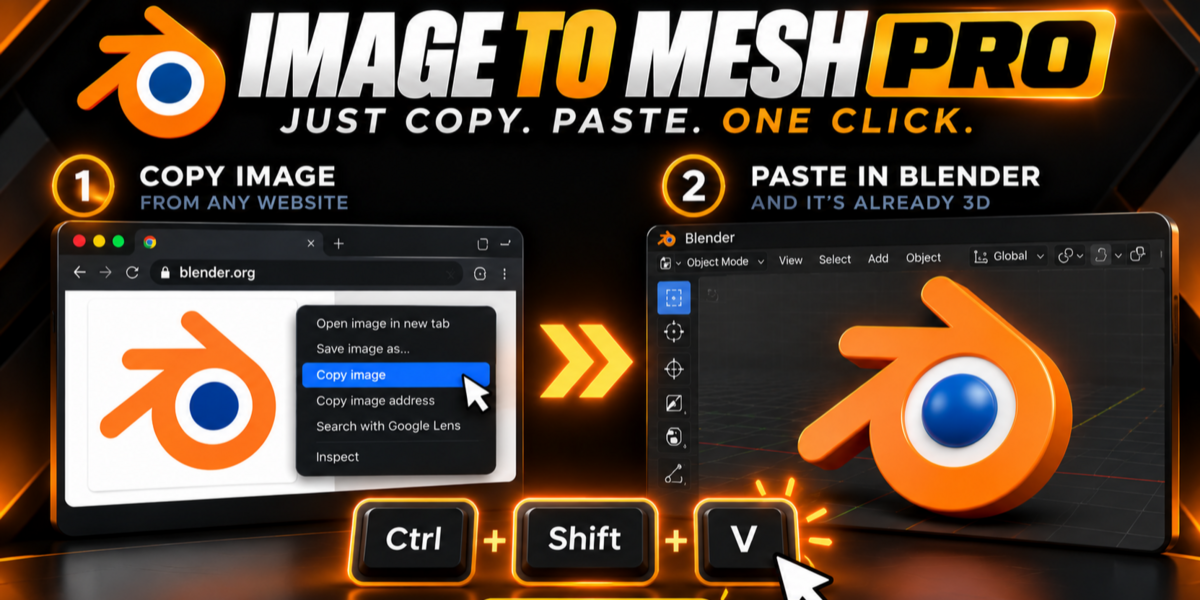
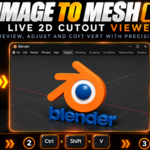

- Download
image_to_mesh_pro_1.0.0.zipfrom your Blender Market downloads page (do not unzip the file). - Open Blender (4.2 LTS, 5.0, or 5.1+) and go to Edit → Preferences → Add-ons (or Get Extensions).
- Click the top-right dropdown arrow (∨) and select Install from Disk...
- Select
image_to_mesh_pro_1.0.0.zipand enable the checkbox next to Image to Mesh Pro. - Your new objects will automatically organize inside a dedicated ImageToMesh collection in the Outliner.
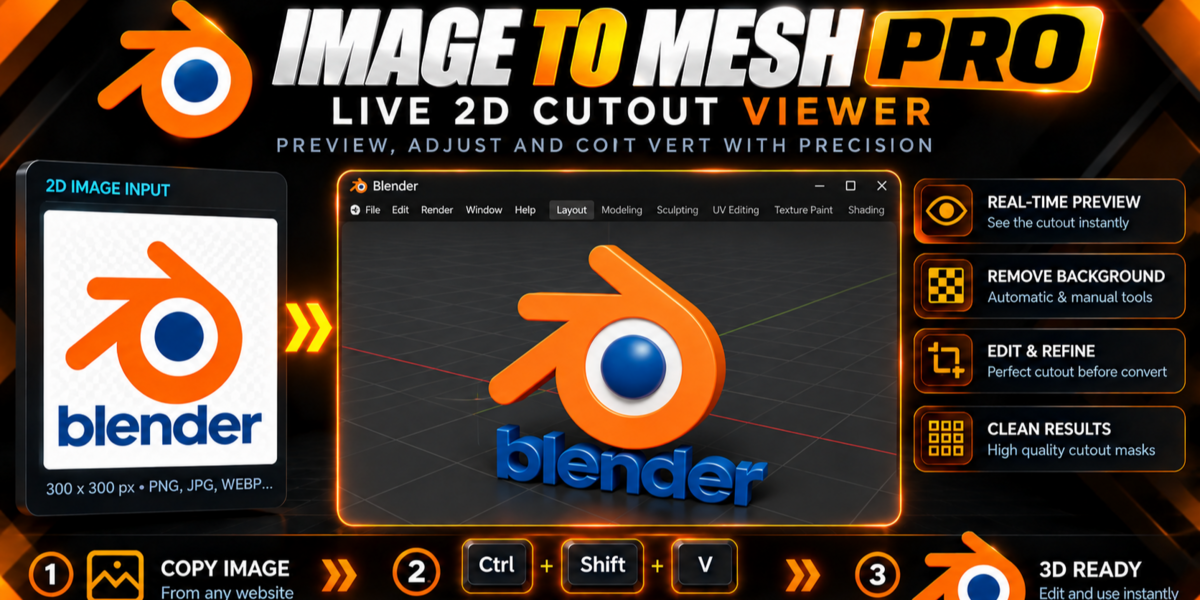
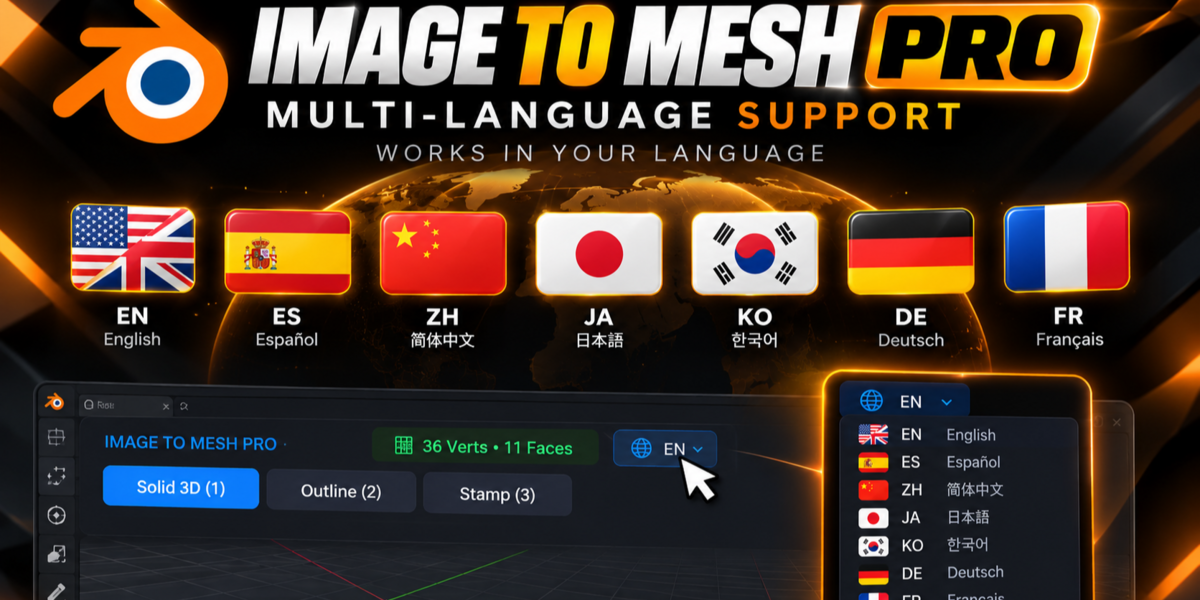
Once an image is loaded, the non-blocking OpenGL GPU Studio Dock appears at the bottom of your 3D Viewport. You can freely orbit, pan, and zoom the 3D Viewport using your standard Blender navigation while sculpting the mesh in real time:
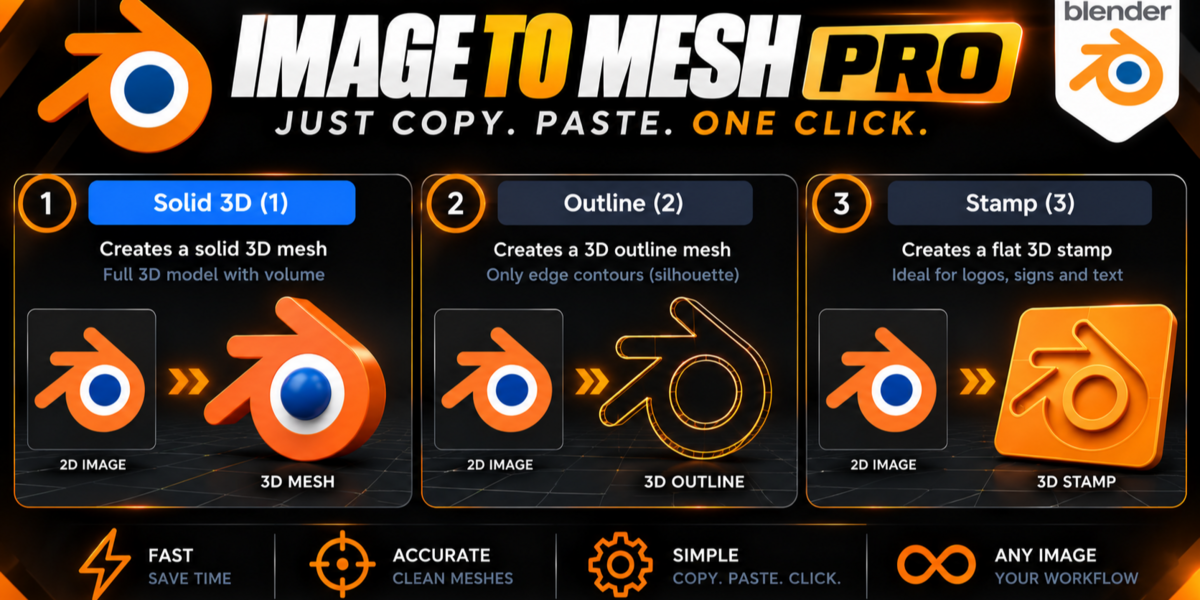
• Outline (2): Choose between ◯ Neon Tube (emissive 3D pipe), ▭ Flat Frame (extruded ribbon border), or ☡ Pure Wire (1D polyline loop).
• Stamp (3): Generates a solid backing base plate ideal for 3D printing, cookie cutters, medallions, and badges.
• Outer Contour Only: Traces only the external silhouette boundary so white interior details (eyes, text, inner logo rings) stay 100% solid and intact!
• Curved Bézier: High-resolution organic spline smoothing for curved illustrations and calligraphy.
• 💧 2D Eyedropper & RGB Bar: Pick colors directly from the 2D Cutout preview or drag the RGB Spectrum & Brightness bars for Front and Side slots.
• My logo has white interior parts (like eyes or inner rings) that are getting cut out as holes. How do I keep them solid?
Press C (or click Outer Contour (C) in the HUD). This switches the engine to trace only the outer silhouette boundary, keeping all interior details 100% solid.
• How do I create a flat 2D decal or sticker with zero extrusion thickness?
Drag the Thickness (Z) slider all the way to 0.00m (Flat) and enable 🖼 Photo (T). The addon will generate a single-sided planar mesh cut to the exact silhouette of your image.
• Does it require any external Python libraries (like OpenCV or Pillow)?
No! Image to Mesh Pro is 100% self-contained and uses zero external dependencies. It installs and runs out of the box on Windows, macOS, and Linux.
 Included
Includes 12 months of
- Support from JESUS
- Product updates
Extend this product’s Support Period +12 months: 75% of product price
Have questions before purchasing?
Login to message
| Published | 1 day ago |
| Blender Version | 4.2 - 5.2 |
| Extension Type | N/A |
| Render Engine Used | Blender-Internal, Cycles, Eevee |
| License | GPL |
Discover more products like this
image trace 2d to 3d motion graphics Image to Mesh clipboard png to 3d Logo to 3D vectorizer SVG 3d printing modeling 3d logo