Instant Rigger and Animator: Auto Rig, Animate and Export Humanoid Characters
 blenderustad
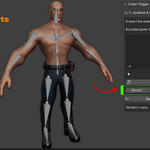
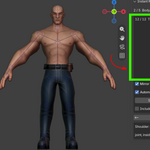
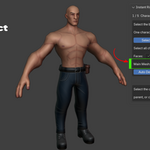
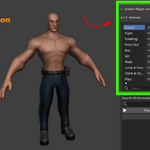
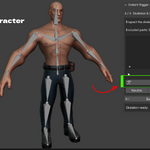
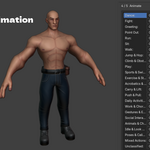
Requirements
- Blender 4.2 to 5.2 (tested on 4.2 LTS and 5.2 on Windows)
- One humanoid character in a neutral T-pose or A-pose
- No existing armature modifiers on the meshes
- Body up to 100,000 evaluated vertices, and up to 500,000 including clothing and parts (multipart skinning: 100,000 total)
Install
- Open Edit > Preferences > Add-ons.
- Click the dropdown arrow and choose Install from Disk.
- Select the addon .zip file.
- Restart Blender if you replaced an older version.
- In the 3D Viewport press N and open the Instant Rigger and Animator tab.
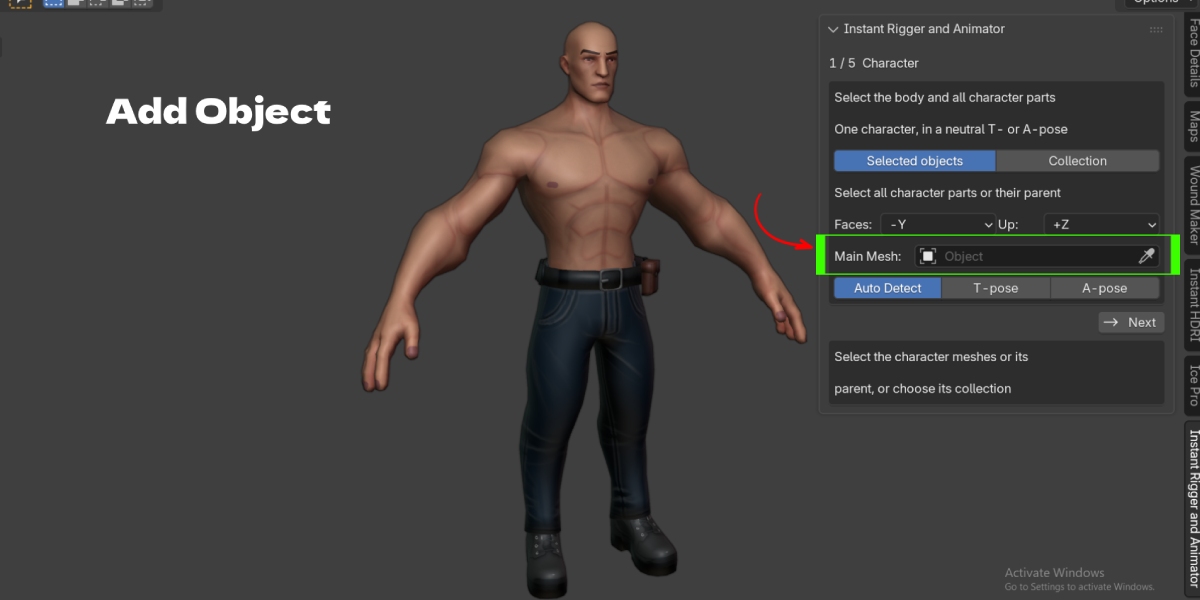
Step 1: Character
- Select all character meshes, or their parent Empty, or switch to Collection and pick a collection that holds only this character.
- Set Faces and Up to match your model (for example Faces -Y, Up +Z).
- Check the Main Mesh dropdown. The addon suggests the body. If a full-body outfit confuses it, pick the correct mesh.
- Choose Auto Detect, T-pose or A-pose. If detection is unsure, set it by hand.
- Click Next.
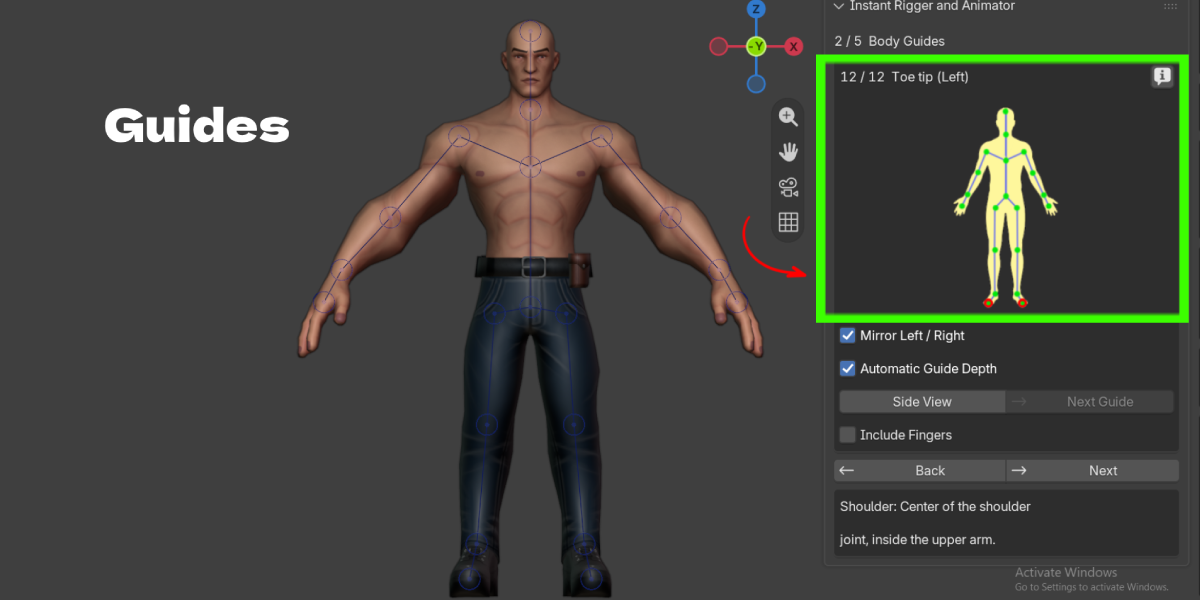
Step 2: Body Guides
- Each step shows a reference image and an auto-placed blue circle. Drag it to move, or select and press G.
- Press Escape or right-click to cancel a drag.
- Click Next Guide to confirm and move on. Order: pelvis, chest, neck, head top, shoulder, elbow, wrist, palm, hip, knee, ankle, toe tip.
- Mirror Left / Right is on by default. Turn it off for asymmetric characters.
- Use Side View to check depth. Moving a guide in depth switches that guide to manual depth so your fix is kept.
- Place the toe tip on the foot, not on the shoe tip.
- Tick Include Fingers if you want finger bones.
Tip: Keep viewport Gizmos and Overlays enabled or the guides will not show.
Optional: Finger Guides
- Choose Left or Right. The view centers on that hand.
- Click Add Thumb, then click the fingertip on the mesh. Joints are generated for you.
- Continue with Index, Middle, Ring and Pinky. Extra digits are named Finger 6, Finger 7 and so on.
- Drag any joint to correct it. Mirror copies your edits to the other hand.
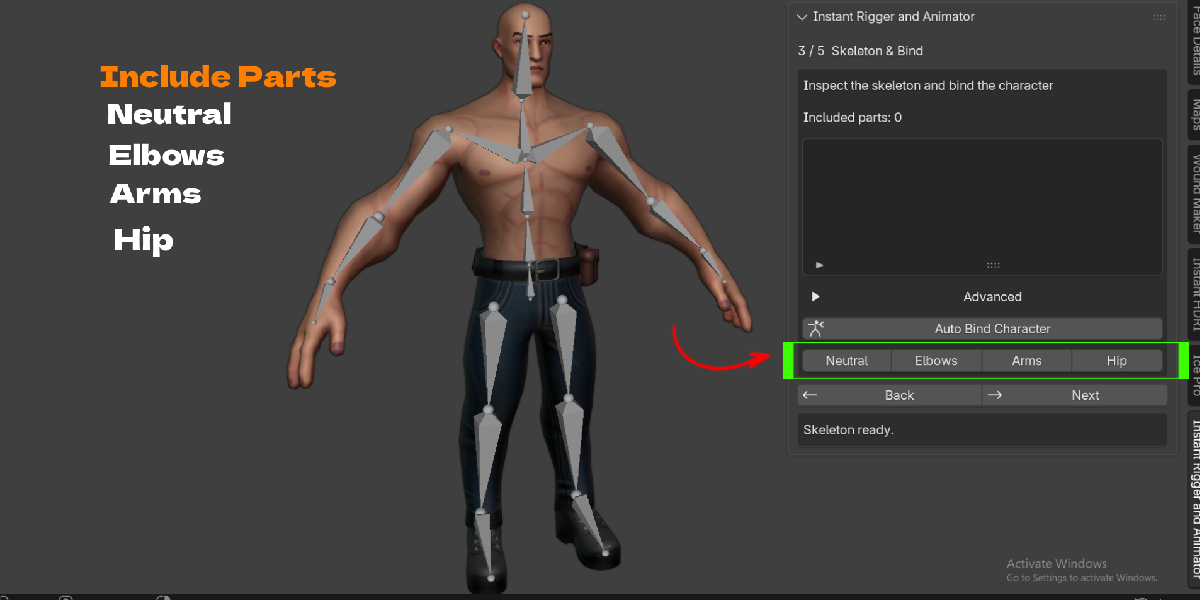
Step 3: Skeleton & Bind
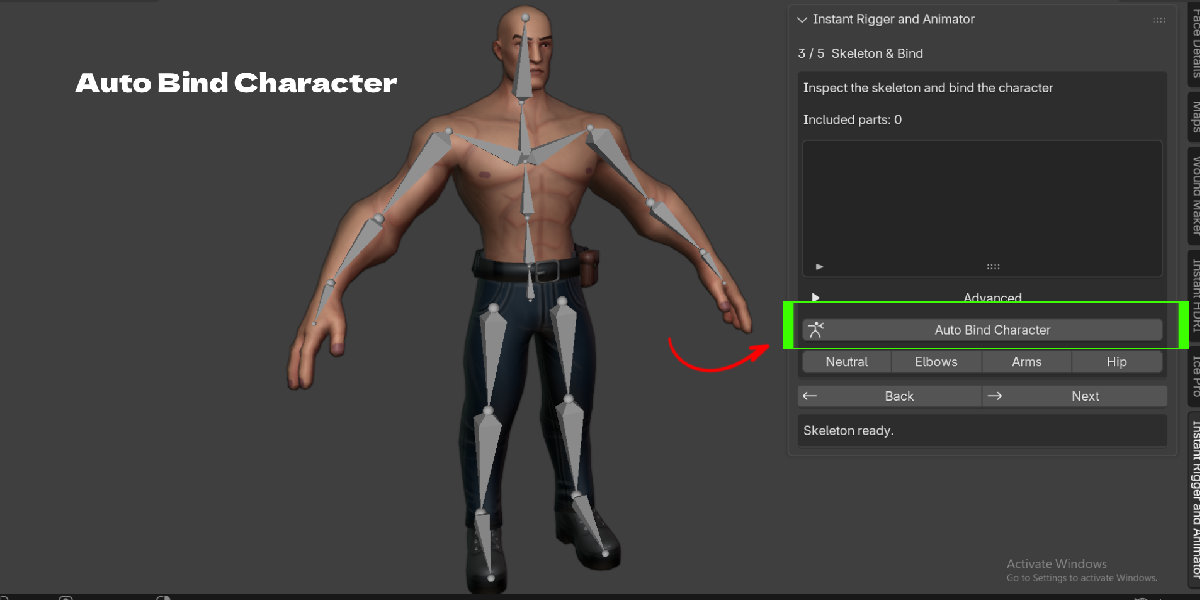
- The preview skeleton is created when you open the page. The body uses 19 deform bones; five fingers per hand brings it to 49.
- Check the joint positions. Go Back to fix guides if needed.
- Click Auto Bind Character.
- Test with Neutral, Elbows, Arms and Hip. Look at shoulders, elbows, knees and clothing seams.
Advanced: Keep All Pieces Rigid forces one bone per piece for mechanical models. Leave it off for clothing that must bend.
Step 4: Animate
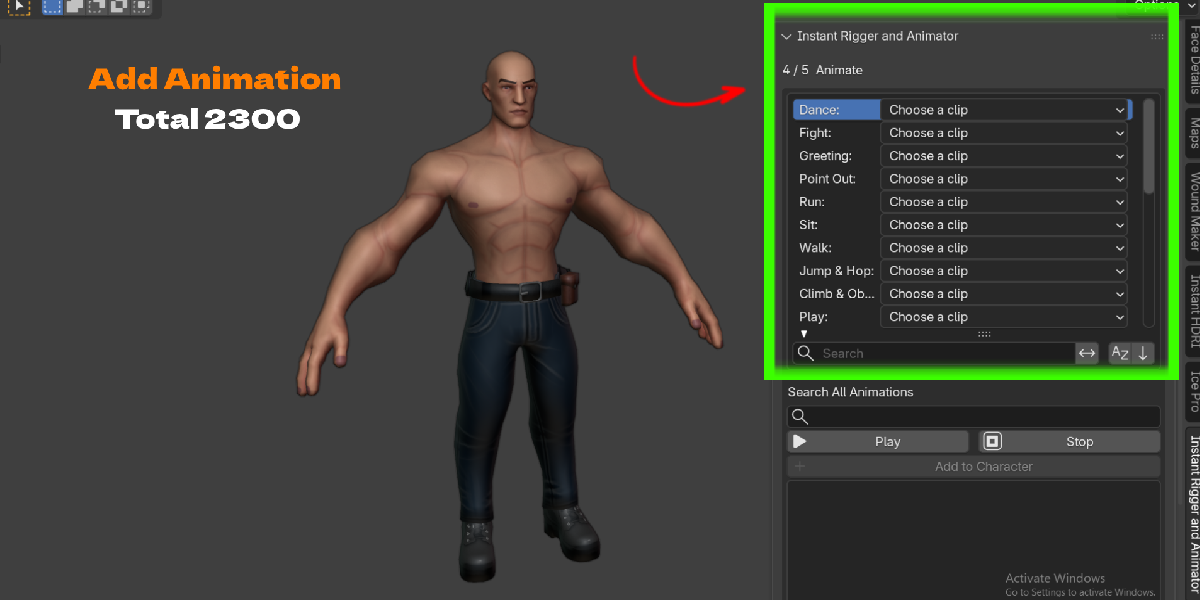
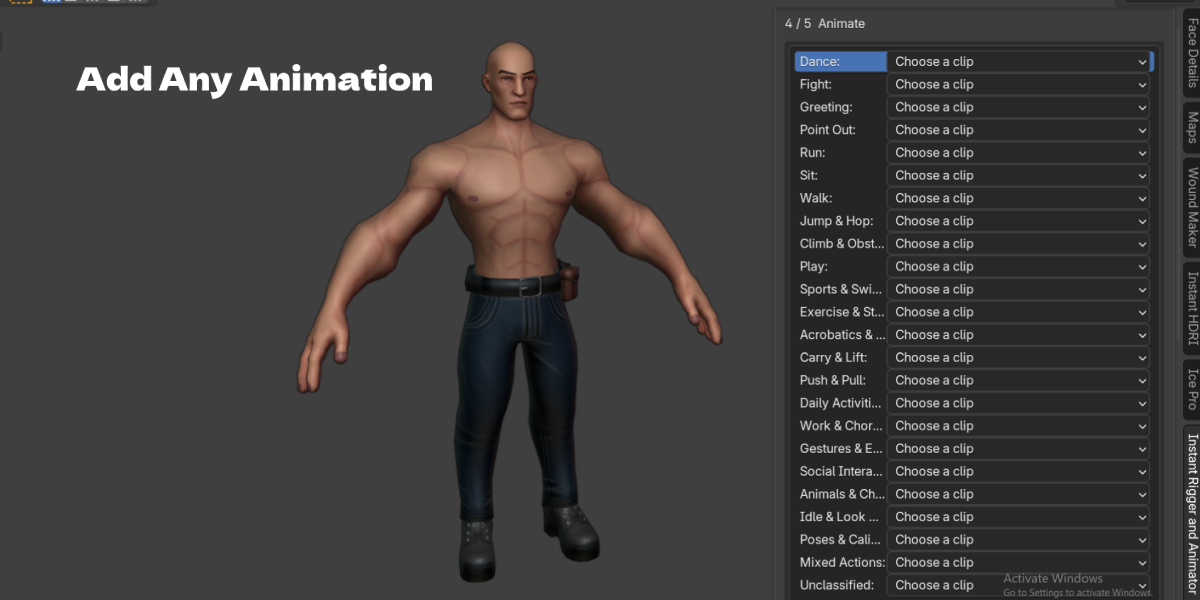
- Open any of the 24 category dropdowns, or type in Search All Animations.
- Selecting a clip previews it on your character. Use Play/Pause and Stop.
- Click Add to Character to keep it. Repeat for more clips.
- Rename, select or unlink clips in the character list.
Note: Five clips include finger motion and are marked Fingers in the menu. All other clips animate the body.
Step 5: Edit & Keyframe
- Click Edit Controls. The first time, the addon makes an editable IK copy of the clip and keeps the original as a backup.
- Select a hand or foot, then G to move or R to rotate. Drag the magenta elbow or knee handle to change the bend.
- Pelvis, chest, neck and head rotate. The pelvis also moves.
- Use Key Selected, Key All or Auto Key to record poses.
- Use Save Pose and Load Pose to reuse poses as JSON files.
- Switch, create, duplicate, rename or remove actions in Current Animation.
Control colors: cyan is left, orange is right, yellow is body, magenta is elbow and knee.
Finger controls
- Turn on Finger IK in the Fingers section.
- Grip: select the small sphere beside the palm and press G, Y, Y to curl or open the four fingers together.
- Individual: move each fingertip sphere, thumb included. These sit on top of the grip.
Animation Corrections
- Expand Animation Corrections below Keyframes.
- Click Edit Controls inside the section.
- Pick Whole Animation or Frame Range. For a range, set Start, End, Blend In and Blend Out.
- Go to a frame inside the range and move the controls. The change spreads across the scope.
- Click Play/Pause to check, Apply to keep a corrected copy, or Reset to go back.
Example: Range 23 to 32 with 2-frame blends has no change at 23 and 32 and the full change from 25 to 30.
Export
- Click Export Character / Animation.
- Choose FBX or GLB.
- Choose Character + Current Animation, Current Animation Only, or Mesh + Rig (Rest Pose).
- Set the frame range and choose whether to include clothing and accessories.
- Switch to another action and export again for each extra take.
Known limits
- Humanoid bipeds only. No quadrupeds or facial rig.
- No foot roll, automatic foot locking or contact detection.
- Not a cloth or hair simulation. Very loose skirts and capes may need cleanup.
- Shape-key meshes, existing armature modifiers and procedural hair strands are not supported. Use a neutral copy.
- Guide placement is a geometric estimate. Always check joints on unusual proportions.
- Save your .blend to keep the wizard state, and keep a copy of your original file.
Support
Include your Blender version, operating system, addon version, steps to reproduce and the full error text. Contact:
Have questions about this product?
Login to message
| Blender Extension Compatible | Yes |
| Published | 9 days ago |
| Blender Version | 3.3 - 5.2 |
| Extension Type | Add-on |
| Render Engine Used | Cycles, Eevee |
| License | GPL |

Discover more products like this
rigging game-character auto-rig animation library character animation FBX Export character rig mocap auto weights rig clothing